A lot of issue people may experience are either egg drying out and collapsing or eggs being too wet and starting to mold, I found this method to be fool proof and I have been using it now for a little over 10 years with ZERO issue.
What will you need?
The supply list is pretty simple.
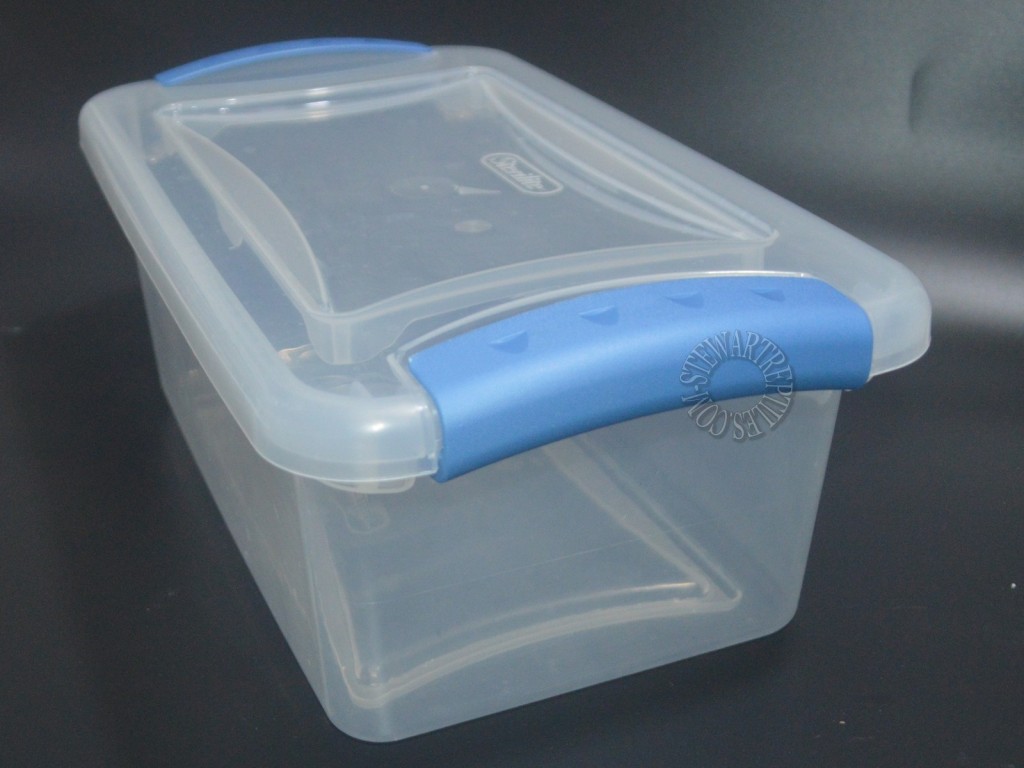
6 or 7 quarts tub similar to this http://www.sterilite.com/SelectProduct.html?id=937&ProductCategory=180§ion=1 You will be able to hatch 10 to 12 egg clutches in those tubs for larger clutches or big eggs use a 12 or 15 quarts tub.
Light diffuser sheet https://www.lowes.com/pd/PLASKOLITE-Common-24-in-x-48-in-Actual-23-75-in-x-47-75-in-7-85-sq-ft-Louvered-Ceiling-Light-Panels/3280904
Perlite https://www.homedepot.com/p/Vigoro-2-cu-ft-Perlite-Soil-Amendment-100521091/205655210 or vermiculite (I prefer perlite)
Water
Painter masking tape similar to this https://www.walmart.com/ip/Scotch-Masking-Tape-94-x-54-6-Yards/25517009
Pen
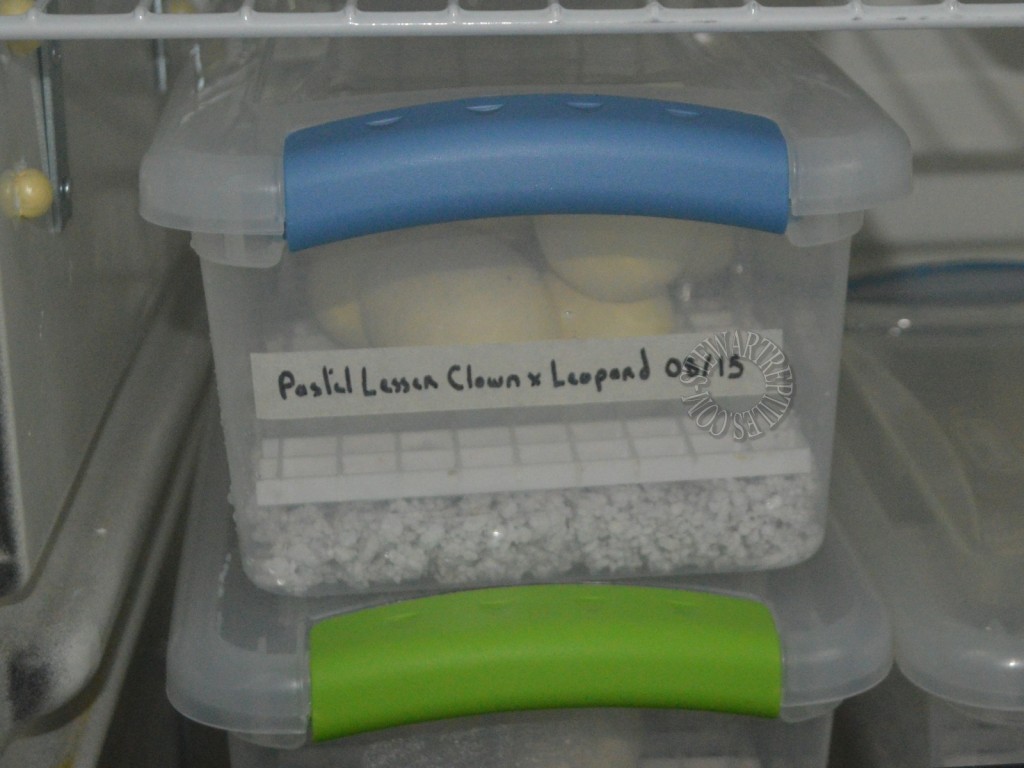
First get your tub and label it, I like to use painter masking tape to make my labels, it’s cheap and comes of easy without leaving residue. You can also write directly on the tub.

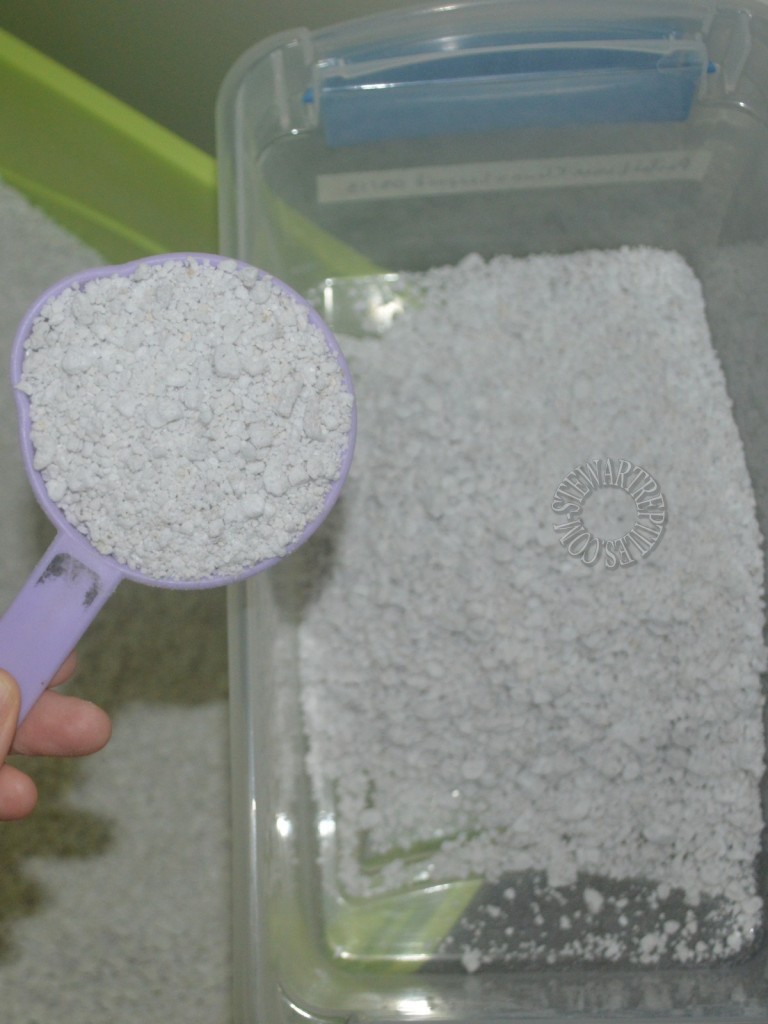
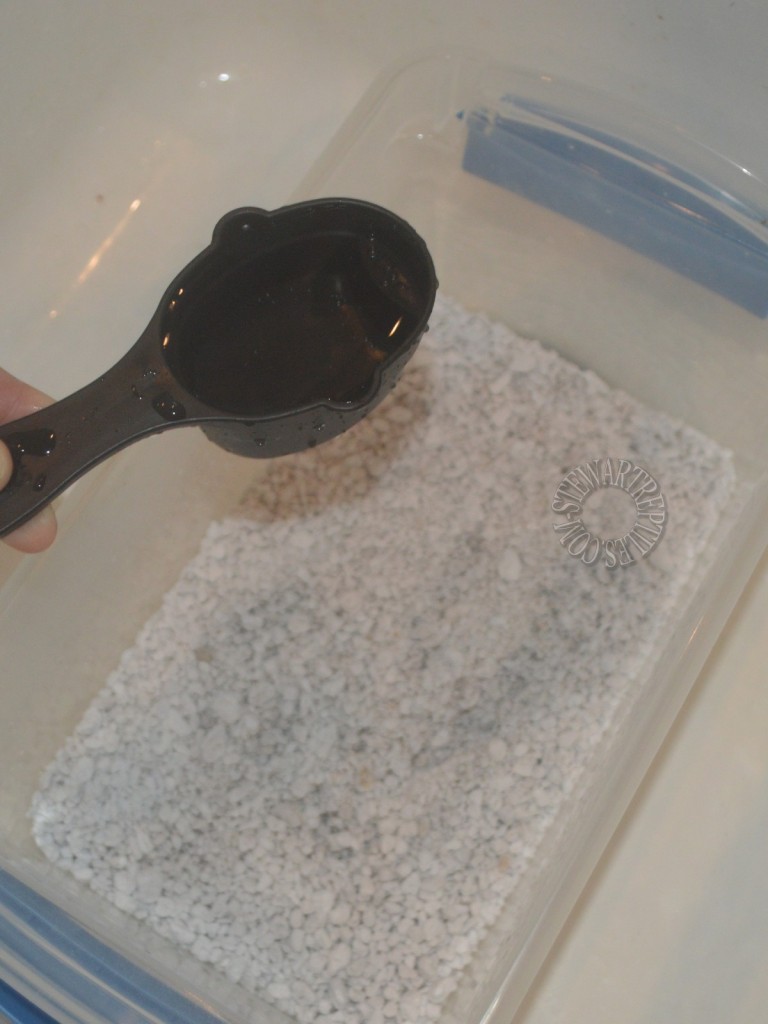
Once labeled add 4 cups of perlite (or vermiculite) in your tub followed by 1.5 cup of water.
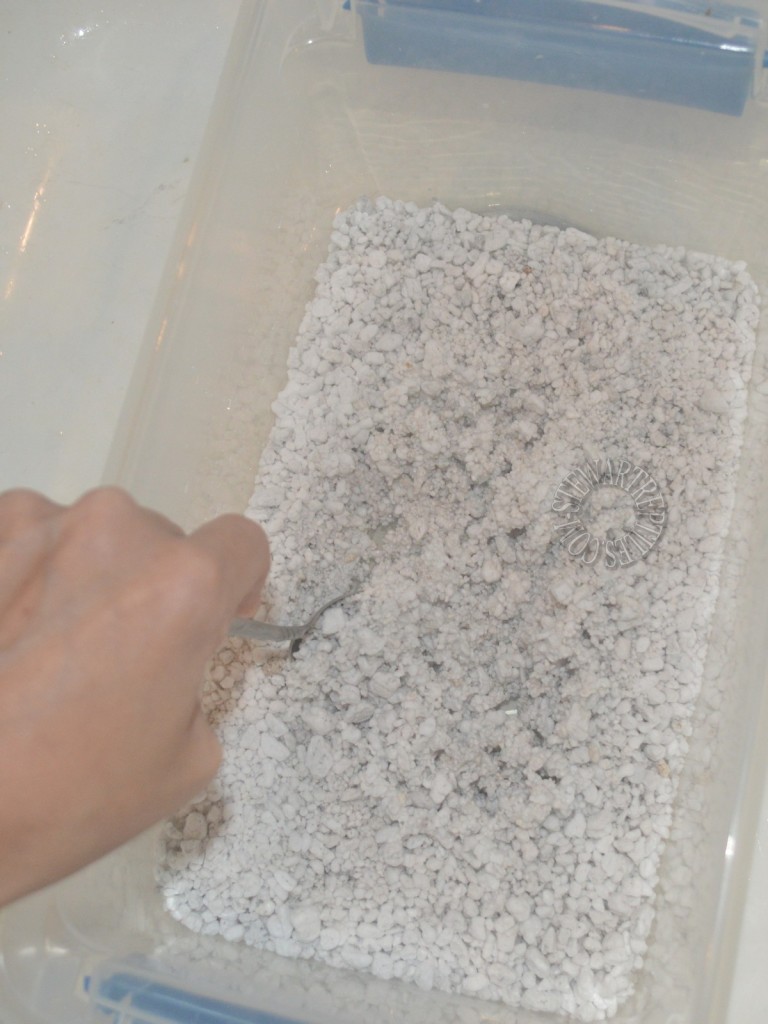
Mix the perlite and water together.
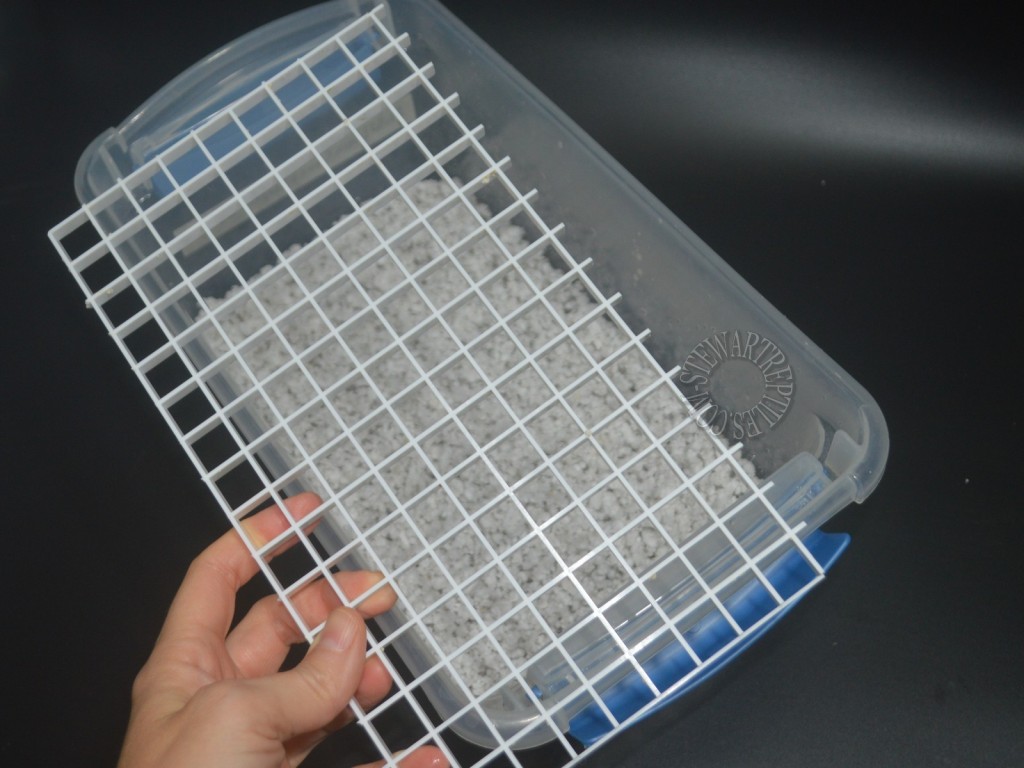
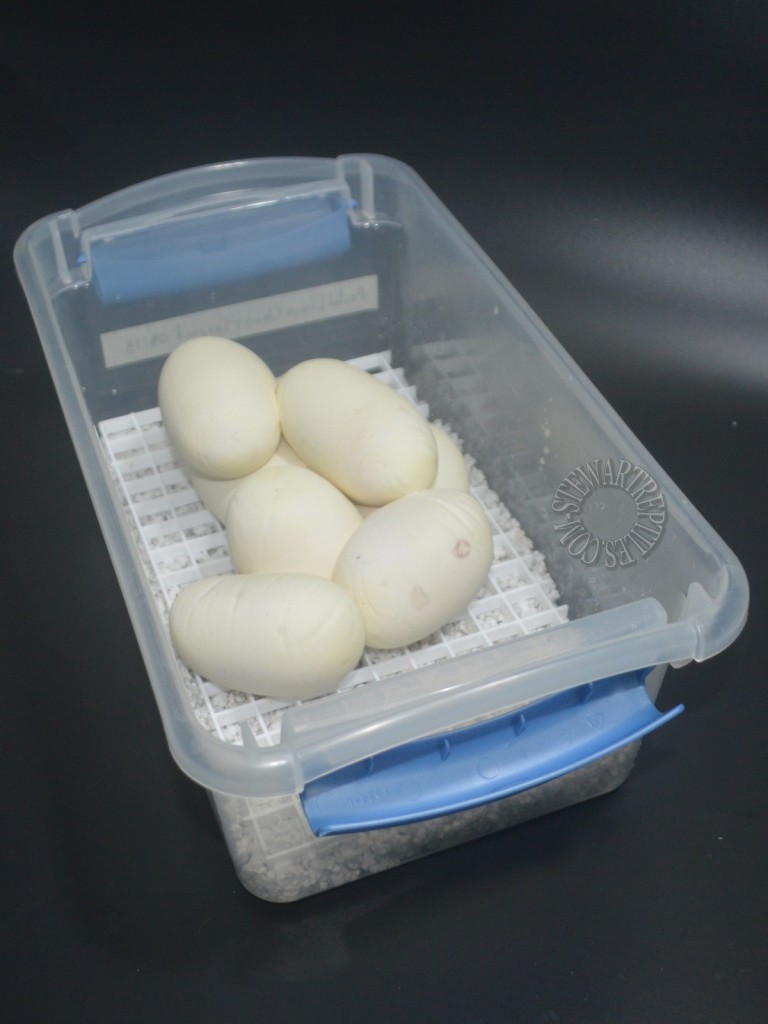
Once done place the light diffuser (cut to the dimensions of your tub) on the top of the substrate.
Now all you need are some eggs.
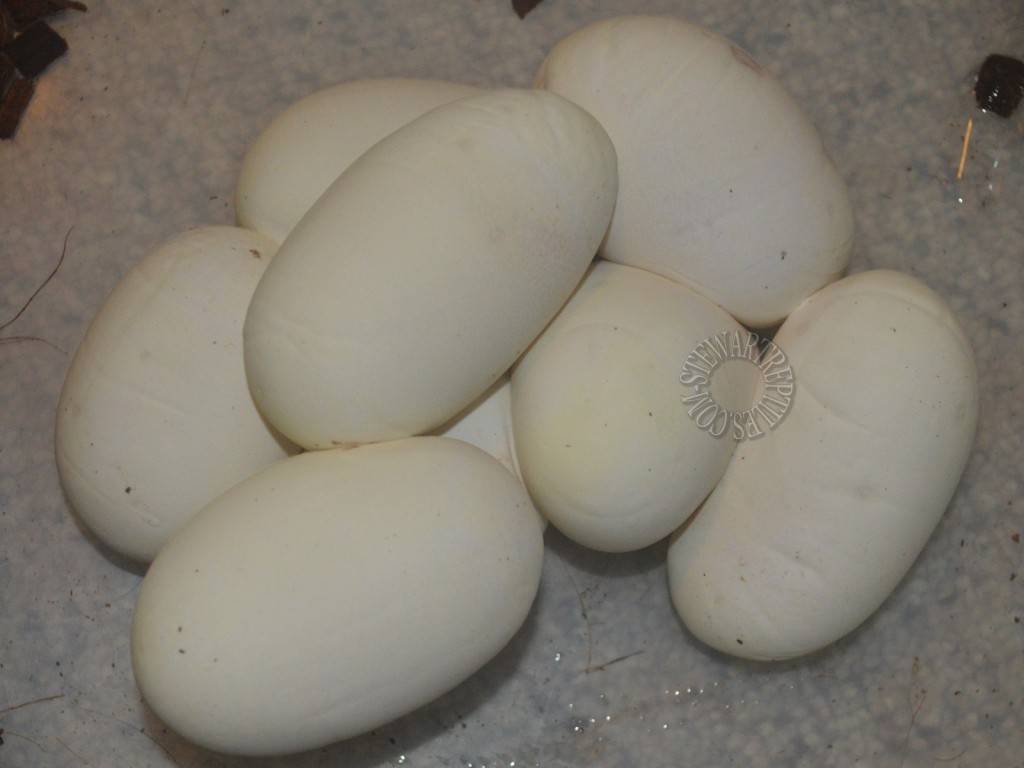
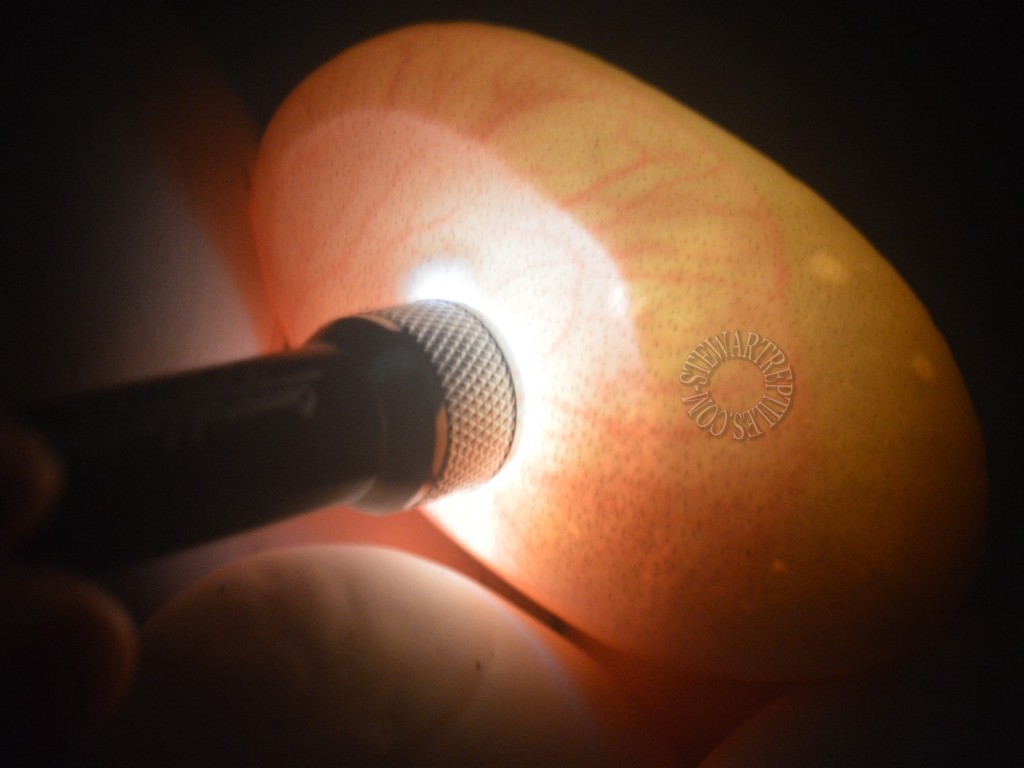
Candle your eggs and discard lose slugs. If the eggs are stuck together which they usually are do not attempt to separate the eggs that have weak veins or are not fertile, this is not worth the risk (eggs that go bad and start to mold will not affect healthy eggs in the clutch)
Place your eggs on the top of the light diffuser.
Close the lid.
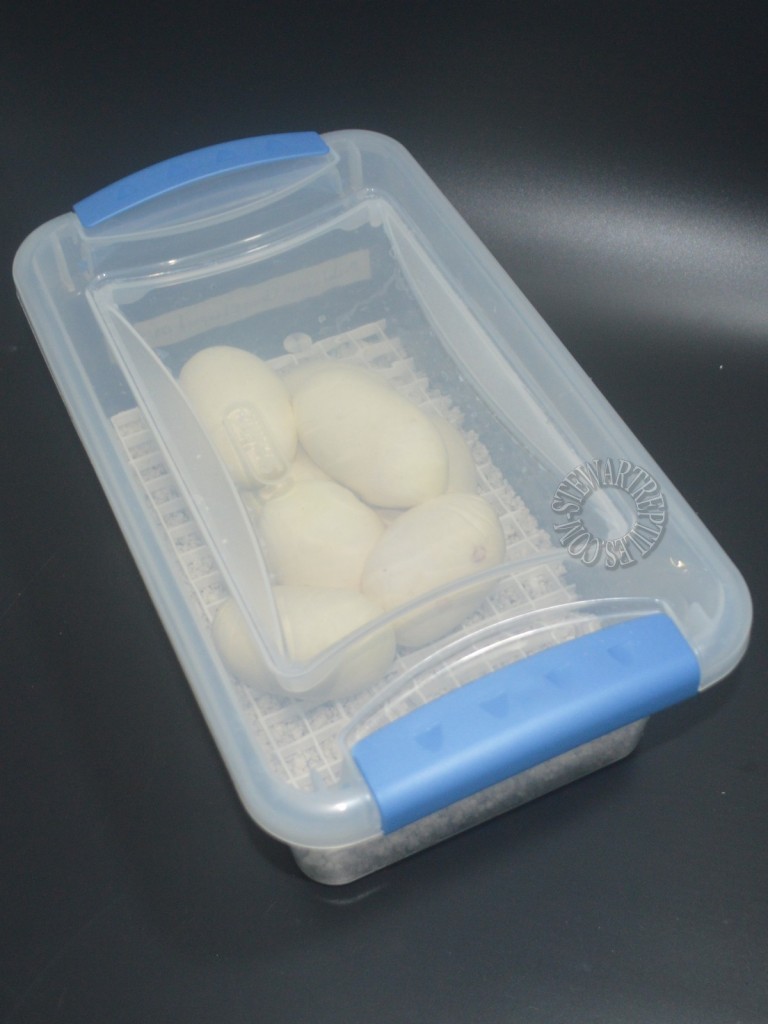
Place your eggs in the incubator (recommended incubation temperatures are 88/90, I personally incubate at 88) and forget about your eggs for the next 55 days at which time you can start opening your egg boxes every other day to air out your eggs.
See you in 60 days or so! 
…
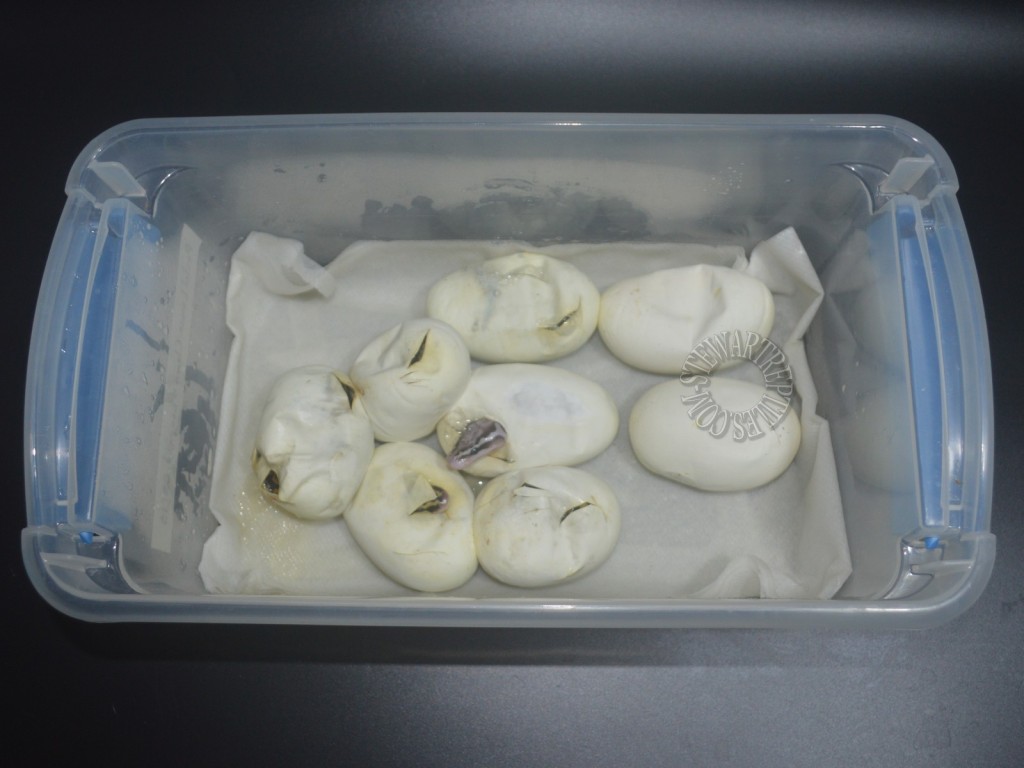
It’s now 59 days later, as you can see some condensation has now built up on the top but since it is not dripping it’s of no concern.

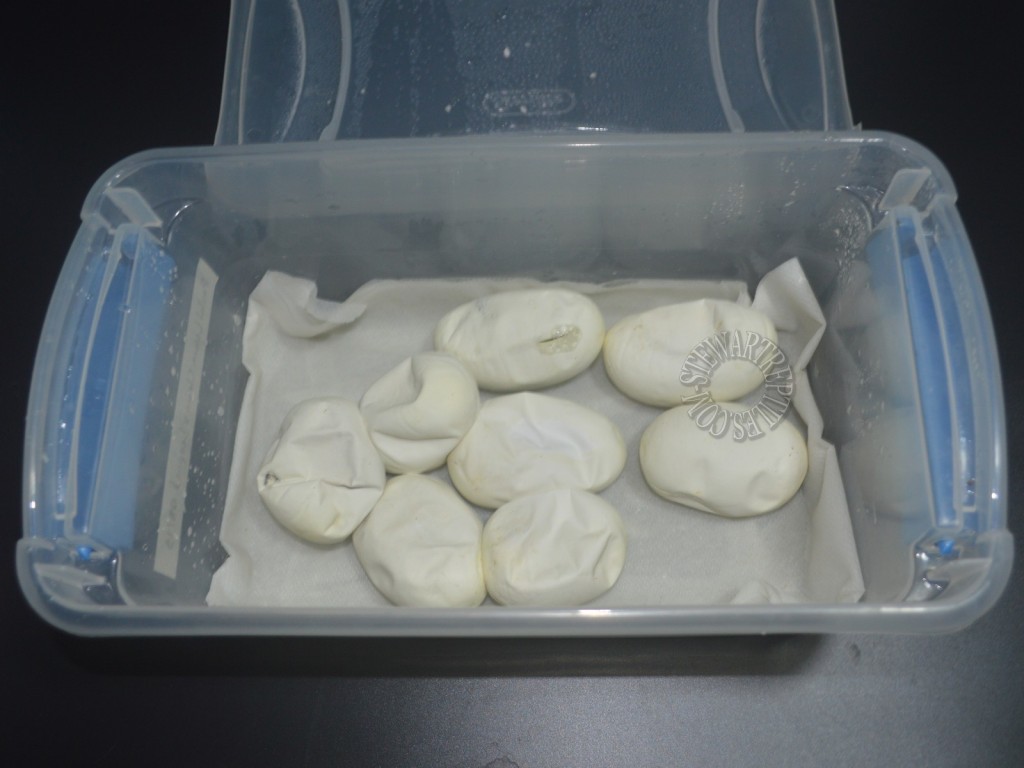
One hatchling has slit it’s egg so it is time to switch over to damp paper towel.

Remove the eggs and put them on the side, remove the egg crate and vermiculite, rinse your tub and place a damp piece of paper towel in the tub, this will prevent any issue in the event of an hatchling getting out of it’s egg with the yolk sac still attached.
If some eggs are on the top of others (which is the case here) now is also a good time to separate some of your eggs, at this time they are easier to separate but you still need to proceed with caution. Once separated place your eggs back in your egg box and back in the incubator.
It has now been 24 hours since switching to paper towel and separating the eggs and all but one hatchling have slit their egg.
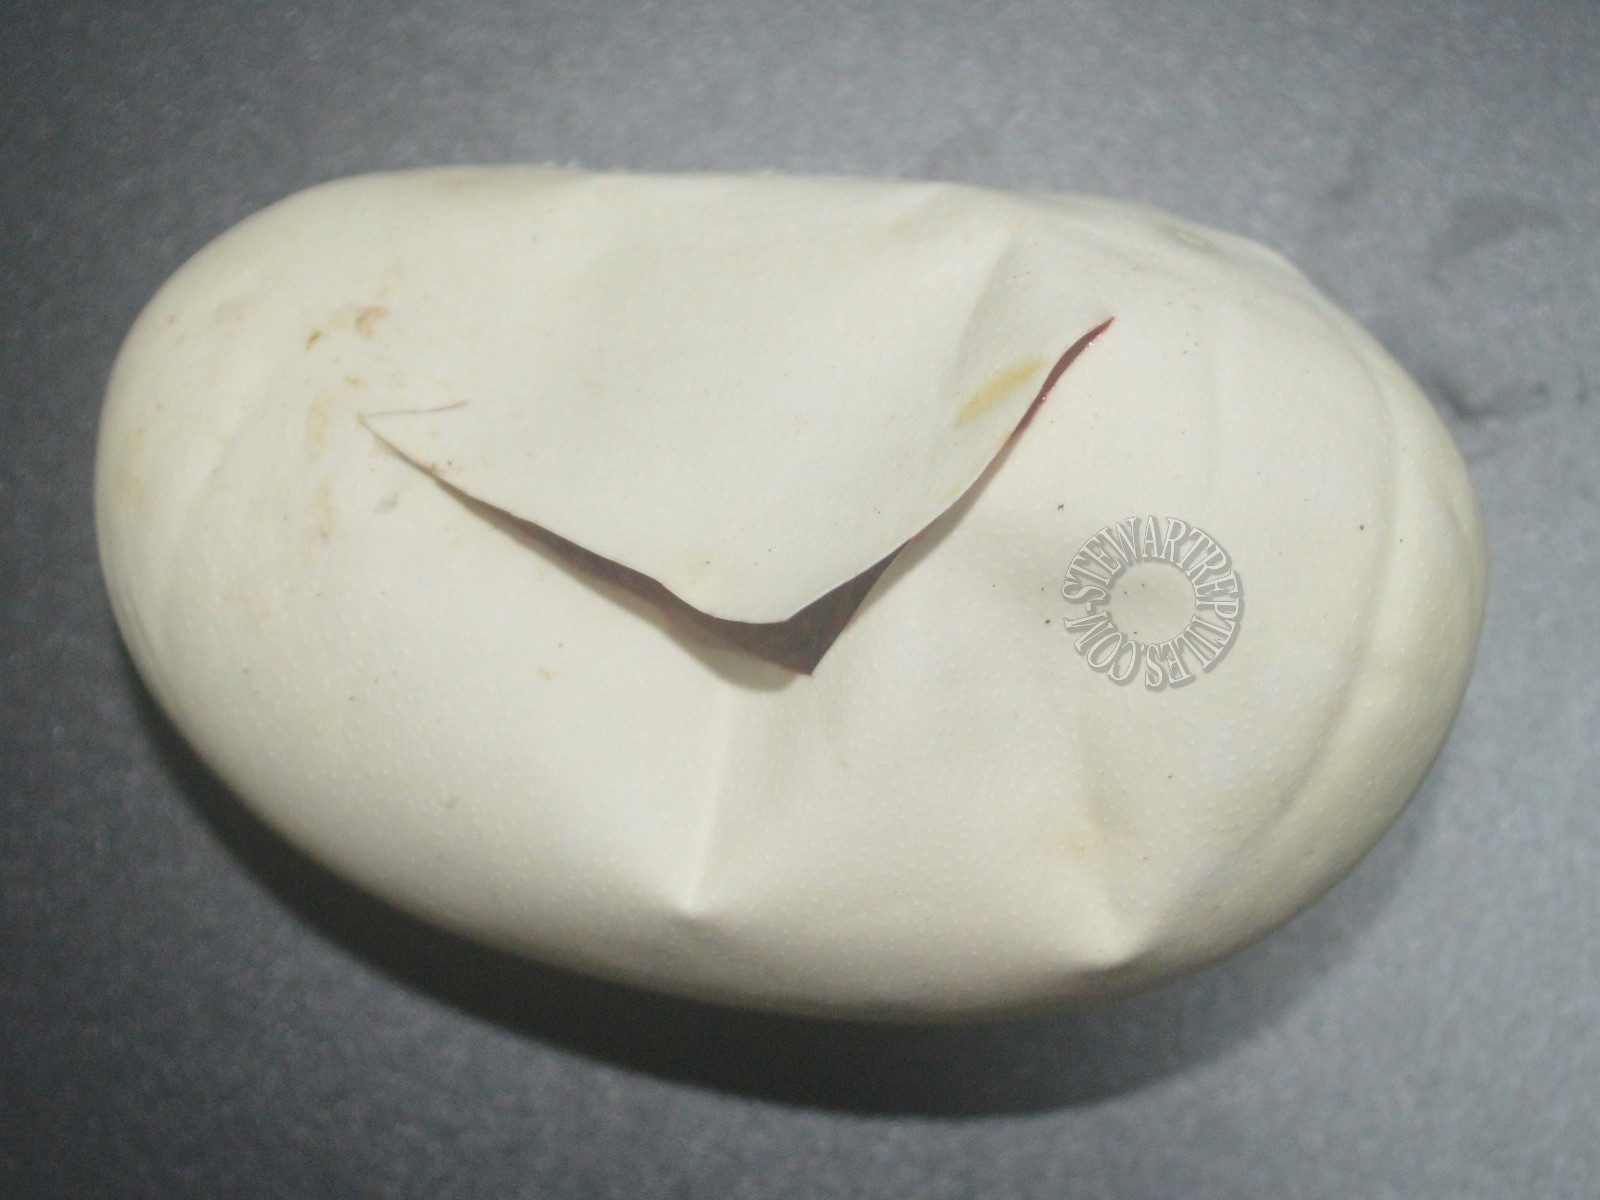
At this point I chose to cut any egg that did not pip (remember cutting has it’s risk and if you chose to do this proceed carefully).
If you chose to cut simply cut a small triangle shape flap (do not cut a huge piece exposing the hatchling)
Put the egg tub back in the incubator…now it’s only a matter of a few days before all the hatchlings come out.
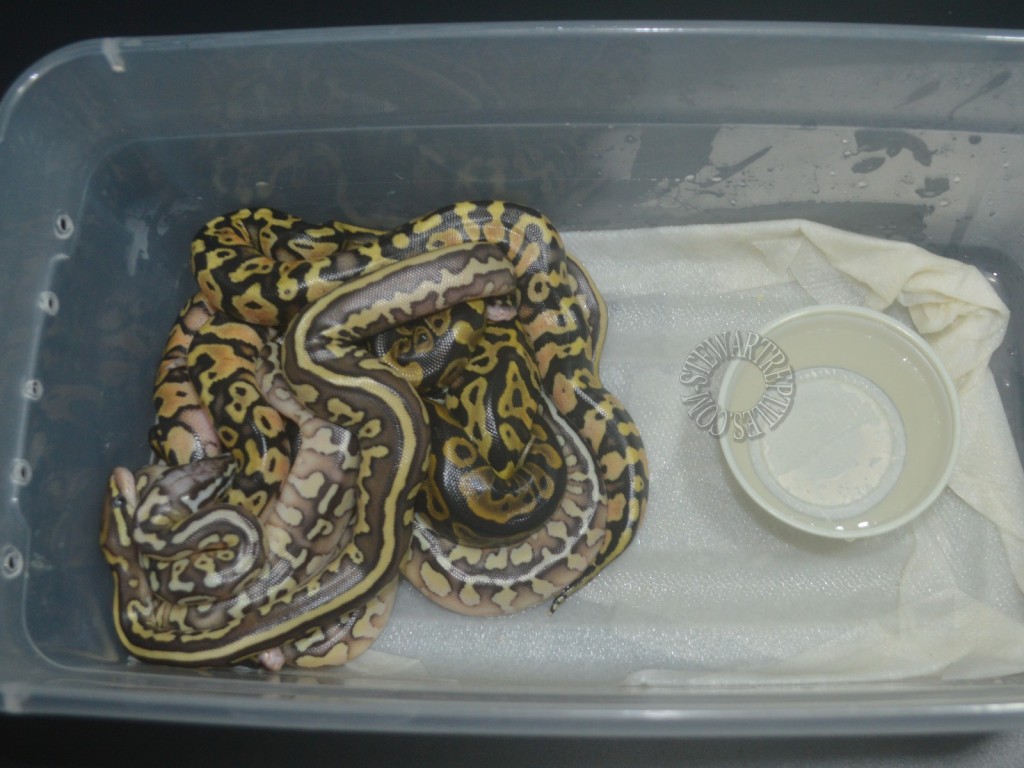
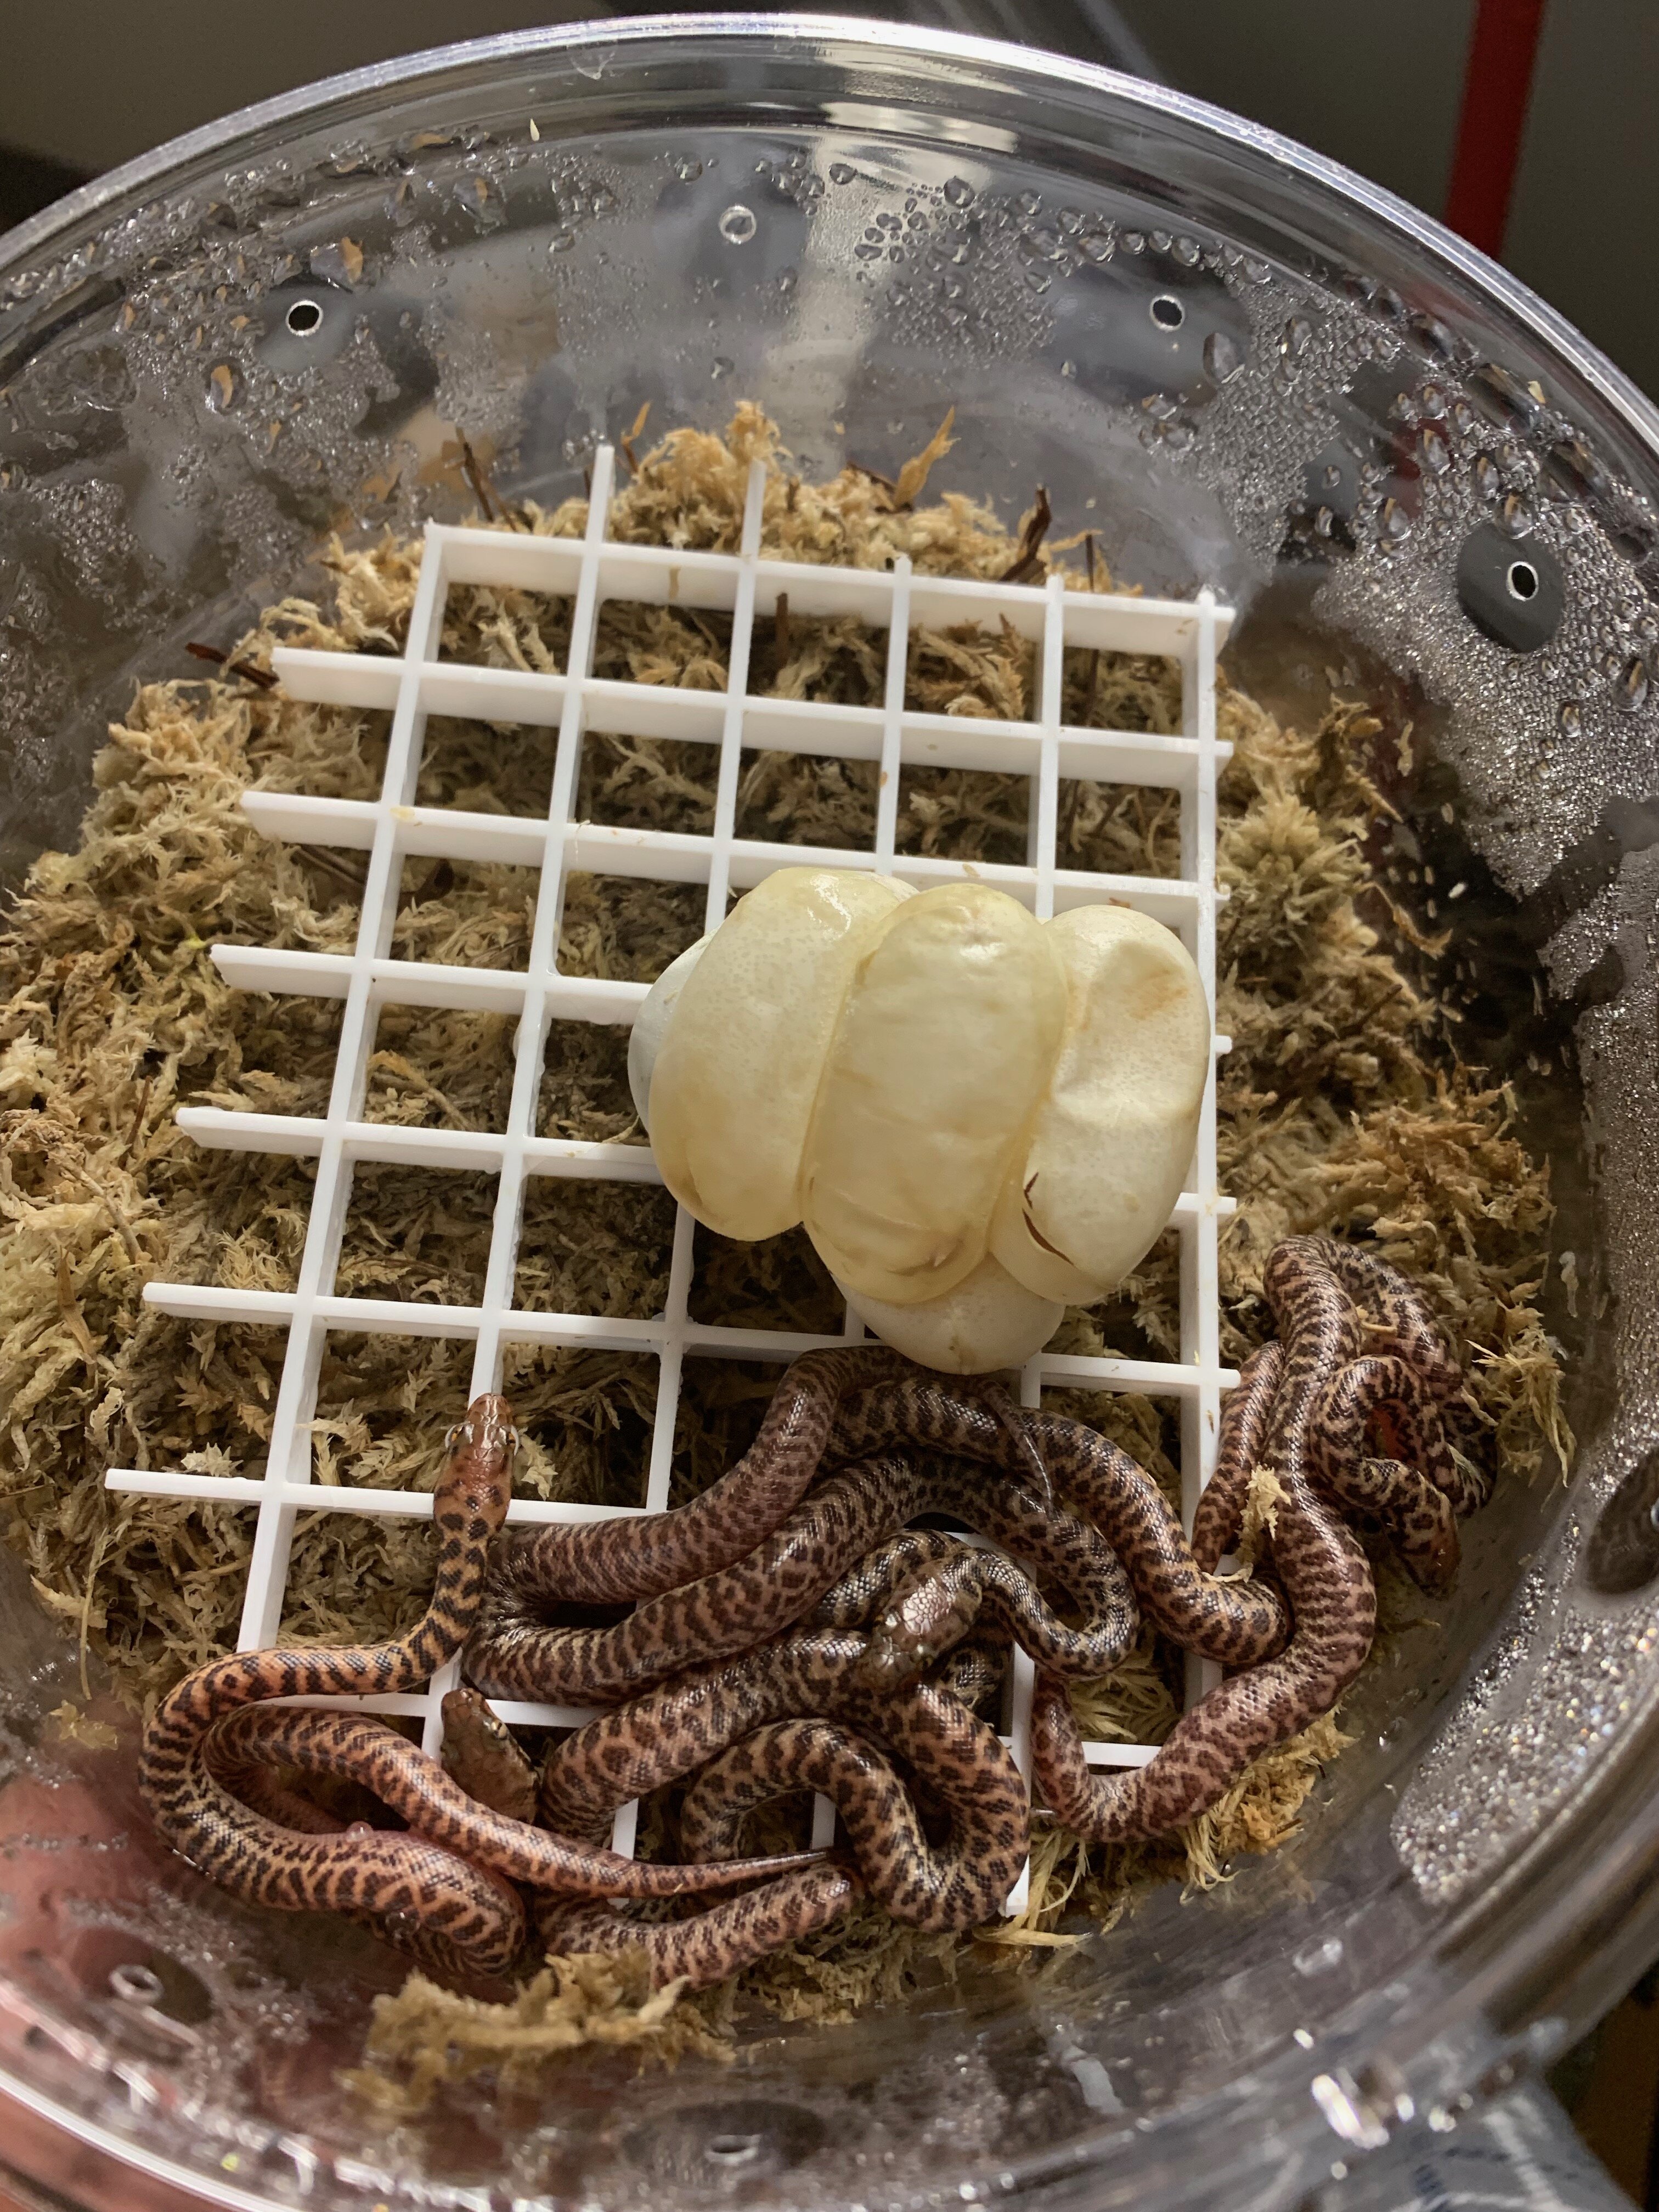
Within the next 48 hours all the hatchling are out and now setup in a communal tub on damp paper towel until they have their first shed.
Note: Here are 2 things I get ask about a lot and that I DO NOT DO: I do not use press and seal, and most importantly I do not check on my eggs and open my egg box on a daily basis, remember every time you check and open your egg box you let moisture out which is the most common problem reported by people who incubate their first clutch.
That’s it now all you need is patient to get you through the next 60 days.
Hope that helps, let me know if you have additional questions.
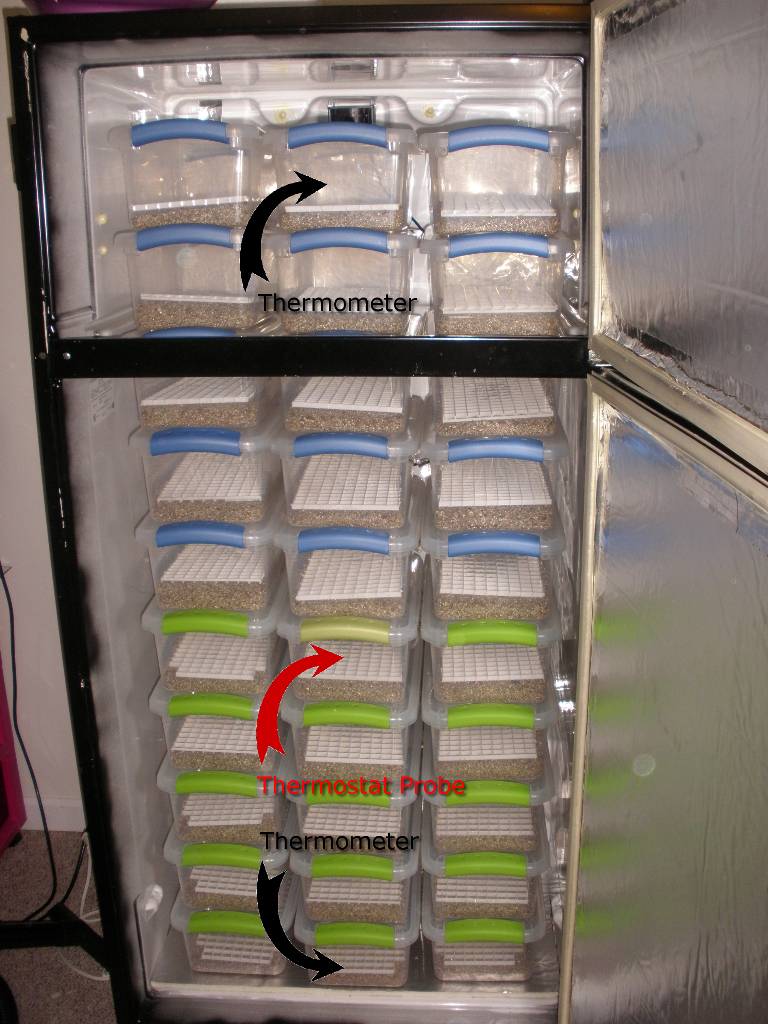
 and thank you this is perfect because I was wondering if it’s ok to stack on top of each other! And heat tape runs down the center along the back of the fridge?