Amen and well said! You need to stay here with us……. ![]()
![]()
![]()
![]()
![]()
![]()
1 Like
Yeah, makes sense. I use both a CHE and a DHP (in separate enclosures), and I’ve noticed that the dome housing for the CHE gets way, WAY hotter than the housing for the DHP, even though the enclosure with the CHE is only set to be a few degrees warmer than the DHP. Presumably that’s because the DHP directs the heat downward much more effectively, whereas with the CHE, it just heats up, and with nothing to focus the direction of that heat, physics does its thing.
@caron, I was just looking at Boaphile cages yesterday! They look really nice and I’ve heard great things about them. Only thing is that I was hoping to give Lenore some height (2-3’) so I could put a raised shelf/platform in there for her to enjoy, and it doesn’t look like the Boaphile cages come with much height in the length I’d want. At least not that I saw, but I could have missed it.
2 Likes
@chiryn I think your thoughts have merit on what you have learned. No one here is trying to get you to change or saying what you are doing is wrong. Just putting info out there so you have more insight on how others do things and their experiences on setting up enclosures and trying different items.
I did read that both enclosures have screen tops. One thing you can try is to cover the screen to help keep the heat in in bottom one. You can also try to enclose the lamp to keep the heat from effecting the upper unit. Probably the best way would be to place something directly under the upper unit to slow or stop the transfer (like a sheet of plywood).
*There are many ways to block the heat. I was thinking a quick cheap way would be to cover the top with tinfoil and make a dome over the top of the lamp to try and block and redirect the heat.
My biggest concern with the heat transfer is that the upper unit may not have a cool spot.
Let us know what you try and the outcome. We are just here to help and give additional advice. Most of us here are not here to bash or shame. We would rather spread our experiences and hope it helps someone else.
3 Likes
Amen Duane and very well put! We are not here to bash, ridicule or shame anyone who needs advice/suggestions/support. Occasionally we give constructive criticism but only for the welfare of the animal! ![]()
![]()
3 Likes
I always appreciate constructive criticism, and other points of view! I’ve learned so many great things I never would have thought of myself from people who have been doing this a lot longer than I have. If I could be doing better by them, I always want to know. They didn’t ask to live with me (well, Edith kind of did, but that’s another story) so the least I can do is give them a happy home.
Thankfully I’ve got temps regulated! Thank g o d I swapped enclosures right before the coldest week of the year, and ran into the inevitable heating issues. That was. Unexpected, but it shouldn’t have been.
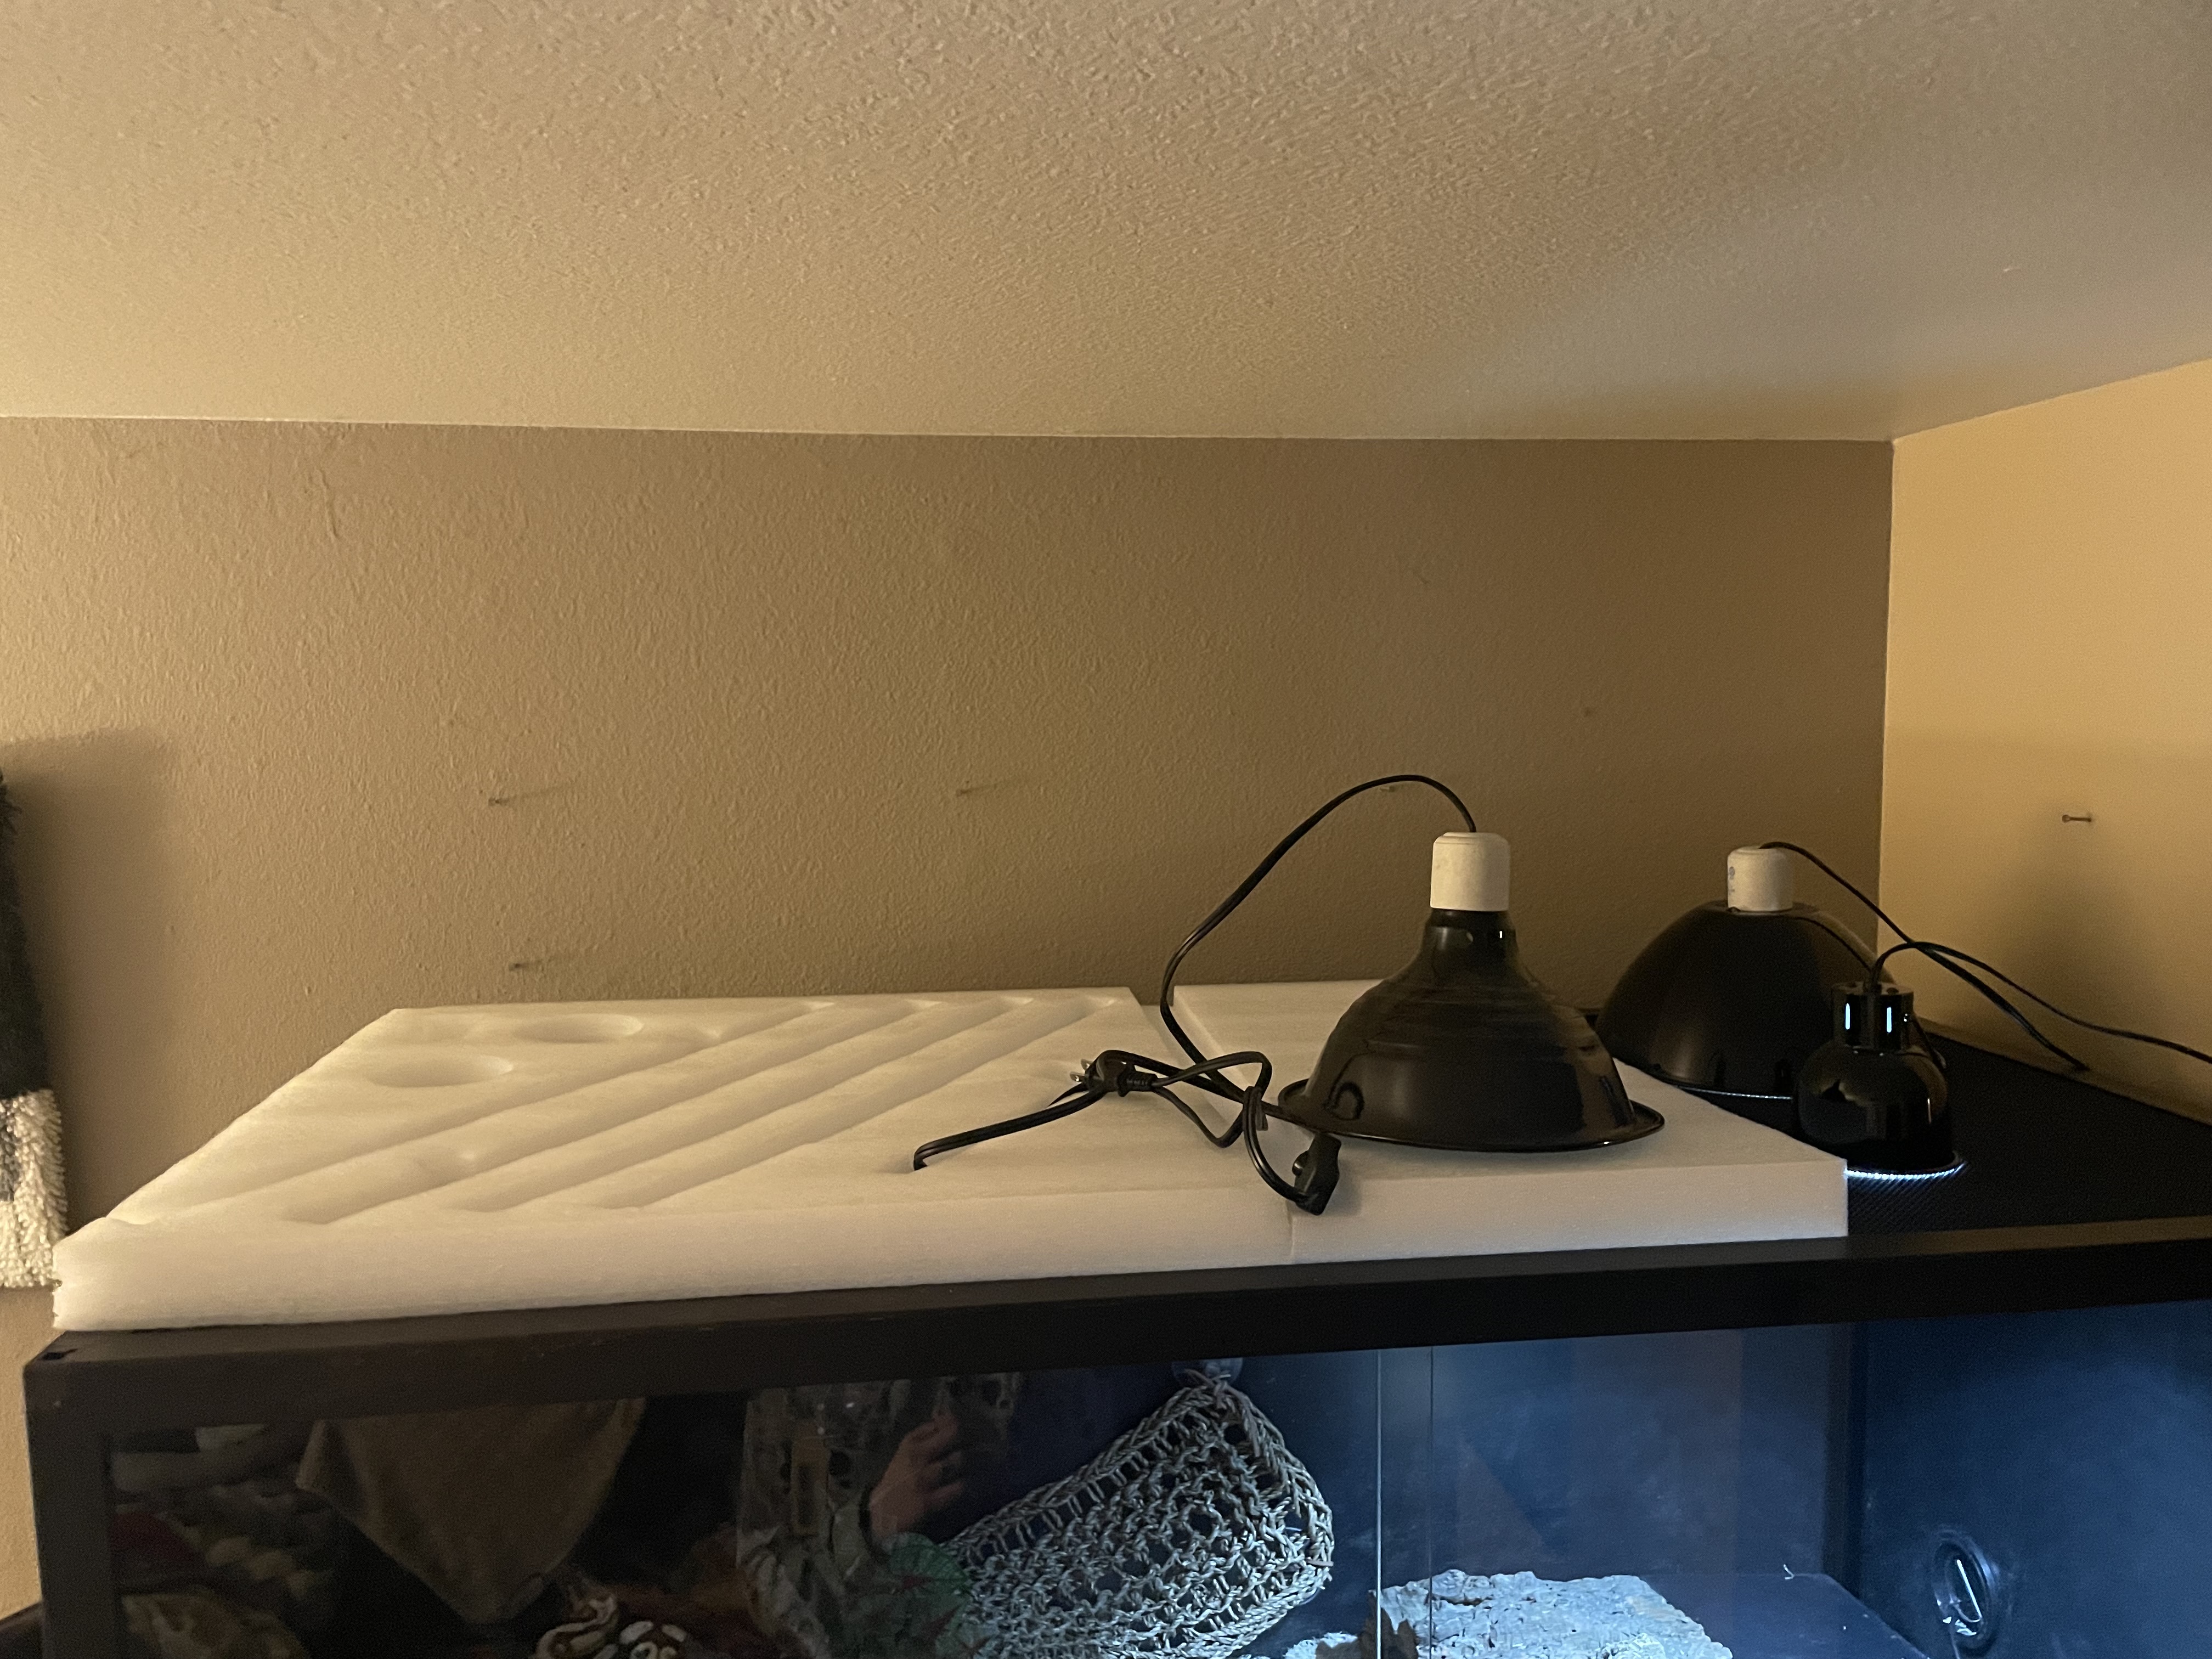
I covered the tops of both enclosures with a thick layer of 2’ x 3’ foam, temps are correct on both the warm and cool side of each one. Just need to get the humidity fixed. And we’ll be moving to coconut fiber bedding (with some isopods, I’ve got a few cultures going for other projects) once I have the bottoms sealed, but I need warmer weather for that.
I contacted a RHP seller (because they wouldn’t quote a price on the site, they want you to send them a description of your setup then they make a recommendation.) I’ll post their response, as well as some pictures of how the setup turned out in another post. I’ll accumulate more clutter for them over time, for now they can just be happy to have gotten the best christmas out of all the kids.
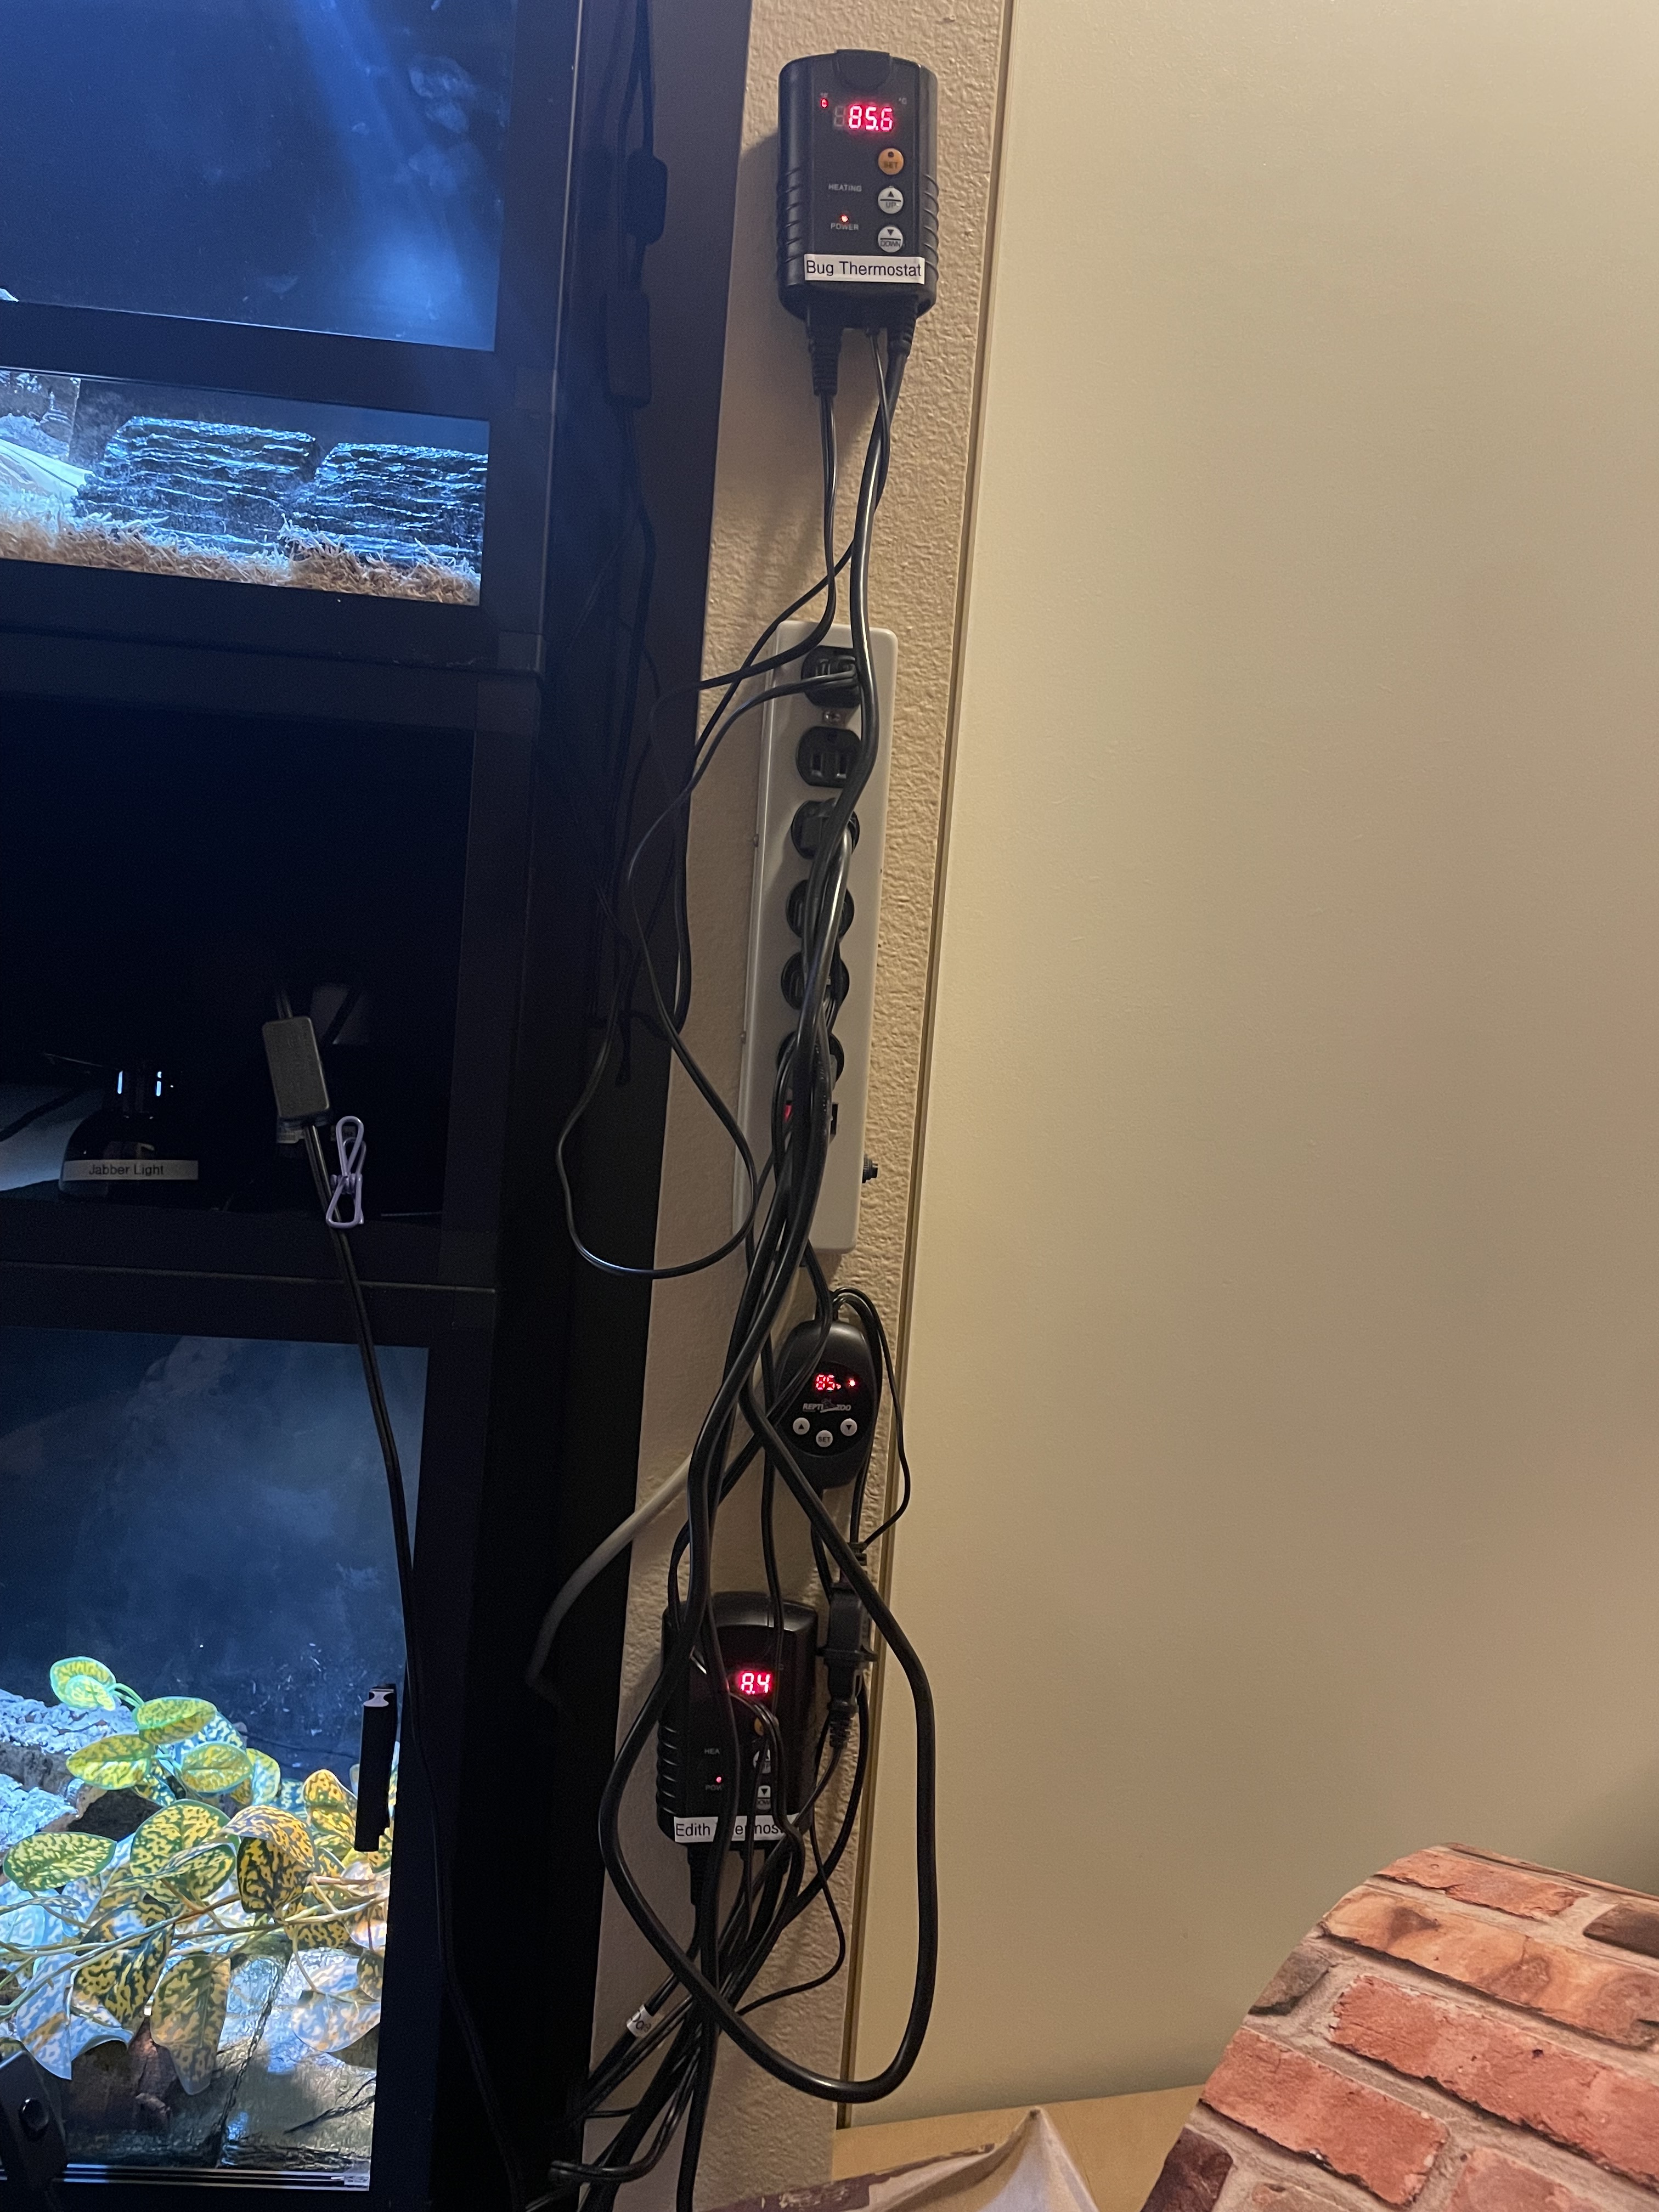
The foam panels were part of the packaging that came with the enclosures (from dubia roaches) and had all the smaller pieces nestled into it. I just cut off the last 1’ of it. The power strip and thermostats are mounted to the wall with command strips.
The foam will be replaced with pylwood, which I’ll then secure to the screen top and to the wall with 3 large L shaped brackets. But I’ll make those upgrades when I seal the bottoms with aquarium sealant this summer. I’ll decide at that point whether I want to upgrade to RHP’s or continue with the current setup.
Likely I’ll upgrade though, and and use a 1’ x 1’ piece of plywood to block off the spot where the CHE’s are now, then mount the RHP in the back left corner. I’ll use the halogens to provide daytime basking temps, and use the panel to maintain the minimum ambient temps.
I also have a full page-long document on my work computer with all my RHP research notes. I’ll post it when I’m in on wednesday, in case it’s helpful as a basics/faq for anyone else.
2 Likes
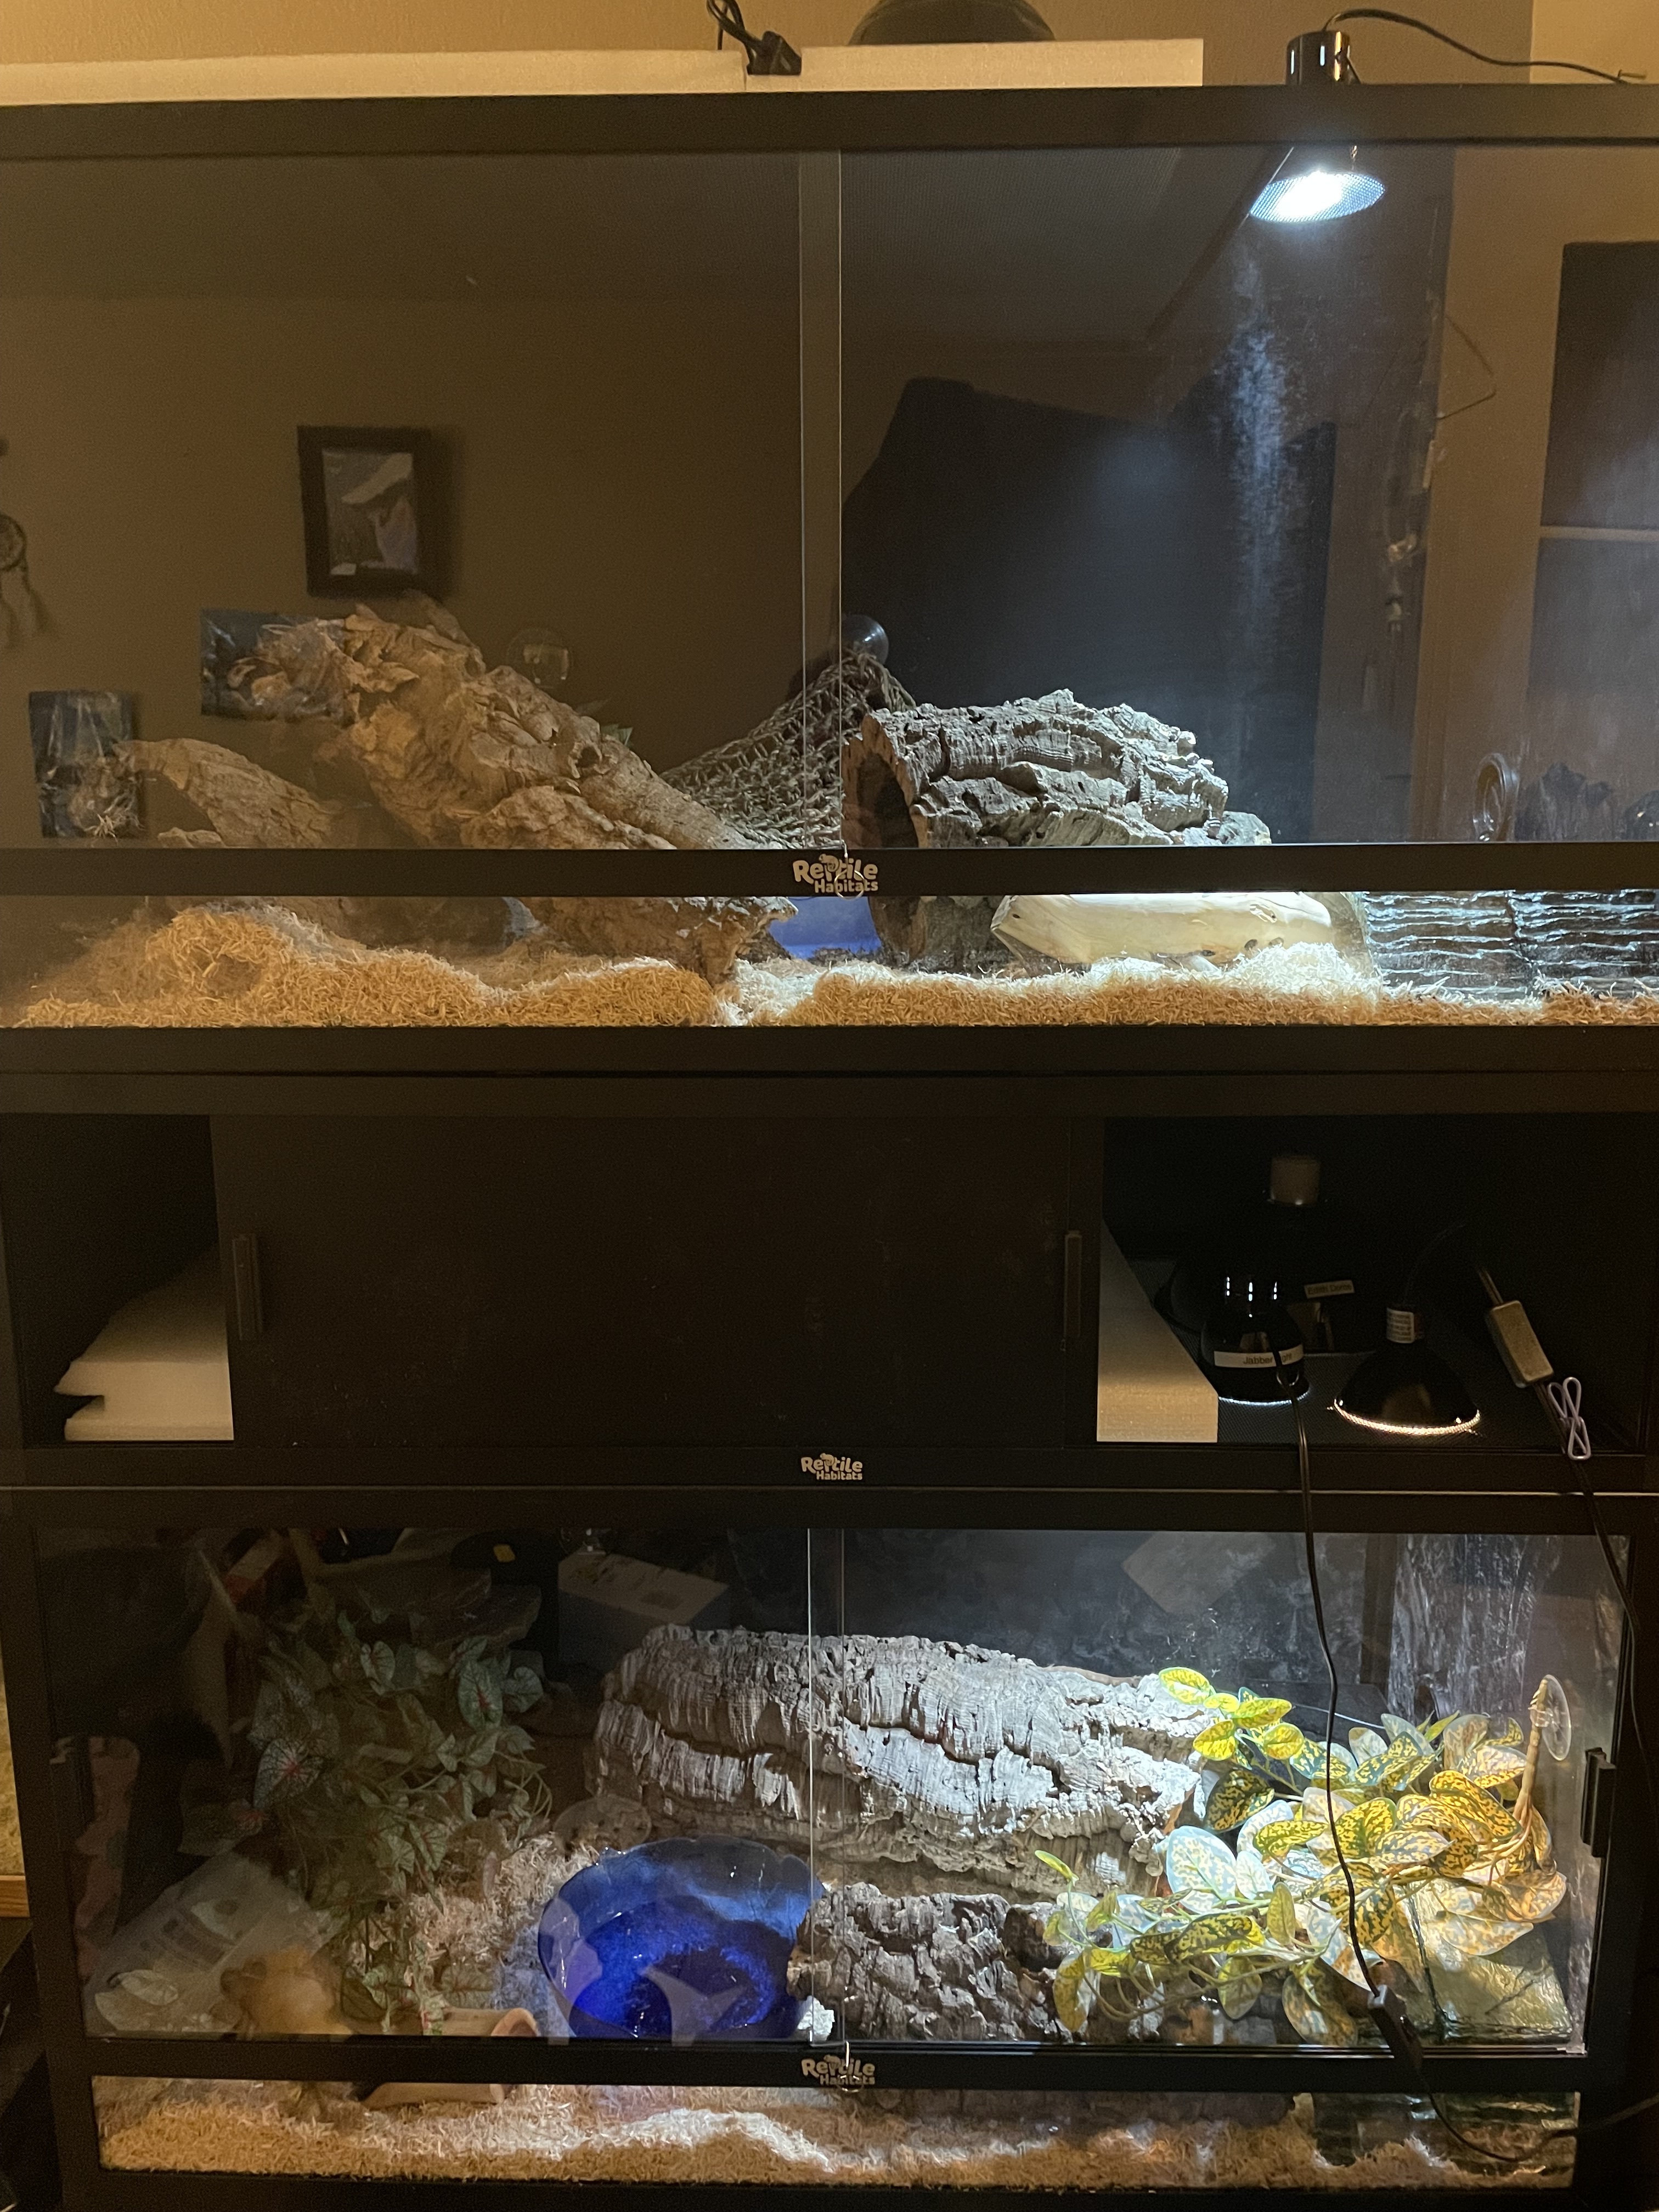
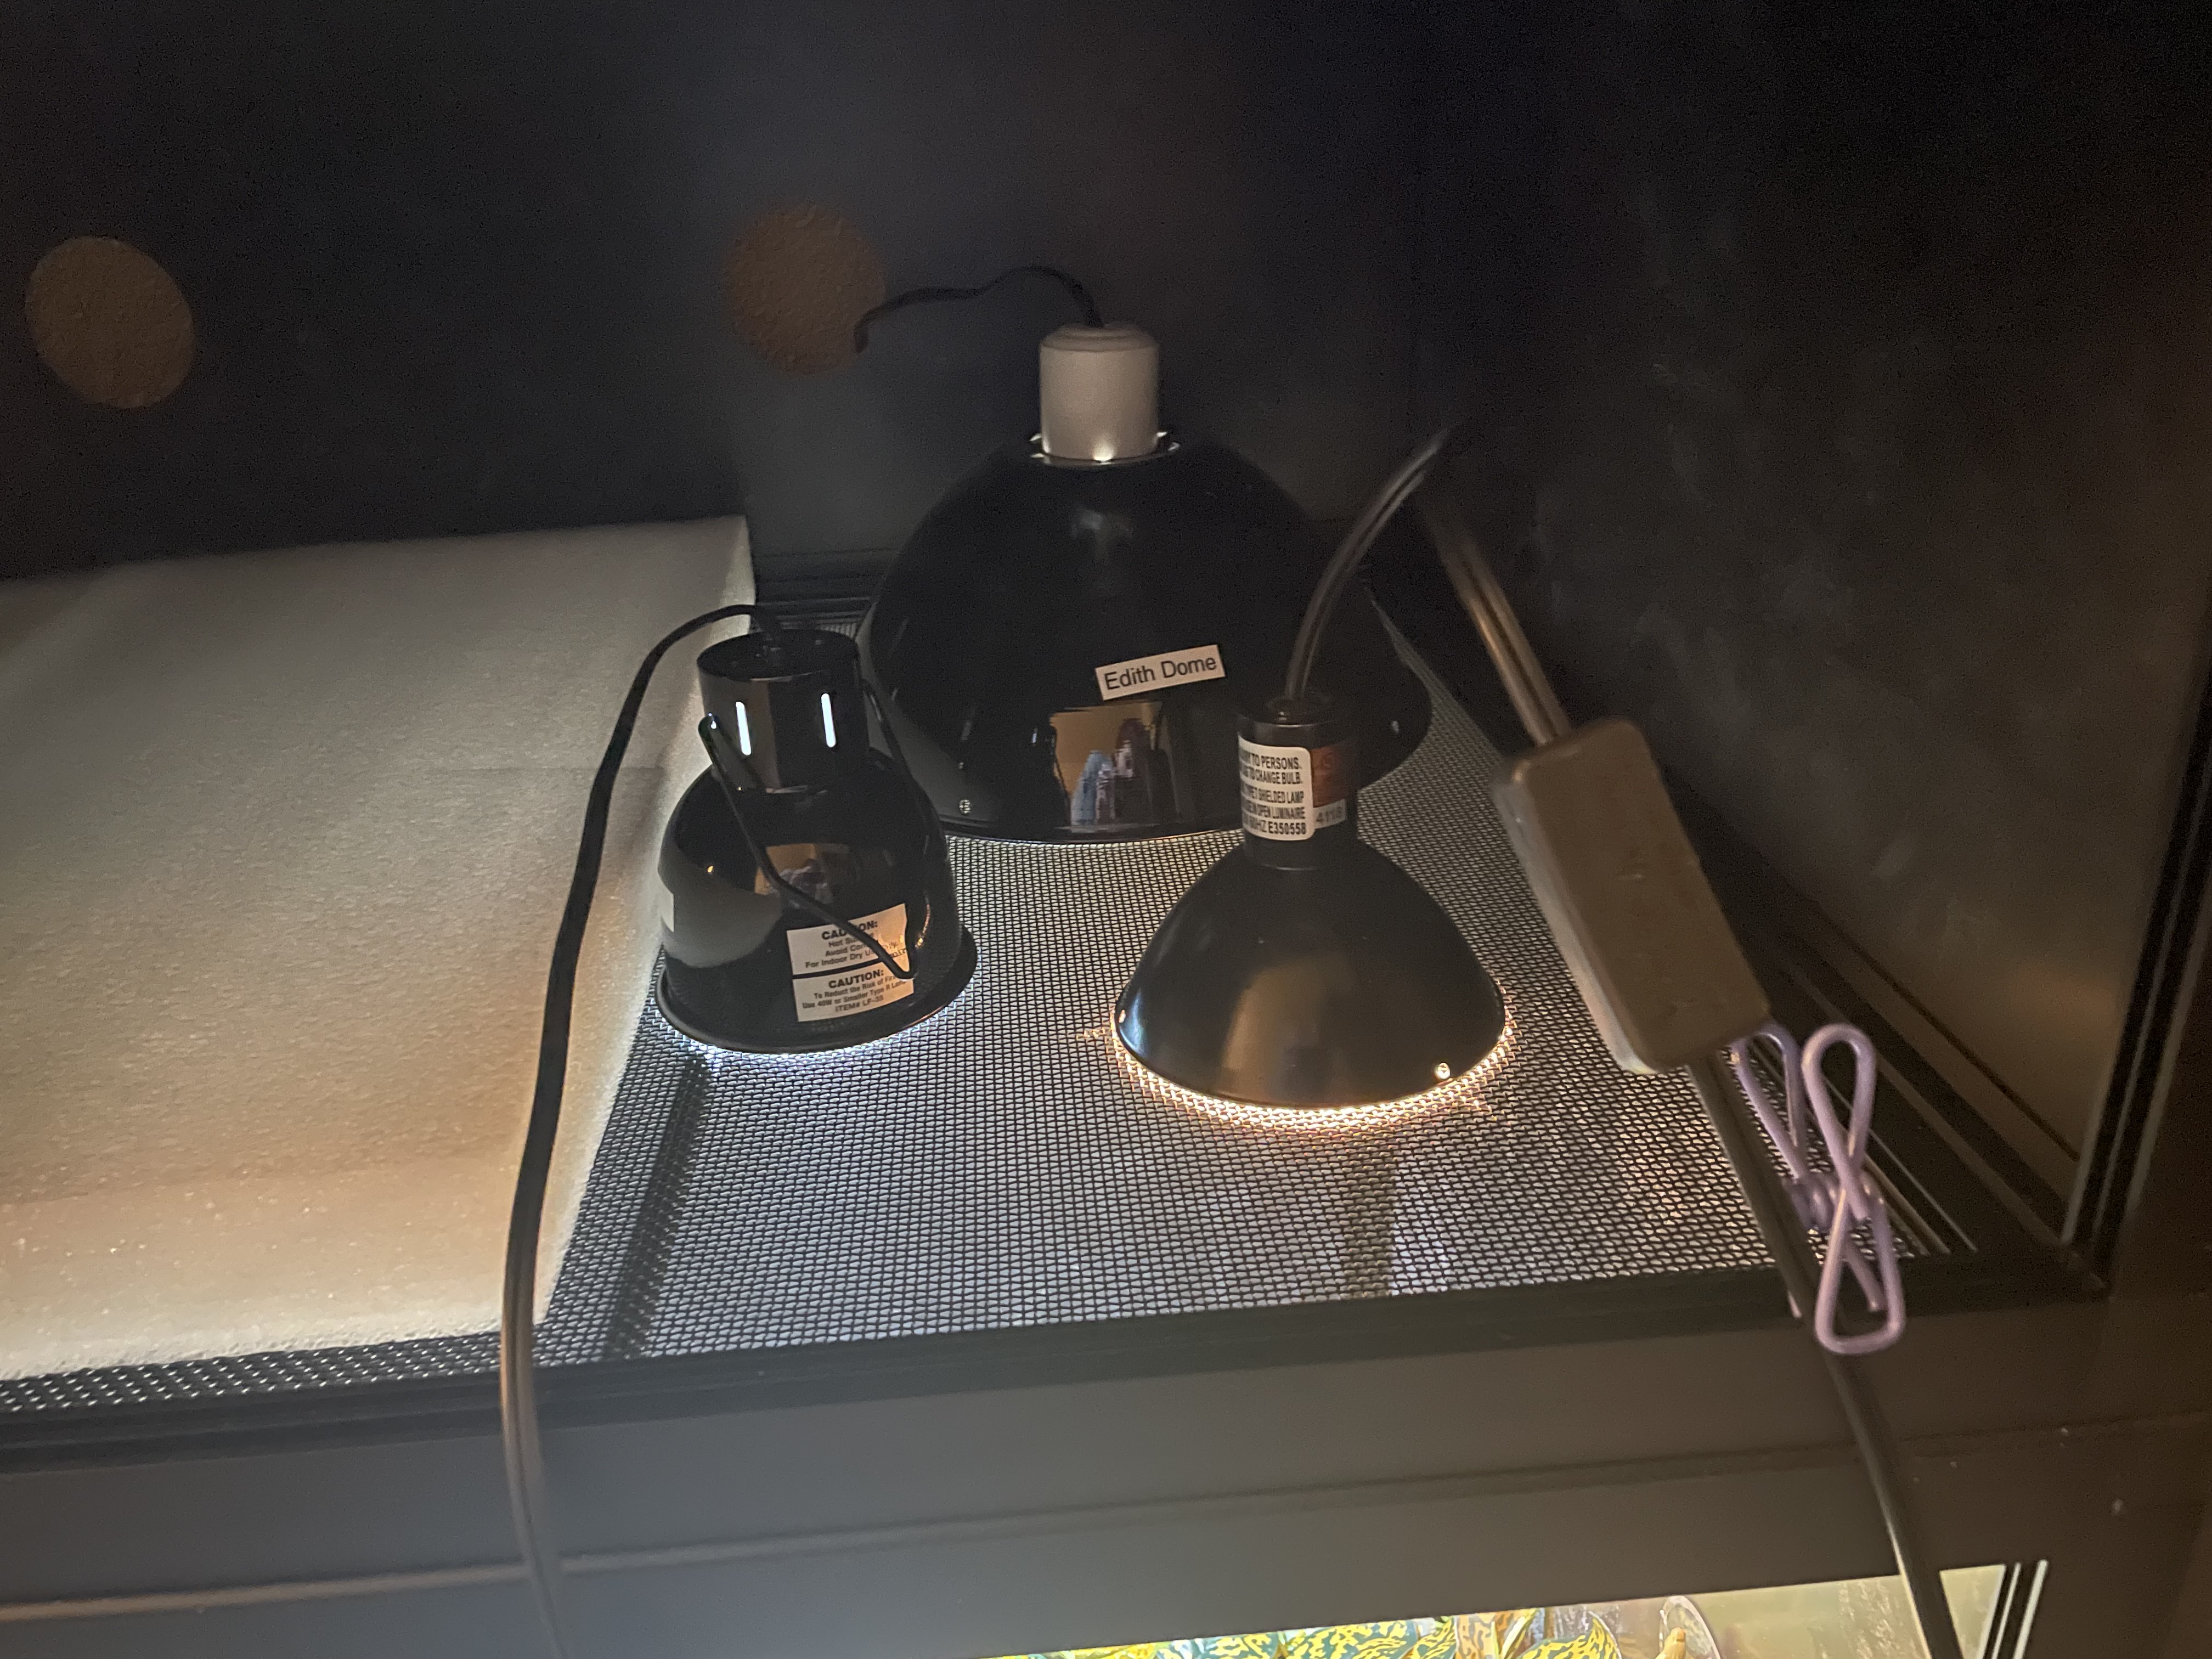
Edith is on the bottom with a CHE (biggest dome), a mini halogen (front right) and an LED (front left). The halogen fixture will be turned off at night for slightly lower nighttime temperatures (and also so that I can sleep).
Bug is on top with a CHE (biggest dome) and an LED (front). His halogen bulb will be here today, and the dimmer thermostat for it will be here in a couple days.
Both have an analog thermometer/hygrometer attached to the back wall on the bottom left (cool side) and will each have another one on the warm side as well. I just had a thermostat fail (sand boa’s) and it got way too hot for a few days, so now everybody’s getting analogs to keep the digitals honest.
And I’ll get all the cords threaded through the back of the spacer, and everything labeled (I have a label maker at work ![]() ), once I’m certain I’m done playing musical fixtures, which is an awful game.
), once I’m certain I’m done playing musical fixtures, which is an awful game.

The metal thermostat probe is attached to the on/off thermostat (larger bottom display) with a 250w CHE, and is placed midway along the back wall. It’s set at 80°F +/- 1°.
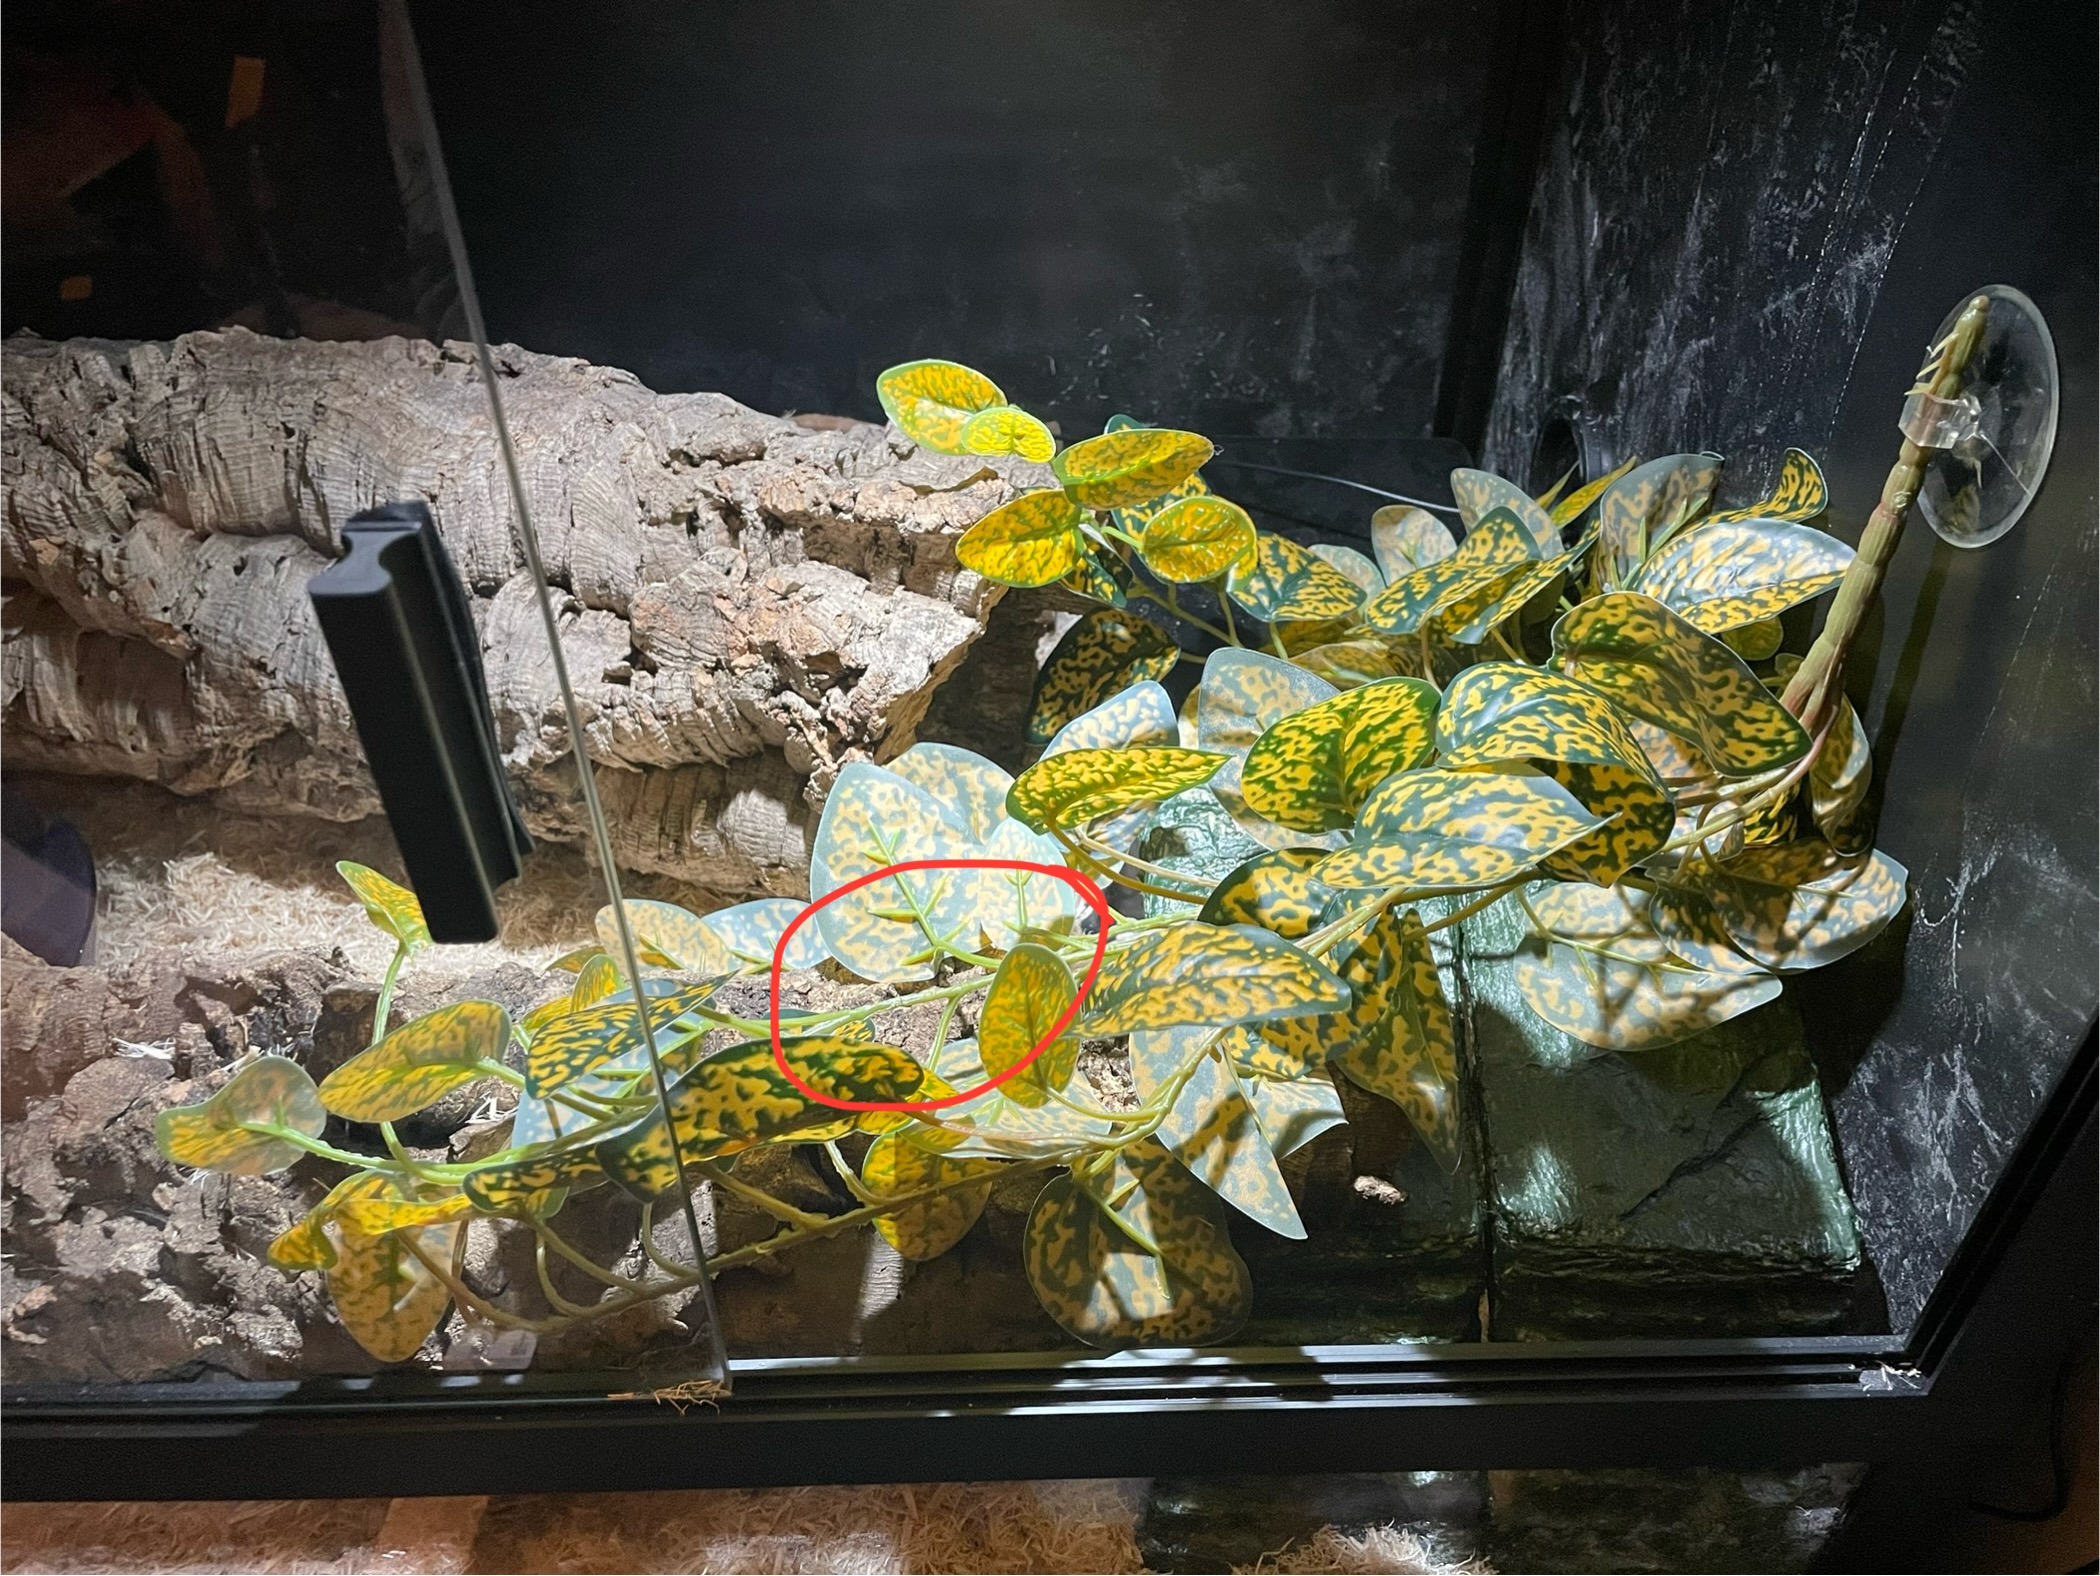
The black plastic thermostat probe is attached to the dimming thermostat with a mini halogen bulb and is placed directly under the bulb. It’s set to 85°F.
Once Bug’s dimmer thermostat is here, his heat will be done the same way. For now his CHE thermostat is at 85°F.
3 Likes
Alrighty, thanks everyone who came along for the ride! Here’s my research on radiant heat panels, in the hopes that someone finds it useful at some point.
All About Radiant Heat Panels
How They Work
They project infrared heat, where it is absorbed by all objects in the enclosure and the heat is then distributed to the air around it. It works the same way the sun does, minus the light. You need to have something capable of soaking up and storing heat in the enclosure in order for this method to work. Compatible materials include stone, brick, ceramic, tile, and similar reptile-safe objects.
Likely you’ll want to avoid metal, for fear of it getting too hot to the touch without raising the air temperature high enough.
This is a secondary/ambient heat source, to be used in combination with a halogen bulb or deep heat projector.
Safety
Mount to the inside of the enclosure so that it doesn’t heat the screen top it would be sitting on to dangerous temperatures. Mount it up high, and away from any space where the animal could inadvertently lay/rest on it. Choose an immediate area that the animal may investigate, but doesn’t spend a prolonged amount of time in.
It should be safe to touch for a period of ~10 seconds before causing harm.
Always use with a thermostat. Pulse/dimming thermostats are the best, as on/off thermostats will burn out the heating elements more quickly.
Best Thermostat
Vivarium Electronics 200 (VE-200) $119 + tax/shipping
Reptizoo PID Mini Thermostat $26 + tax/shipping
Where To Place RHP Probe
It can be secured to the enclosure wall, placed on top of the substrate, buried under a small amount of substrate, or left to hang a few inches below the heat panel.
Place the probe near where the animal spends their time.
Best Brand
Reptile Basics ($94 + tax/shipping)
Pro Products ($164 + tax/shipping)
Wilbanks ($149 + tax/shipping)
80w
Best Halogen
Basking
Best Thermostat
Reptizoo PID Mini Thermostat $26 + tax/shipping
2 Likes