I recently bought a thousand silkworm eggs along with silkworm food. I’m going to try breeding them to cut down on feeding costs. I’m starting by putting them in an incubator at just over 80*F. Once they hatch do I just offer small amounts of food making sure it doesn’t dry out? To breed them I’m planning on splitting them and trying multiple techniques to see what works best. Keeping them in a mesh butterfly cage, tub, cardboard box, and experimenting with feeding and breeding. Has anybody tried this and can share what did or didn’t work?
4 Likes
Make a medium batch of food and keep it in the fridge. For freshly hatched, use a carrot peeler and peel off slices to feed. As they get larger, increase the size of portion you offer by using a knife to cut off strips and then slabs.
Alternatively, you can set them up similar to how horn worms are set up, in those tall style deli cups.
Breeding them can be difficult as they will often fail to break free of the cocoons on their own. You would do best to cut the silk free and leave the naked cocoons together in a piece of cardboard egg crate, one cocoon per little cup. The male moths will often hatch first and actually breed the female cocoons.
Once paired and bred females are ready to lay, place them inside a petri dish. they will lay their eggs on the surface of the dish and then you can hatch the next generation in the dishes
5 Likes
This is extremely helpful! Thank you!
I’m using the mulberry farms silkworm chow, I don’t have access to any mulberry trees. Is there anything else I can feed them? From what I’ve read silkworm food can be fed to hornworms but hornworm food can’t be fed to silkworms. Is it worth experimenting with feeding a small group hornworm food (I have some repashy food from a while ago) or mixing it in as a supplementary food?
4 Likes
Silks are pretty much obligate on mulberry so you will not succeed on a horn worm diet. I have heard of some people being successful with a 3:1 silkworm:horn worm mix, but even that kind of worries me. If you were to experiment I would start with a small batch of the mix and only feed it to a handful of the silks so you can compare how they grow to ones on straight mulberry mix
5 Likes
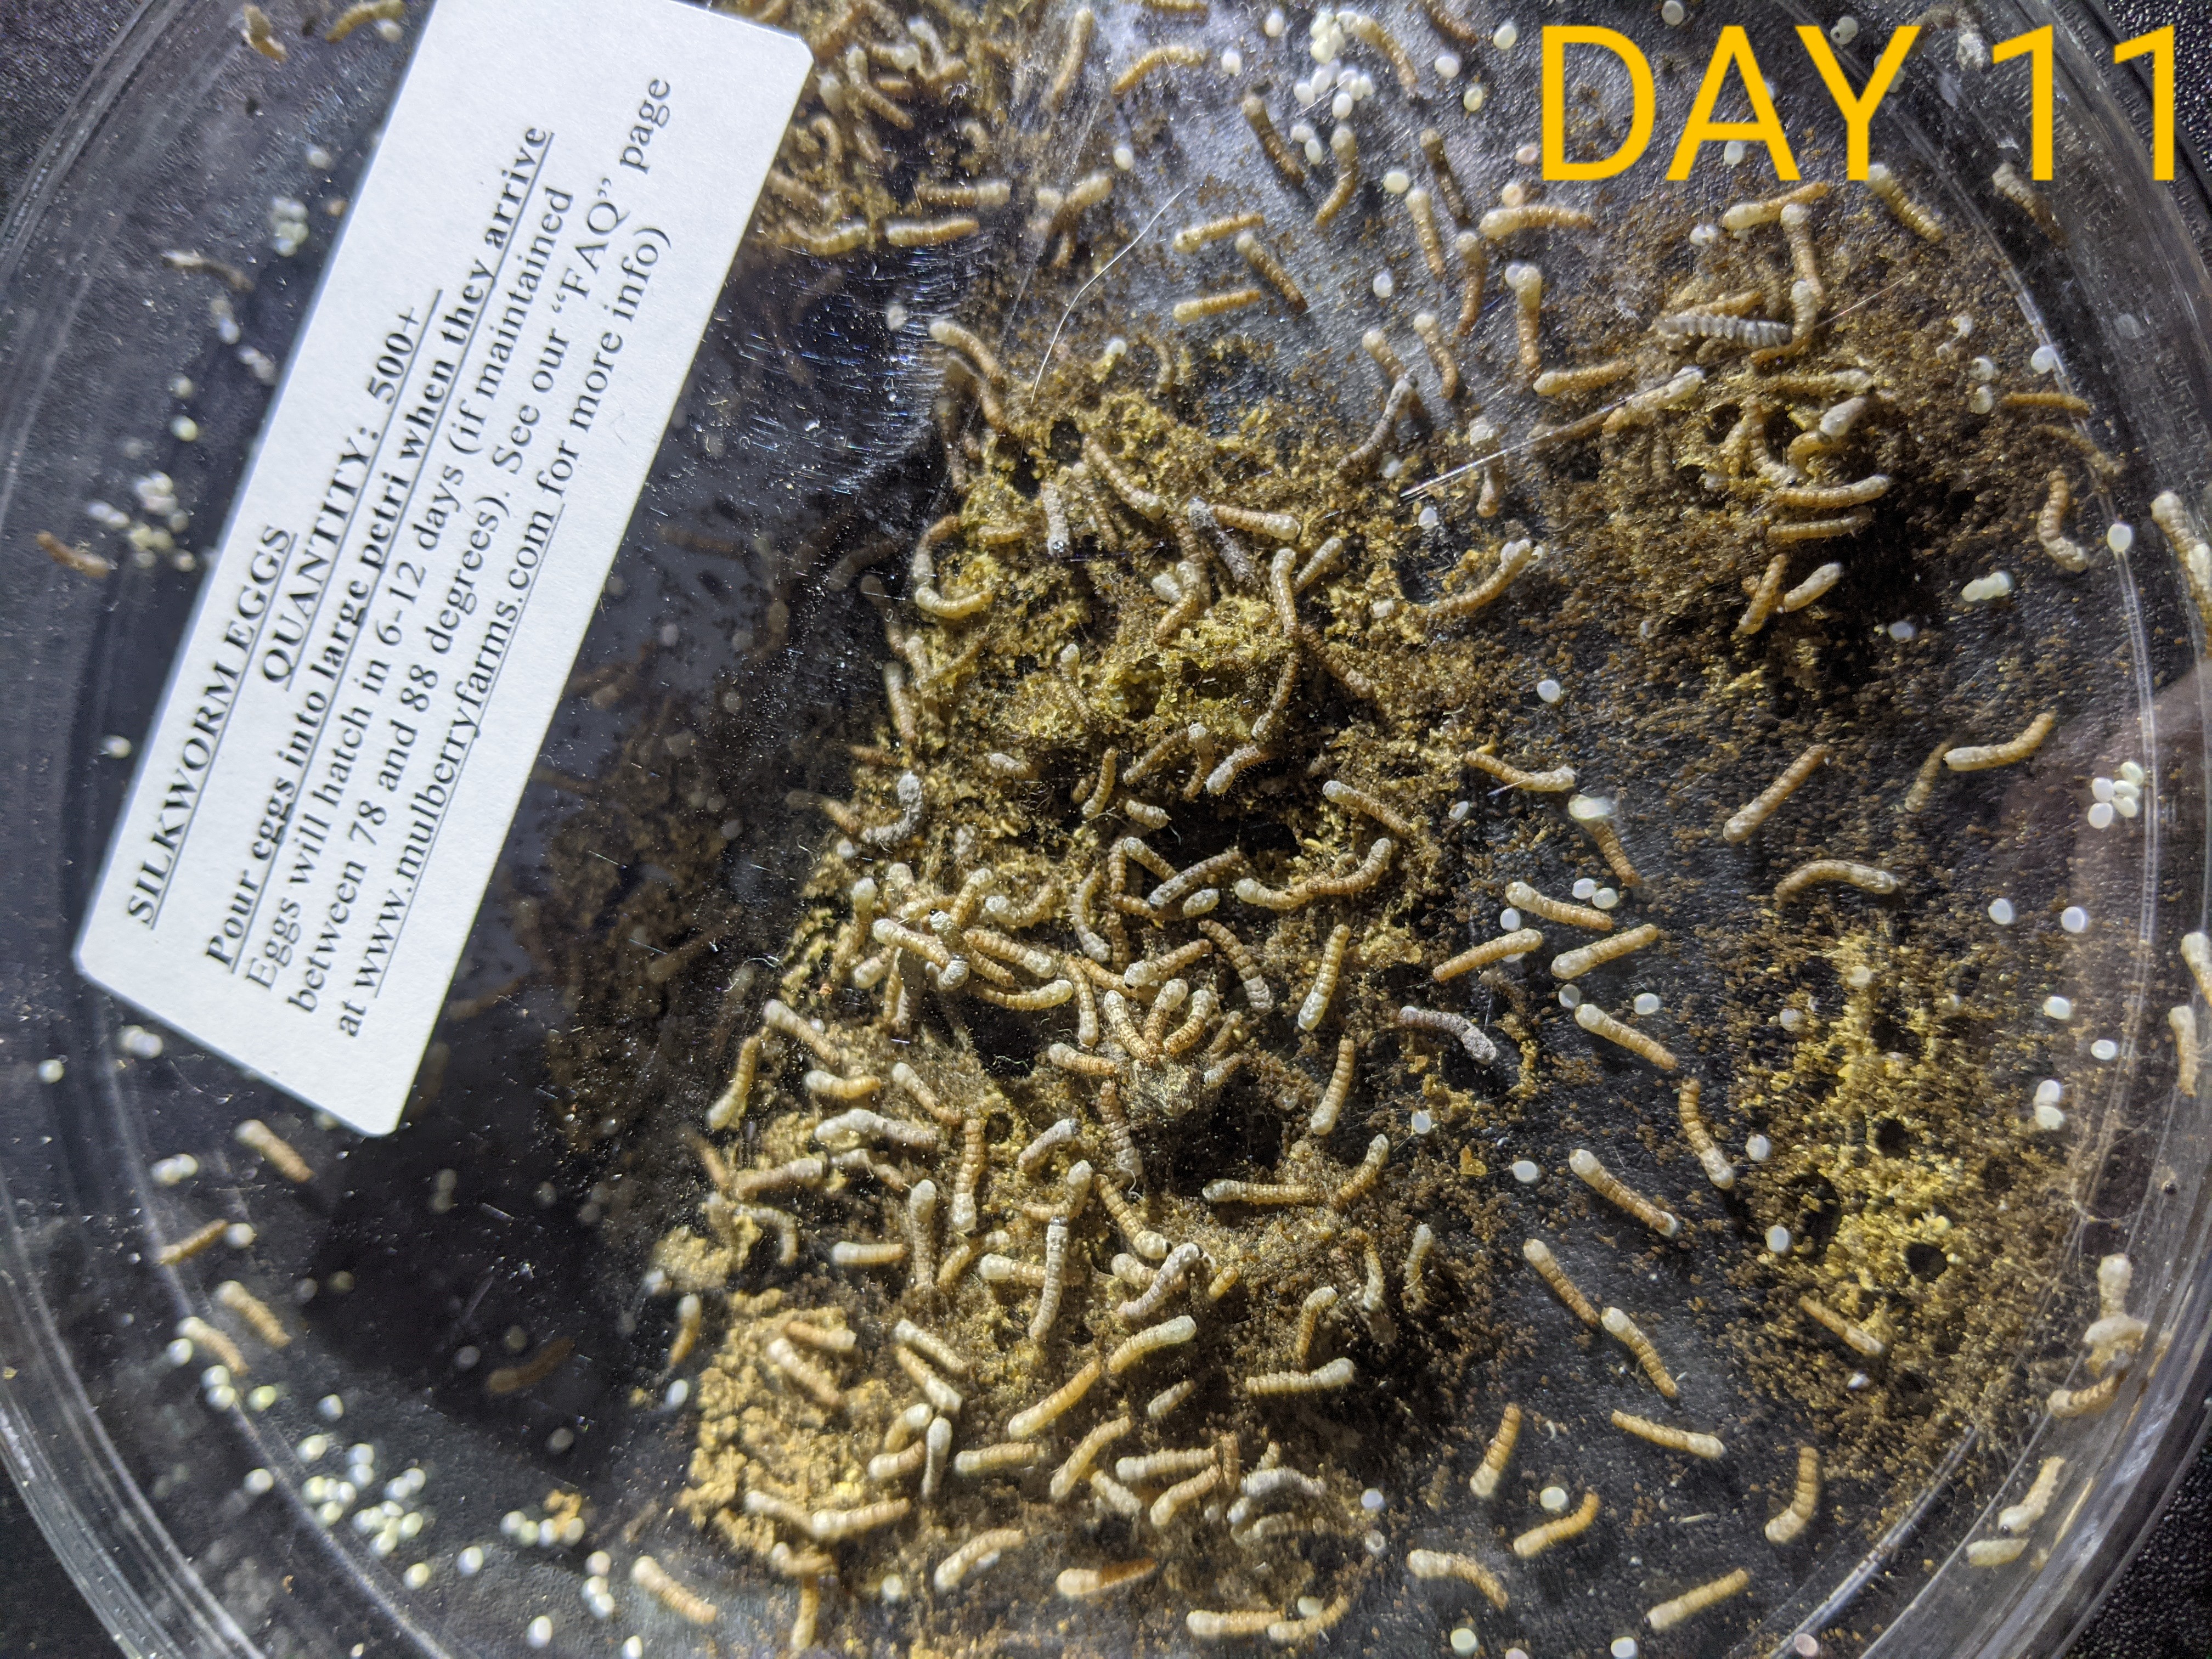
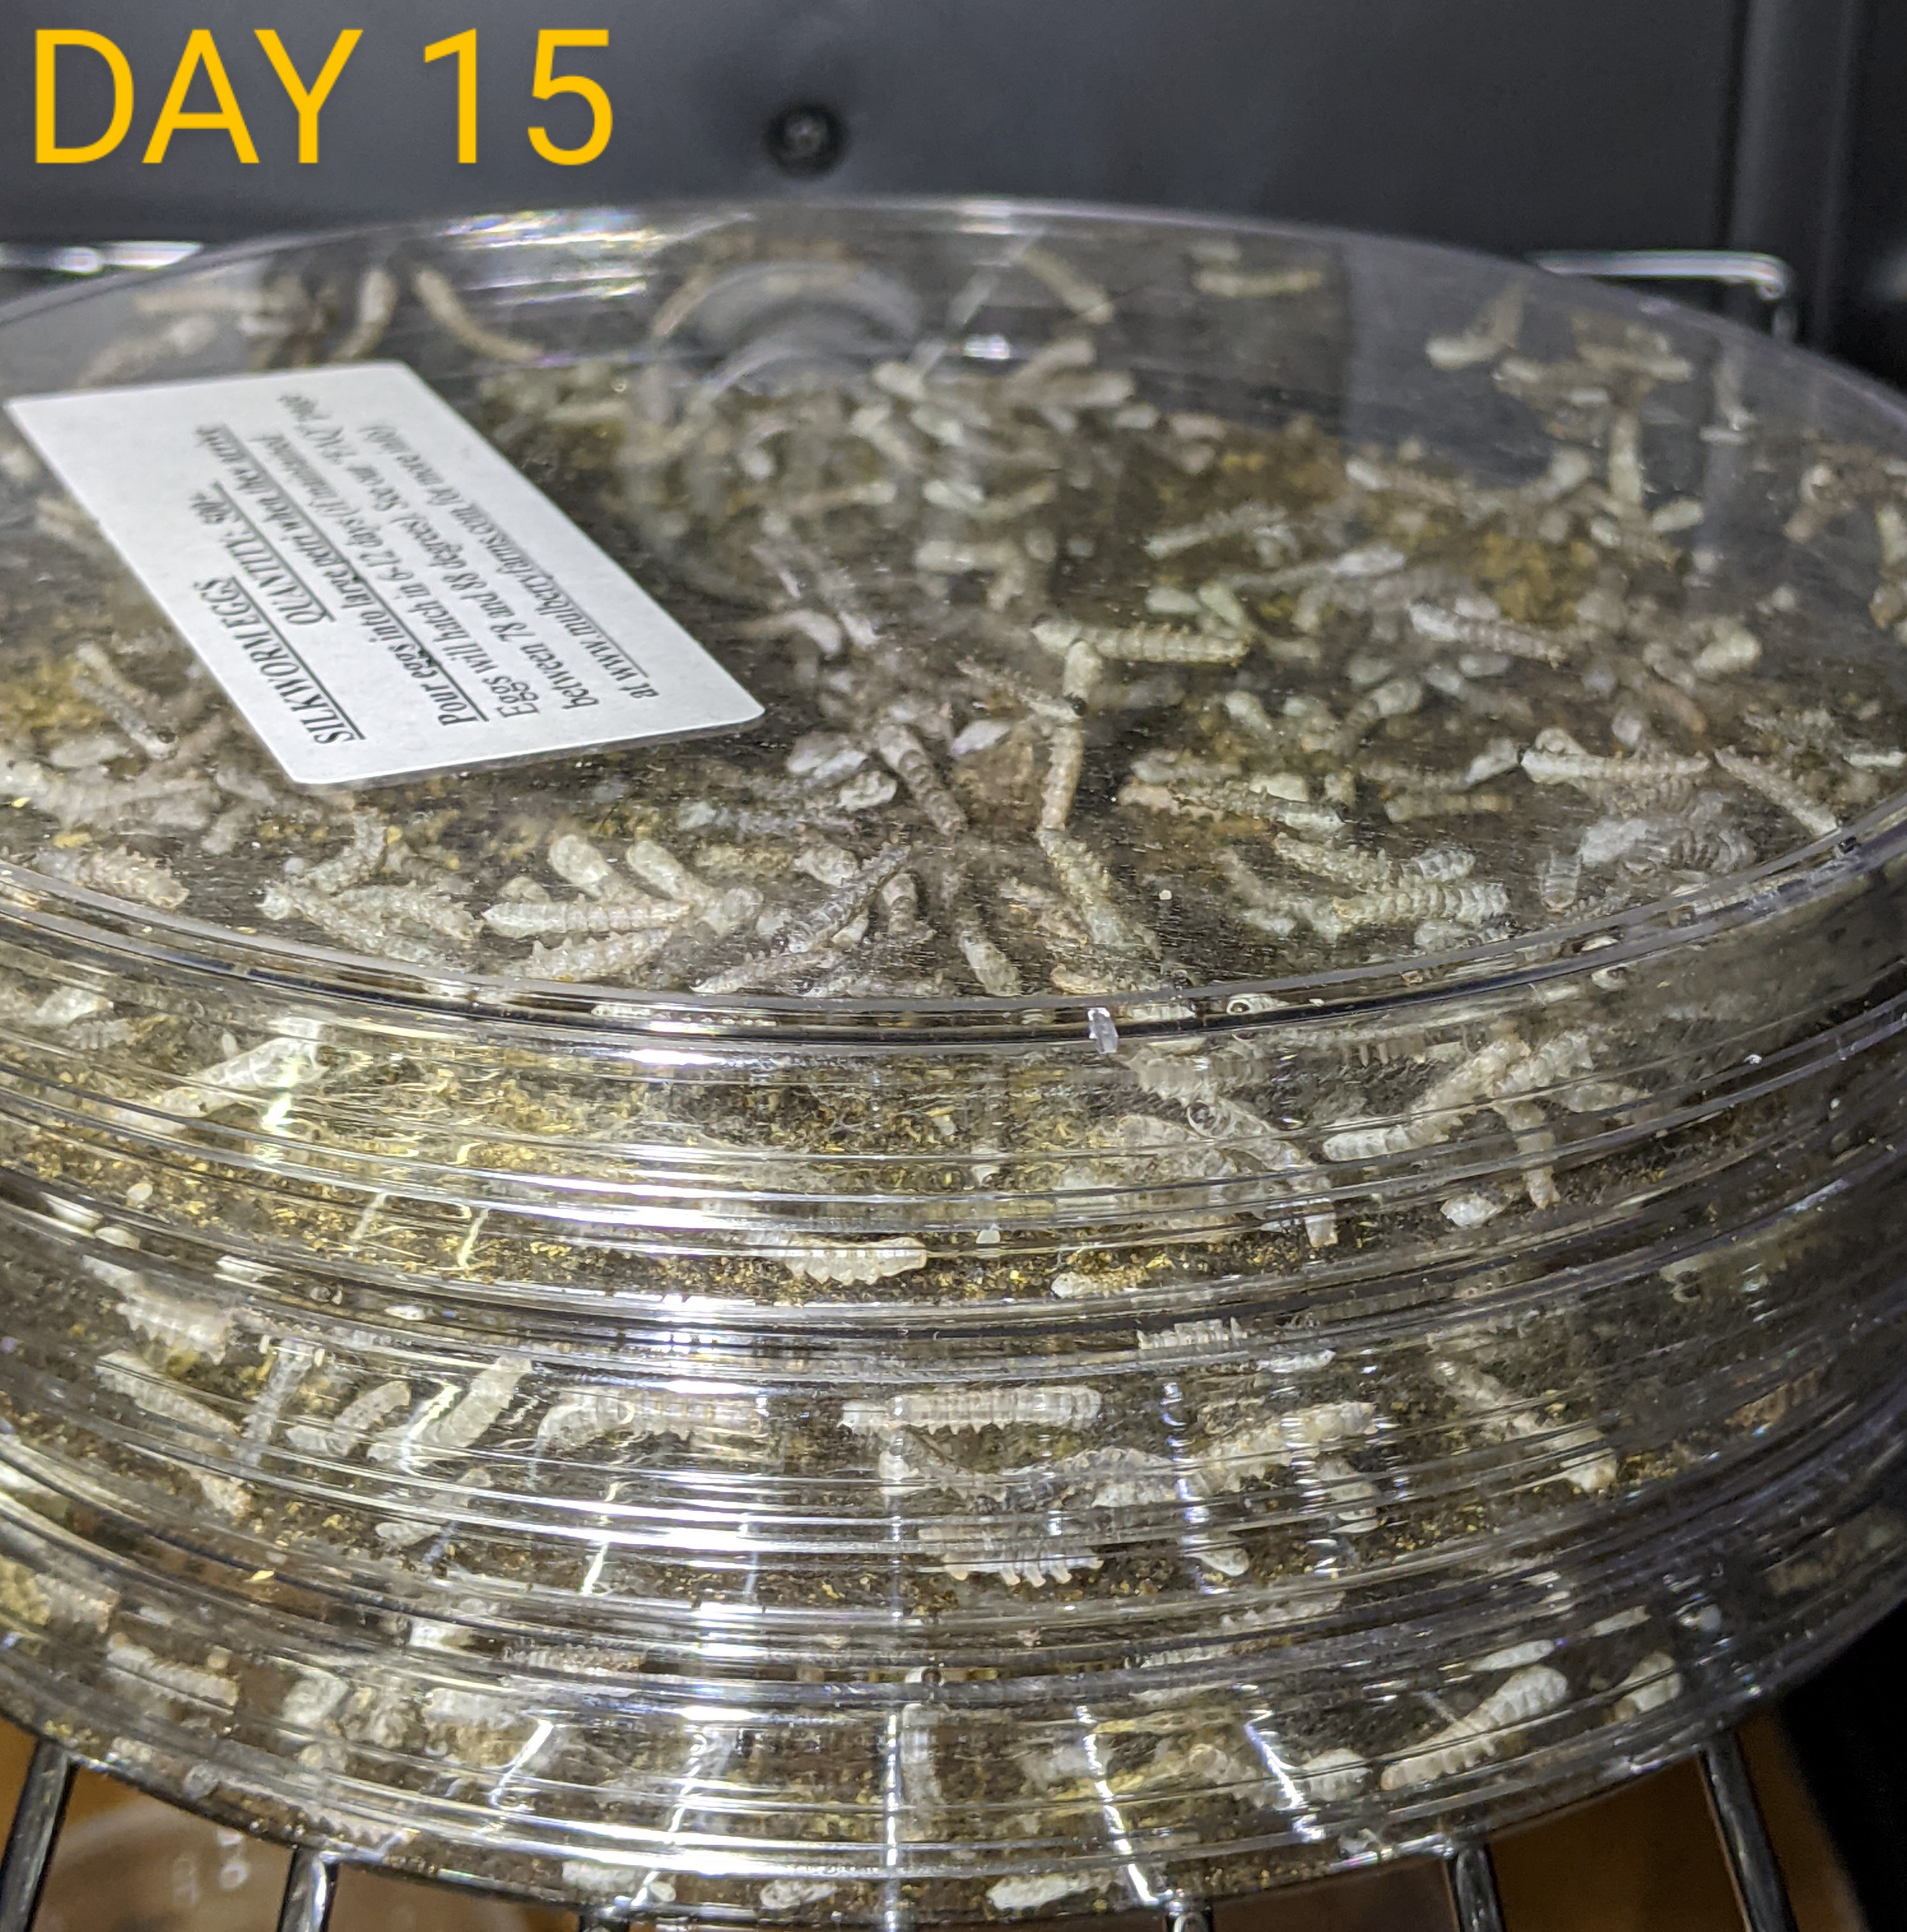
Most of them hatched. I think I’ll feed all but 50 and see how many I can get to the moth stage. Next time I feed I’ll cut longer, thinner strips.
4 Likes
Hey, @erie-herps, how did this end up going for you? I see pretty much everyone that sells silkworm eggs is out of stock right now, too, you must have got them just in time.
3 Likes
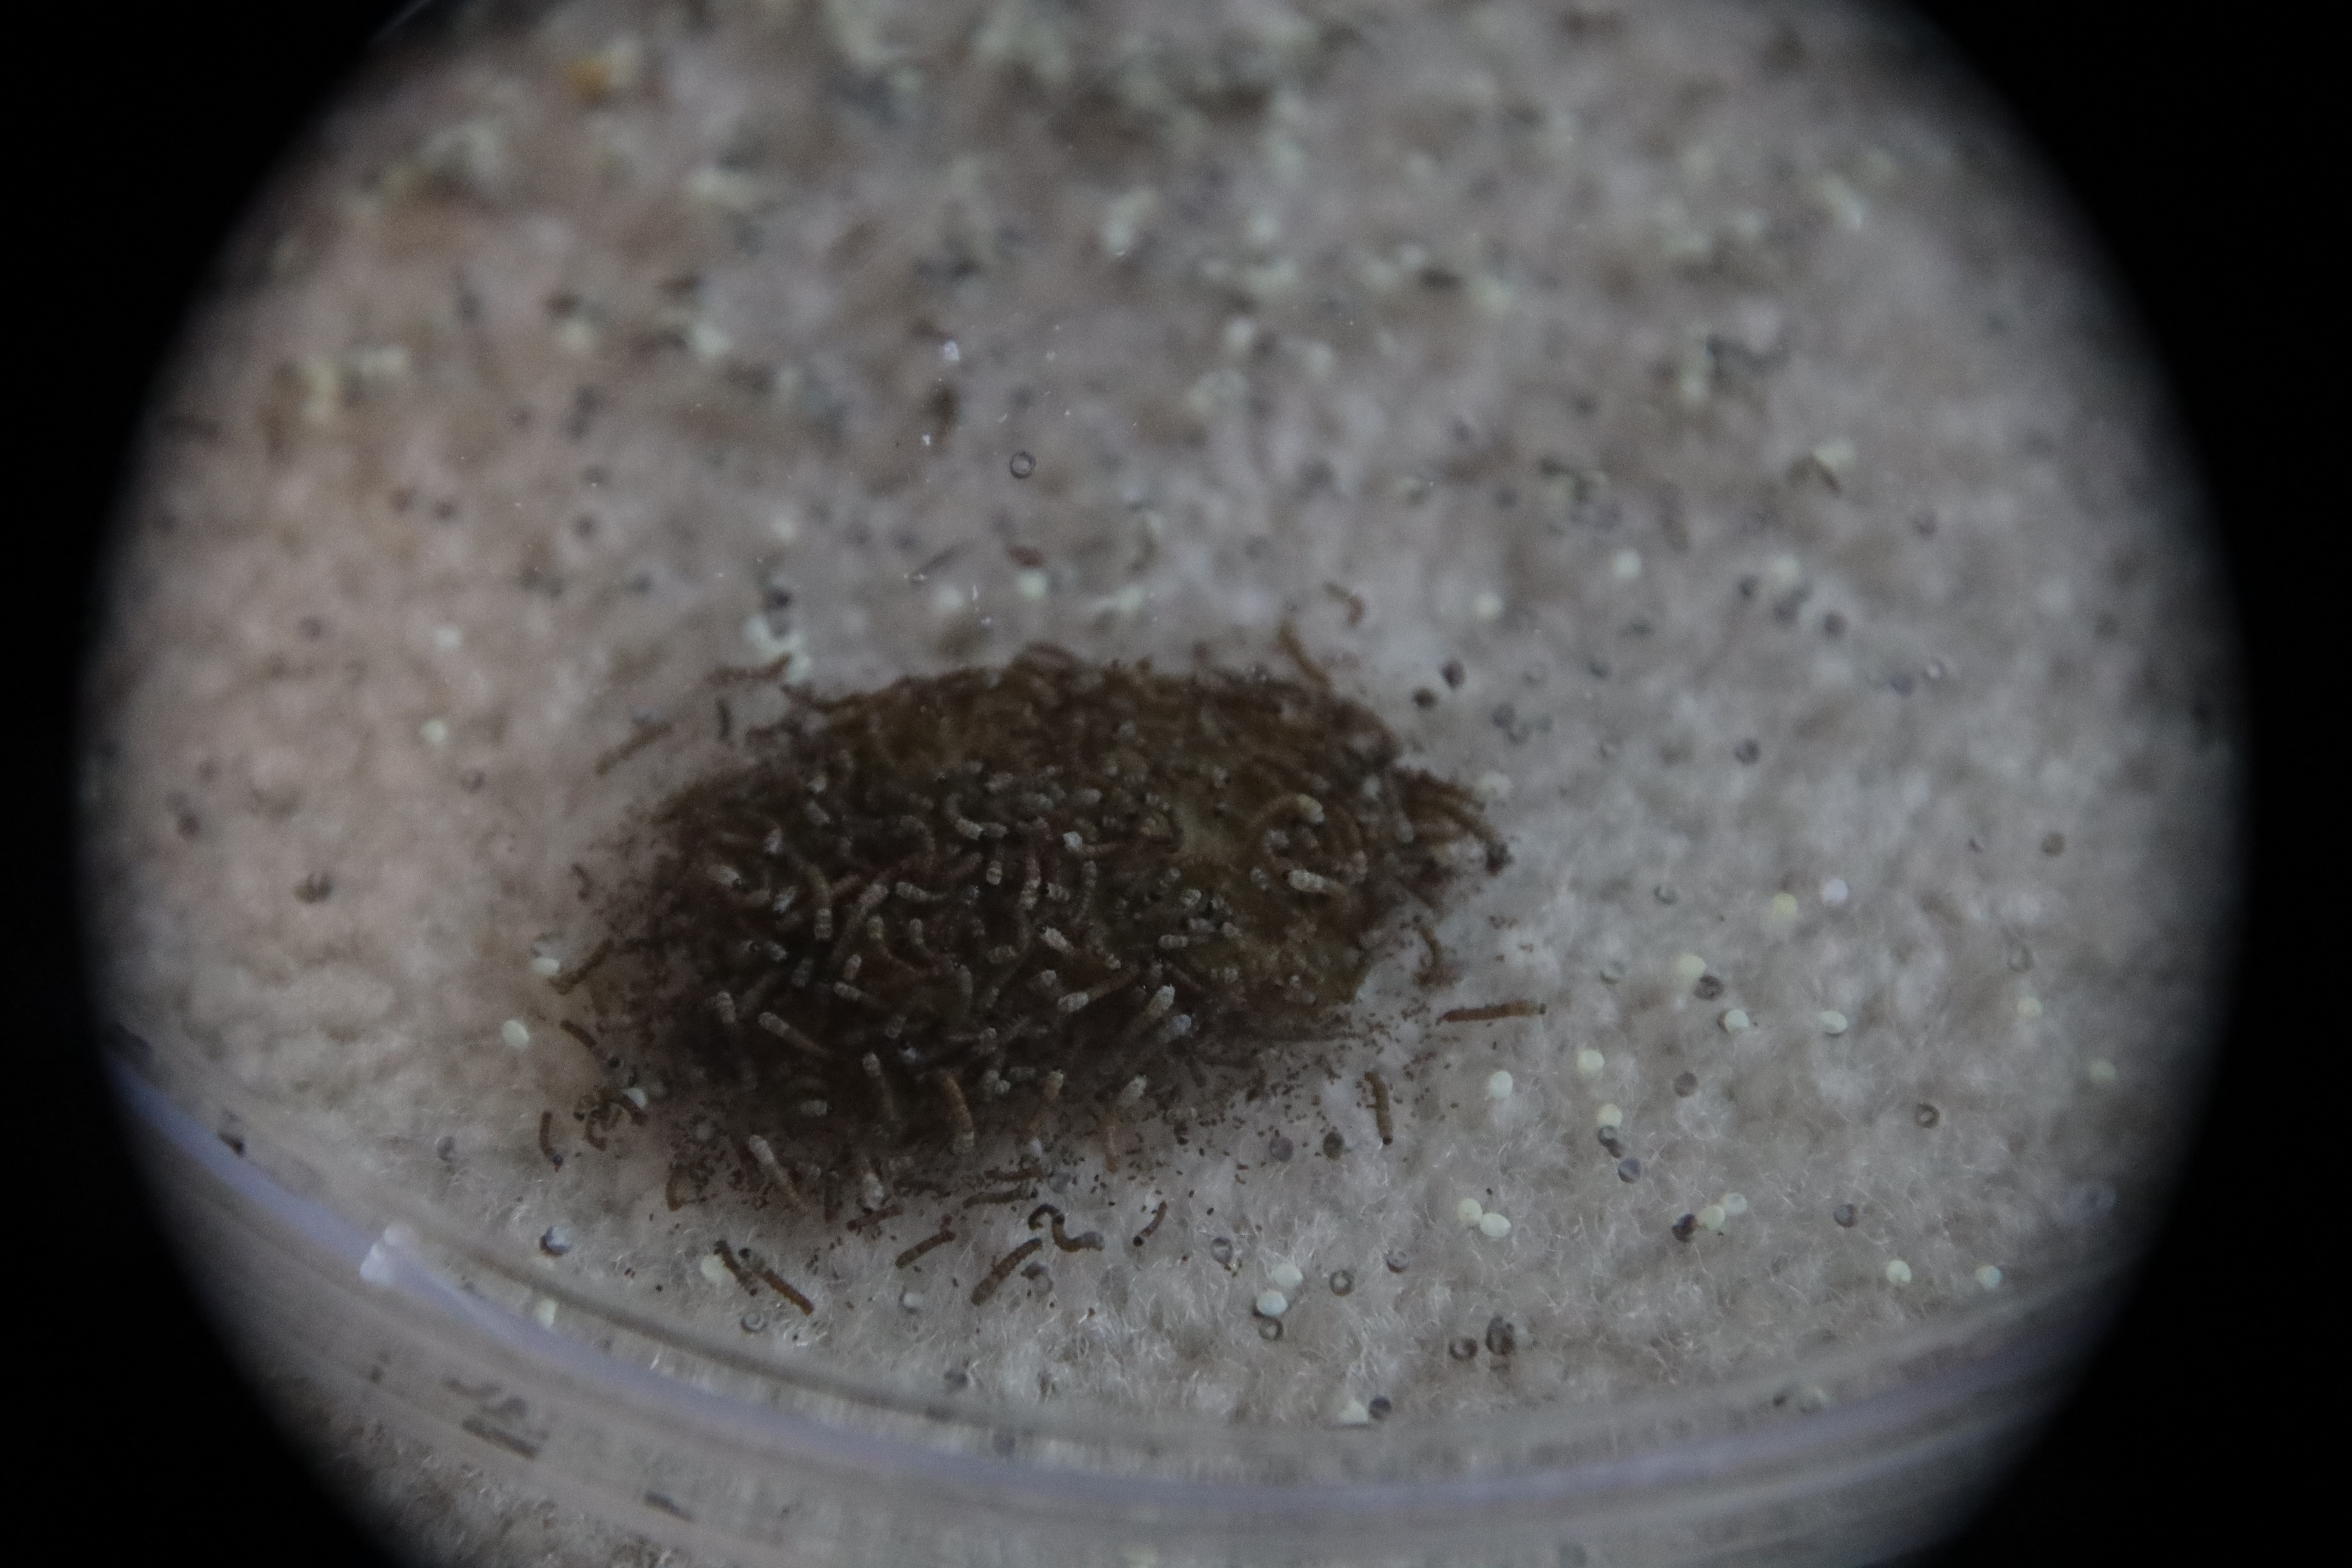
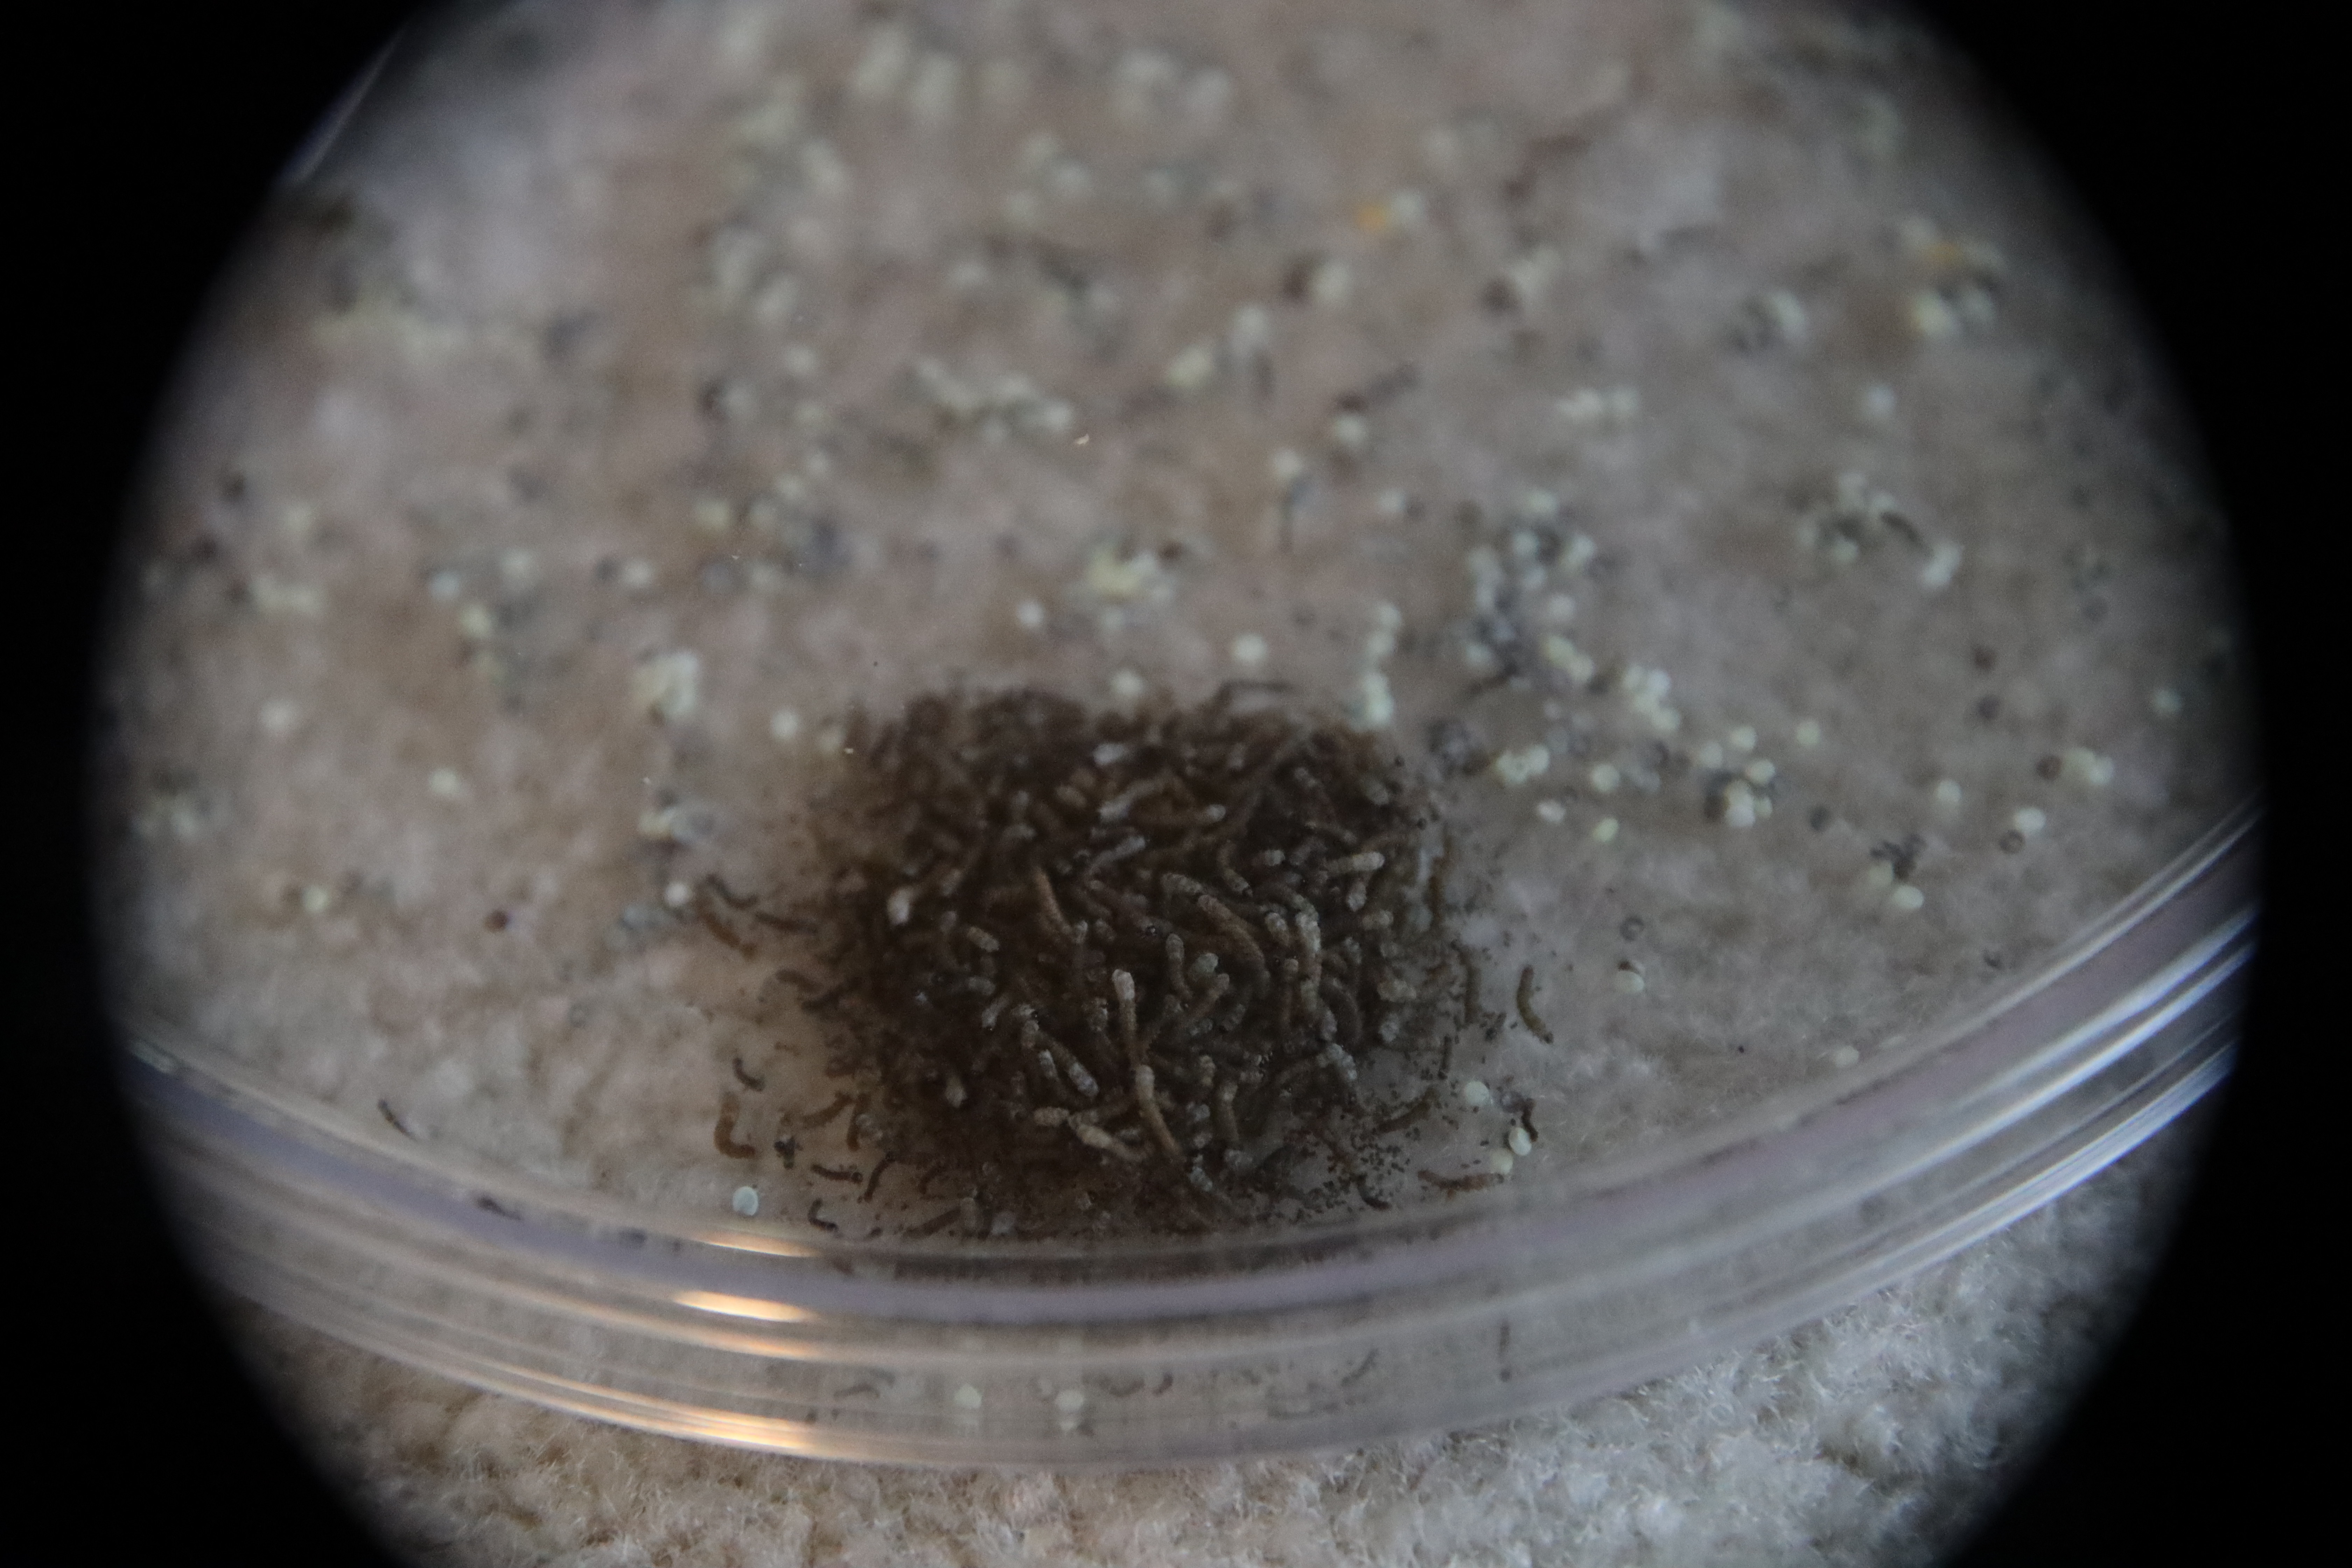
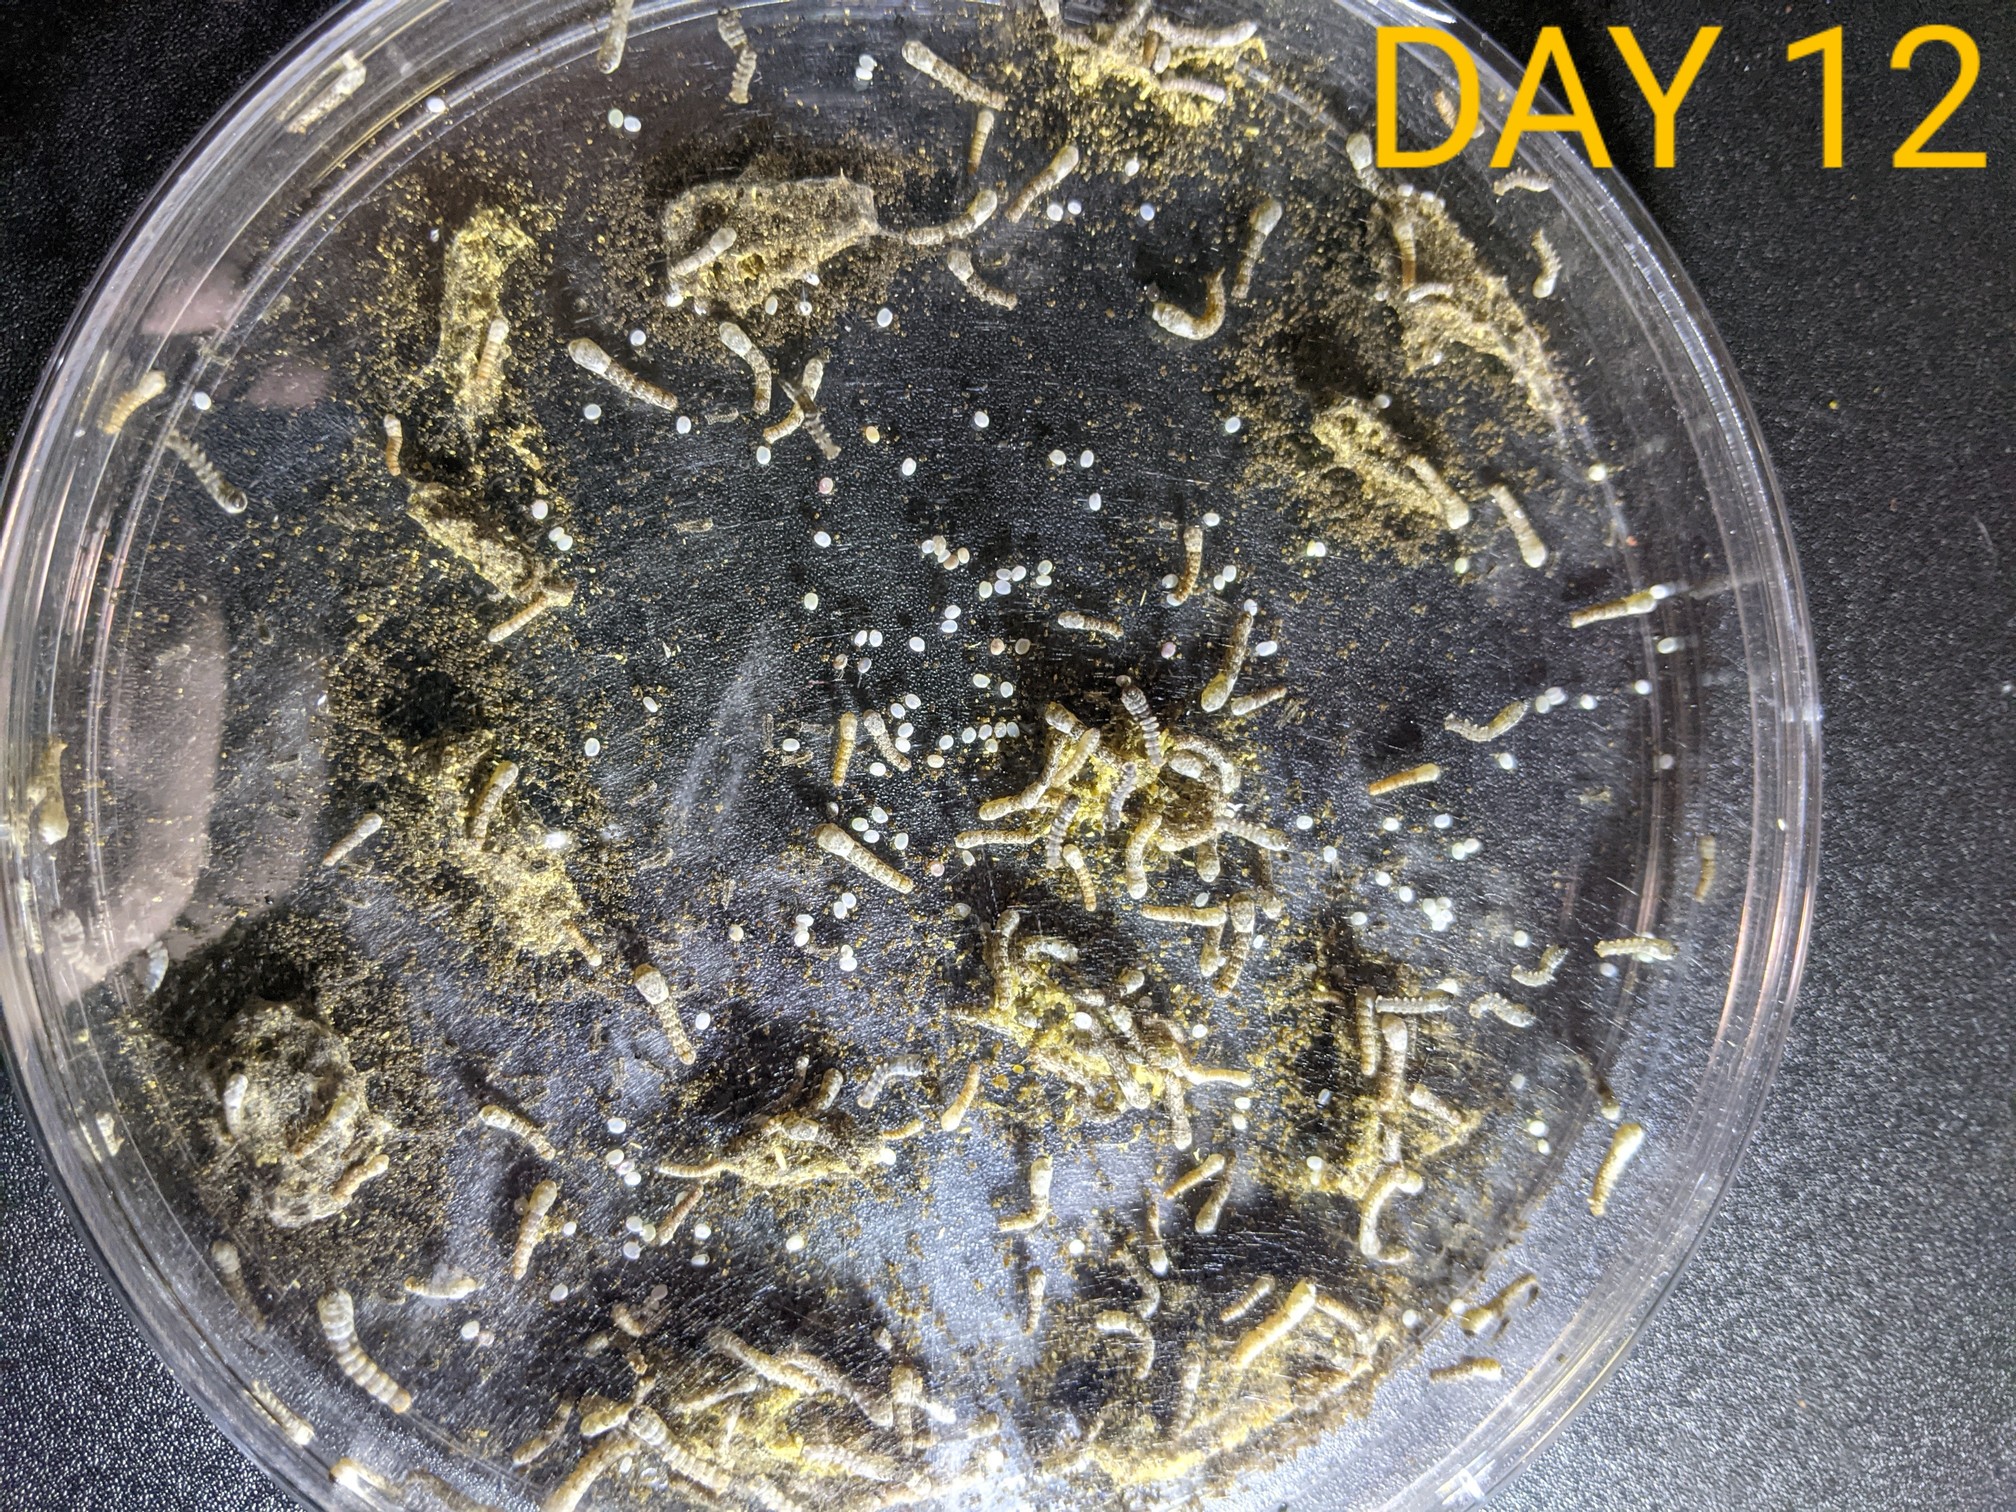
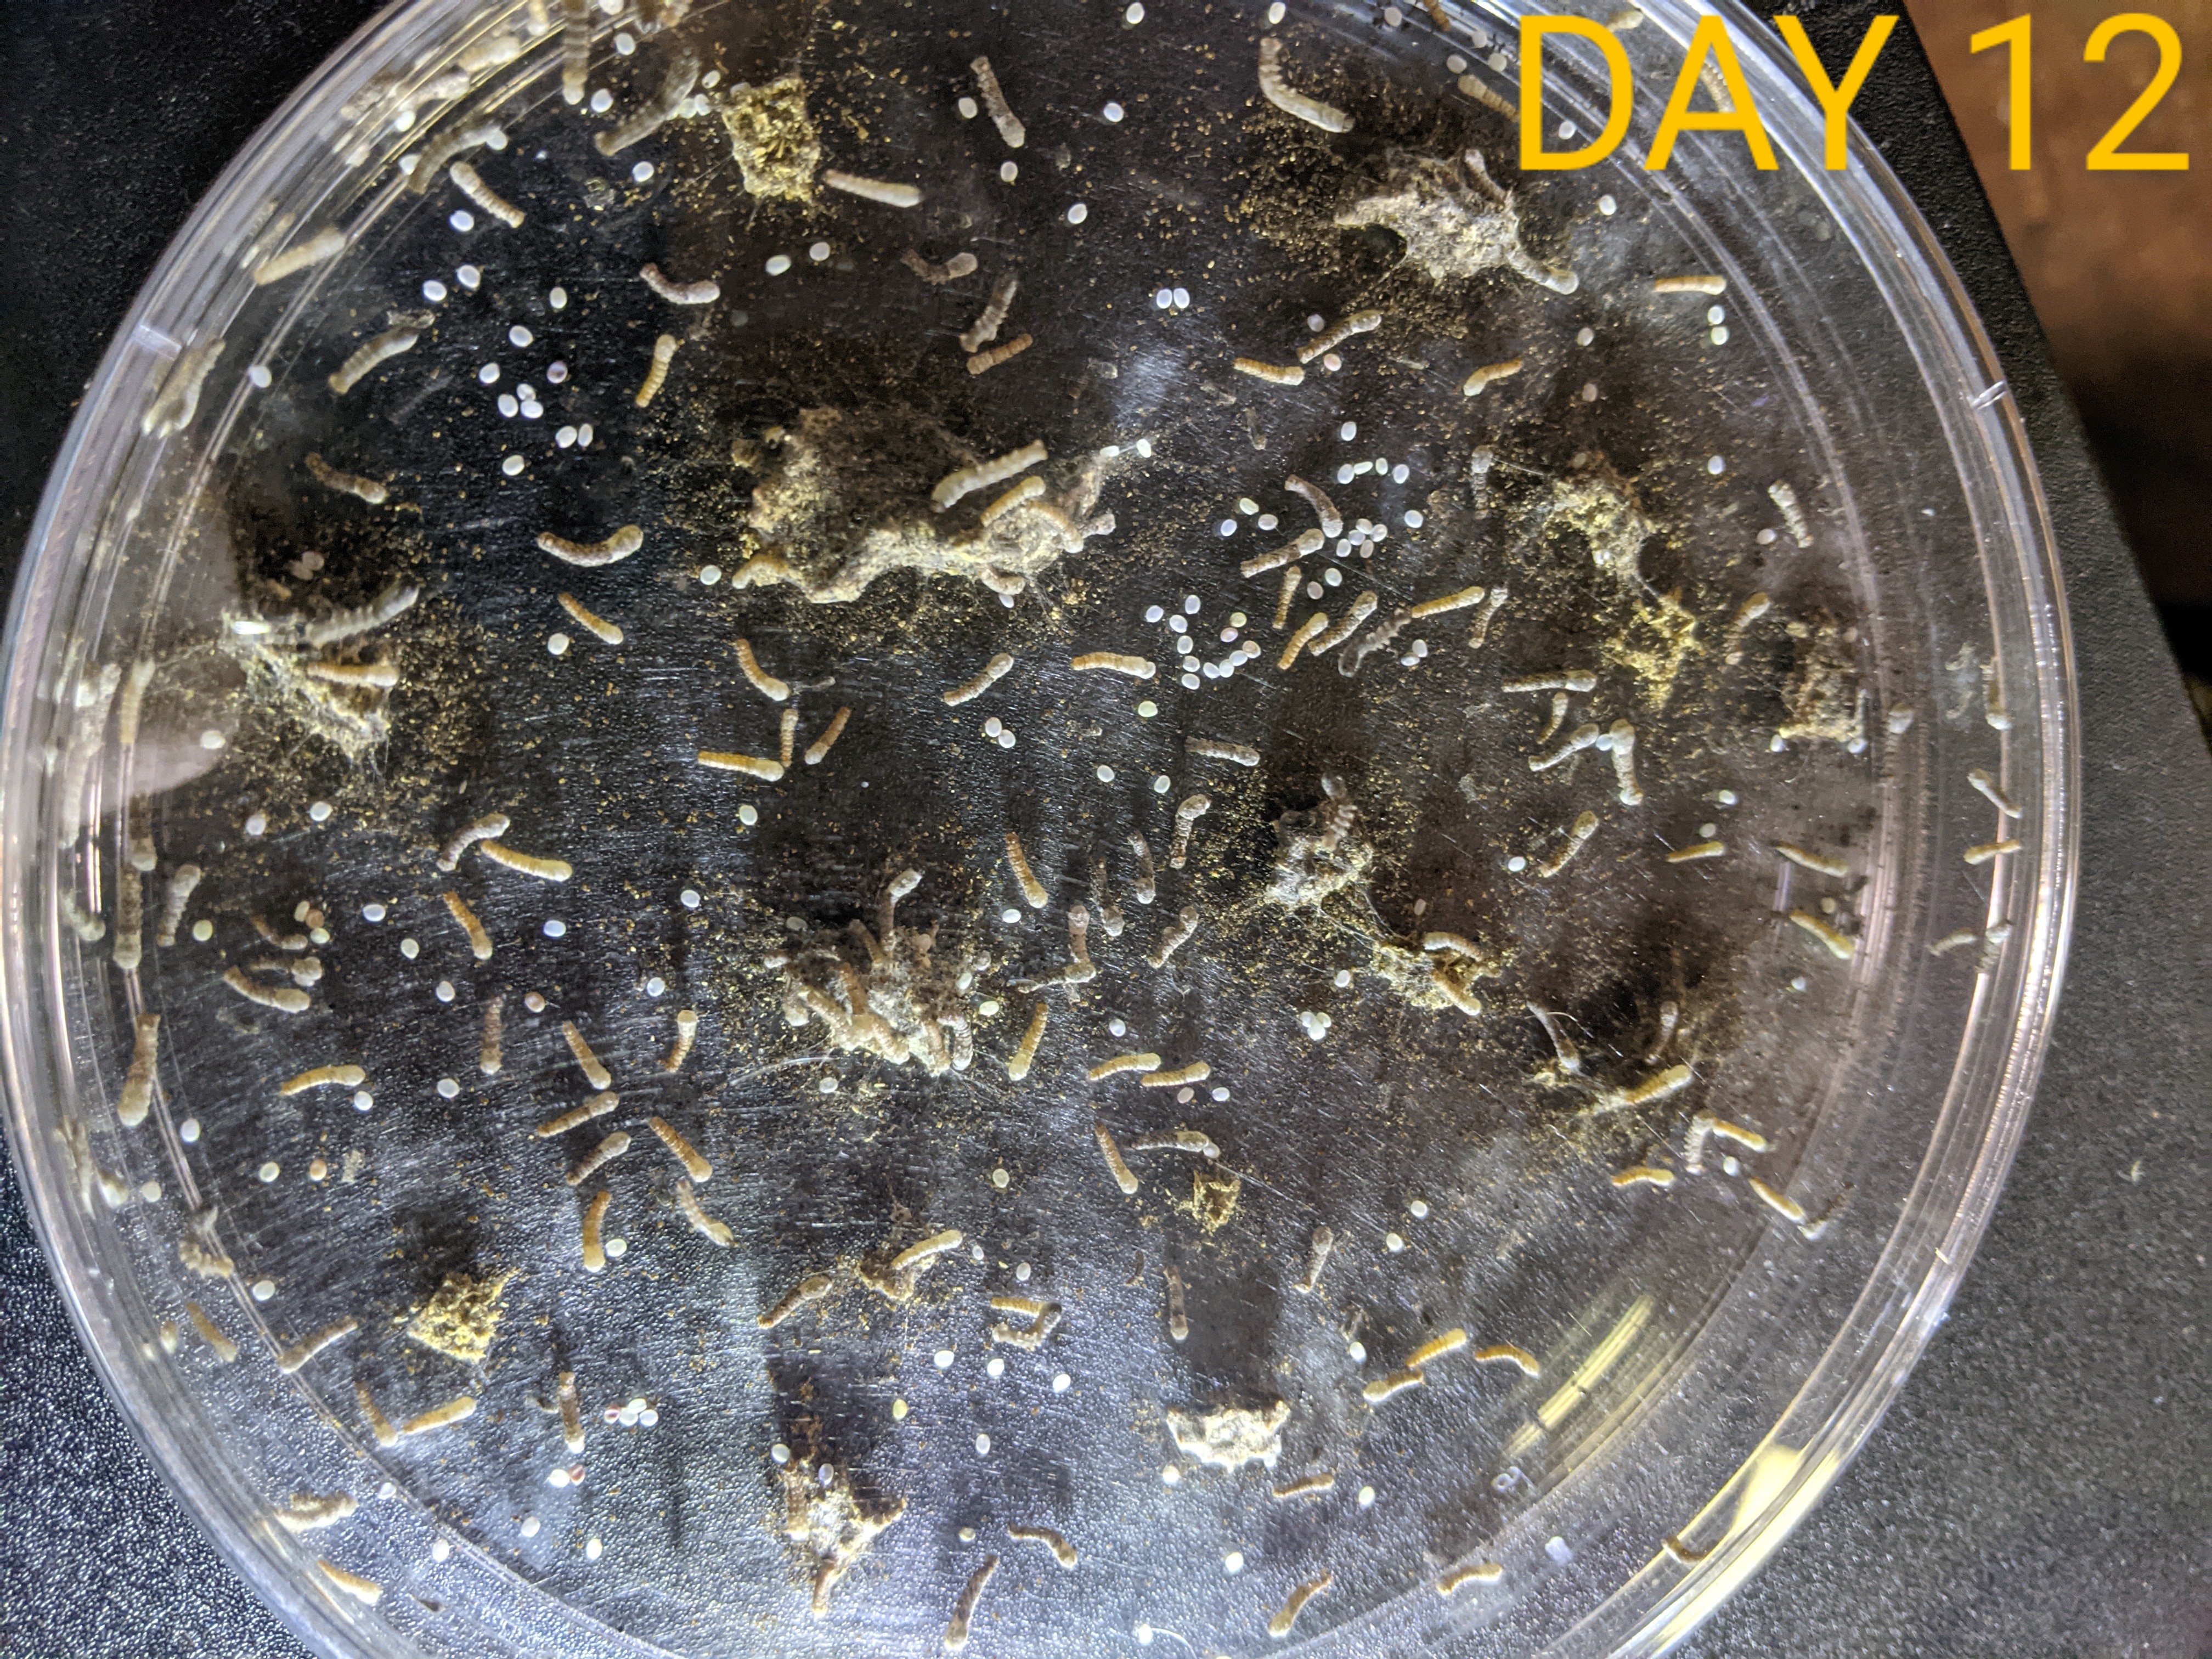
Not the greatest but they’re still going, only about half of the eggs hatched and all of the worms in the second dish died, the ones in the first dish are growing well but there are only about 10-15.
4 Likes
Breeding silkworms is tough, I’ve found it very difficult to avoid contamination with them. They’re just so sensitive, their frass needs to be removed way more often than with hornworms. The difficulty with breeding silks is why I’ve switched my focus to breeding horns. Though both are definitely a pain in the butt. One useful bit of info is that silkworms that are fed chow are much more nutritious than though fed exclusively mulberry leaves.
4 Likes
I’m hoping that if I can successfully raise a generation of them they will be easier to breed due to that they’re acclimated to my environment. I was thinking that mulberry leaves were better but if chow is better for the geckos I guess I won’t feed leaves (I think I remember reading that worms that were fed leaves won’t go back to eating chow).
3 Likes
Sounds like a great experiment, if a little maddening.
I’ll be keeping tabs for updates, this is really fascinating!
Daughter: “Sky puppies are so cute!! I want!!”
Me: …
3 Likes
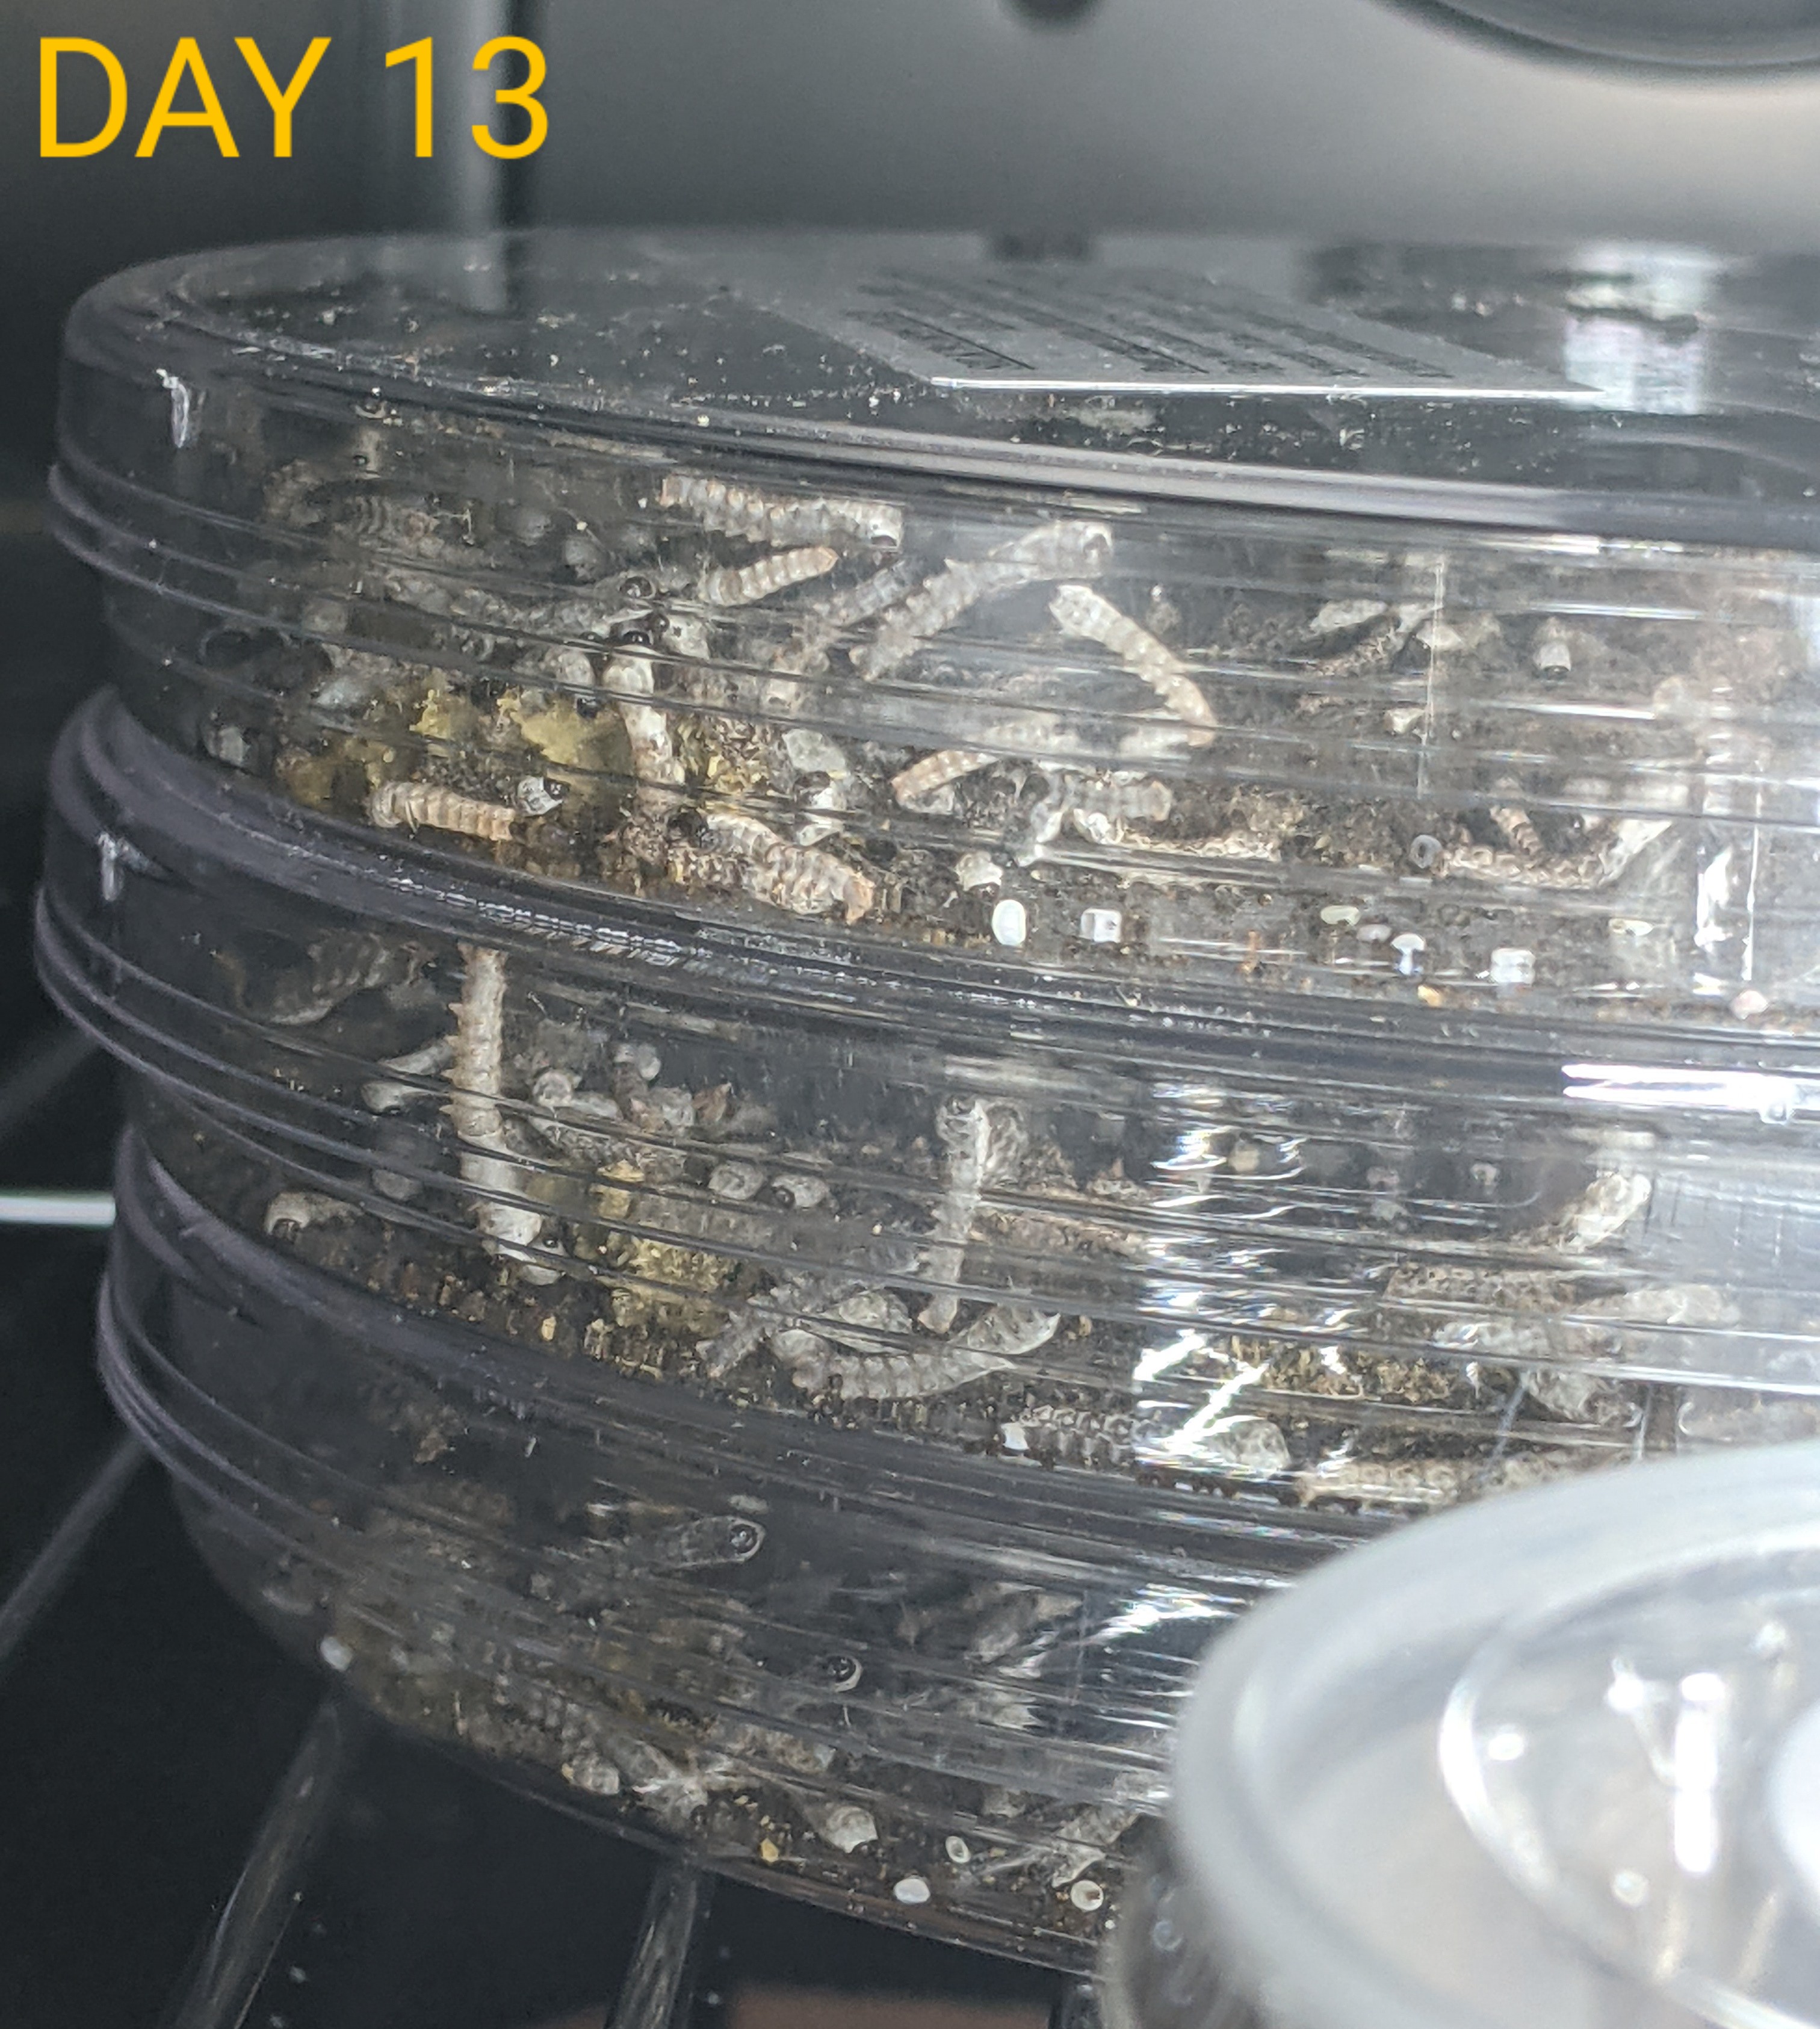
I checked on the silkworms and I noticed a tiny bit of mold and the worms were all dead.
So far I’ve tried breeding dubias, black soldier flies, mealworms, and these (why can’t my leopard geckos eat isopods, lol). So far none of them have succeeded, I think I’ll try hornworms next, maybe there’s someone near me that’s breeding them that will sell adult moths or pupa, that would make it easier. Since I have way more food then I’ll ever use I might try raising silkworms again but it will be a ways in the future.
2 Likes
Silks are a pain in the butt to work with so I would not beat yourself up on not being successful with them.
3 Likes
I knew that it would be challenging but I thought more eggs would improve my chances (though it was the environment that they were all in making a difference). Next time I’ll split the eggs into smaller dishes so there are more environments and a higher chance of having one succeed.
1 Like
What’s a good rough estimate feeding frequency for freshly hatched and on, based on the stages?
1 Like
Actually, I found an answer per the same source as the silkworm eggs, Mulberry Farms, and the FAQ section. Anyway, just to cover what I was looking to have answered about care and raising them, for anyone else in the future:
FIRST FEEDING: Wash hands thoroughly before handing the cooked chow or bacteria may contaminate the food! When most the worms have hatched, open petri dish and place about 4 to 7 strips of chow (approx. the diameter of a pencil) inside the petri dish, leaving approx. a 1/2 inch gap in between each strip; replace lid. Try to maintain AMBIENT AIR temperatures between 78 and 85 degrees. Allow worms to feed for between 5 - 7 days, depending on number of worms in dish (keep petri lid on continuously).
SECOND FEEDING: Feed again by placing new chow strips into the gaps next to the old chow strips and allow to feed for 3 - 5 days, while the worms grow to approx. 1 inch long. The old strips can be removed as the worms crawl on top of the new strips to feed. (NOTE: Petri dish lid should remain on petri dish continuously.)
TRANSFER WORMS: After approx. 8 to 12 days from their first feeding (depending on the number of worms in petri dish), it is time to remove the lid from the petri dish and slide the worms out of the petri dish and into a large shallow tupperware type sweater-box or shoe box size plastic tote type container (a shallow cardboard box or dinner plate or plastic tray covered with wax paper also will work). The old food, waste and stringy silk material can be removed but does not have to be, to help keep your worms clean you can occasionally put clean mesh down on top of the worms and feed by placing food on top of mesh, worms will crawl up through mesh to feed and you can lift worms up with mesh to lift up off of the old waste and silk.
Continue feeding using strips of chow. After each feeding, place a lid with holes punched in it loosely over the container (place lid askew and punch plenty of holes in the lid to allow worms to breath) for several hours (8 to 24 hours) while the worms feed (this should keep the chow from drying out prematurely while the worms feed). If raising in a tray or container with no lid or if chow is drying out too quickly you can place a large sheet of wax paper over the top of the worms to keep them and the chow moist while they feed. Continue feeding every day (or every other day) depending on how fast they eat. NOTE: It is IMPORTANT to make sure the old chow from the previous feeding has thoroughly dried before each new feeding. To dry out the old chow, you will need to remove the container lid for several hours (as many hours as it takes). As the worms grow larger (over 1 inch long) they sometimes eat the chow so quickly that a lid may not be required at all.
CLEANING: Many customers have reported that the more the worms are handled and their containers cleaned, the more they experience a die-off. It is not necessary to clean the worms containers (until they get large) AS LONG AS the old chow is allowed to dry-out thoroughly before each new feeding. Old damp chow is a breeding ground for mold and other problems, dry chow is not. To help keep your worms clean you can occasionally put mesh down on top of the worms and feed by placing food on top of mesh, worms will crawl up through mesh to feed and you can lift worms up with mesh to lift up off of the old waste and silk. (Mesh may be found at Lowe’s or similar type store sold in rolls as plastic gutter guard.)
Continue to feed until the worms reach the desired size. (We recommend feeding them to your animals before they reach full size because they tend to become more fragile and die easier as they approach full size.) Under ideal conditions (78 to 85 degrees and allowed to feed nearly continuously) they can reach 1 inch in length in about 12 days, and 3 inches in under 30 days. The worms can begin to spin cocoons at 28 days old when they are between 2 1/2 and 3 inches long (usually takes 2 to 3 days to complete cocoon). The moths usually emerge in 2 to 3 weeks and they do not eat or fly. They will usually mate and lay eggs and die within a week. Fertile eggs turn from yellow to gray in a week or so, and if they don’t hatch within 3 weeks, they usually will not hatch until the following year.
MOLD: Mold develops from high temperatures and high humidity. If the worms are covered too long, mold can develop and may kill the worms. If mold develops, grate about 1/2 inch of chow all over the worms with a cheese grater. Several hours later, as the worms crawl to the top of the new chow pile you can peel and lift them off the moldy chow and place them into a new container. You can remove worms from mold underneath by putting mesh down on top of the worms and feed by placing food on top of mesh, worms will crawl up through mesh to feed and you can lift worms up with mesh to lift up off of the old waste and silk. (Mesh may be found at Lowe’s or similar type store sold in rolls as plastic gutter guard.)
NOTE: If you plan on using mulberry leaves to feed your silkworms, remember that when they first hatch, their jaws are so tiny and weak that they can only eat the smallest (1/2 to 1 inch long) new, tender growth mulberry leaves. When they hatch, place one or two mulberry leaves into the petri dish until they are completely consumed and repeat at least twice per day. Remember they do not easily convert to eating silkworm chow once they taste fresh mulberry leaves.
3 Likes
This makes me want to try this just to produce them lol 
1 Like
I think my problem was likely originally not having food in there 24/7. They NEED daily attention. For the last handful that I had alive they likely died from mold. These are tricky to raise. I might try them again after I’ve gone through the cycle with hornworms (I recommend hornworms first for anyone wanting to try this). I now have hornworms and am trying to raise them to moths (which I’ve done before but couldn’t get them to eat, I’m going to use a hummingbird feeder now).
3 Likes
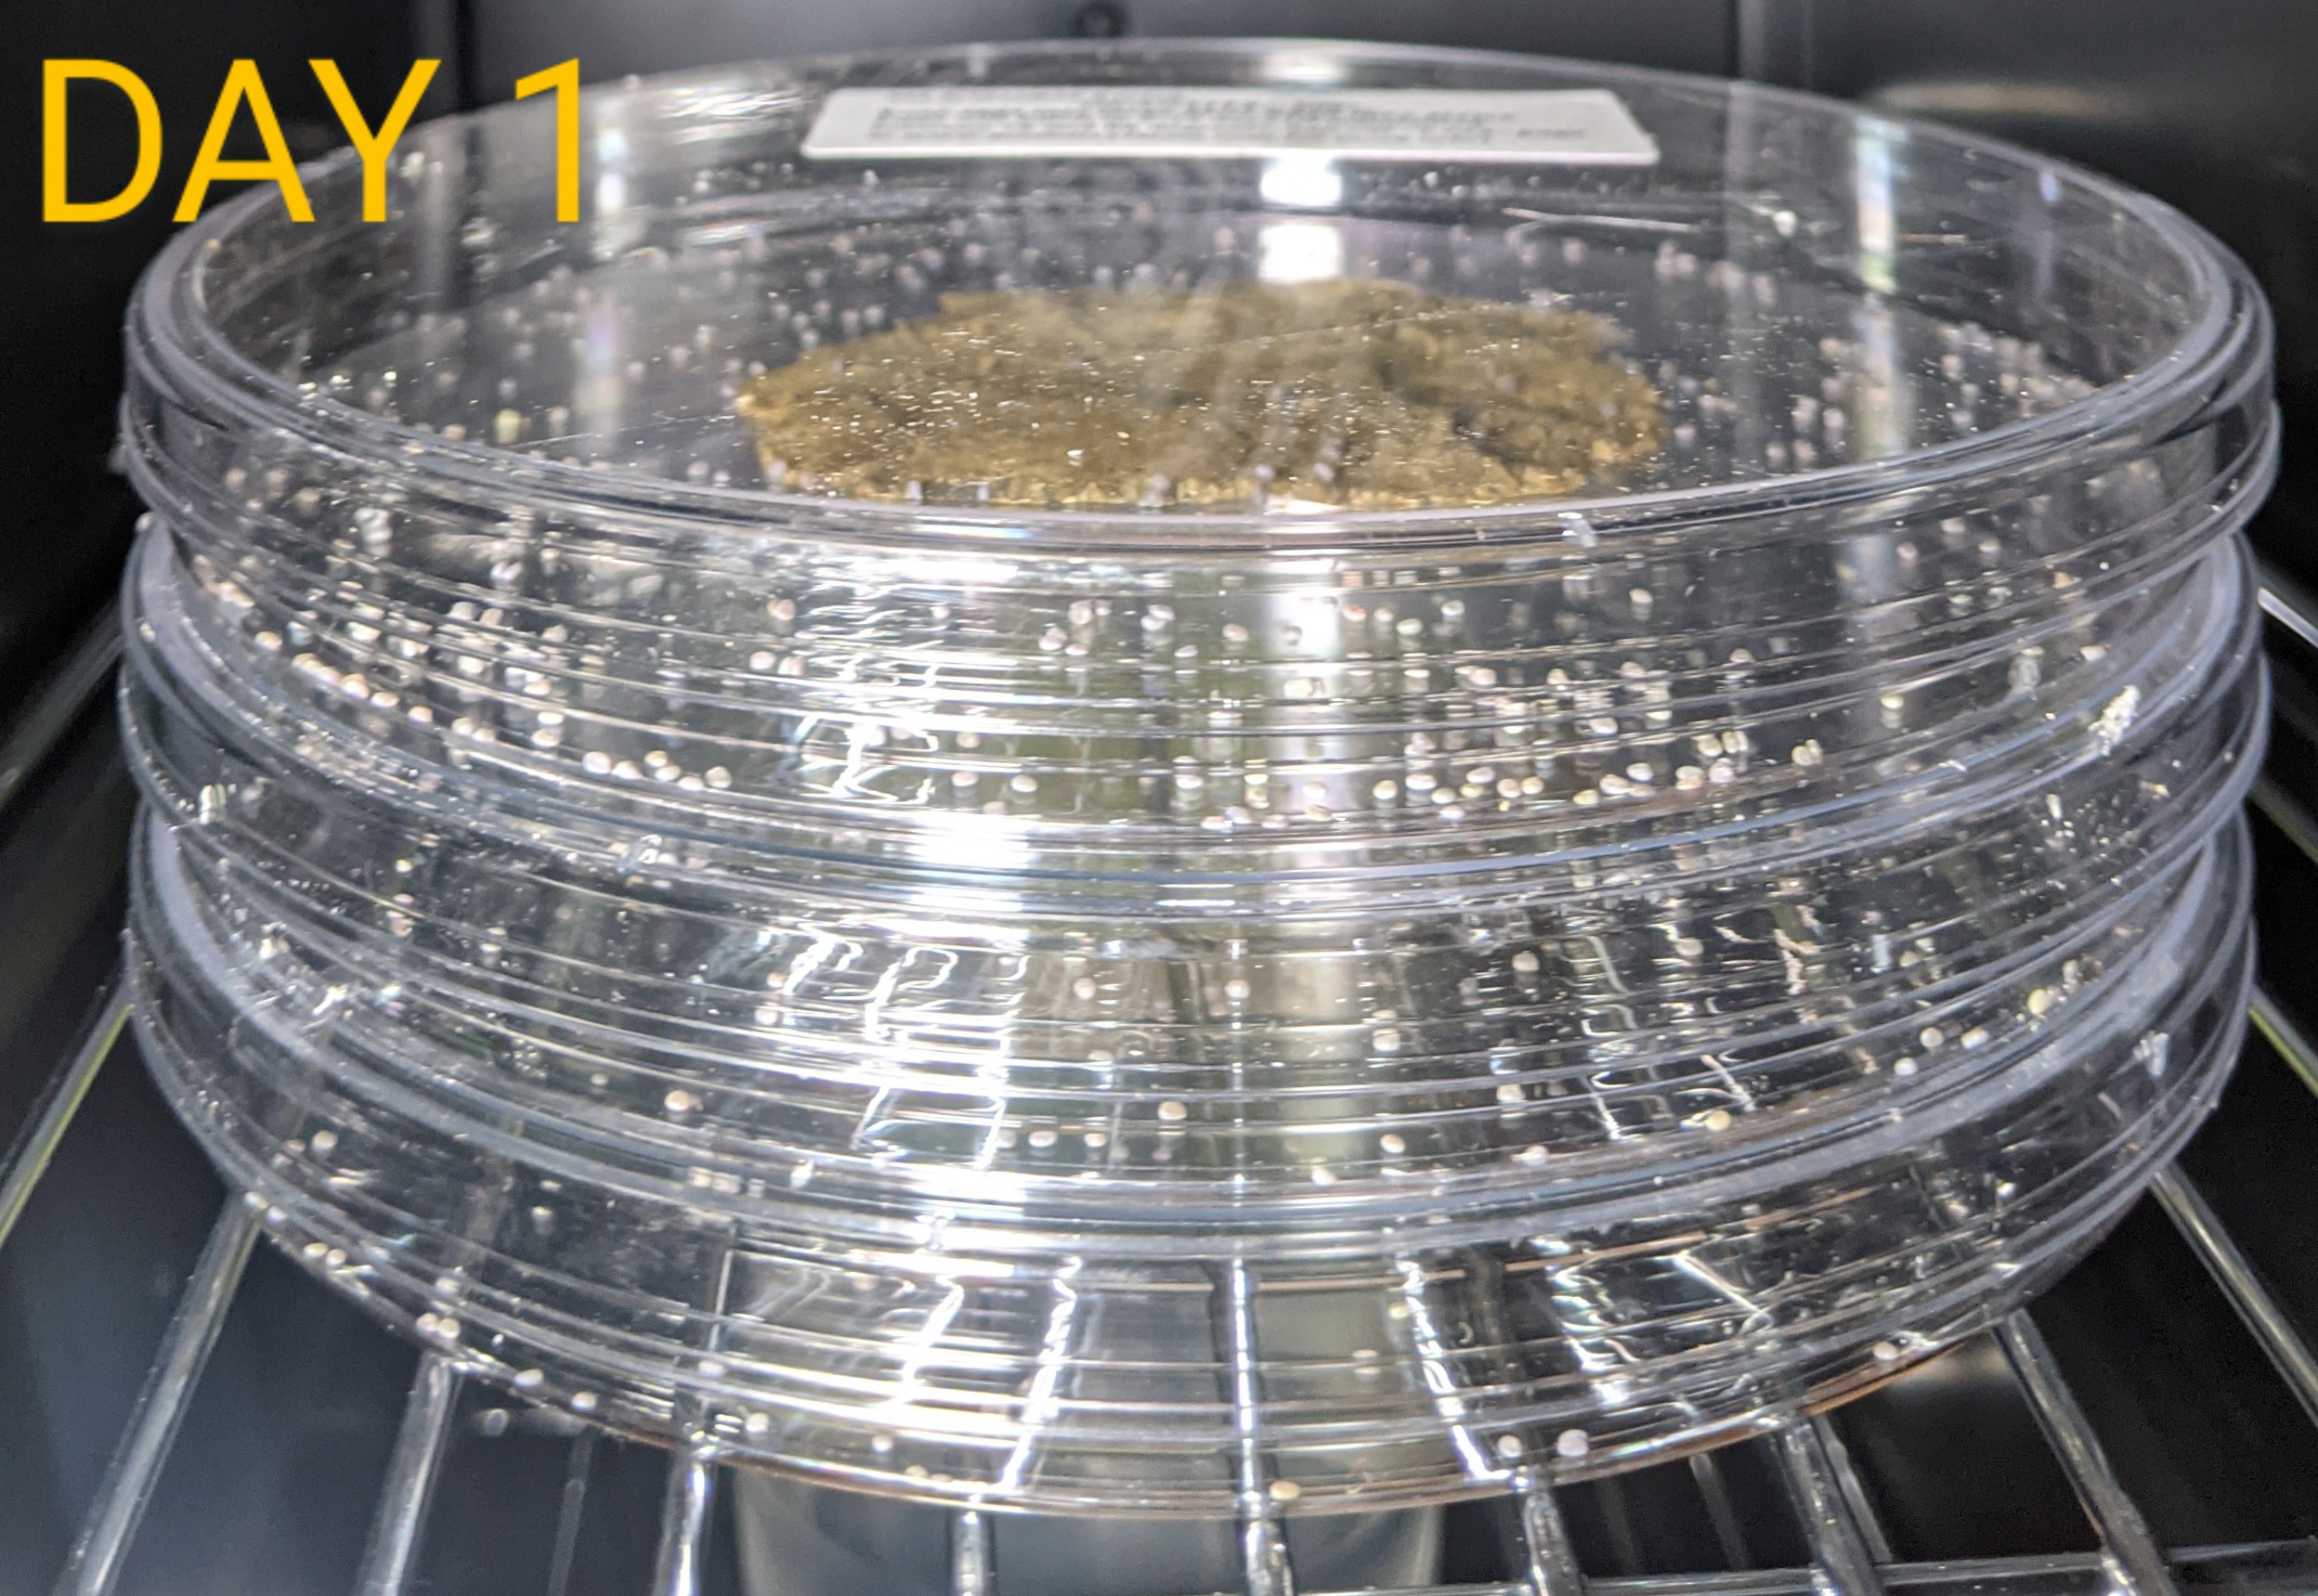
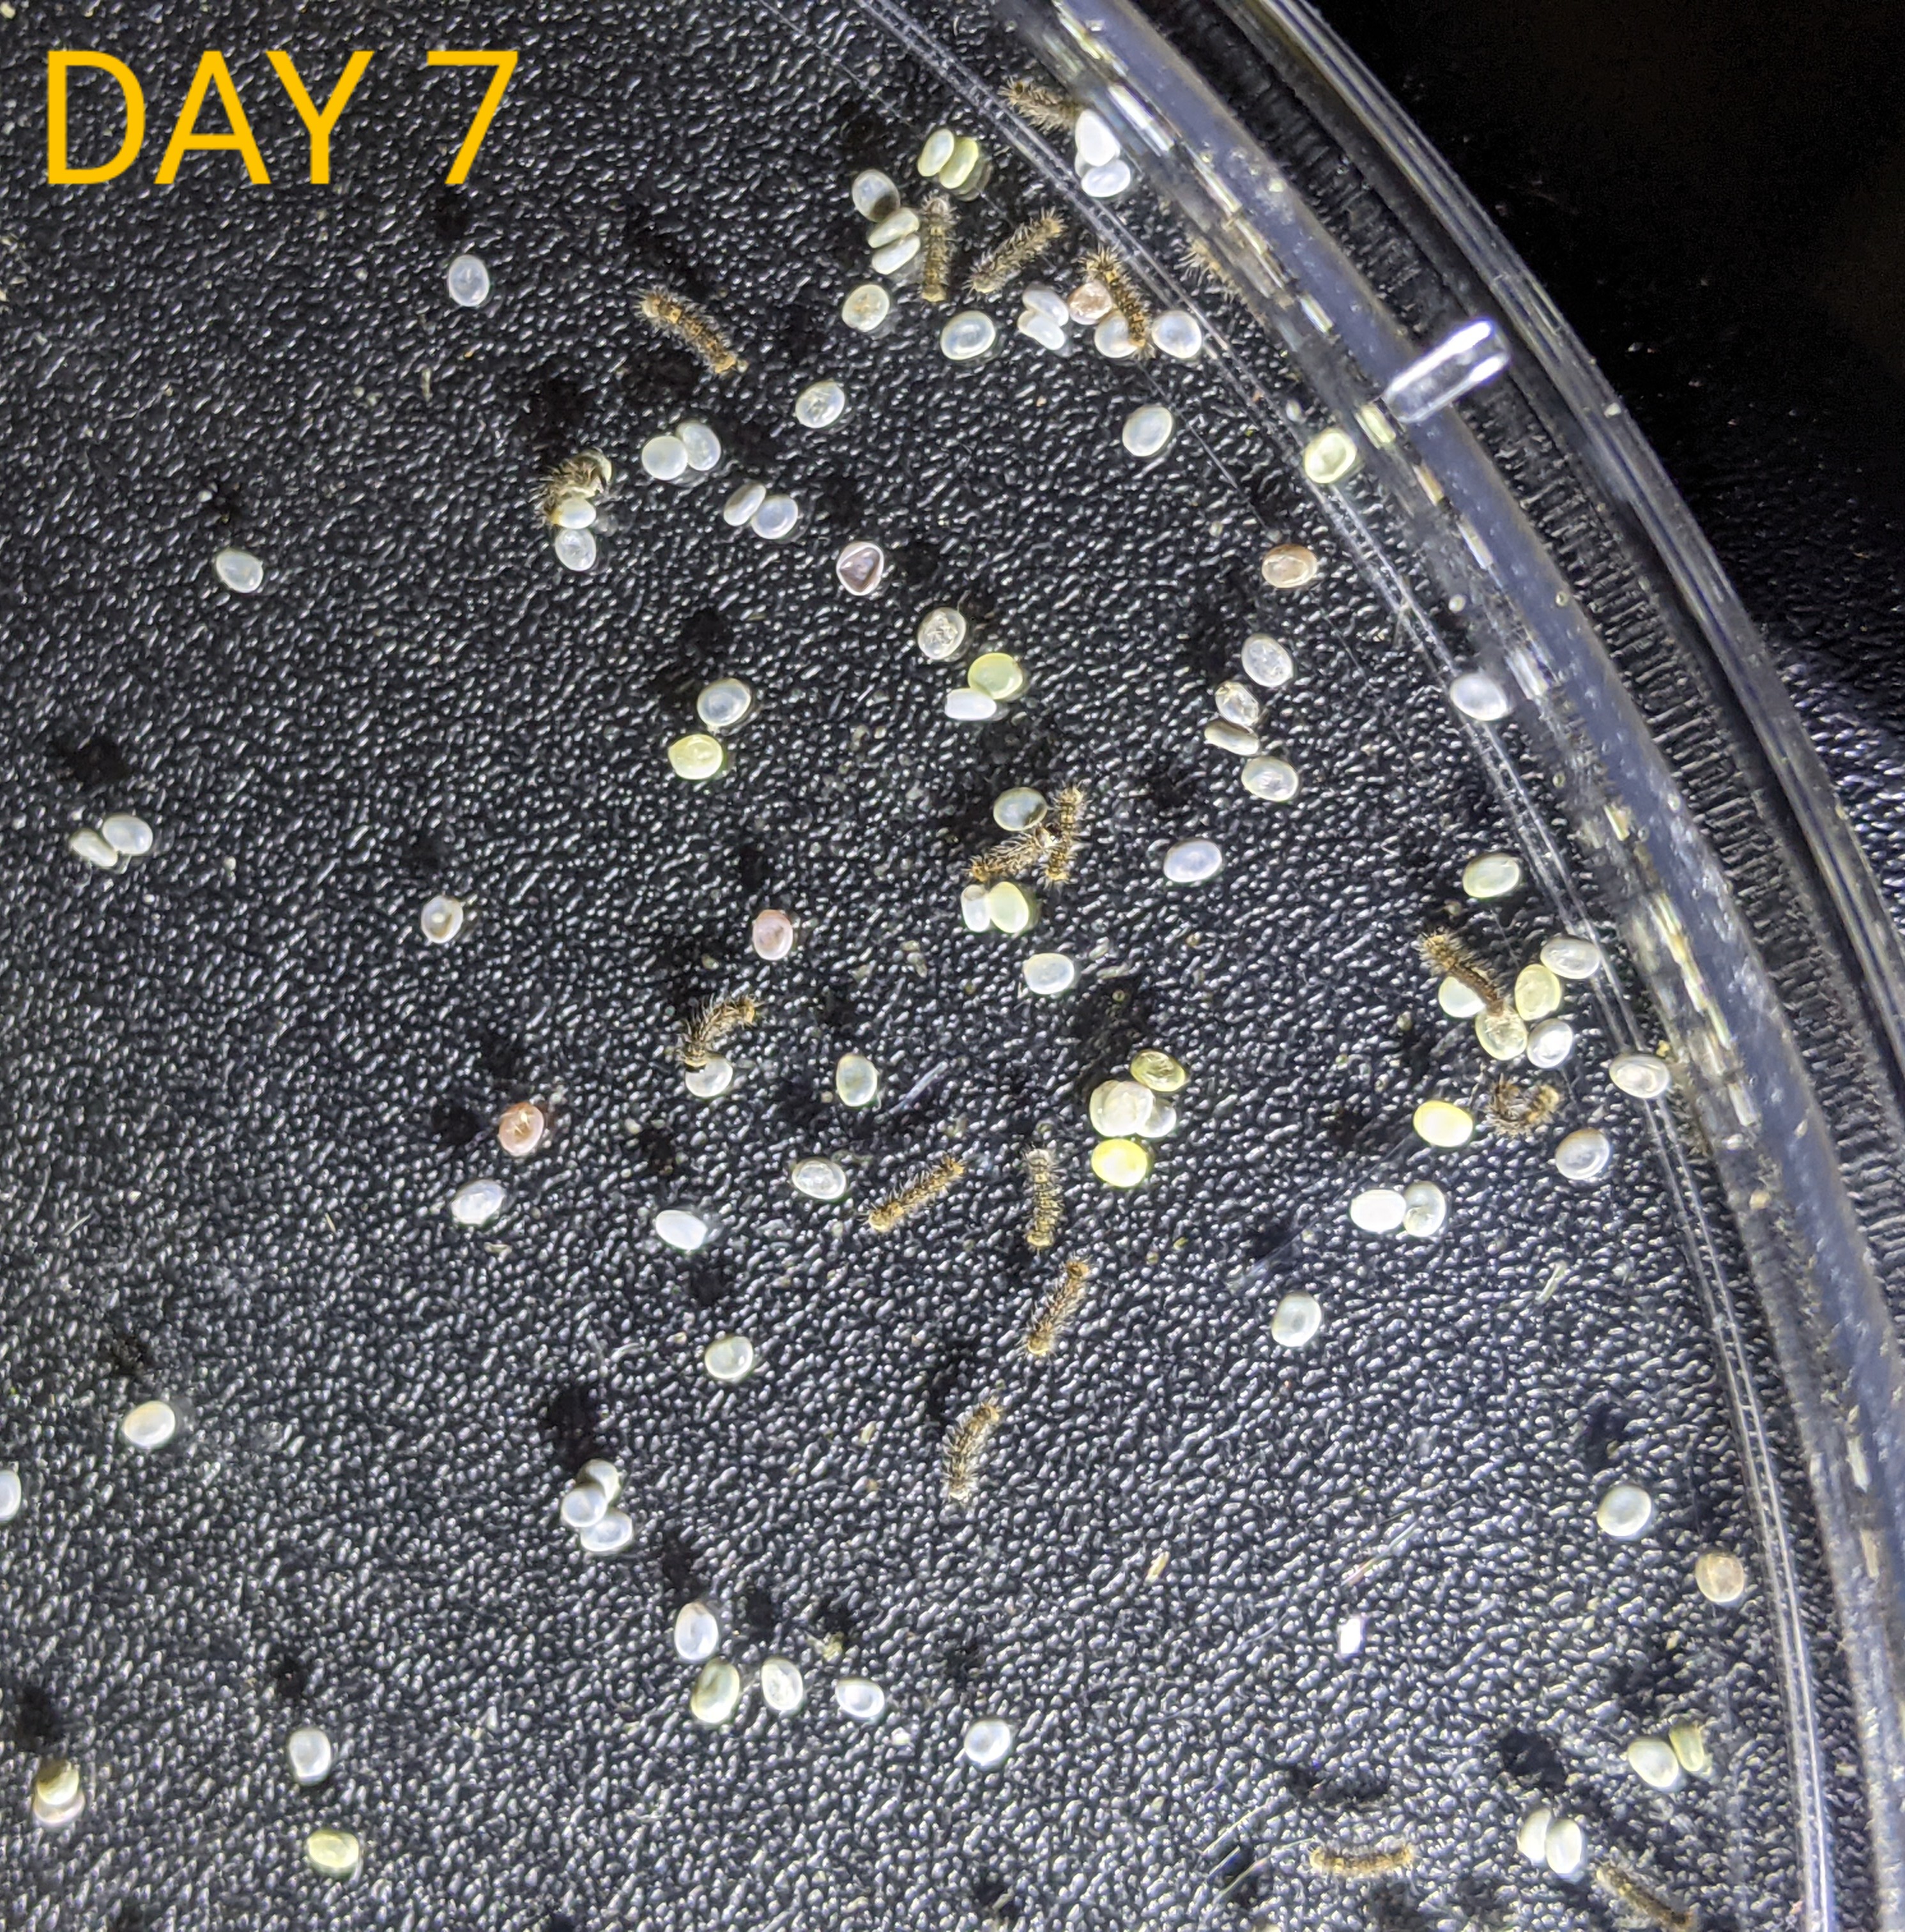
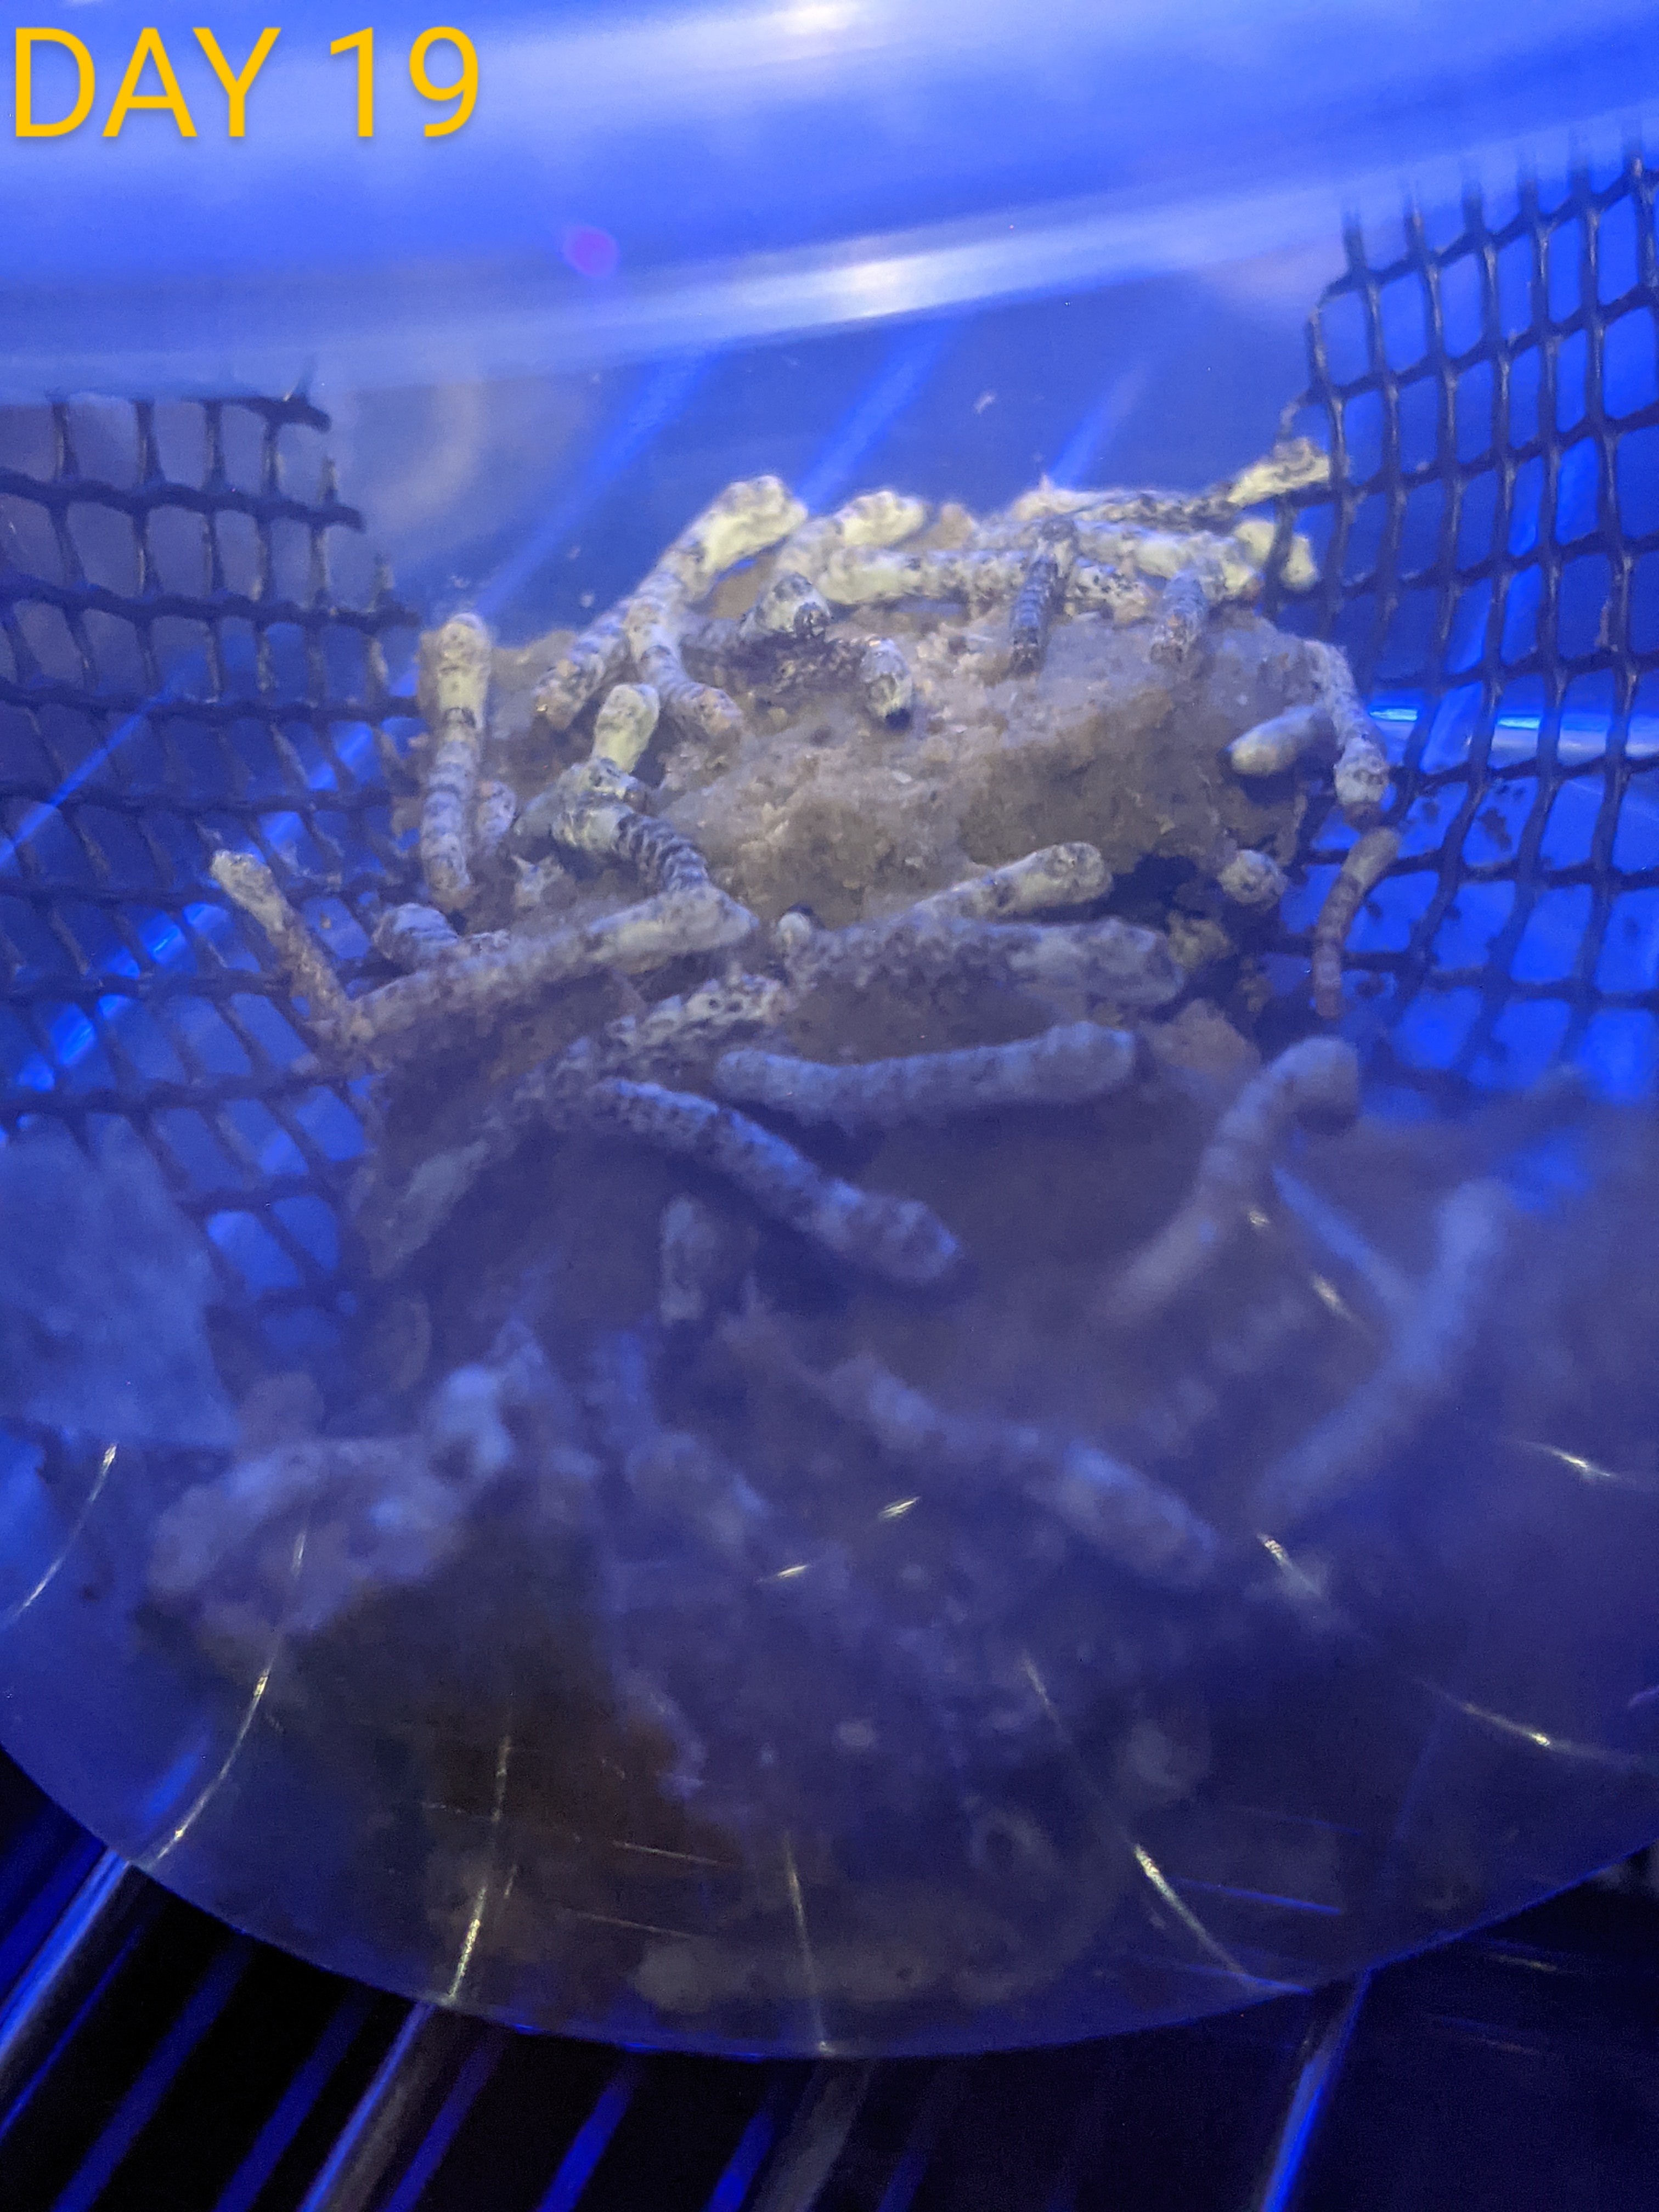
Well, I think after 19 days, I can call this a success. @erie-herps was absolutely right, this requires daily attention, and although I may still suffer some kind of failure here, I believe this went fairly well.


4 Likes
Those look great. Are you planning to feed them or raise some to moths?
3 Likes
I originally intended on growing them as feeders, although I plan on attempting to raise a few to try to breed, to see if I can avoid having to purchase more eggs. I’ve tried with hornworms and Hawk moths before, but wasn’t able to get the moths to eat from the hummingbird feeder, they all died some time after emerging from the cocoons, and never fed, so we’ll have to see how the moth and breeding parts of this go if I’m able to get a few that survive that long, and can go that route.
Also, just to clarify how this was done, these eggs were kept in an incubator at 82 °F, and after emerging at 6-7 days, I fed/feed them every day, either in the morning, if the food was all gone or in the evening if they had some to finish still, so I wasn’t leaving large portions of undried, uneaten food before adding more. I think the temperature is very important, too, at temperatures as low as 78 °F, they all but stopped moving and eating, as the temperature neared 80 °F they started moving and eating better, and at 82 °F, they thrived, eating and moving continuously. I hadn’t tried this variety in temperature more than a day, the difference was very noticeable, and although the upper limit of what they should grow in is 85 °F, I felt this was a good medium/high zone, in order to grow well but not too quickly, and to keep the food from drying out in a single day.
4 Likes