Here’s a quick how to for applying contact paper/adheasive vinyl to glass enclosures. This will work on any very smooth surface.
Supply used:
![]() Self adheasive contact paper-
Self adheasive contact paper-
https://a.co/d/7pNP2yA
![]() Smoothing kit-
Smoothing kit-
https://a.co/d/6JagjtH
![]() Scissors
Scissors
![]() razor scraper
razor scraper
![]() Isopropyl alcohol
Isopropyl alcohol
![]() Paper towels
Paper towels
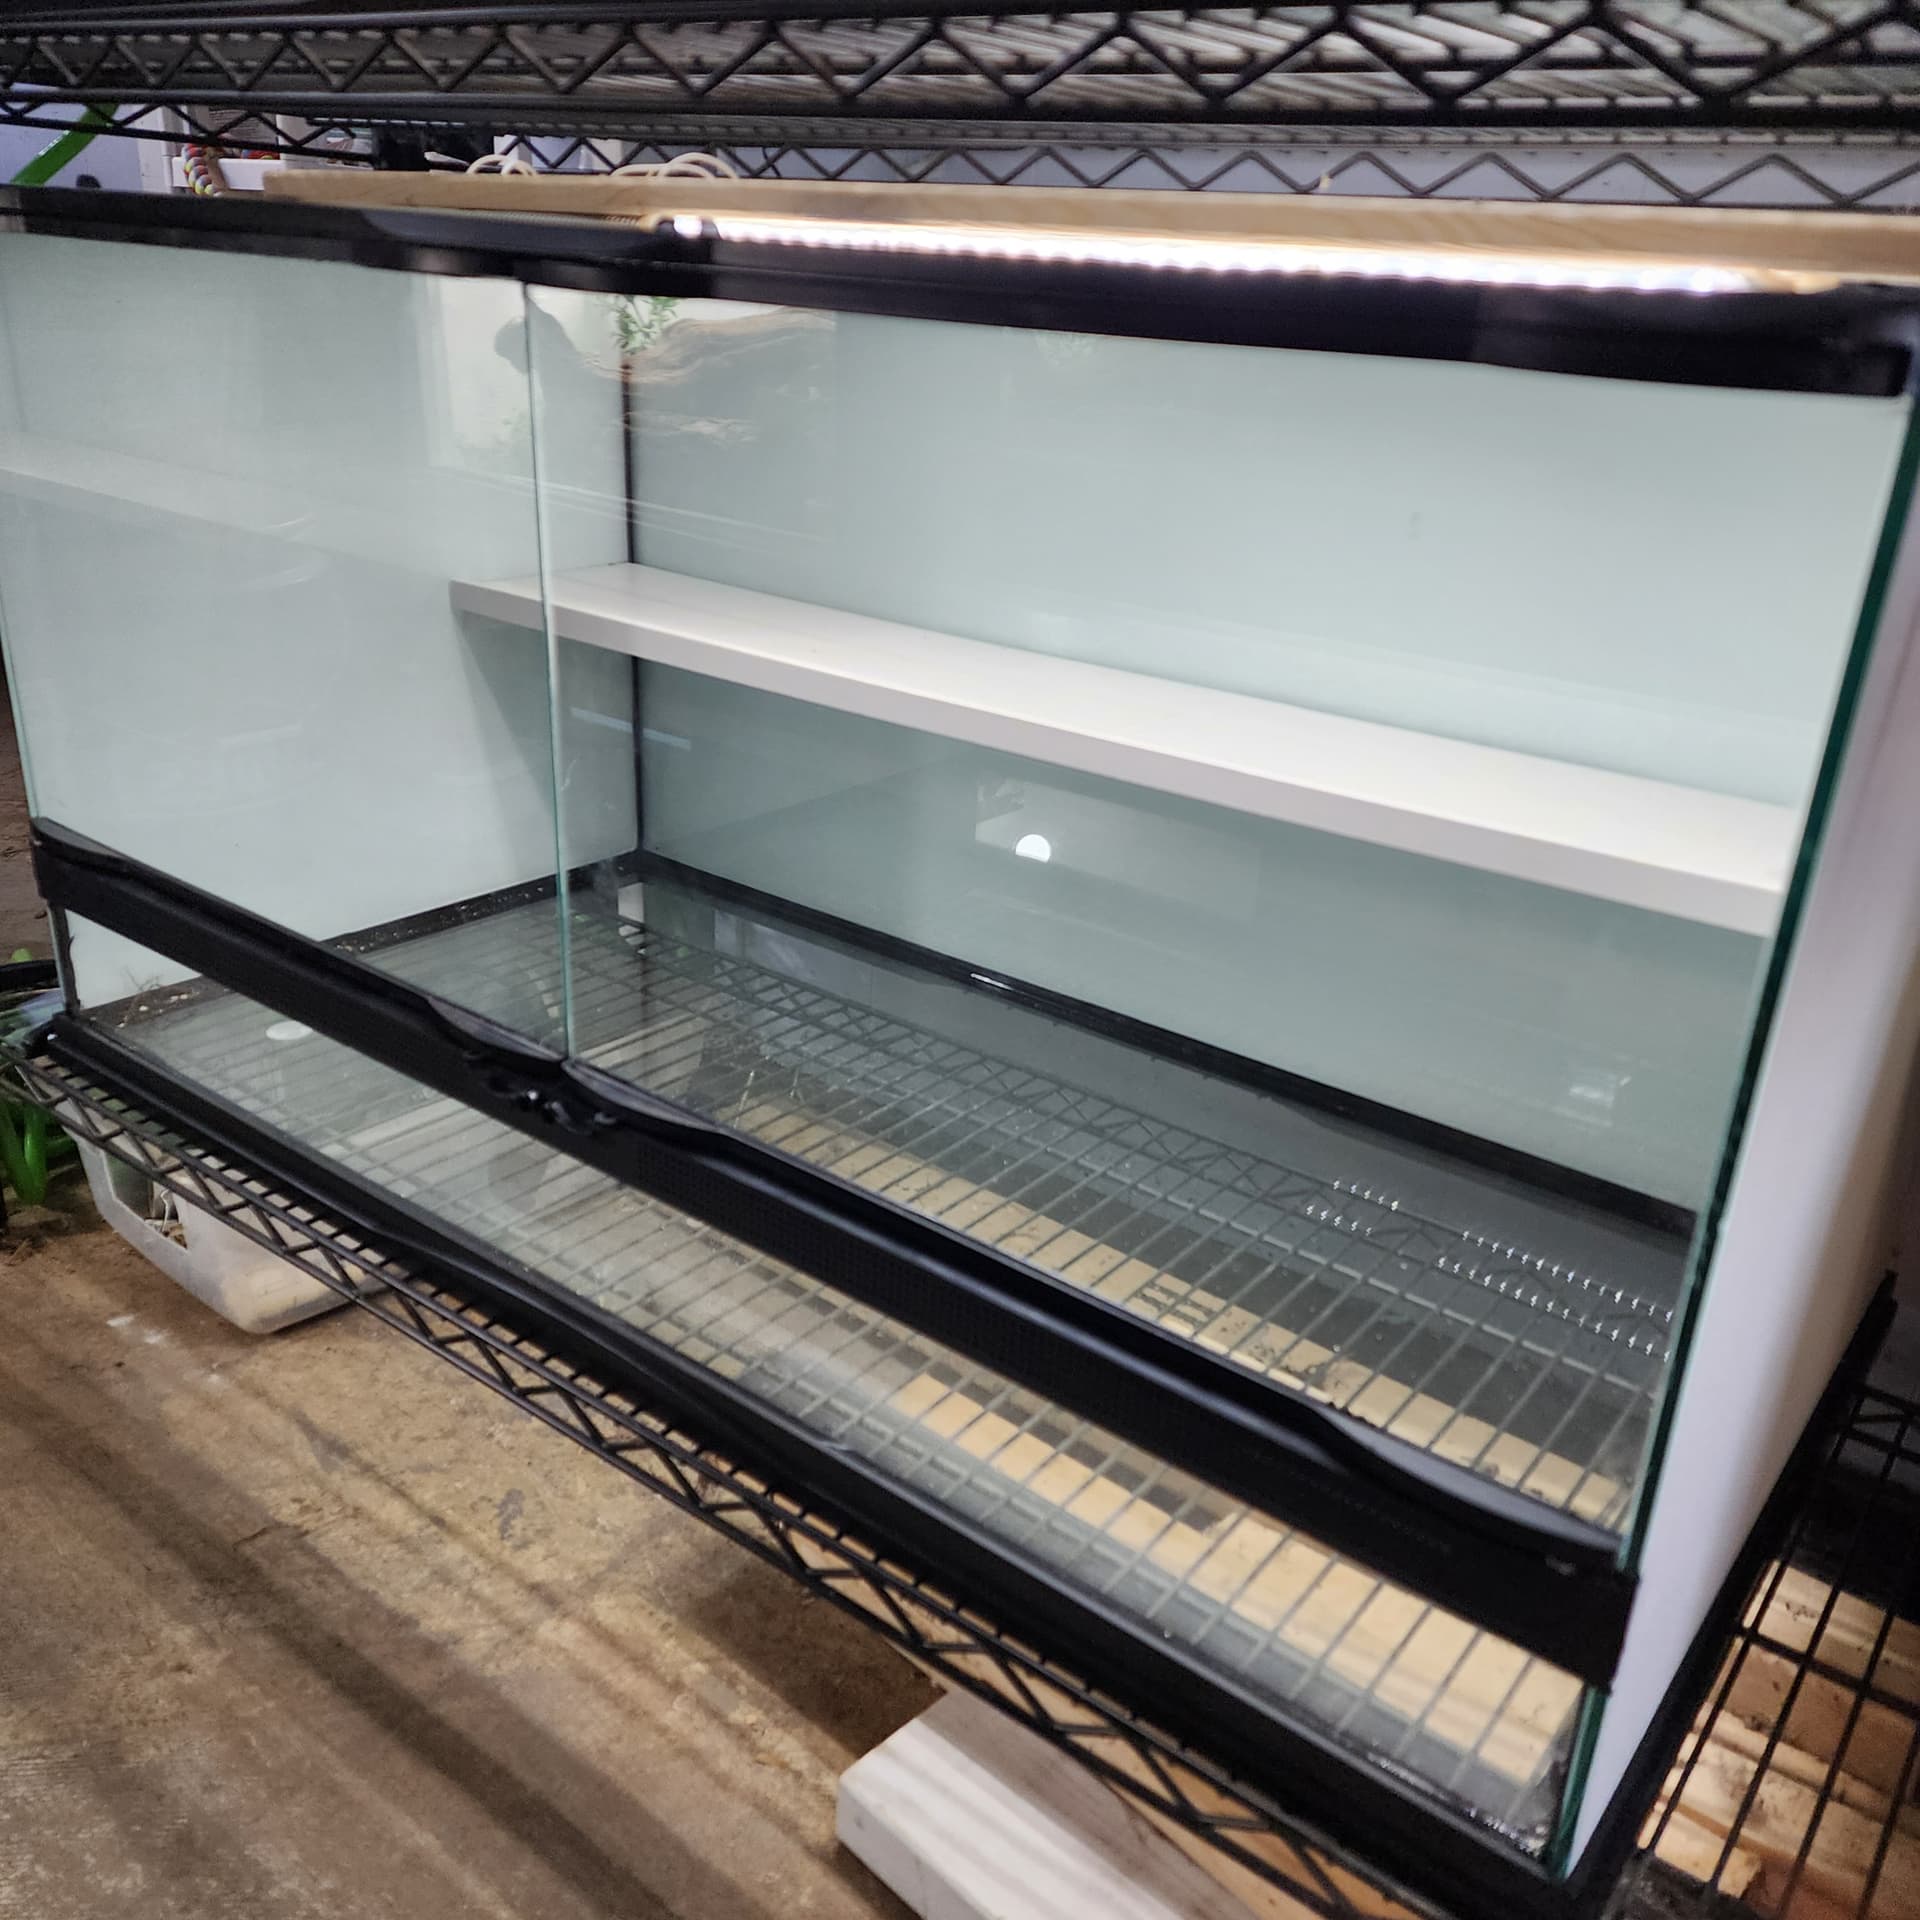
Face the side you’re working on up, then clean with alcohol and papertowels. Remove any silicone that may be sticking out with a razor scraper.
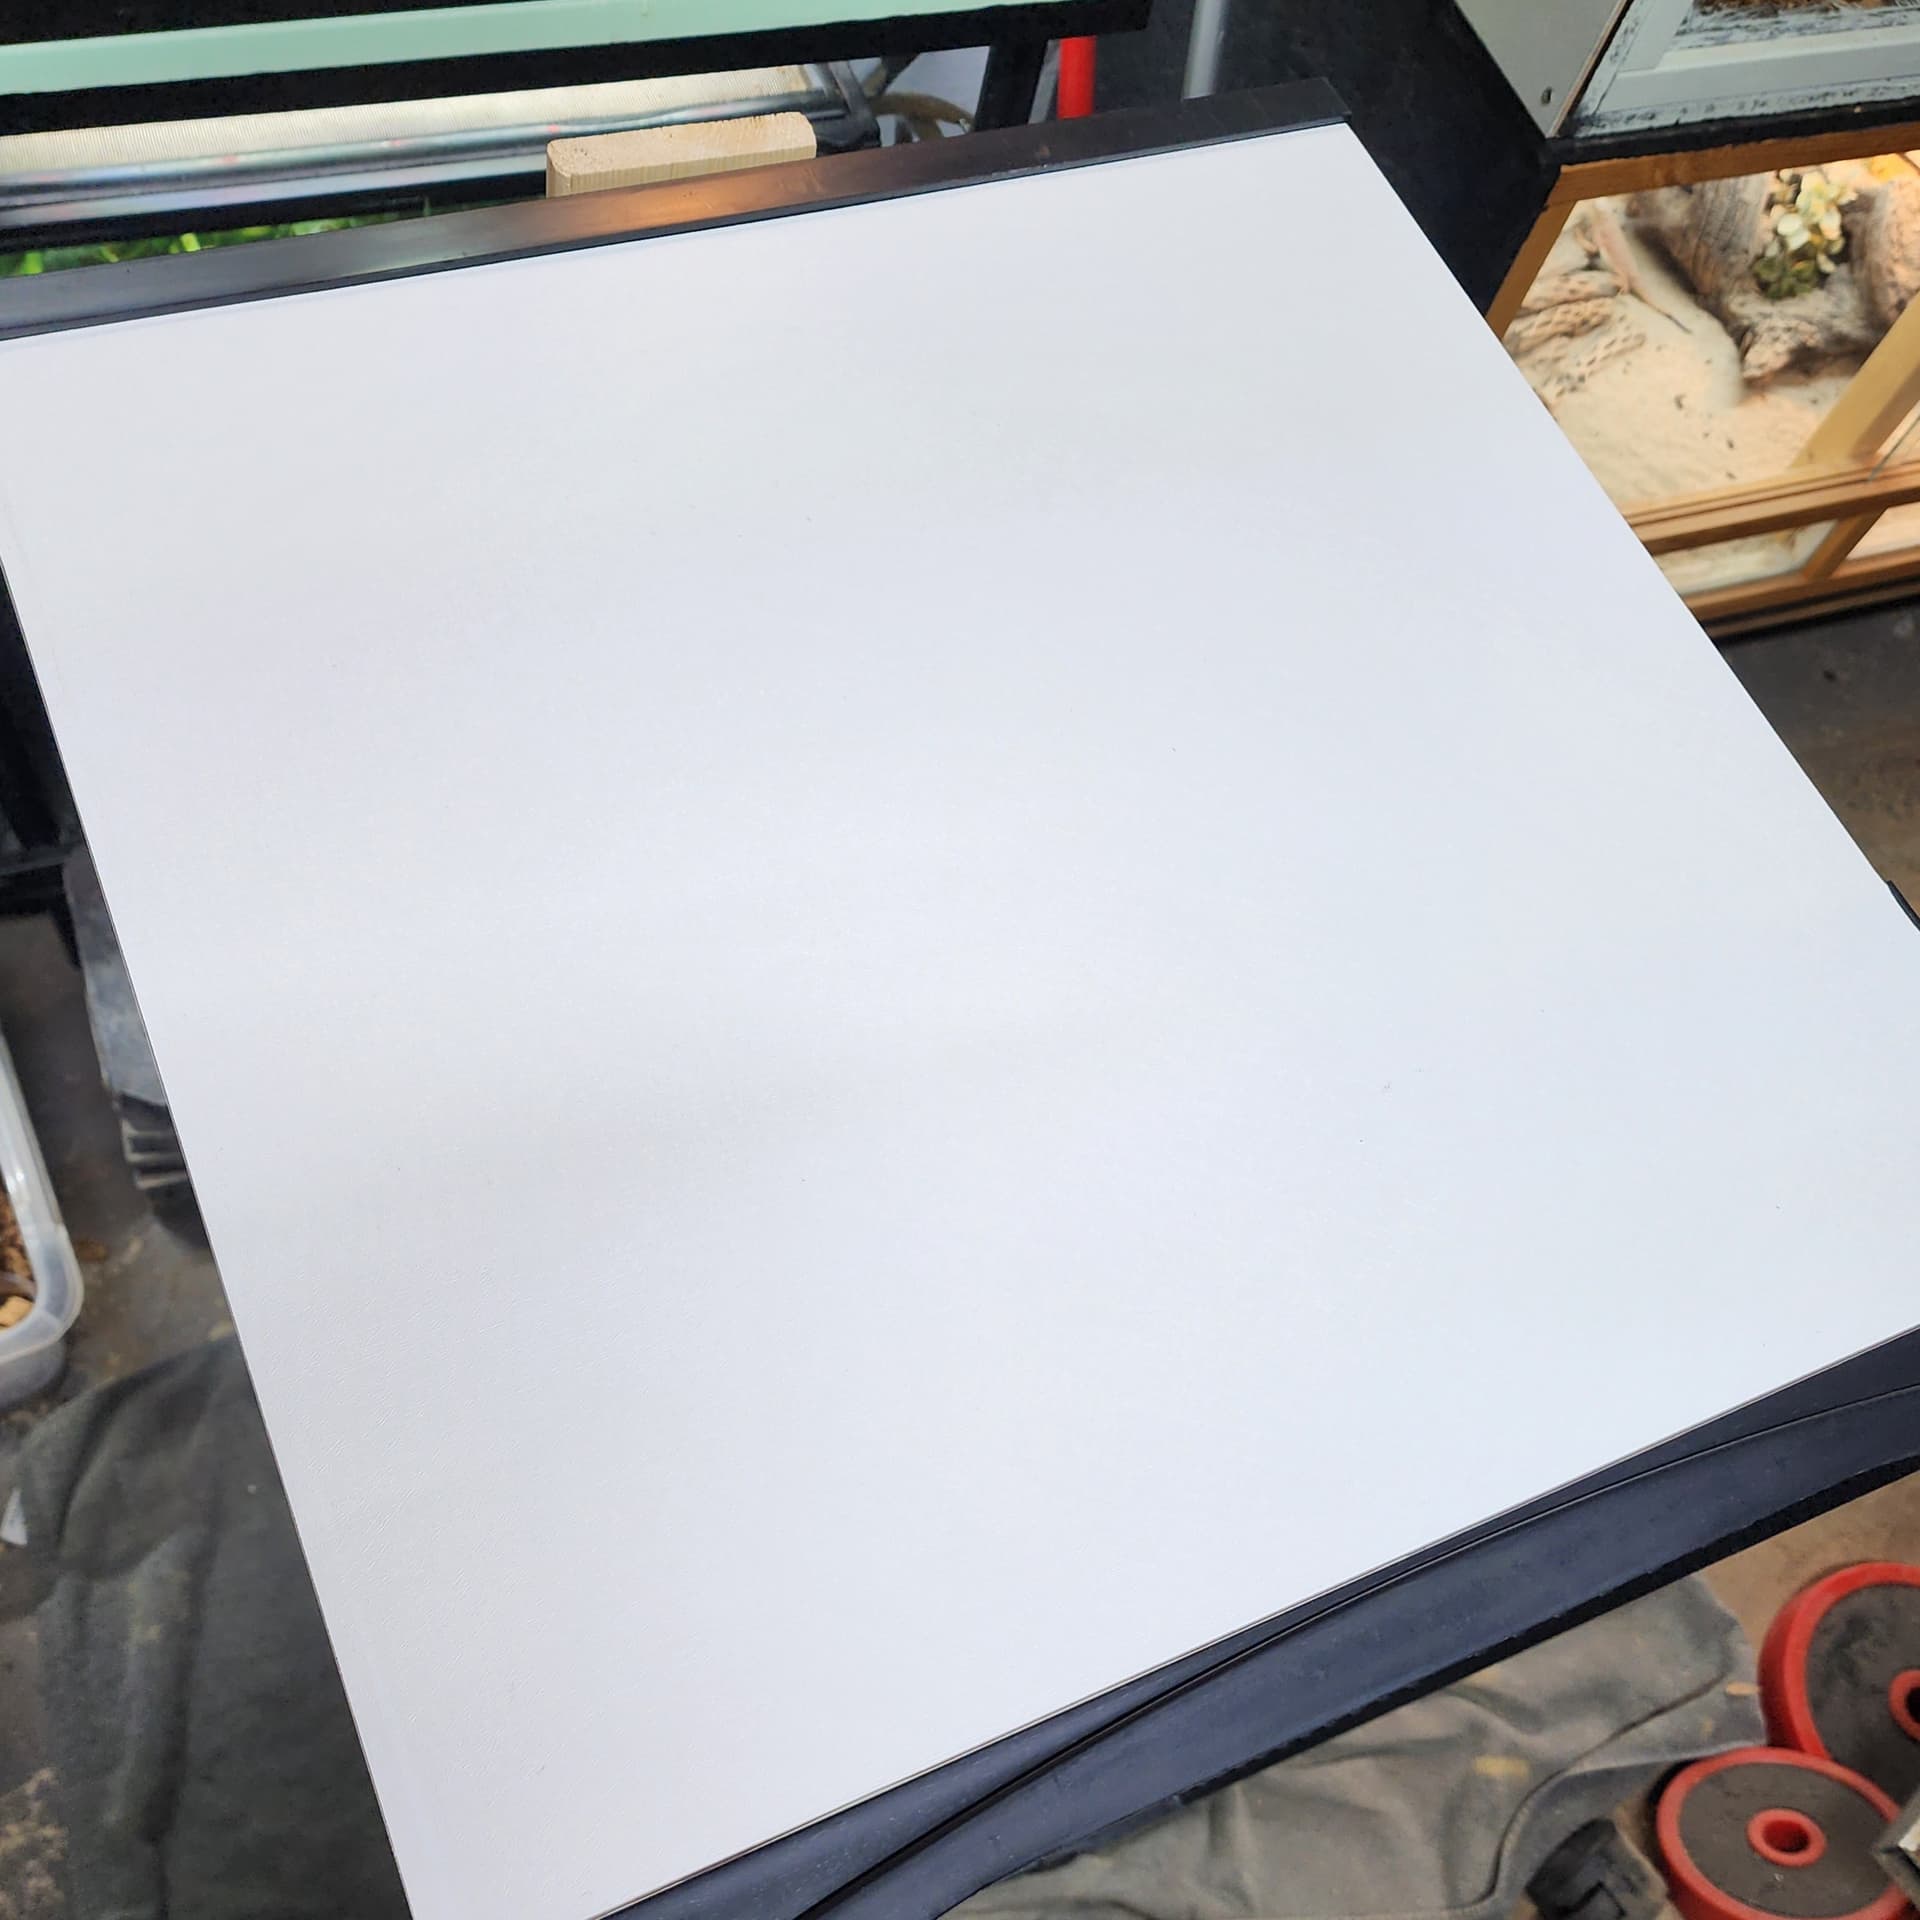
Cut your sheet to size making sure to leave 1/2 to 1in extra on either side. Peel back about 1in along the straight edge of your piece. You’ll be aligning this edge to the top or bottom frame of the enclosure.
Center the peice and lightly press the exposed adheasive to the glass directly under the frame, start in the middle. Use your finger and nail to press the strip flush with the frame, adjust with your free hand while doing this.
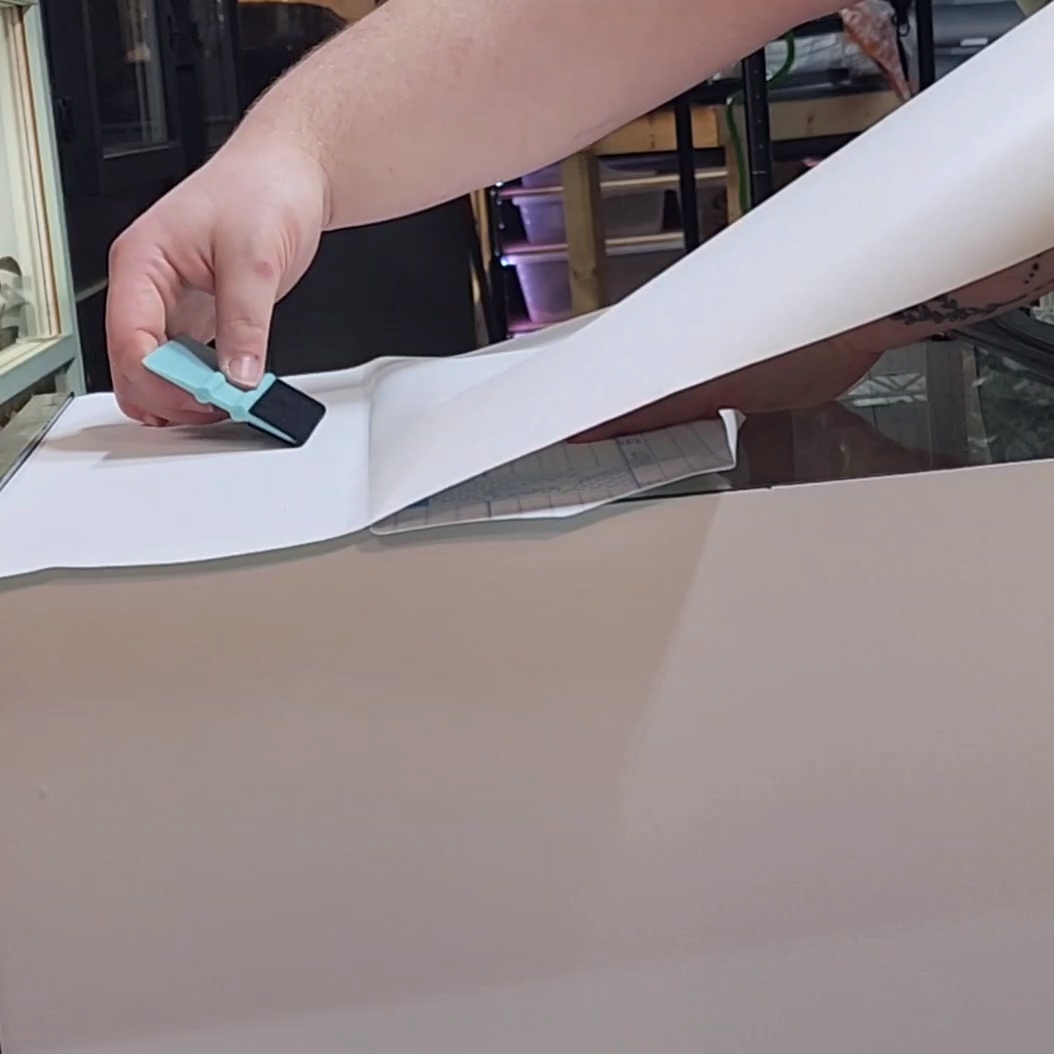
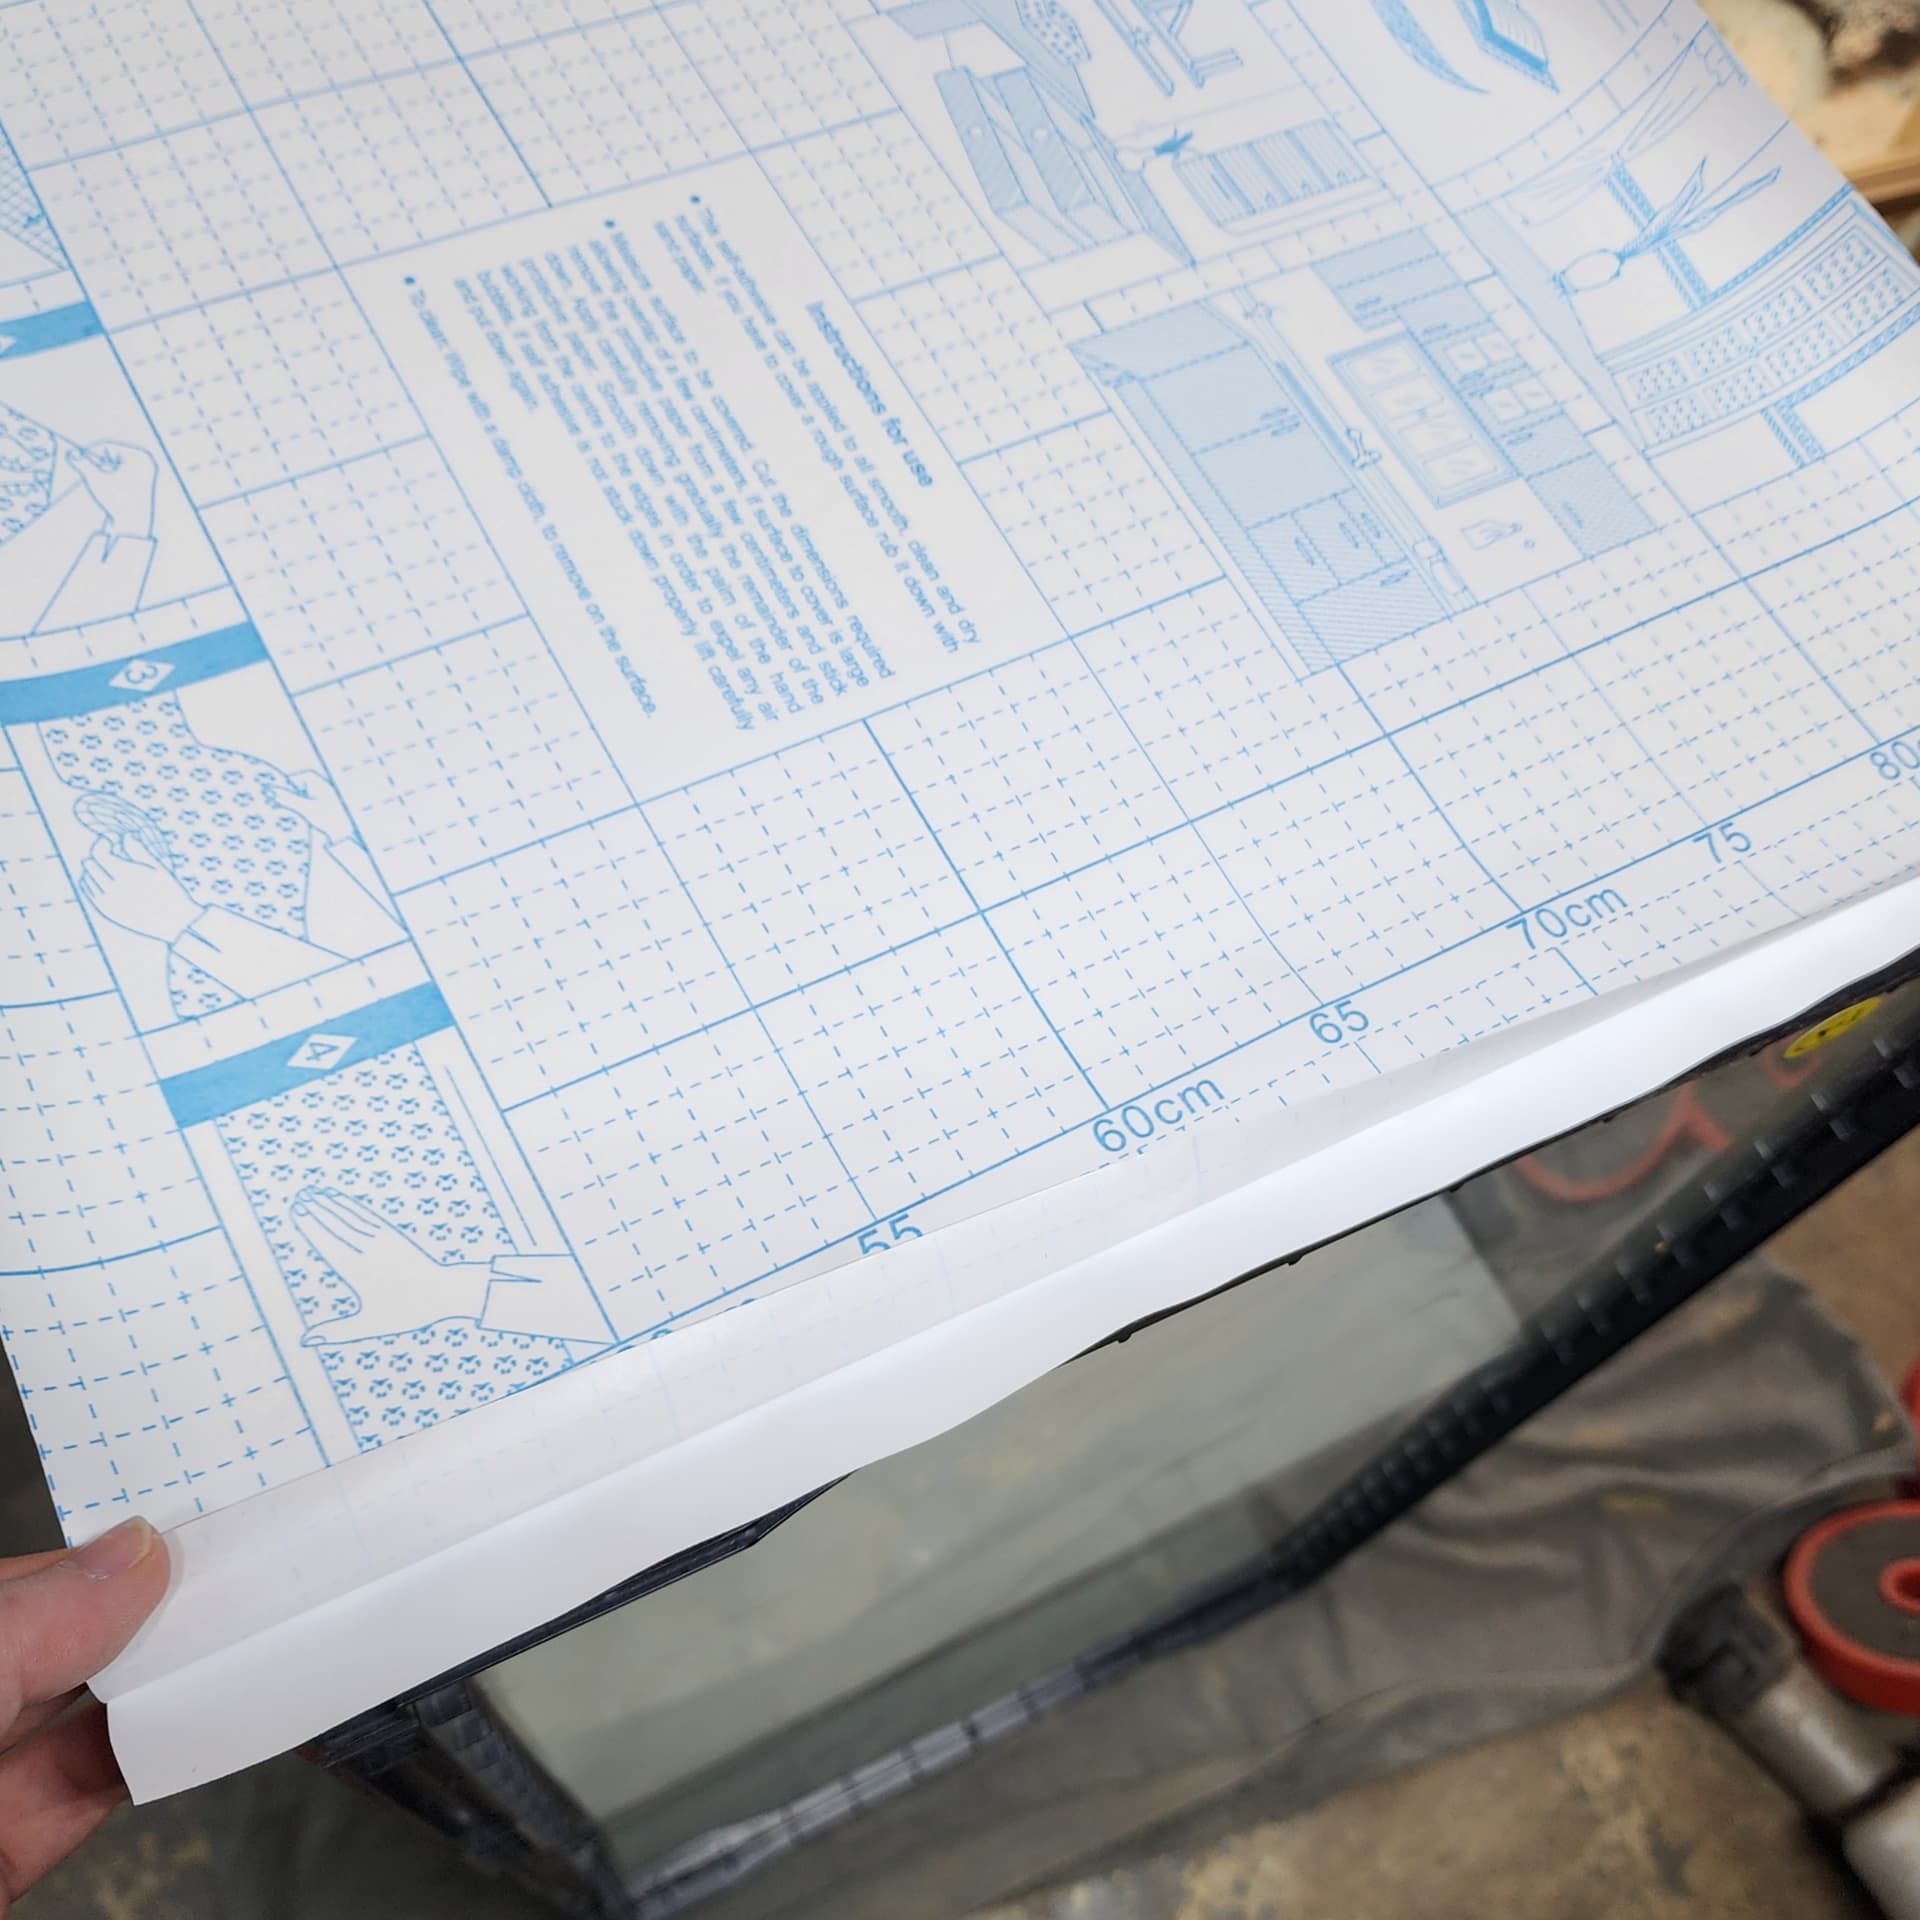
Once secured get your smoothing scraper in one hand and hold the protective backing of the vinyl in the other. Pull straight back, slowly. As you pull you will use your scraper to push air bubbles out, scrape towards where you are pulling from. Work from the middle out to the edges.
If you notice a crease, gently lift the vinyl back up just above where it started and scrape it back down slowly. Do the same with trapped bubbles.
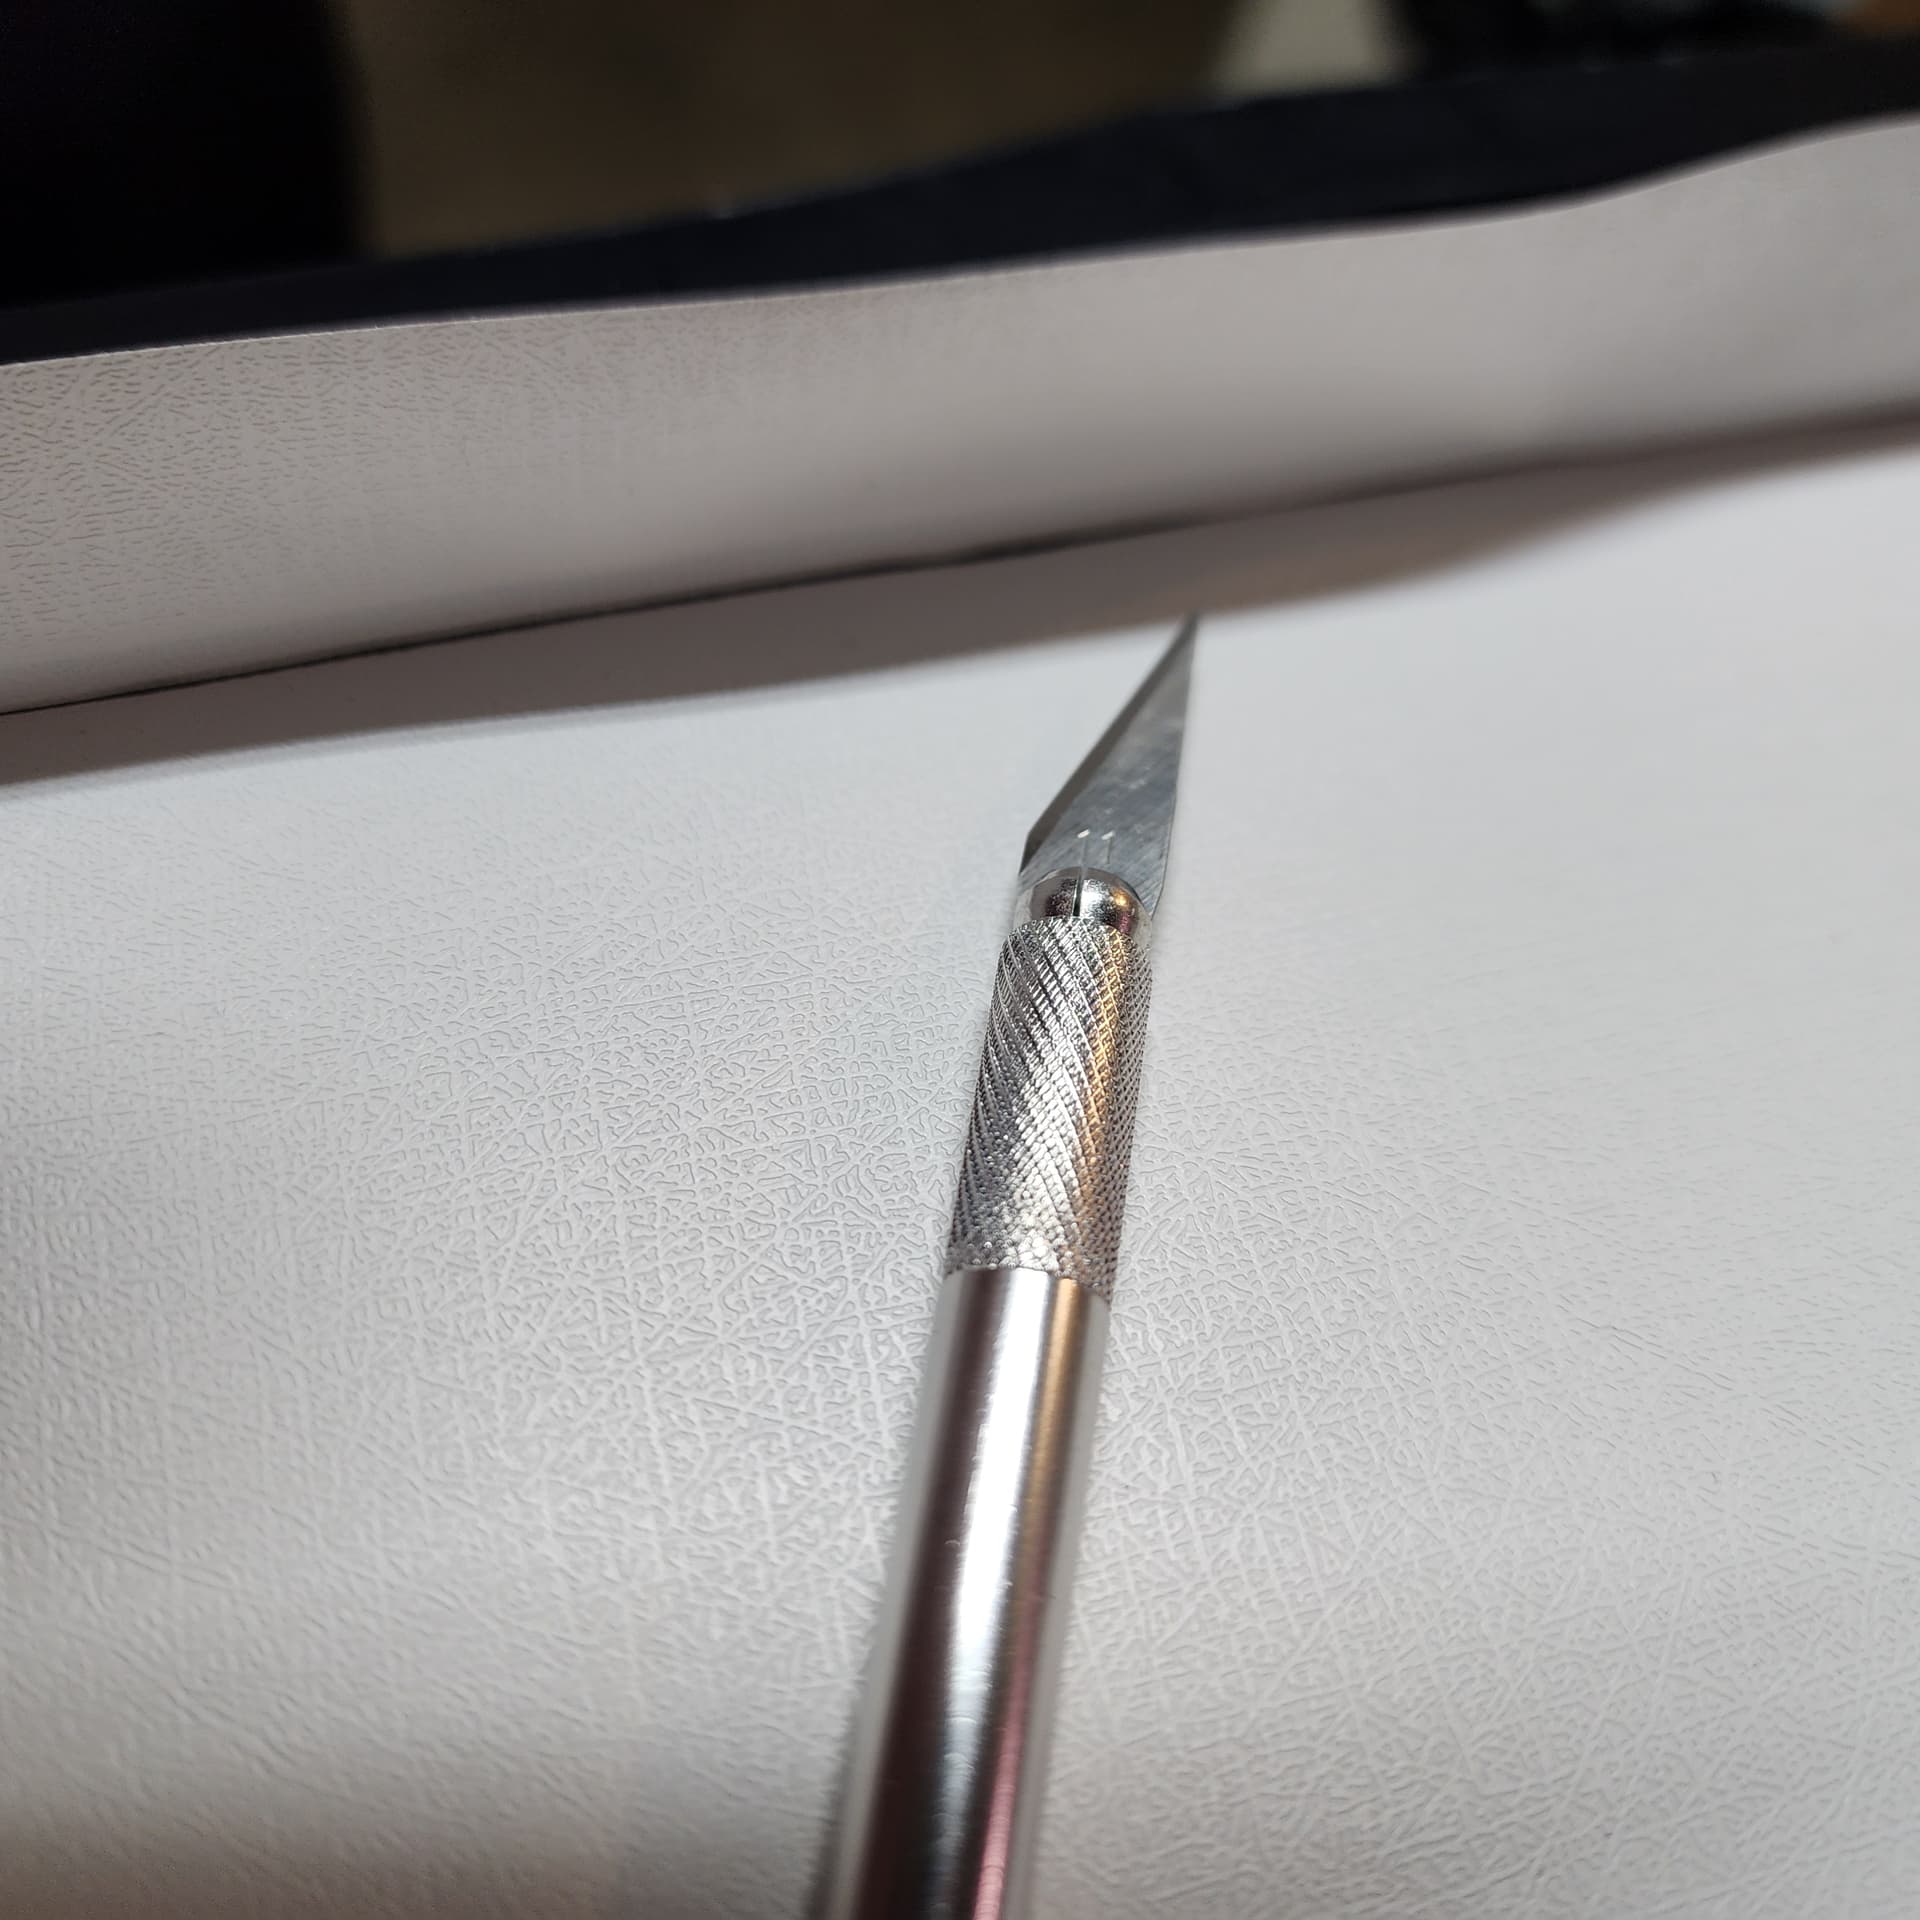
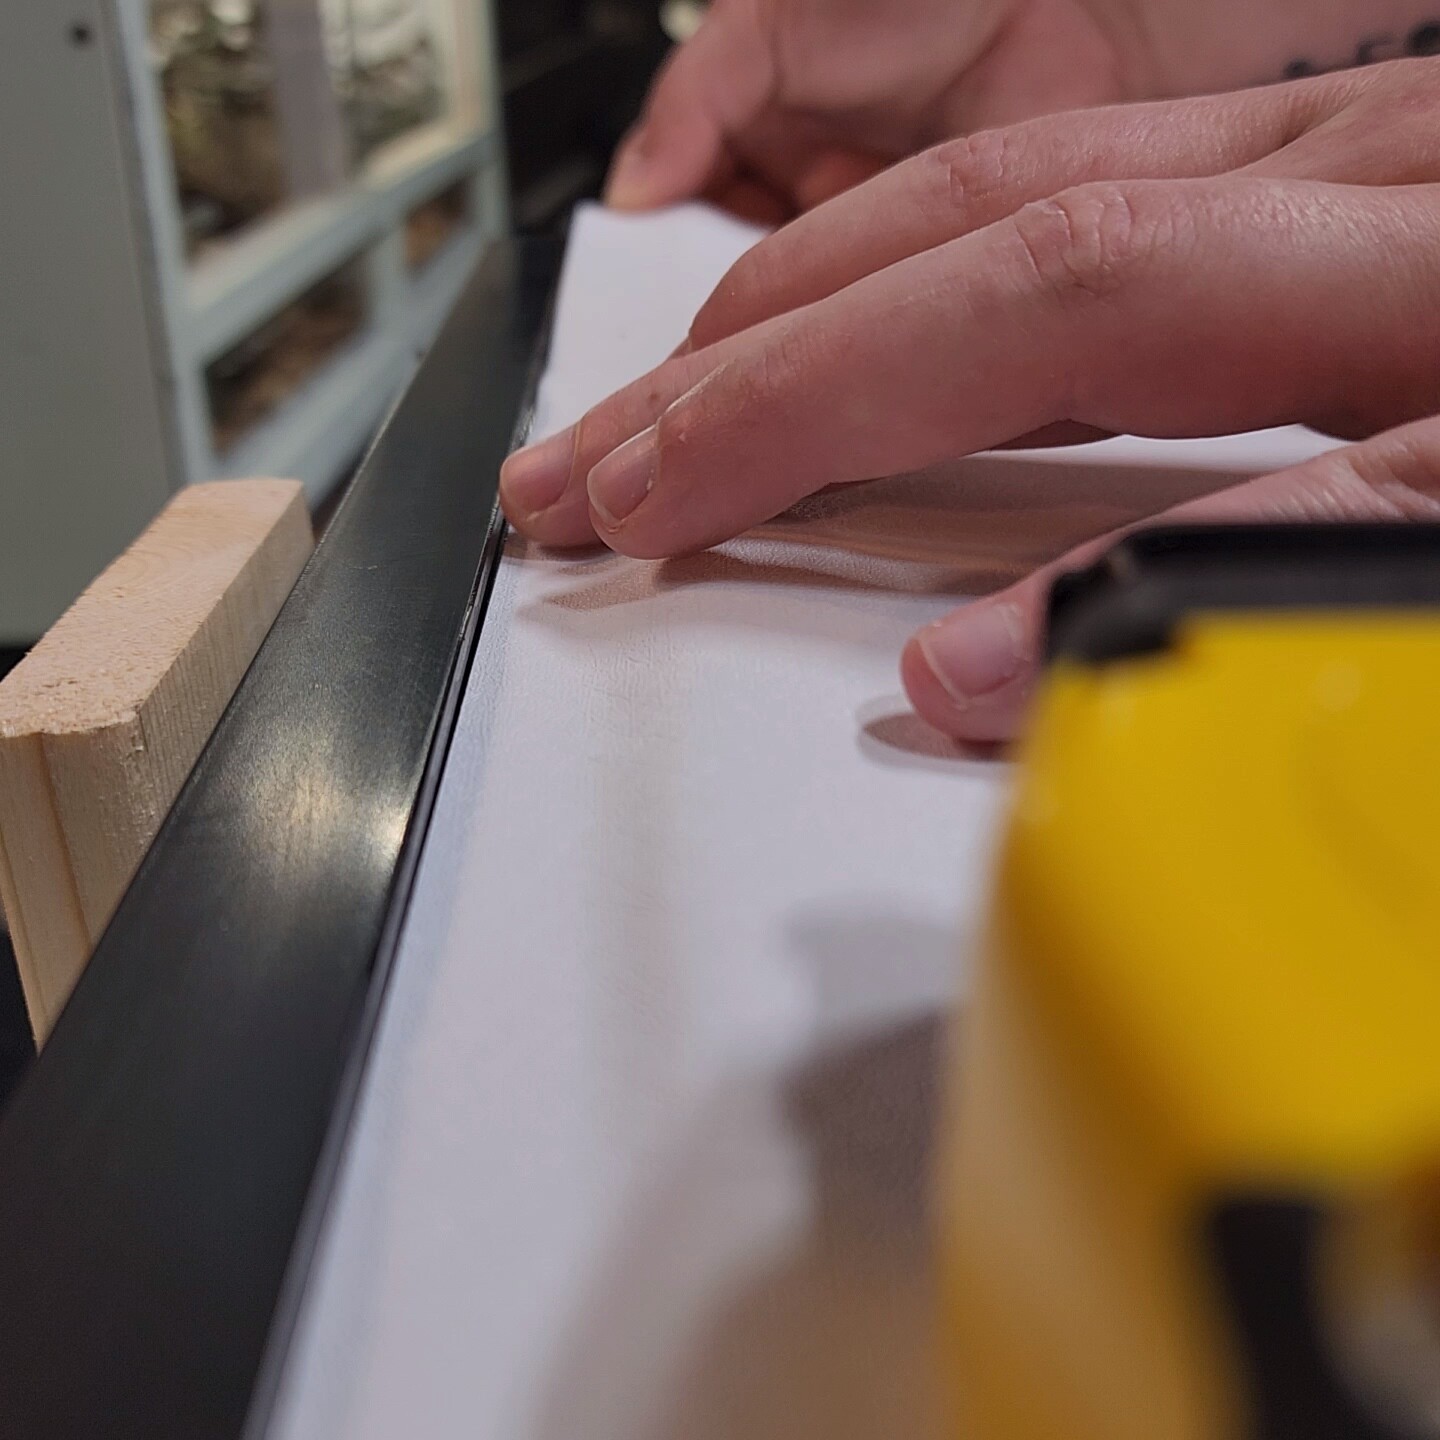
Once everything is adhered you can begin trimming off the excess. Start with the trim, run your nail in to the crease to make sure the vinyl is as flush as possible.

Using the trim as a guide, press your blade in to the crease at a slight angle and cut. Very little pressure is needed, hold the loose side of the vinyl tight to help the blade glide smoothly.
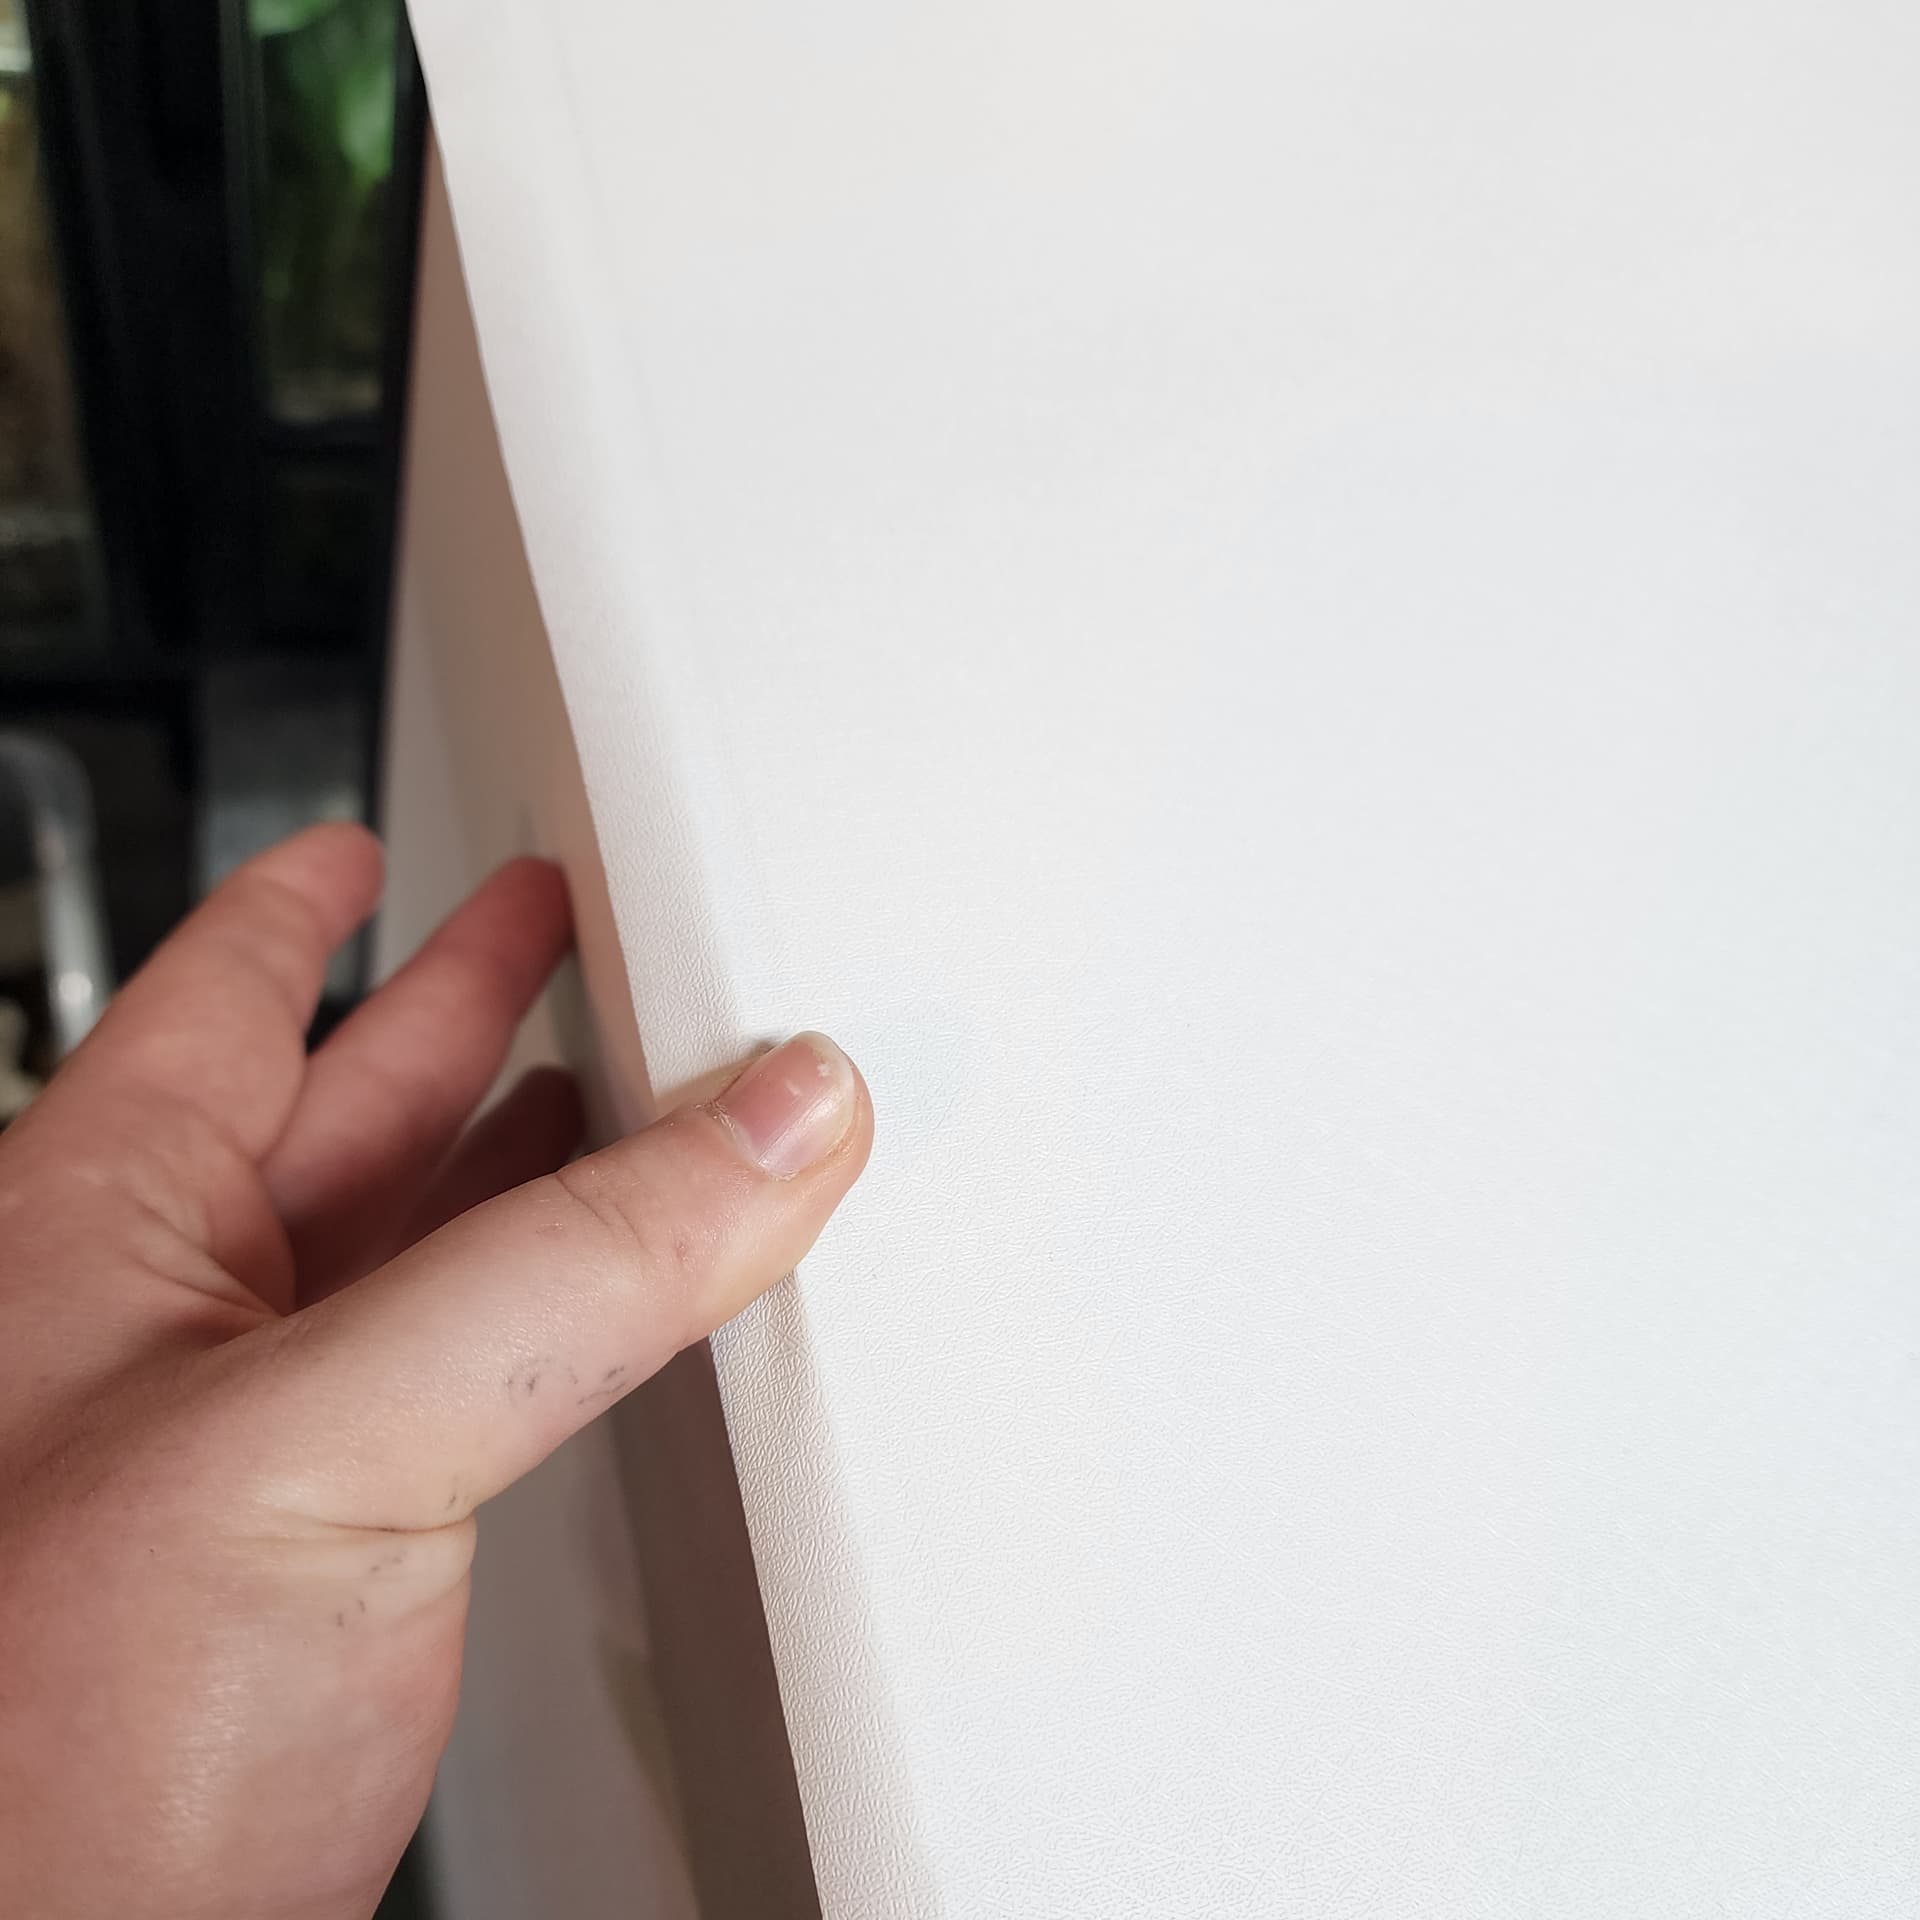
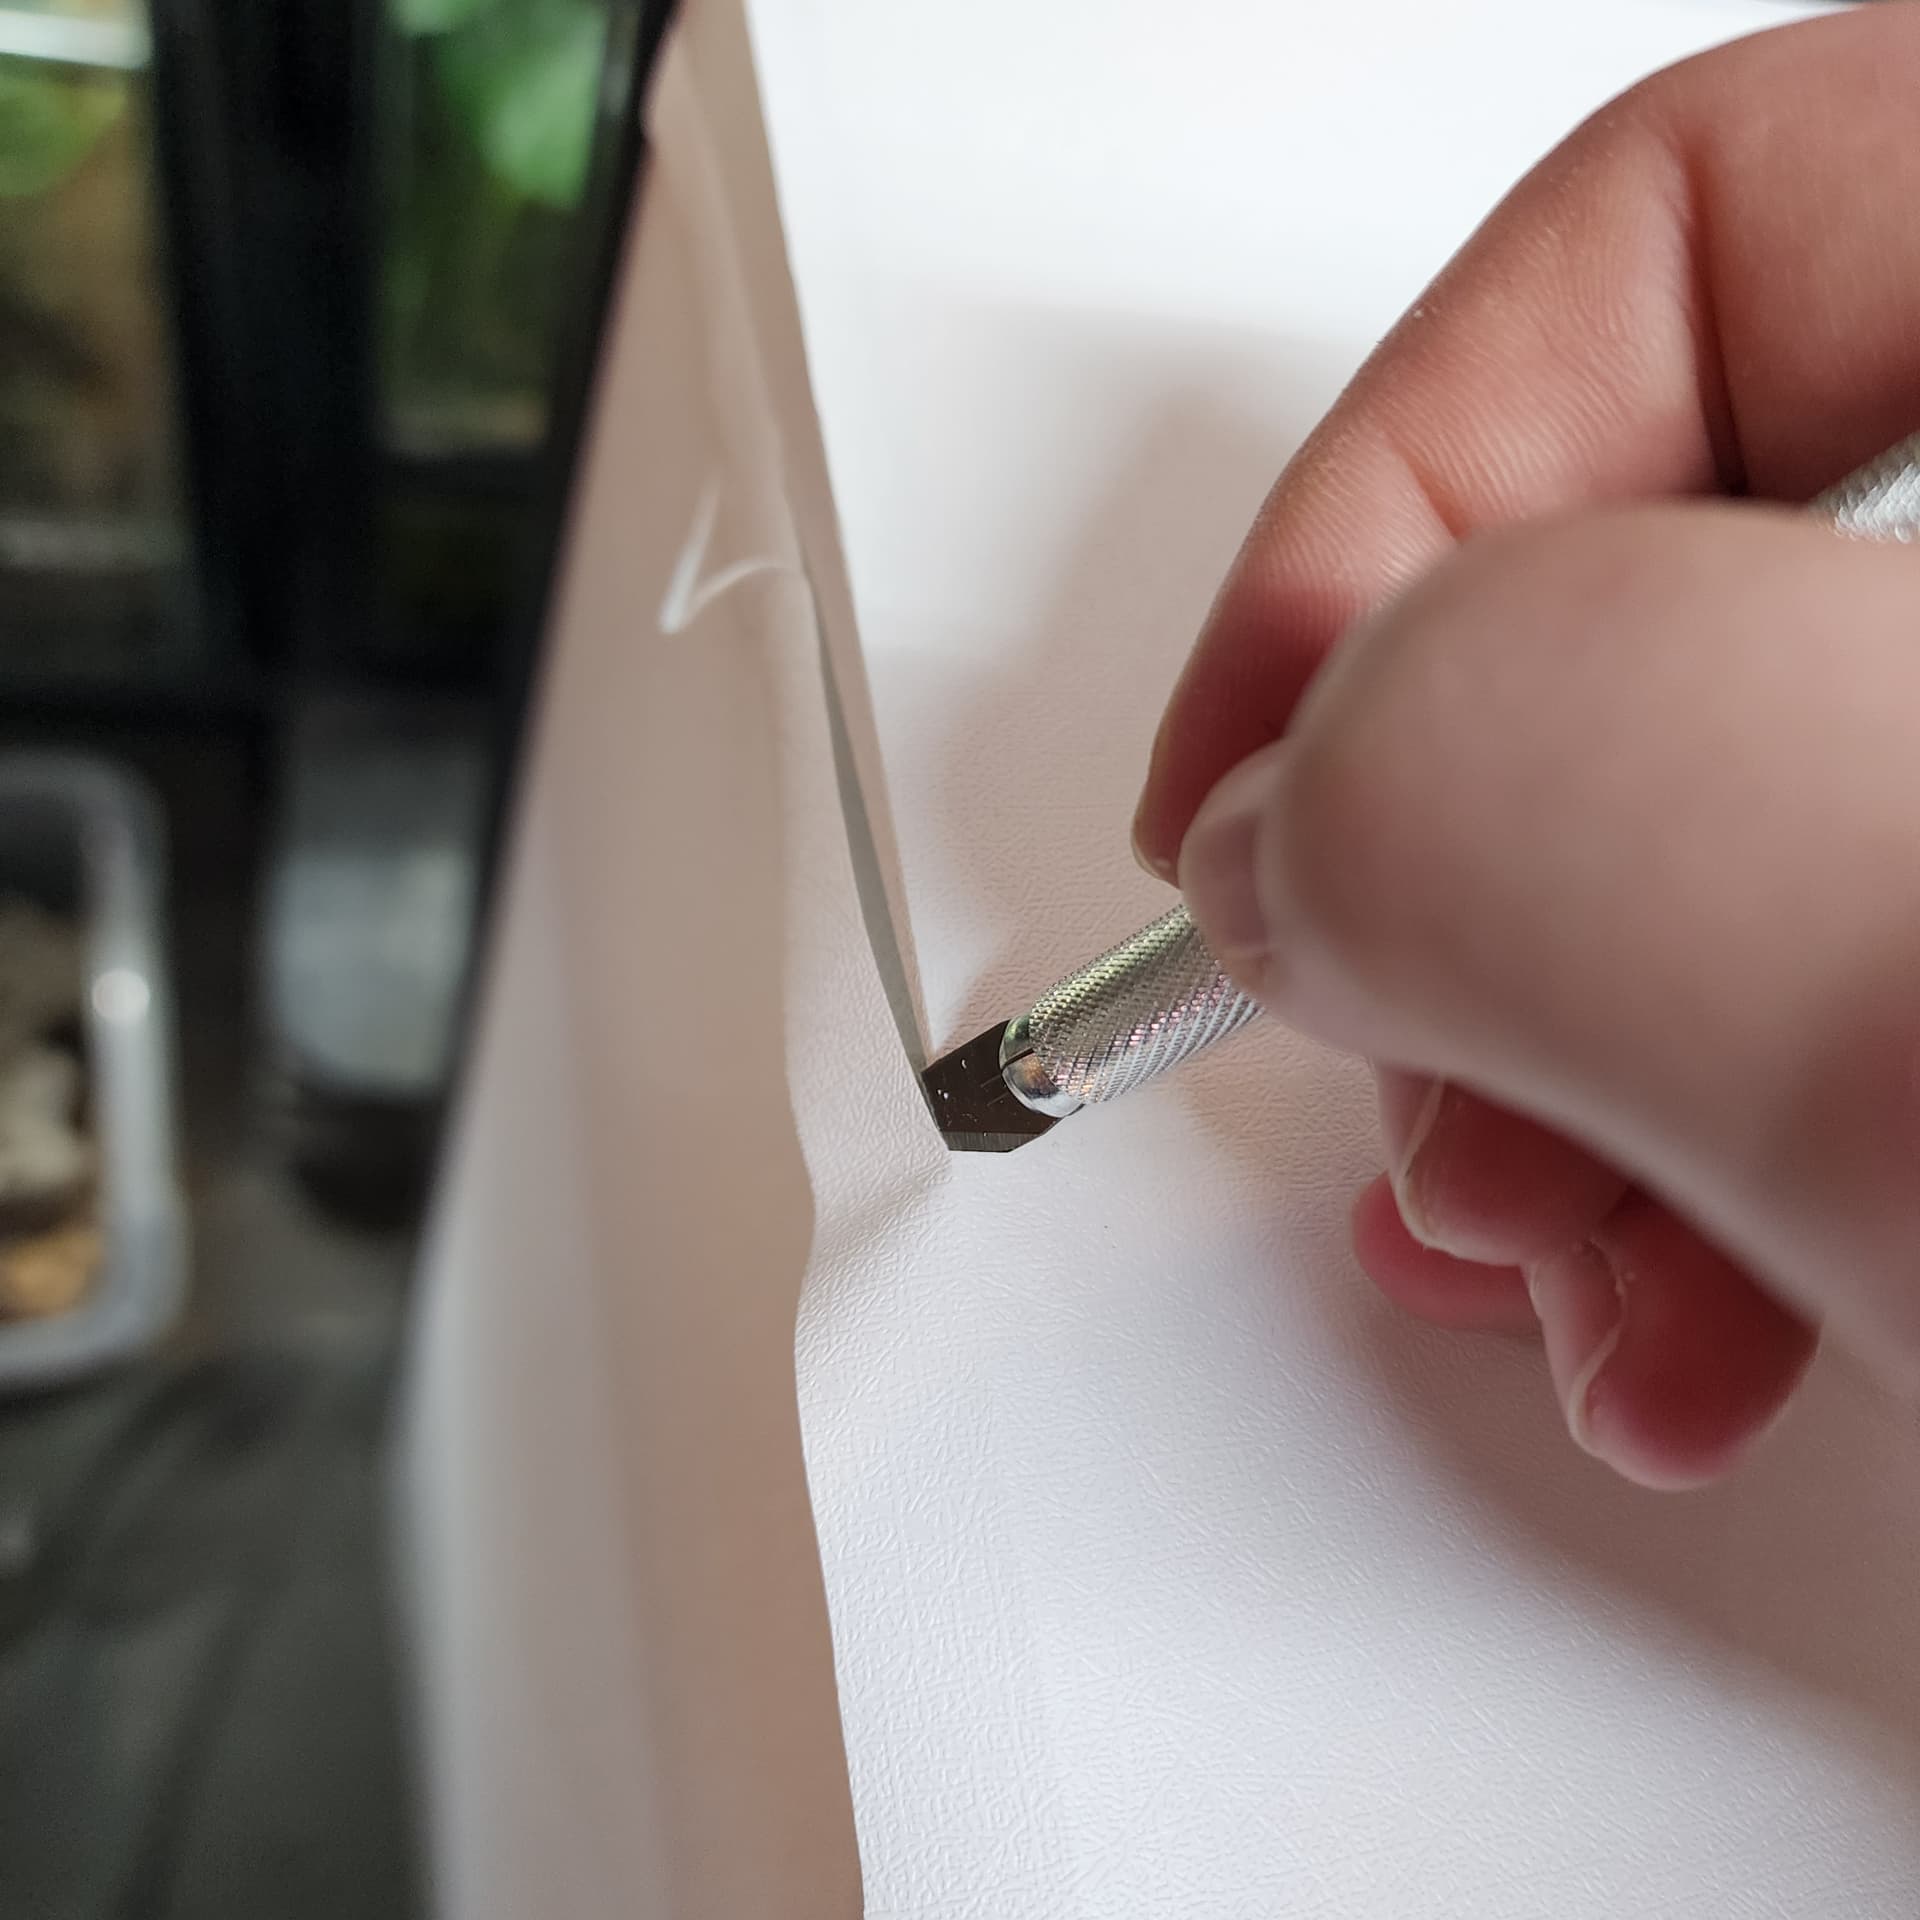
For the edges you’ll want to add a crease to them first, I find this helps me visualize where the edge is as well as holds the sides of the vinyl firmly to the glass. Run your blade at a slight angle to the glass, using the edge as your guide. Once cut I go back at an even sharper angle to make a final pass over the edge, this trims off a very small amount and leaves a uniform end that is less likely to peel up.
Repeat these steps for all the sides you want covered.