I’m building a rack system to house a dozen of my snakes.
I see everyone using white melamine. Why not use black?
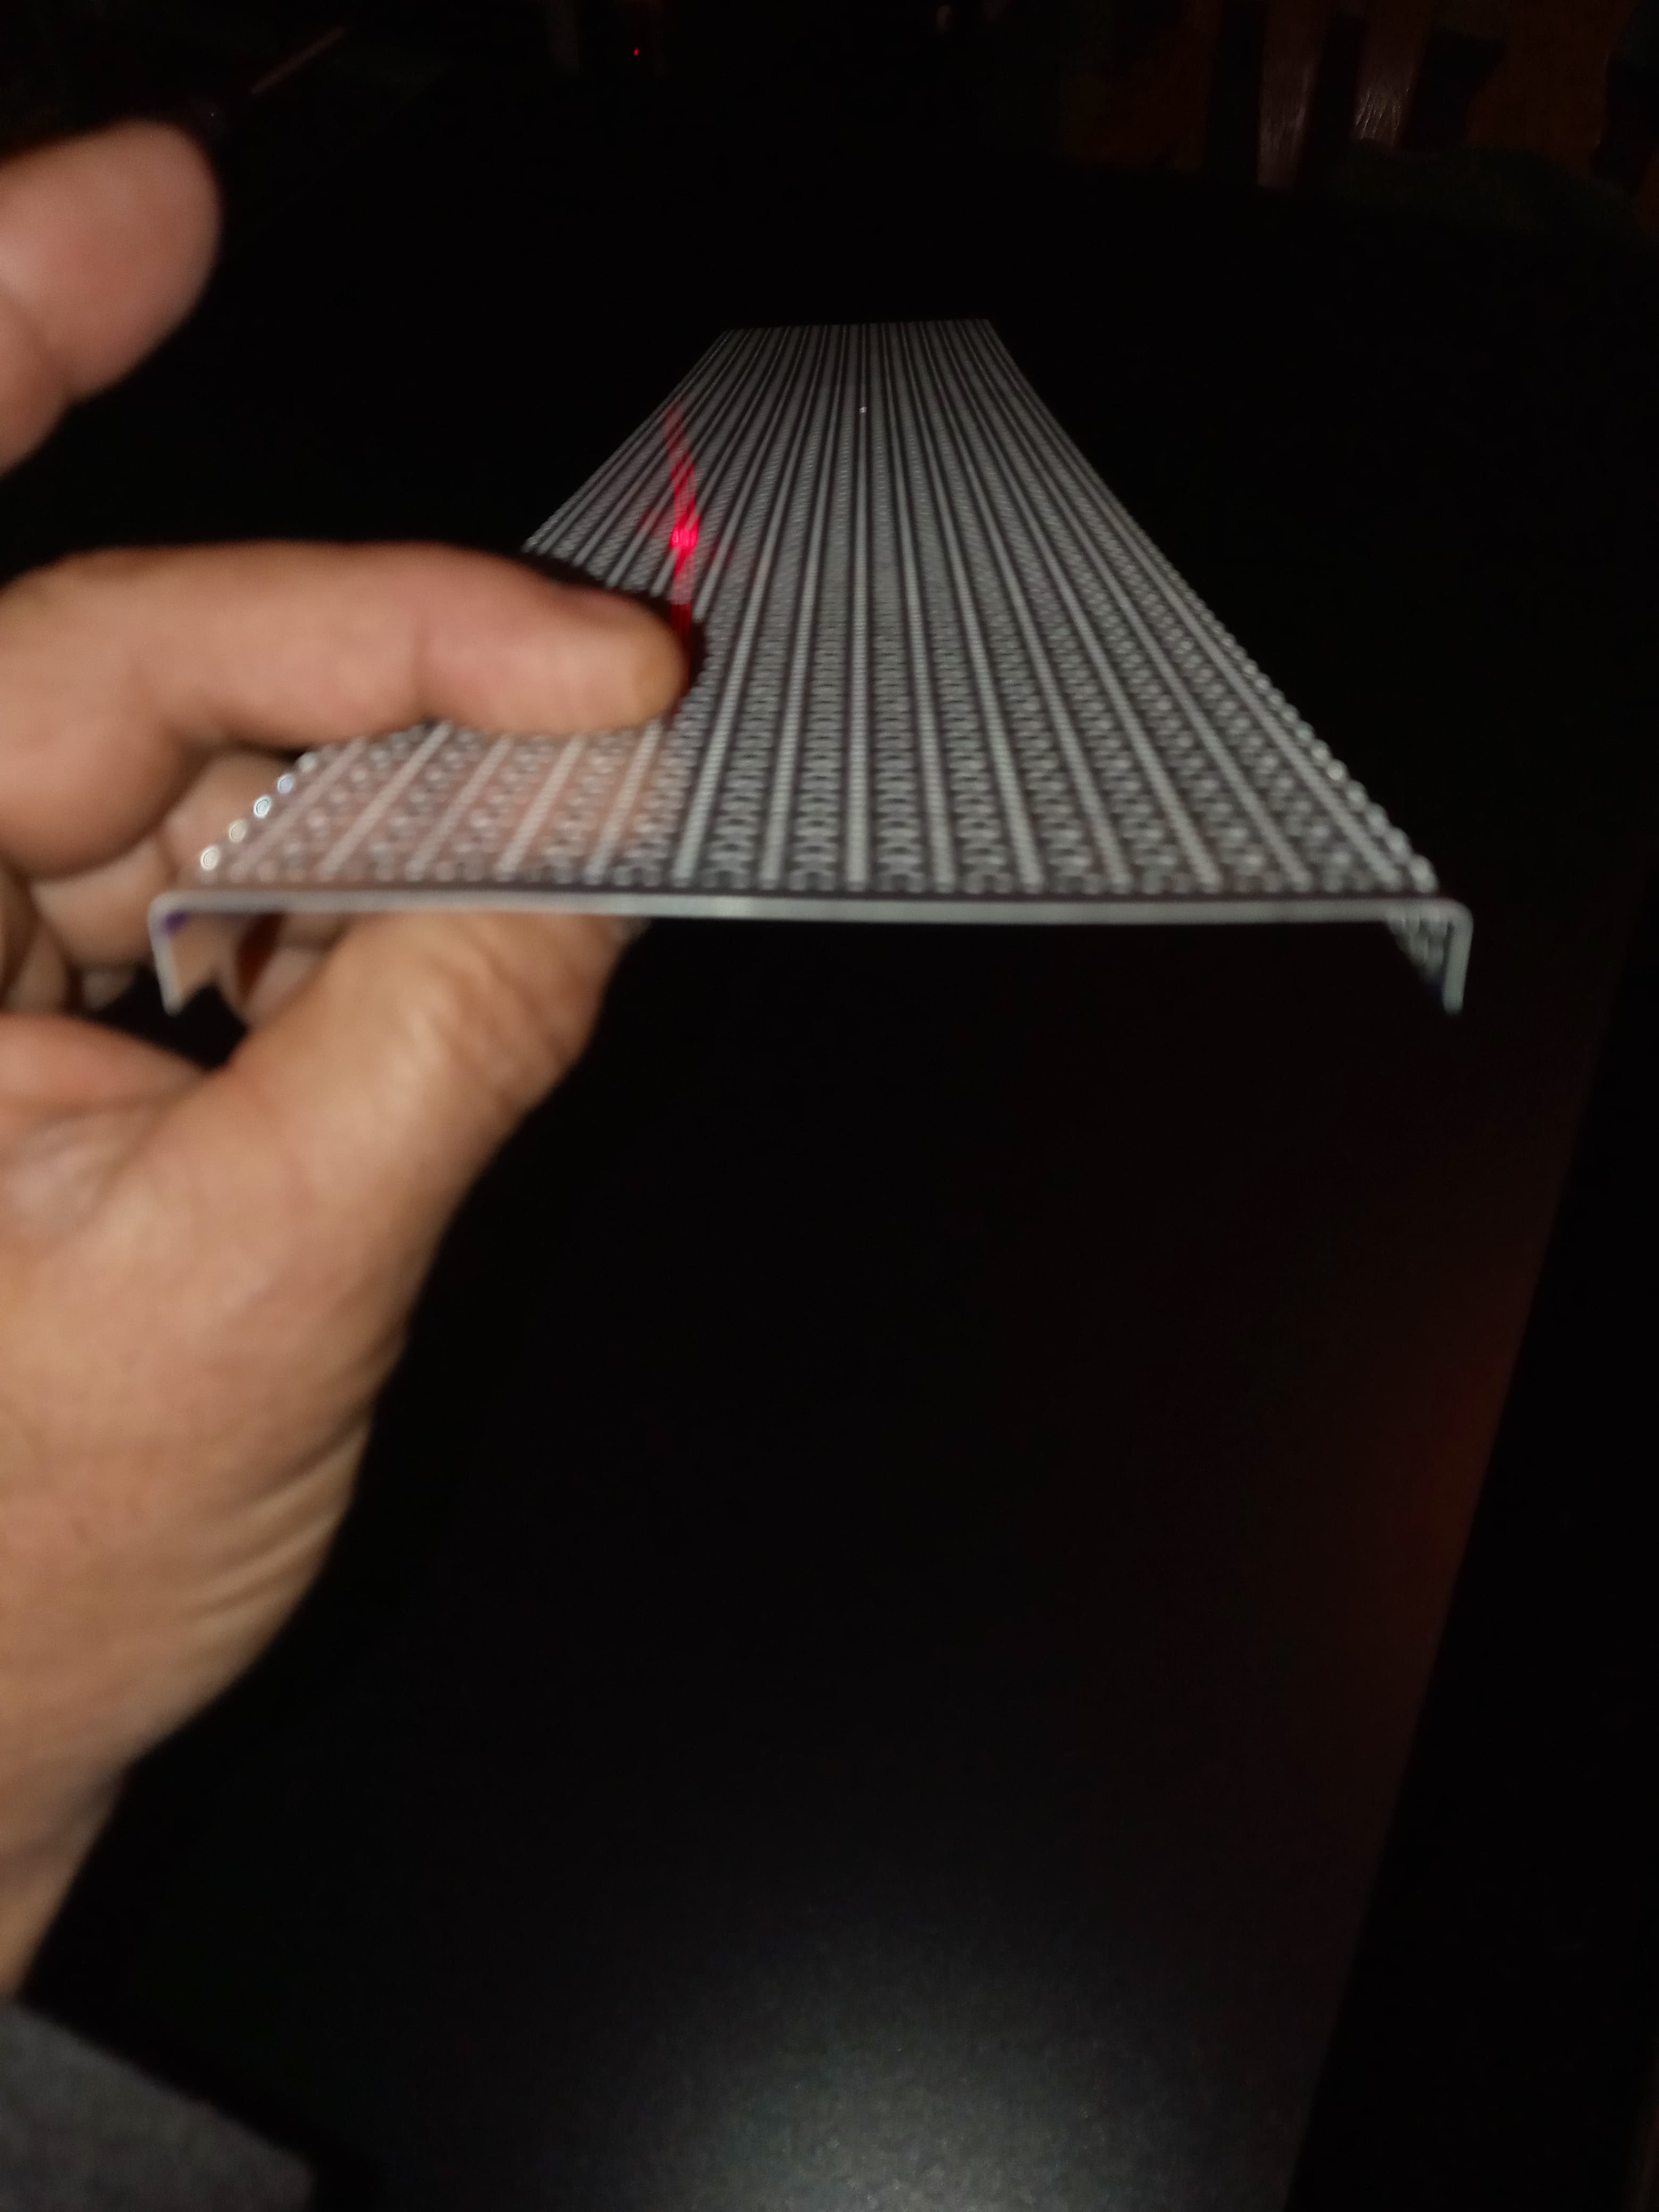
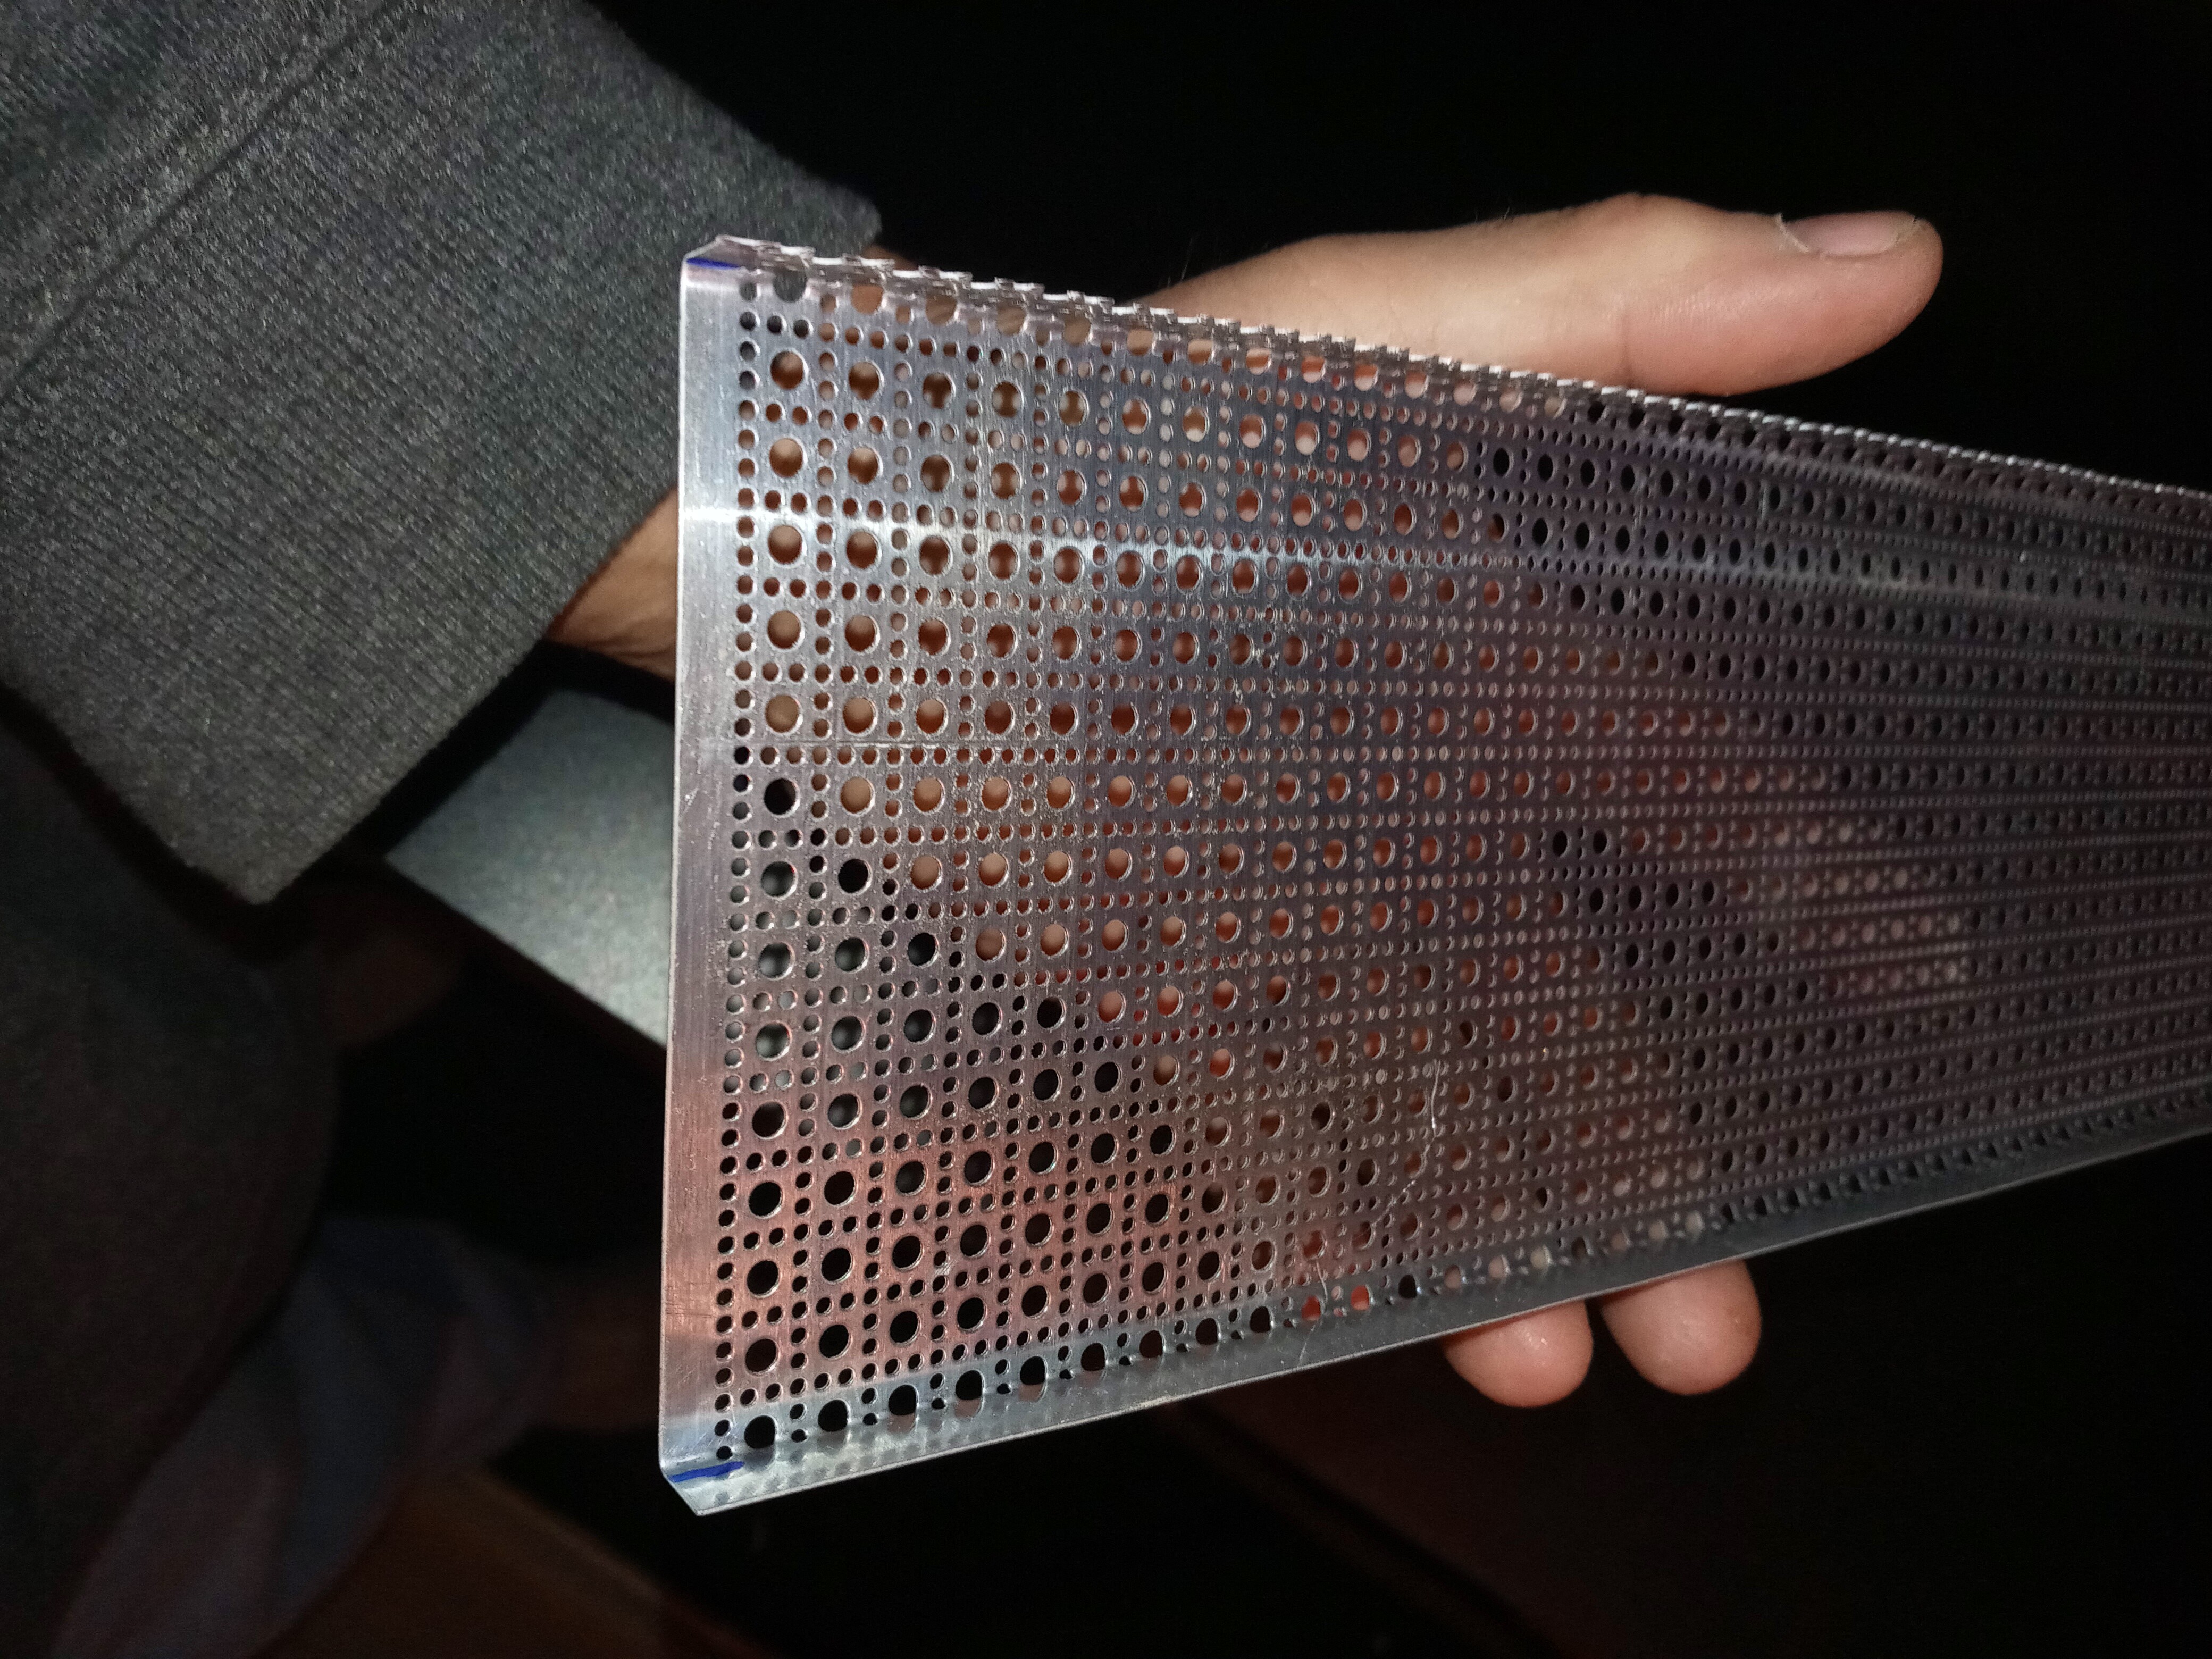
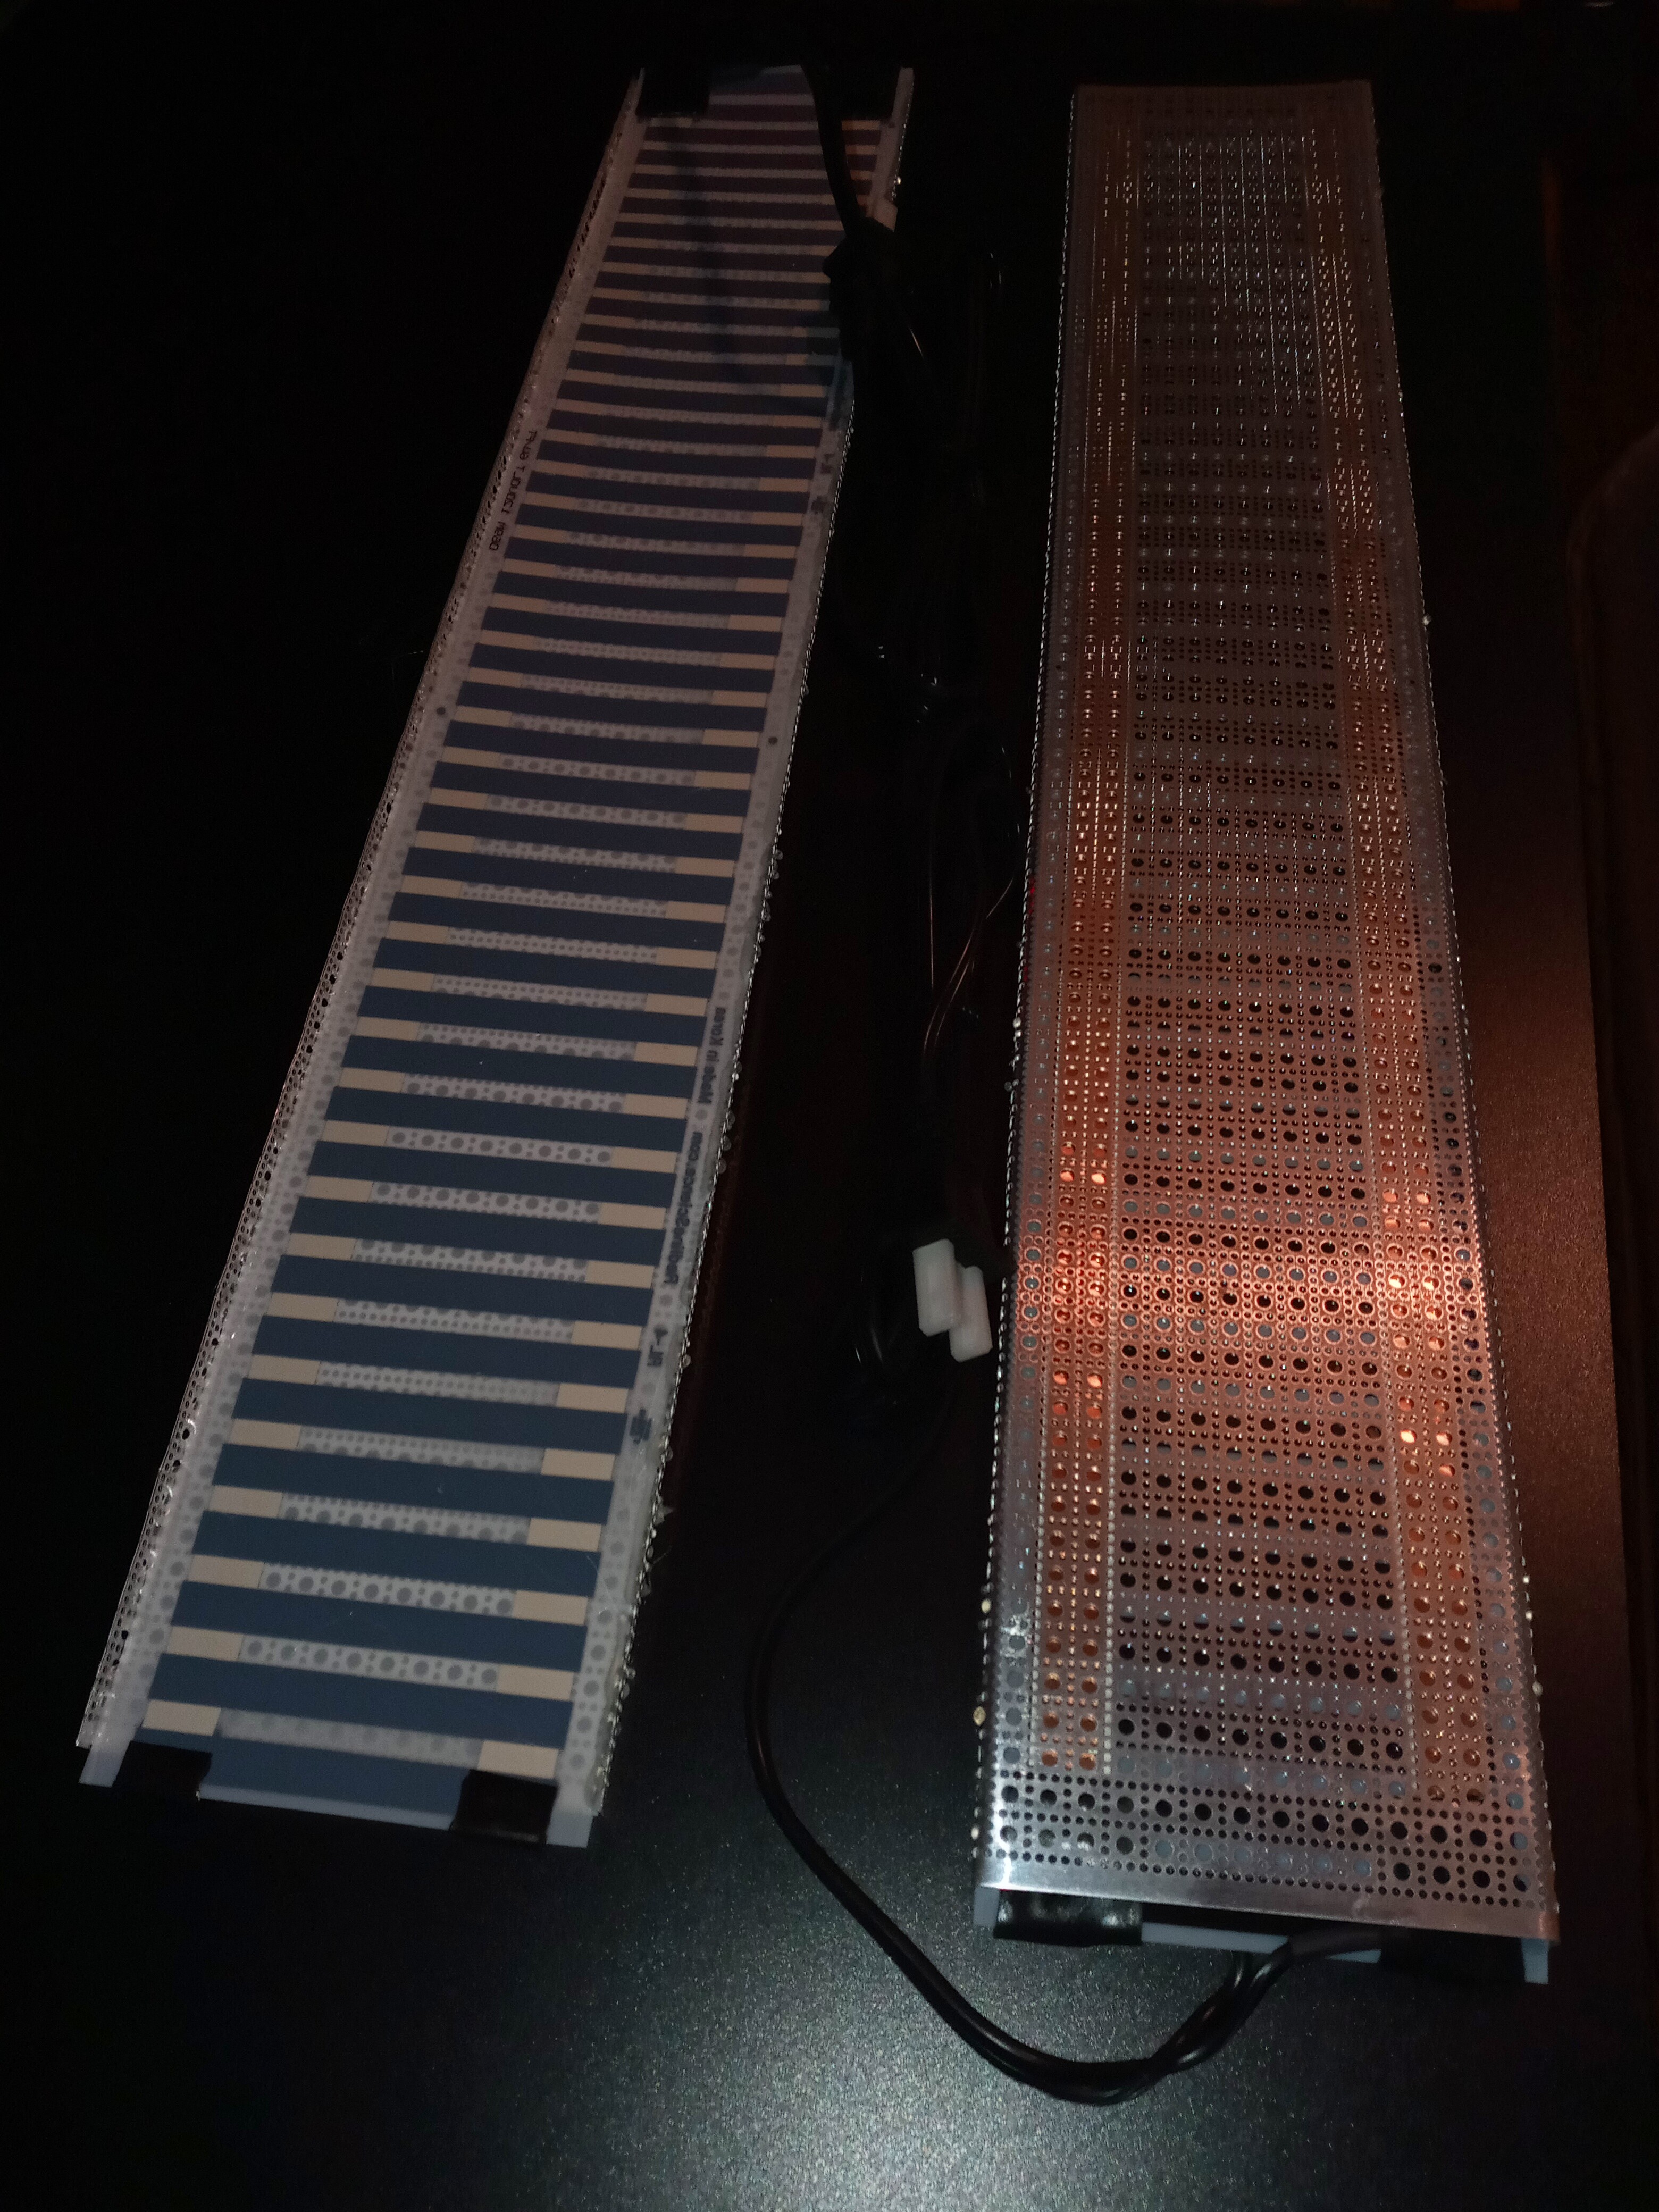
This is what I came up with for helping heat transfer.
Not sure what the thin aluminum sheet was meant for but it’s serving my needs just fine…LOL
4" Wide flex watt hot glued on the edges only.
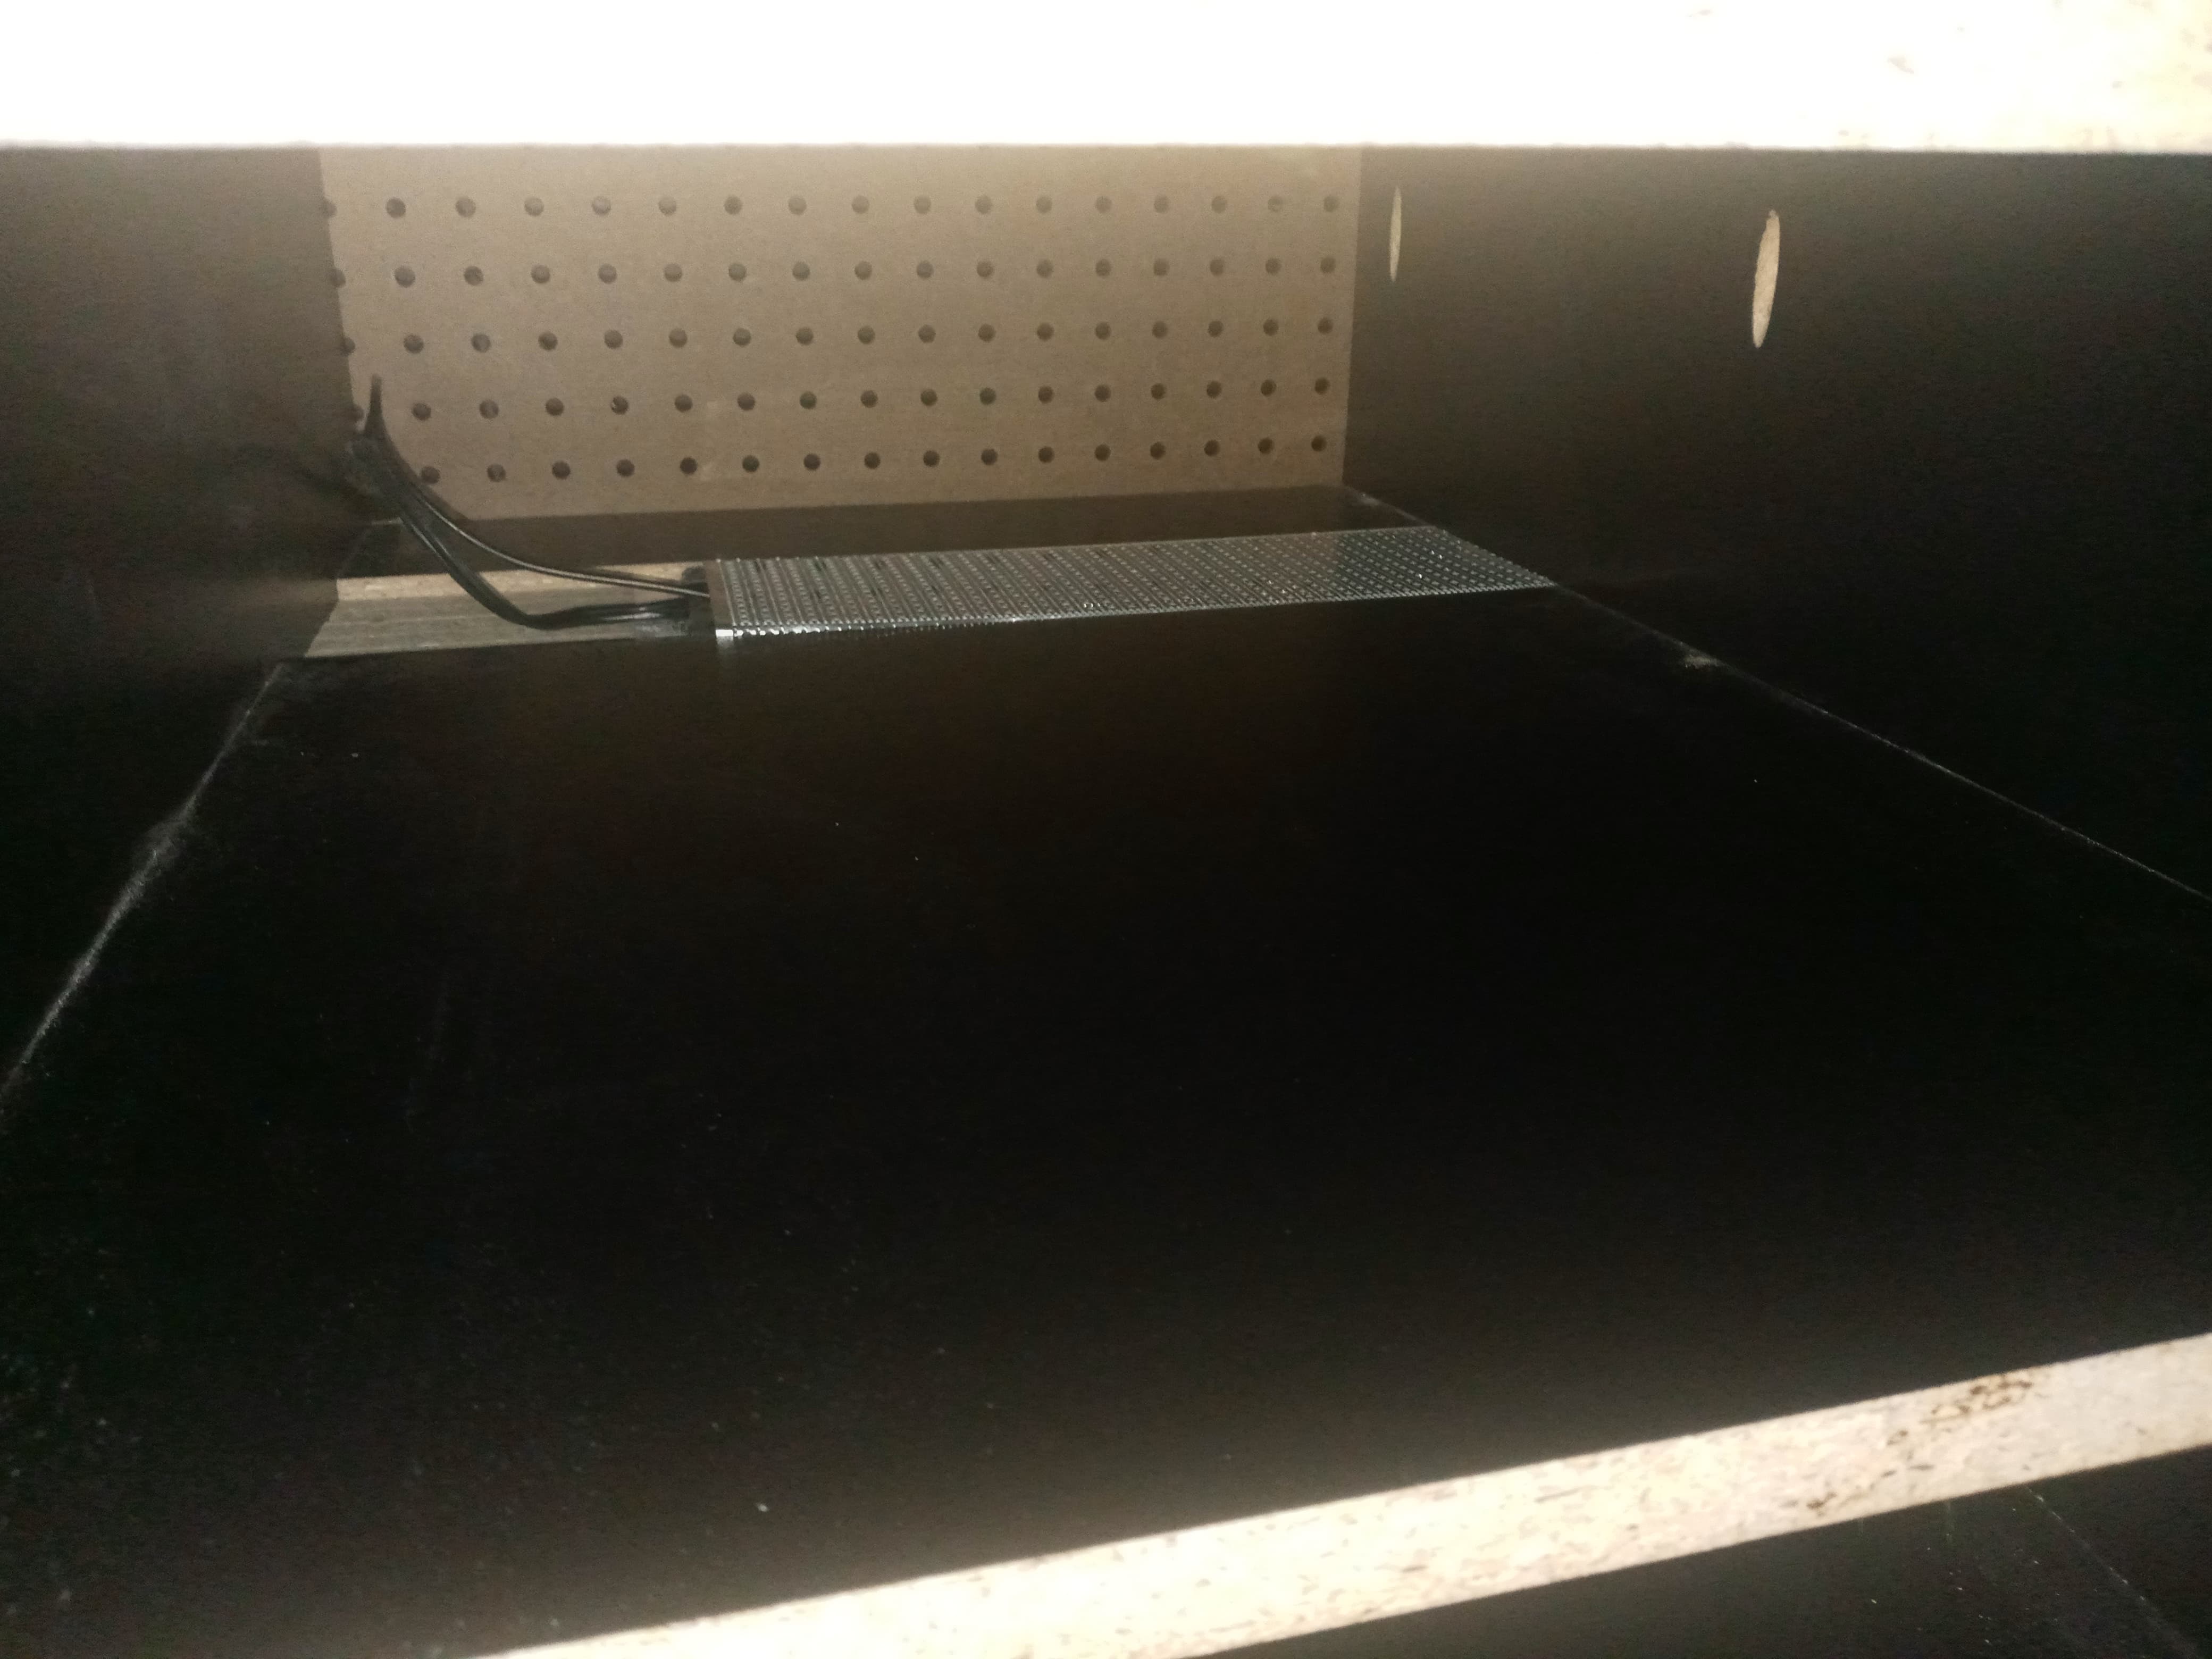
Running dados so they are flush with the shelf surface.
That looks nice and that it should heat nice and even. A tip since it looks like each level is going to have its own wiring. Make sure the wires are the same length, before you attach them together to the plug in. I know it sounds weird, but if not the levels won’t be the same temperature, even if there controlled by the same thermostat. I am not a electrician, so I don’t no the exact reason, but it is true. Good luck, pics when done please.
Think of it in terms of the path of least resistance. Shorter wire - less resistant for the power to travel through, meaning more power will readily flow to that section of heat tape.
I have used similar in my incubator.
Although I have just used aluminum tape with back heat, heat cable to even out the heat vertically, and to move some of the heat a bit under the tubs…
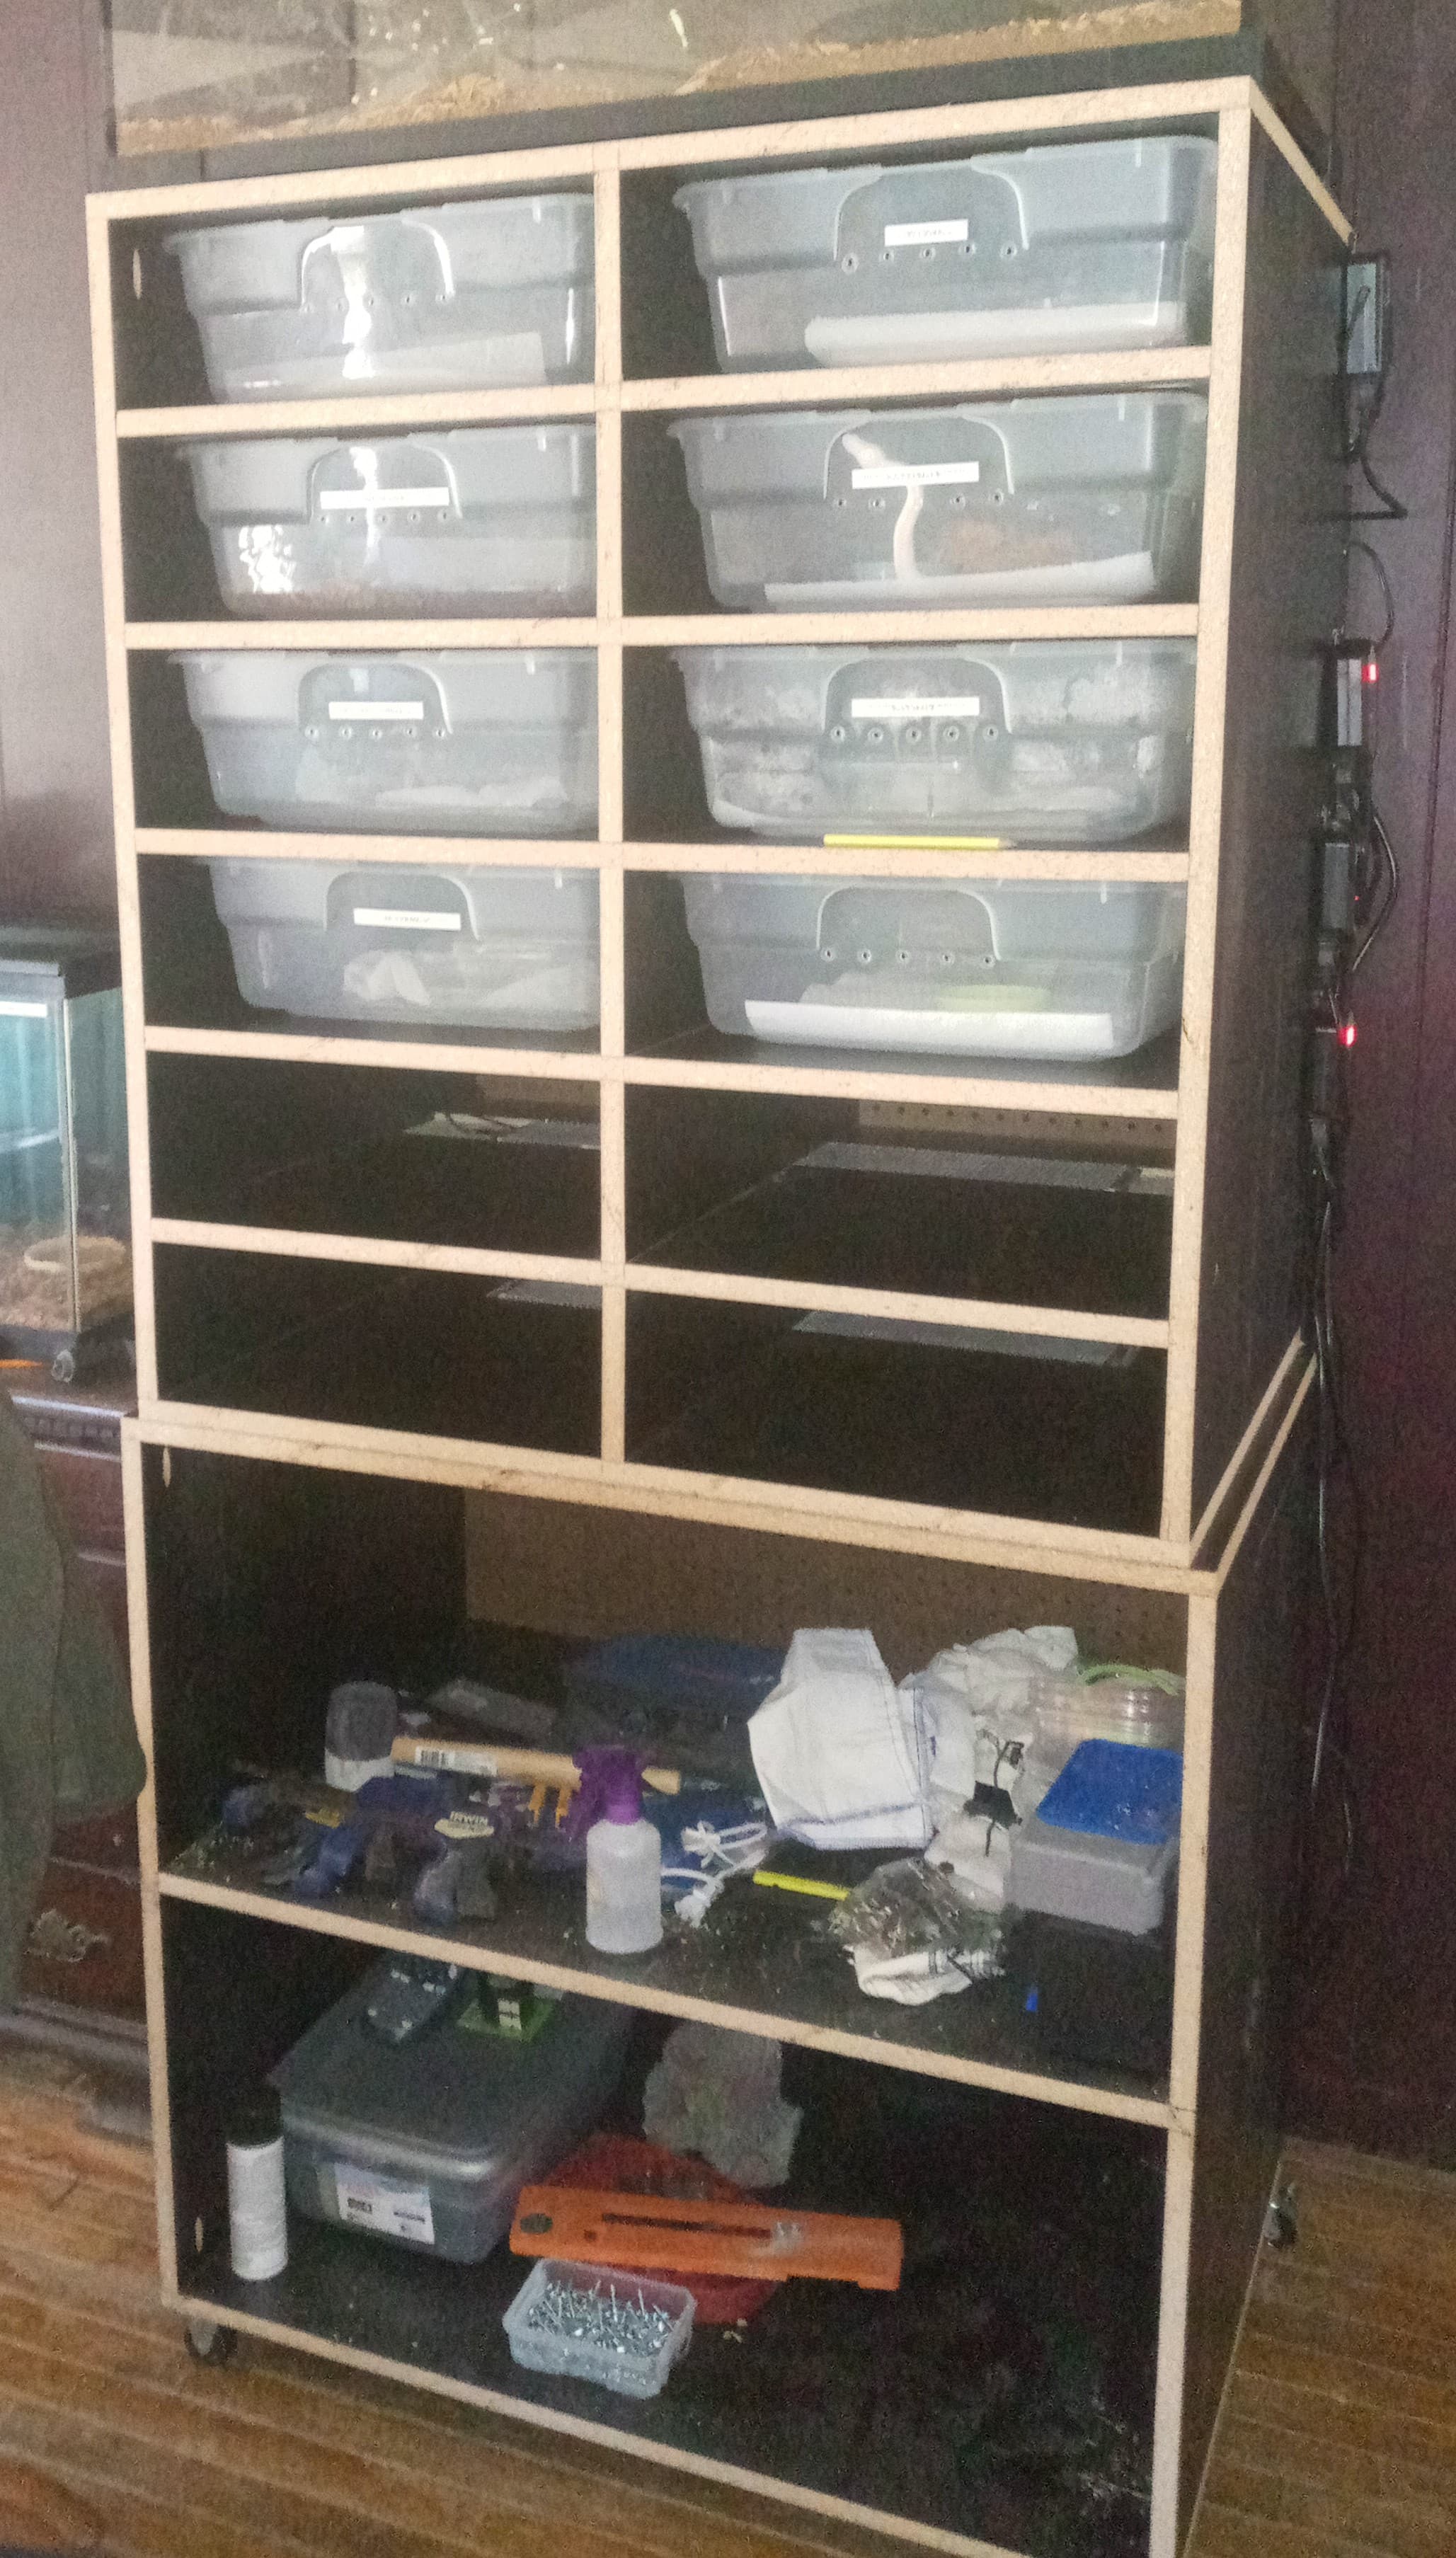
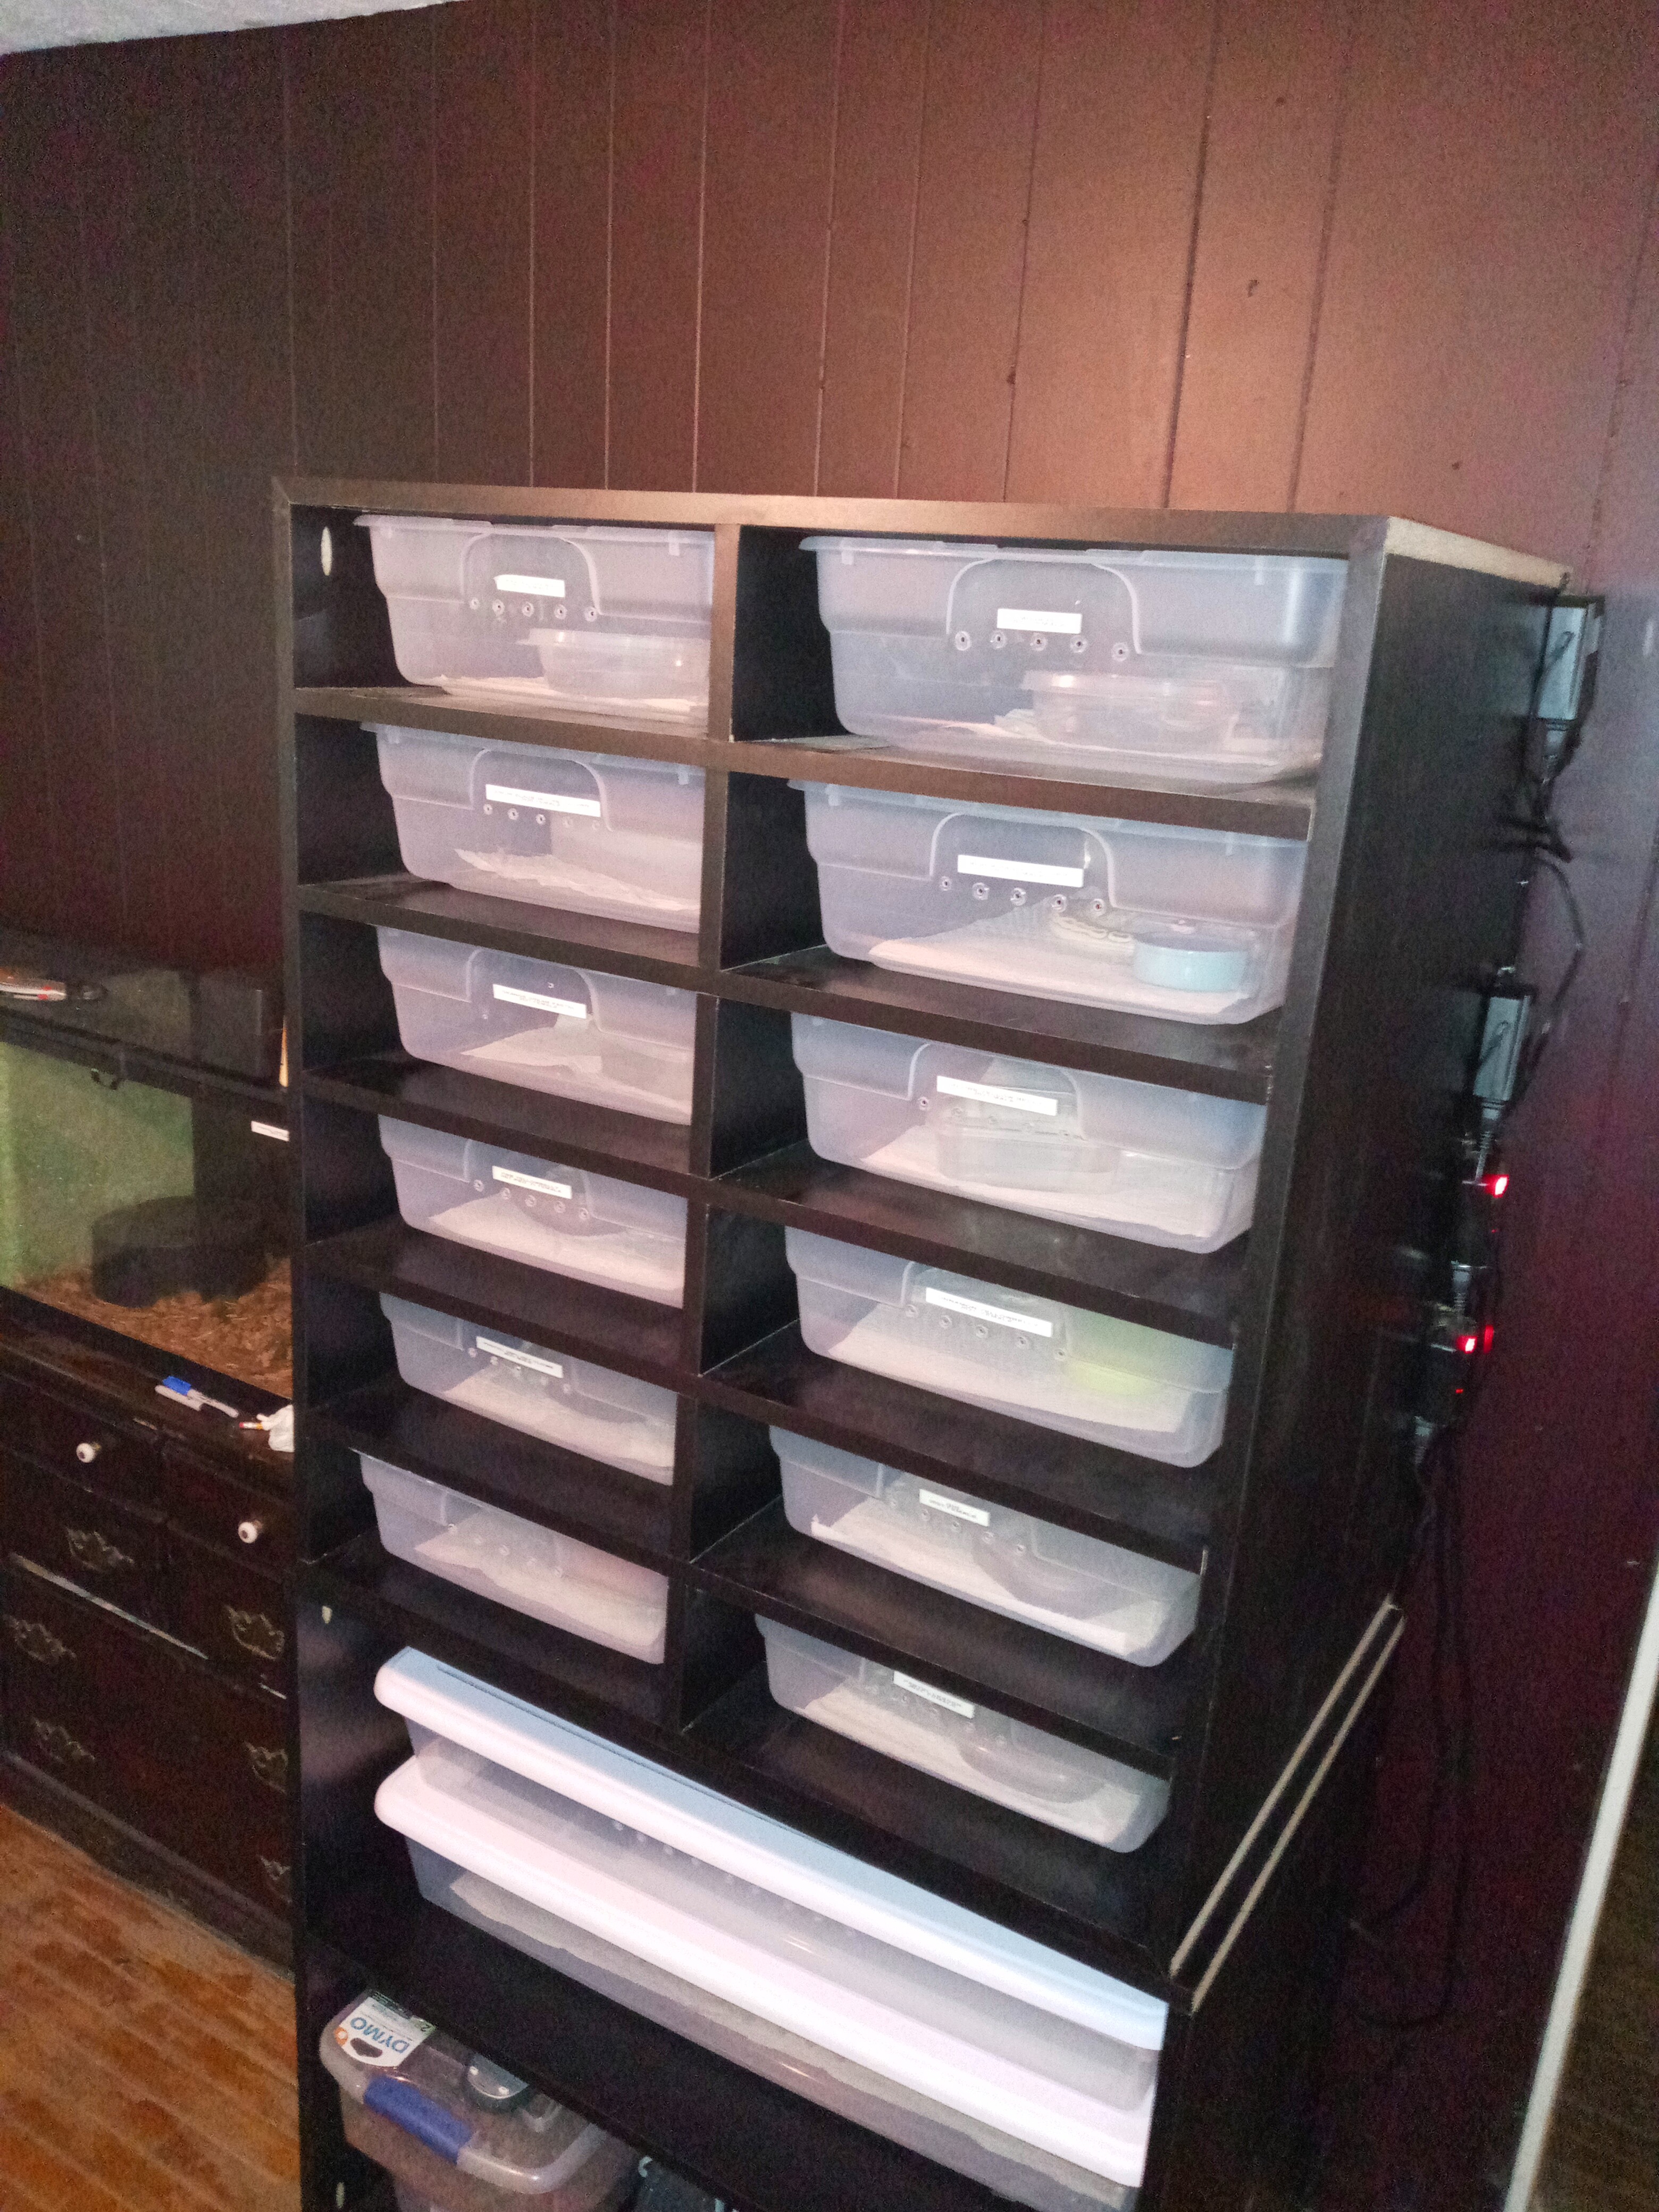
I’ve finally got my rack built. Not finished…LOL , but it’s functional.
Still need to fasten wires inside the cubby’s with push staples, zip tie wires on the back of the cabinet through the pegboard back.
Edging of course , and doors for the base cabinet.
Also thinking of adding a pull out shelf in the base cabinet that can be used as a work station.
I’ve put this off so long that I’m looking at the 70 series tubs from ARS caging for my next build.
I’ve got a few snakes that are outgrowing the 28 qt tubs this rack is built for.
That rack is looking super nice! I might have to use this as inspiration for my diy neonate rack or I will have to buy a new one just to calm my nerves.
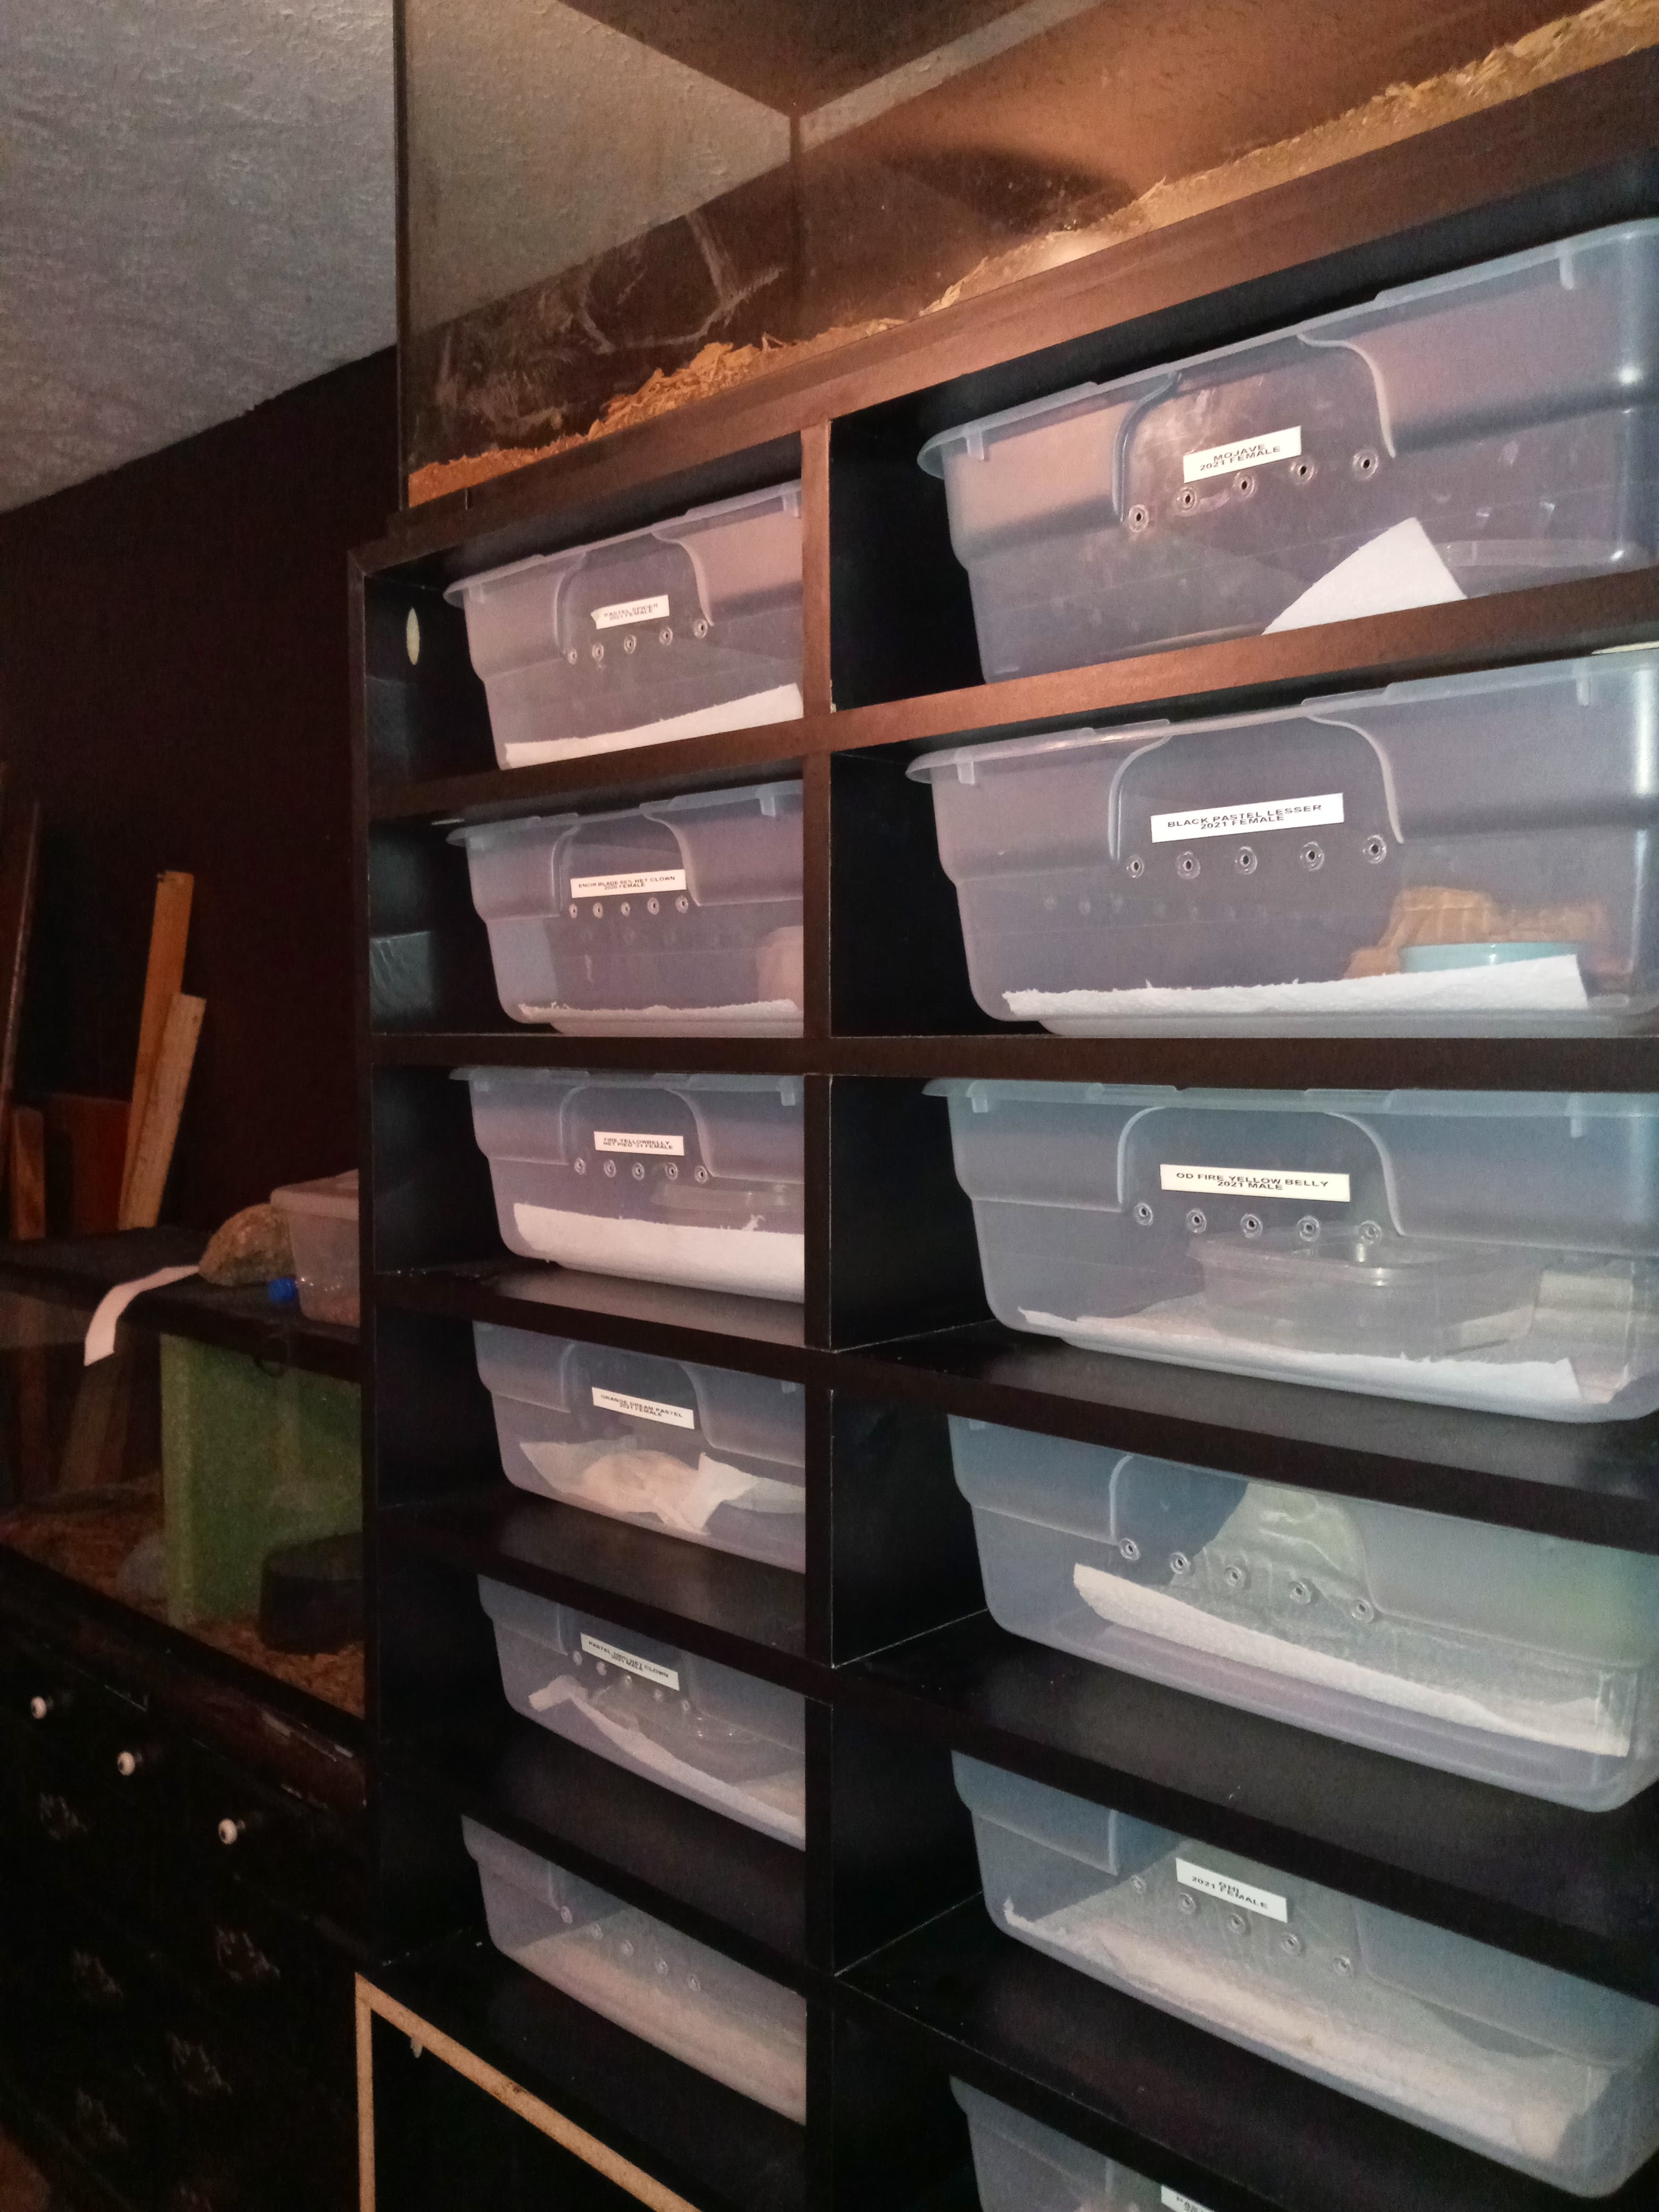
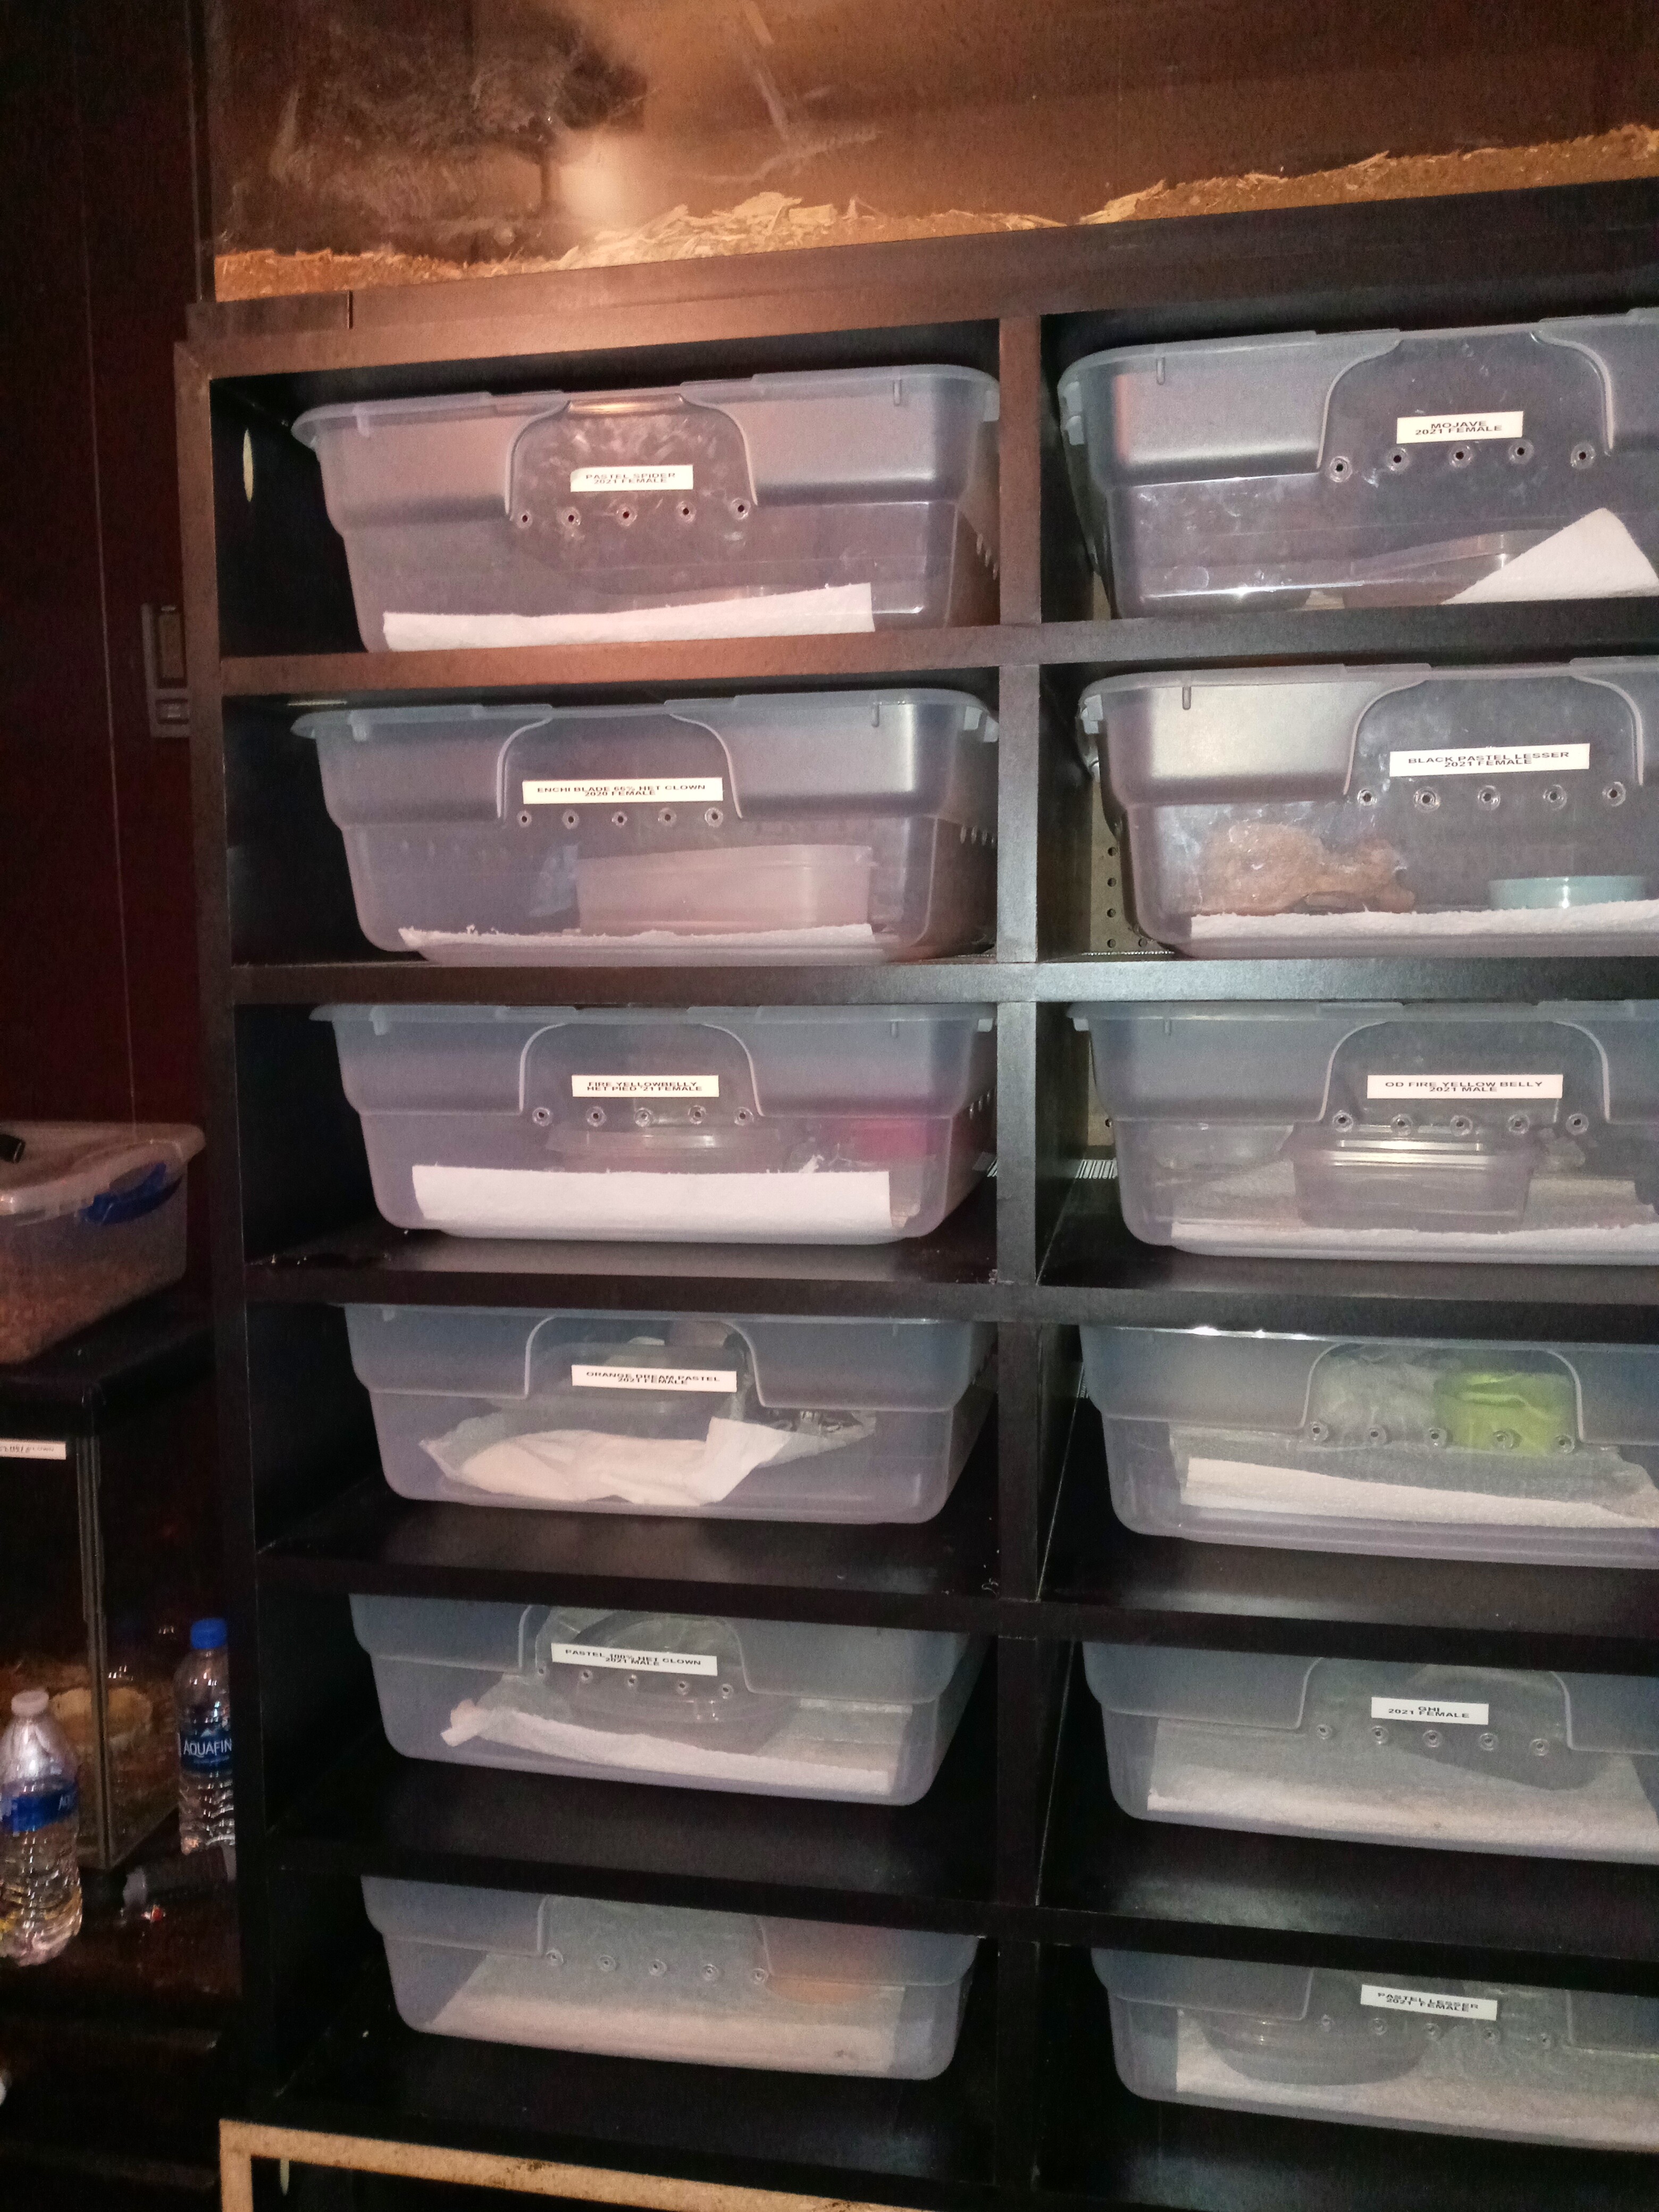
So it’s been a couple of months since I built the rack system.
I can not tell you how much time this saves. Cleaning is Soooo much easier and quicker. Feeding is a breeze and now that they have had time to adjust, even my finicky eaters are feeding regularly.
If anyone has thought of building their own or are thinking of buying a commercial built rack , DO IT!
It will be one the the best investments you can make other than your snakes.
I cannot agree more @buckeyeballs I don’t have any problem with people using other enclosures for snakes, but for me the ease of temperature, humidity control, and the security it gives to the snake is so easy to accomplish in a rack!
I’ve only found Melamine board in black at one home improvement store near me. Most only carry white.
It’s heavy @ascended. The top (rack) section is separate from the base. I also put casters on the base.
When I built a hatchling rack, I’m going to use 1/2" Melamine for the shelves and dividers.
I also use 1/4 for shelves and dividers, I use 3/4 for the body on the lower section to take the upper section weight and and half inch body for the upper section.
Problem is My snake room is upstairs and I have to build downstairs where I have space to build and then carry them upstairs.
I am thinking plastic builds might be better but worried about flimsiness…
(we use imperial here in the UK but the Melamine comes in metric so they are rough conversions above)
It would need a dado at least 1/4" deep to set in the sides for support @erie-herps .
The other way would be cleats or ledger boards on the side panel and back panel to set the shelves on.