Here is a method I have used in the past. Before I go further, it is extremely important that you understand two things here: 1) Do not take shortcuts or use different materials thinking they are “close enough” because that will increase the risk of creating the same issue you are trying to avoid 2) You need to pay close attention for a while after set up because the properties of heat and glass are very dynamic. This is also not a ‘set it and forget it’ technique. You will need to check it frequently (like every hour) after you first set it up so you can get it dialed in properly and I advocate at least weekly checks thereafter
Aside from your thermostat you will need three things. The first is a set of wire cutters. The other two things are
Light diffuser grid:
https://www.lowes.com/pd/PLASKOLITE-Common-24-in-x-48-in-Actual-23-75-in-x-47-75-in-7-85-sq-ft-Louvered-Ceiling-Light-Panels/3280904
Foam insulation board - I like 1” for this. You can go down to 0.5” if you want but I would not go thinner:
https://www.lowes.com/pd/GreenGuard-1-X-2-X-2-Project-Panel-LG-1/5001929511
.
Again, DO NOT get something else thinking it is “close enough”. Styrofoam is not dense enough for our purposes and also not rated to take the heat you are working with. It will melt
.
.
.
Using the wire cutters, trim three sections of the light diffuser to fit the footprint of your cage. Make a sandwich with them in the following order, bottom to top: diffuser, heat tape, diffuser, diffuser. Obviously, your heat tape will not be running the full length/width of your cage footprint, so position it within the sandwich where you want it under the cage. On the top layer of diffuser, directly over the centre of the heat tape, use the wire cutters to trim out a piece or two of the light diffuser to allow the thermostat probe to be set in and not roll around. You can thread the probe wire between the top two diffuser grid pieces or just run it over the top. I then like to use zip ties to secure the probe wire in place and also hold the whole thing together. Now, using a large, sharp knife, cut a piece of foam board to the same footprint as your light diffuser sandwich
Final assembly is simple (again, bottom to top): Foam board, sandwich, cage
Turn on your thermostat, set it to the temp you are targeting, and let the system equilibrate first and then adjust very slowly to get the cage spot where you want it (the few times I was running one of these setups I never had to raise the temp that much from my target, maybe only two degrees, max)
The foam board acts as both an insulator and protection for whatever you have the cage sitting on. The diffuser grid sandwich keeps heat tape from making direct contact with the foam board and the glass, preventing melt through/thermal shatter. The airgap the sandwich provides also helps to buffer against major hot posts from forming
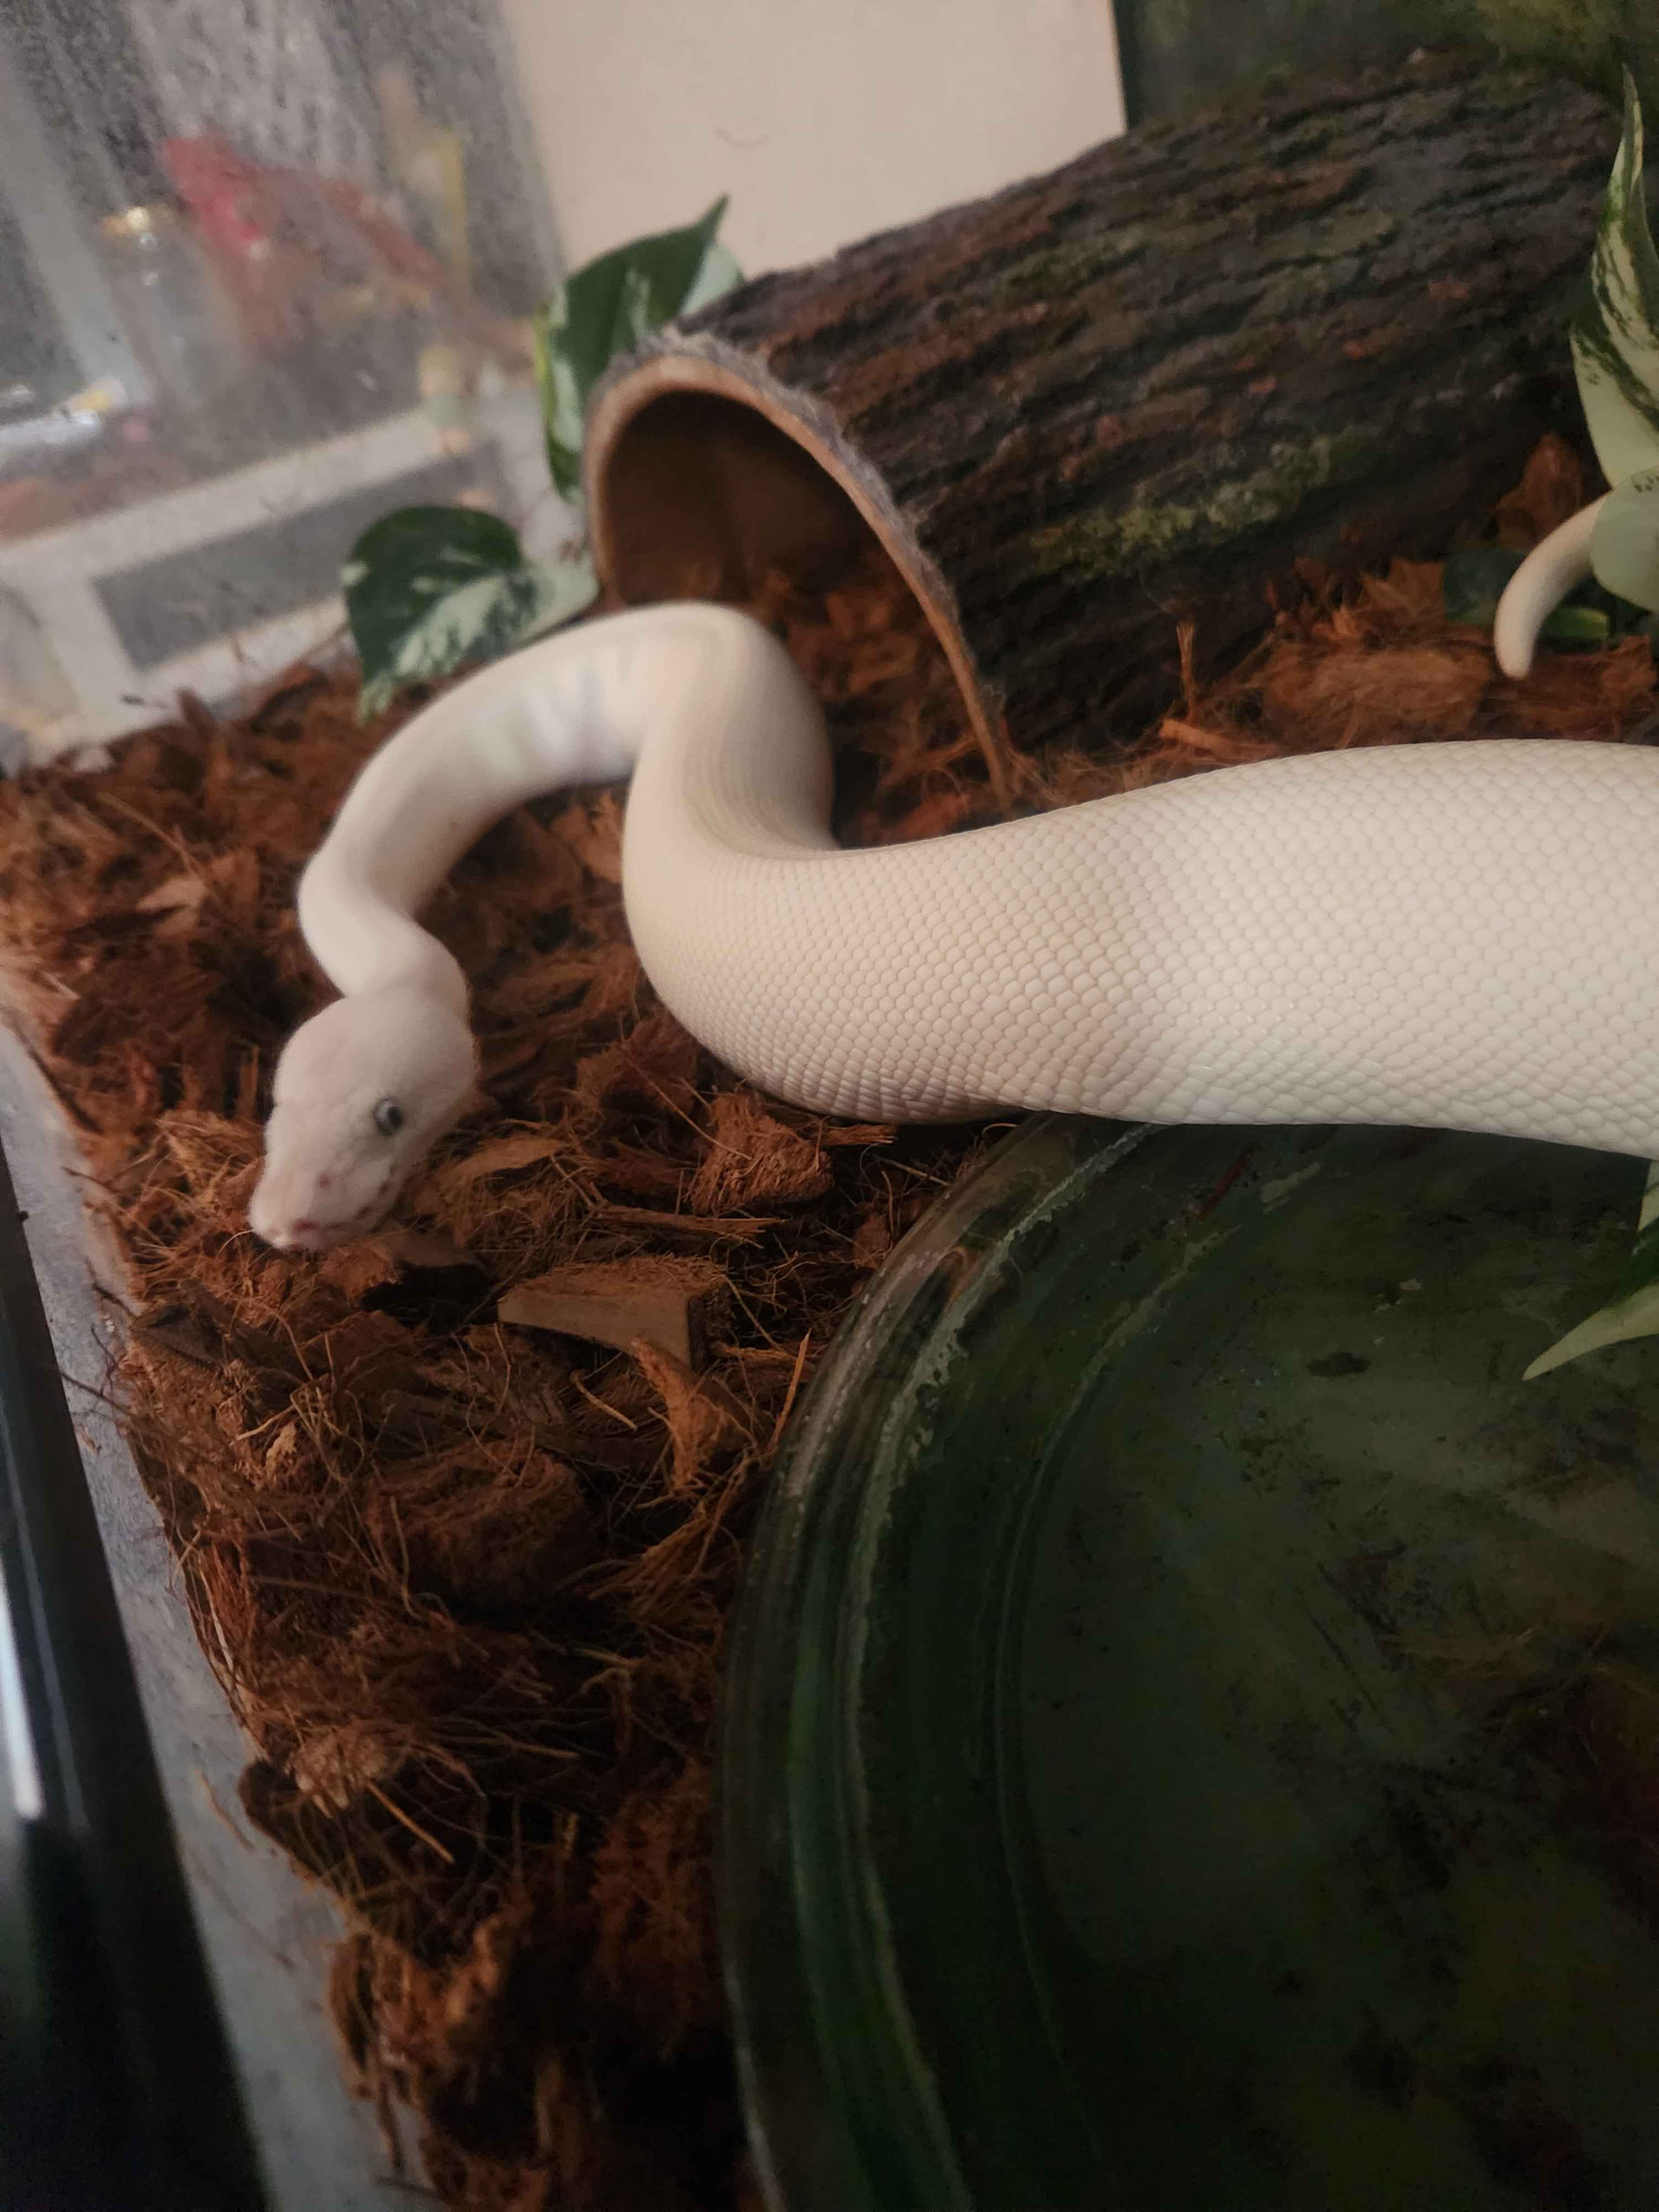
 I already put the heat tape on the bottom as soon as it arrived this morning, I’m sorry, I should have checked here before I set it up. I got woken up by the UPS man and got excited to get her set up, and her breeder was guiding me through it.