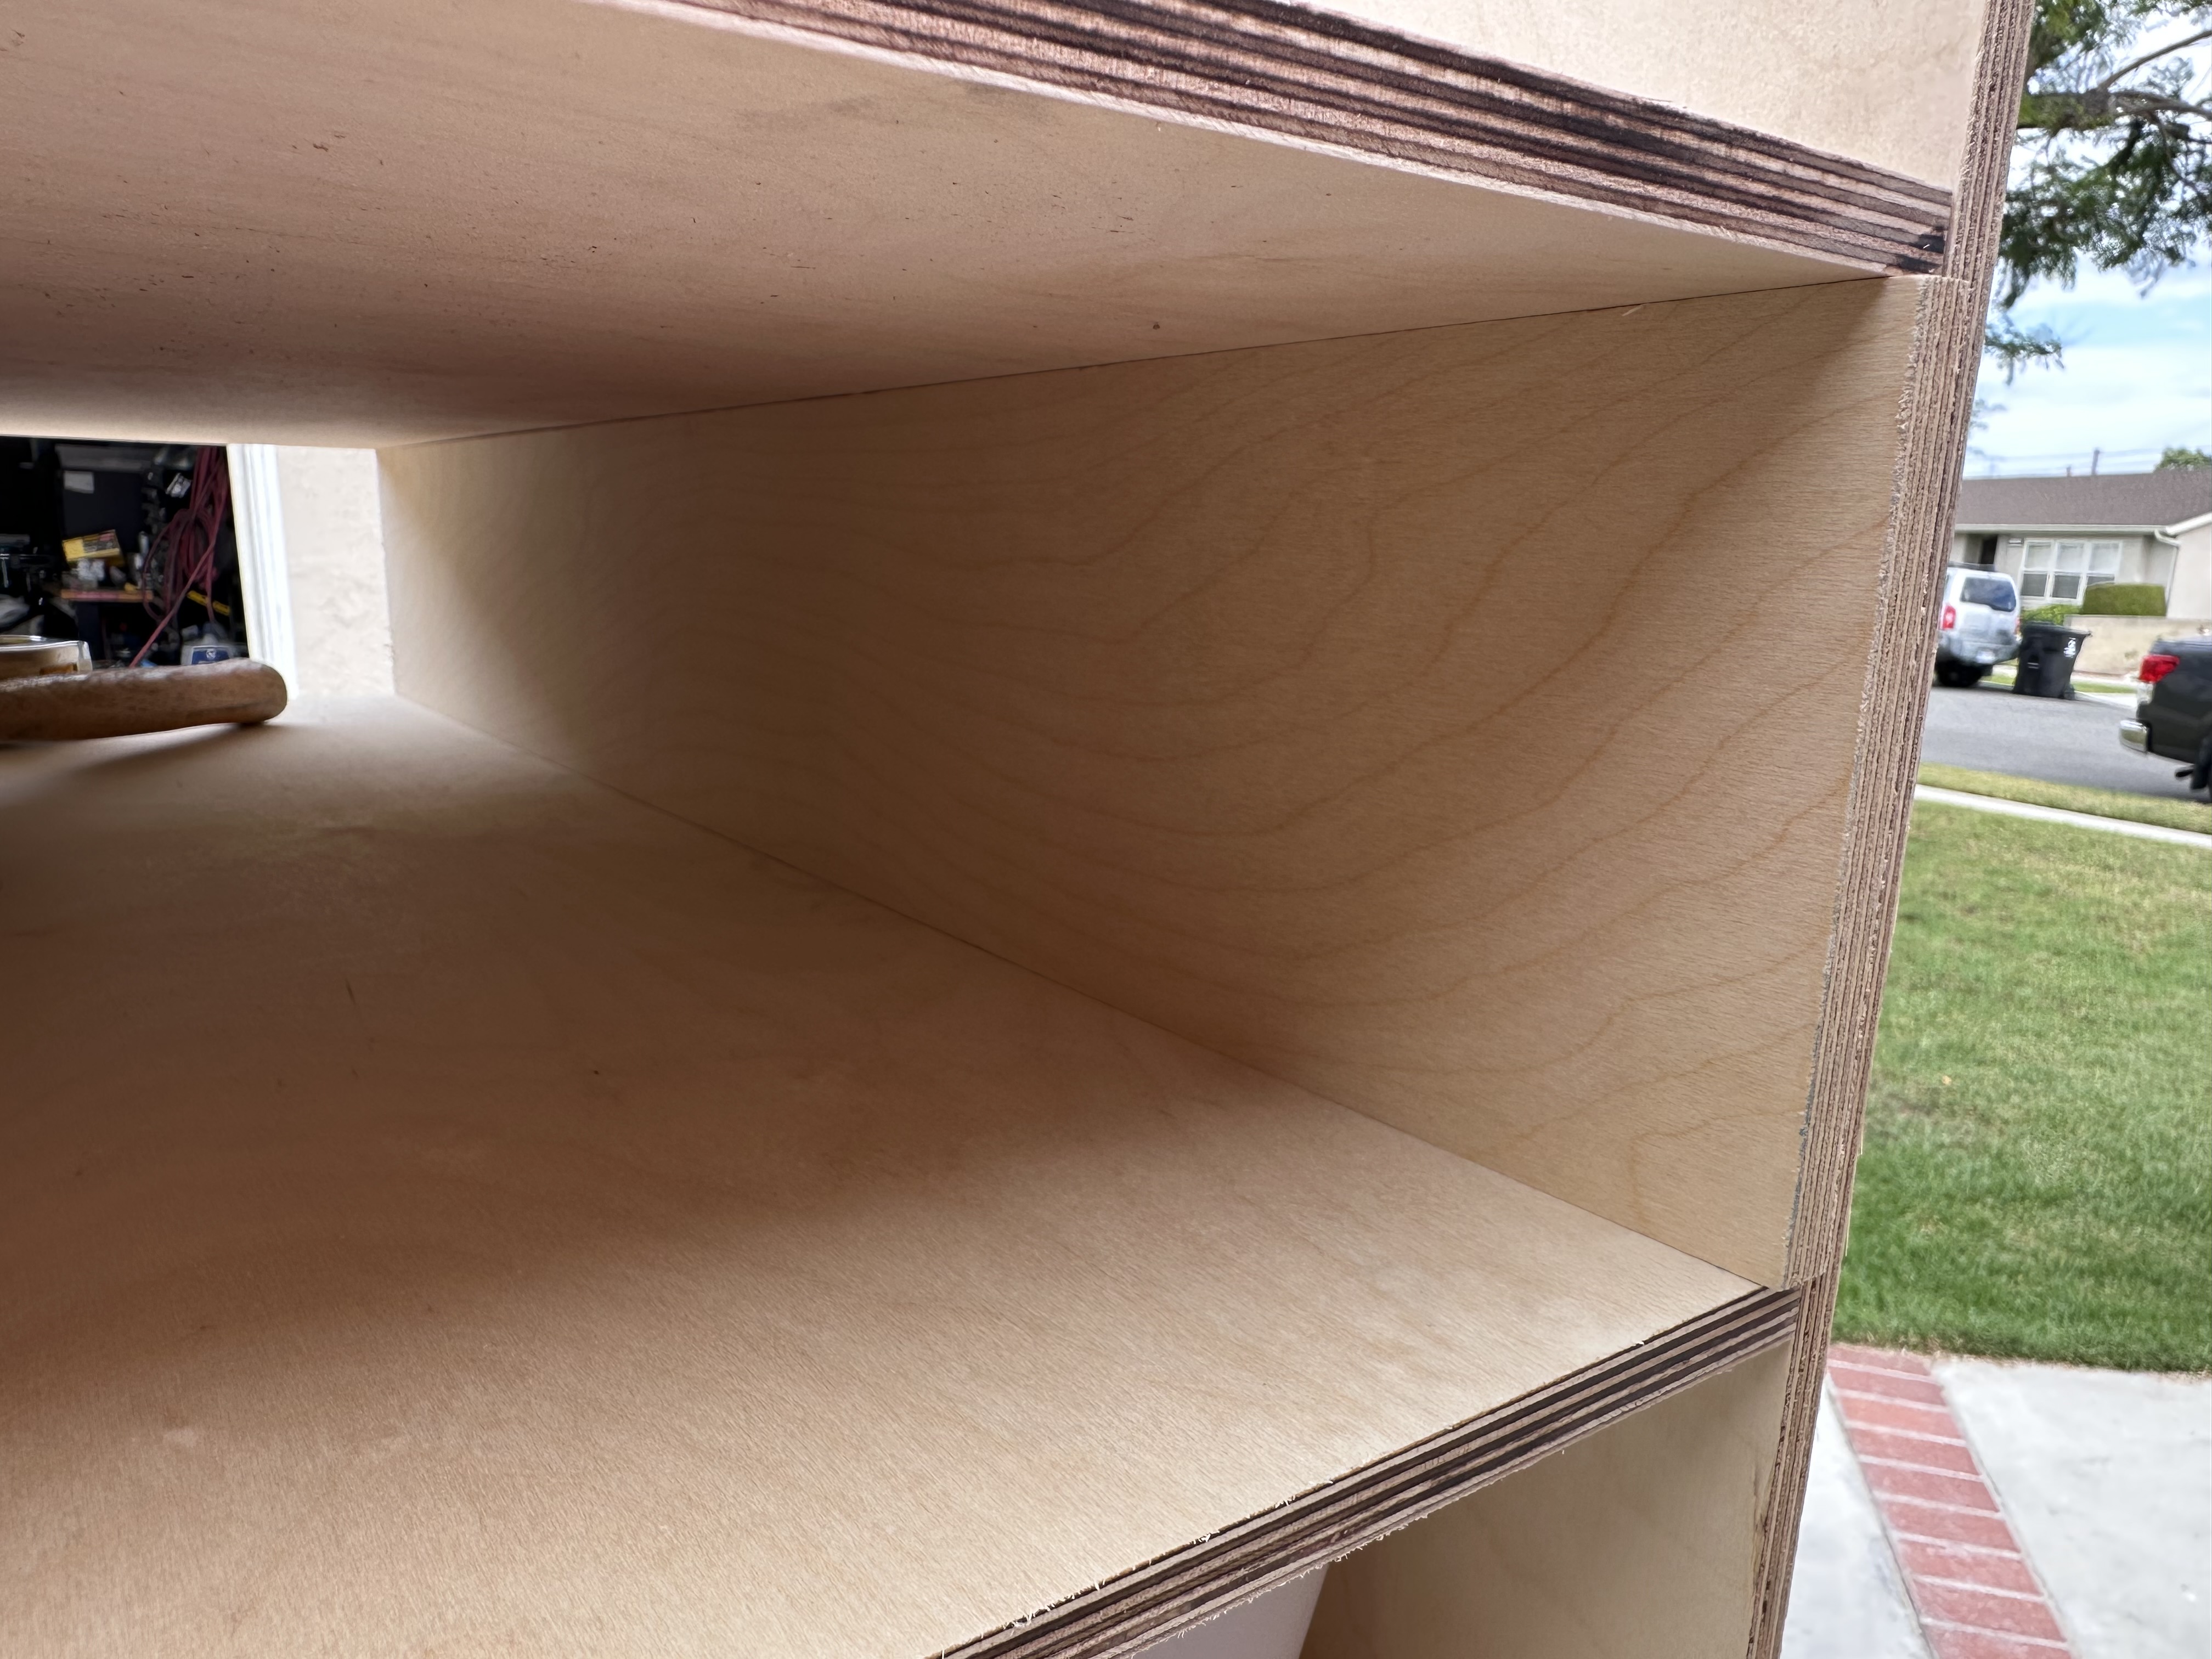
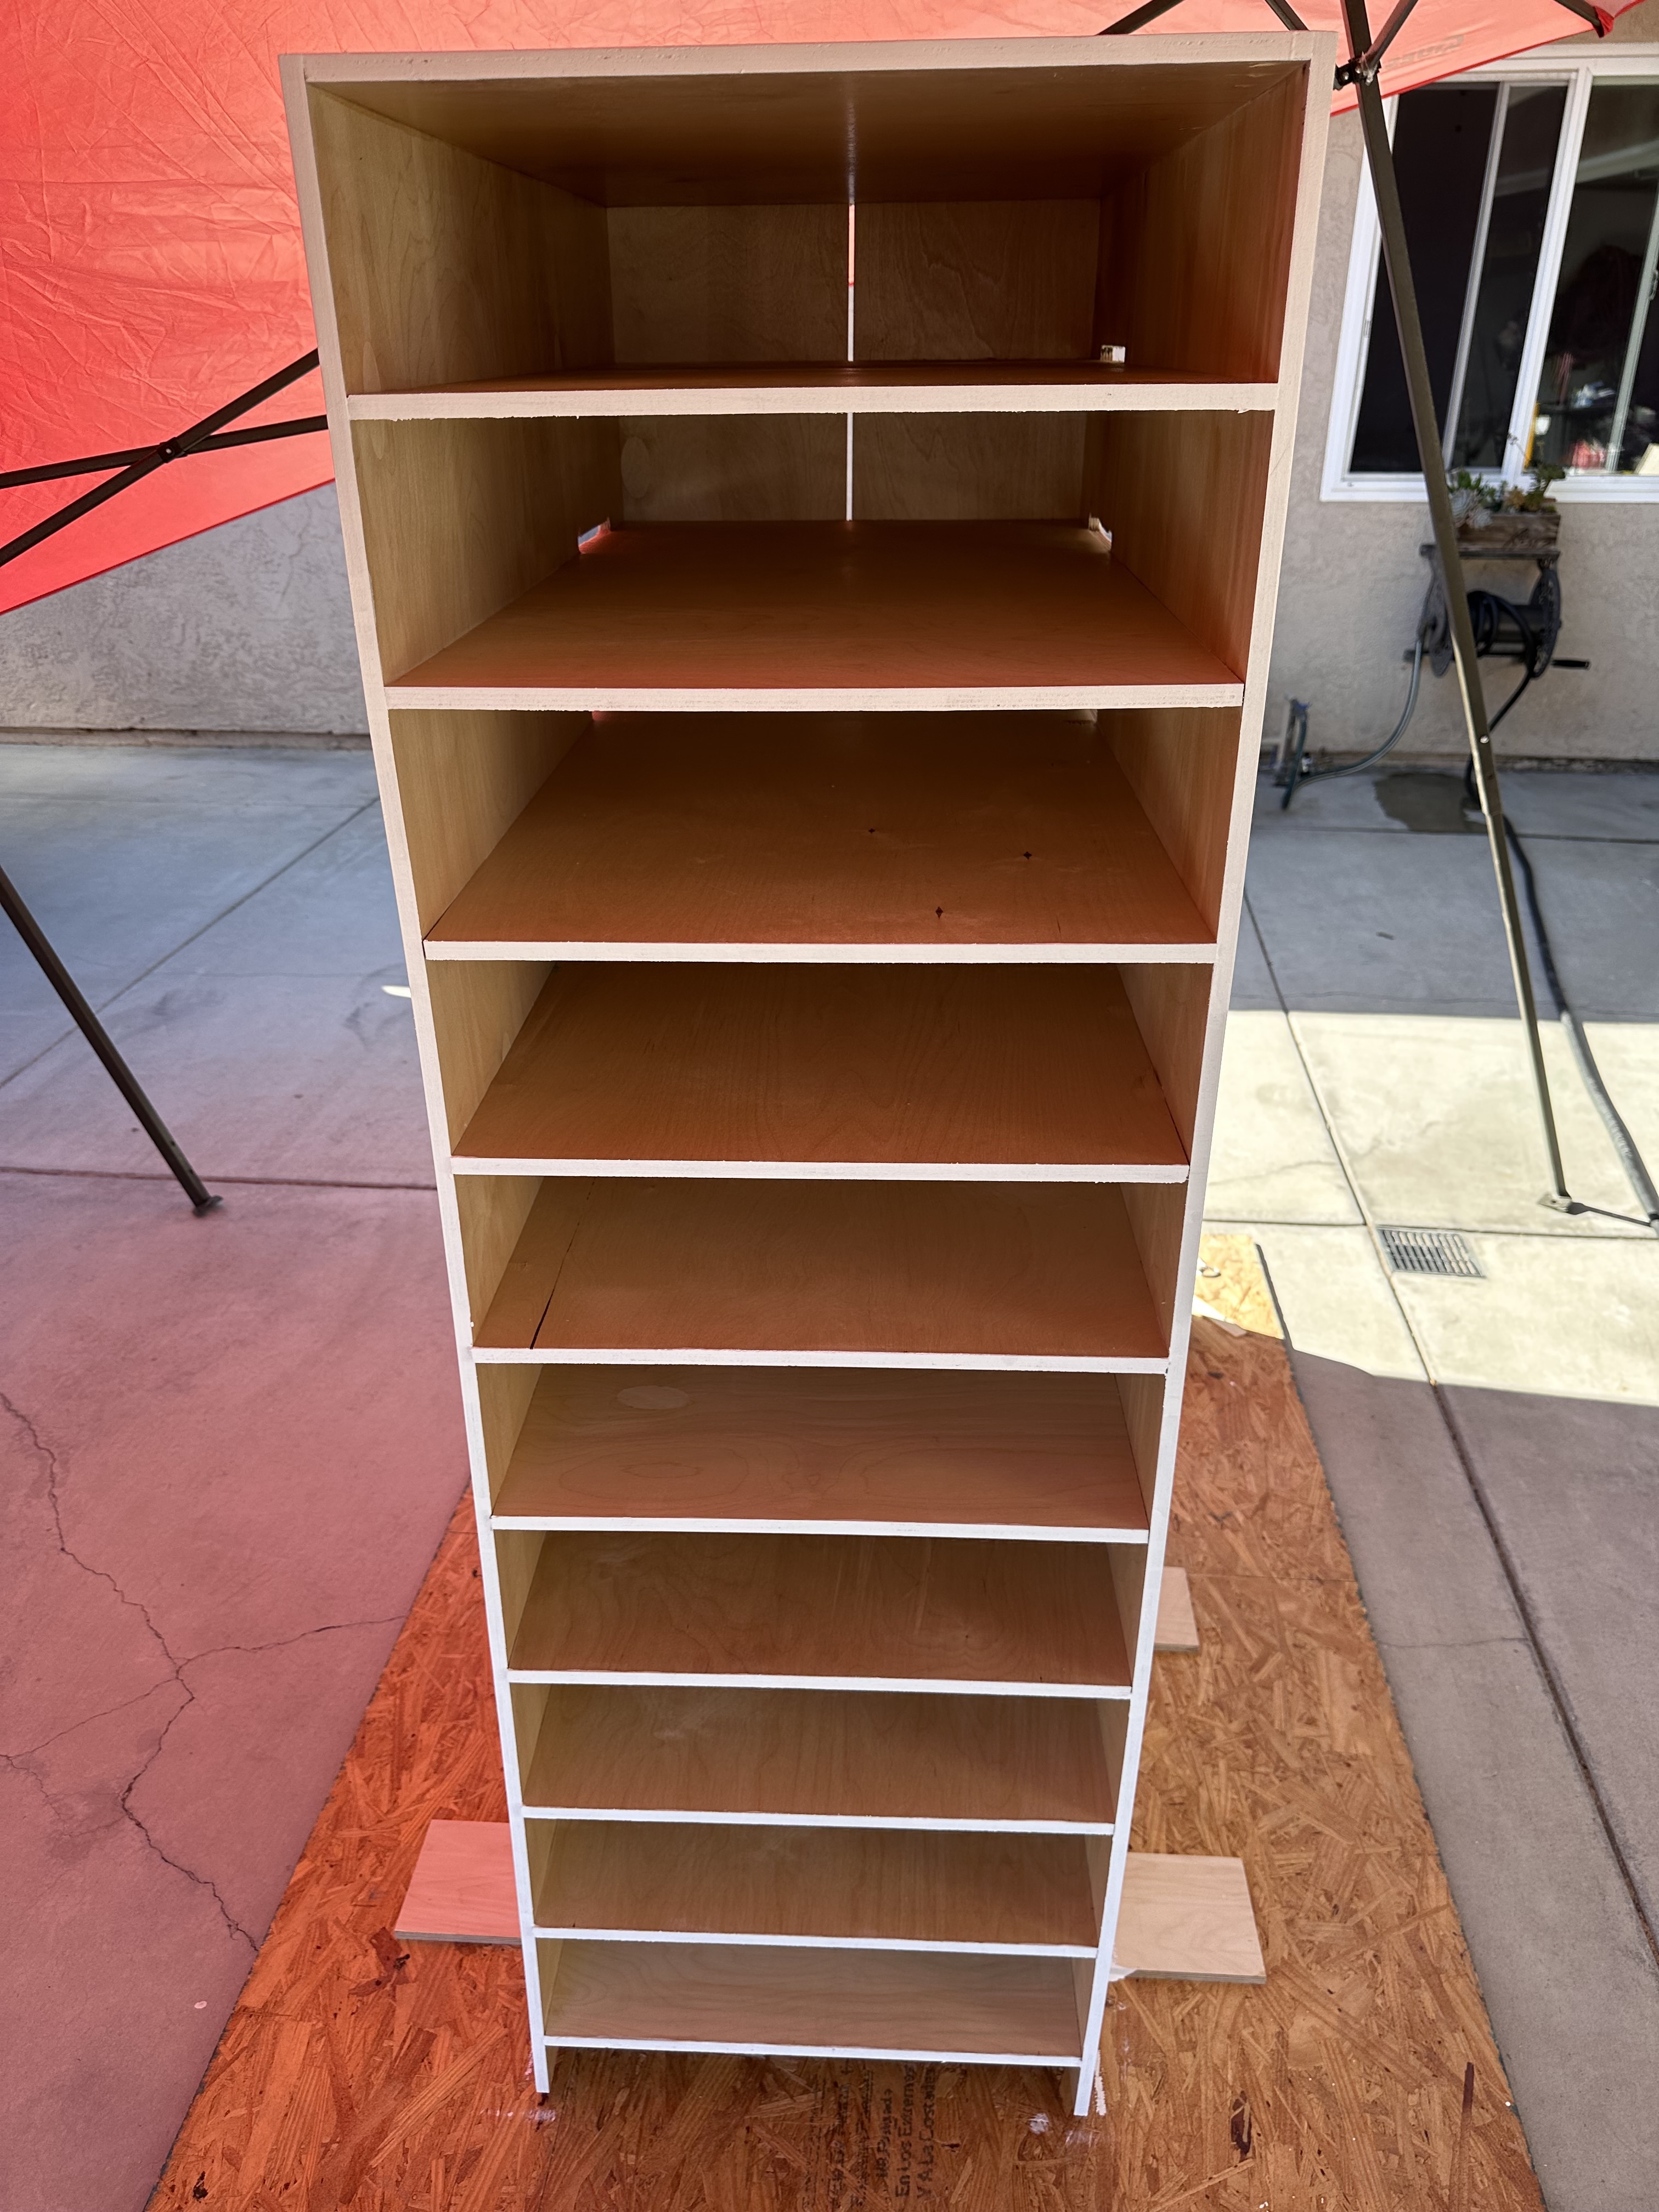
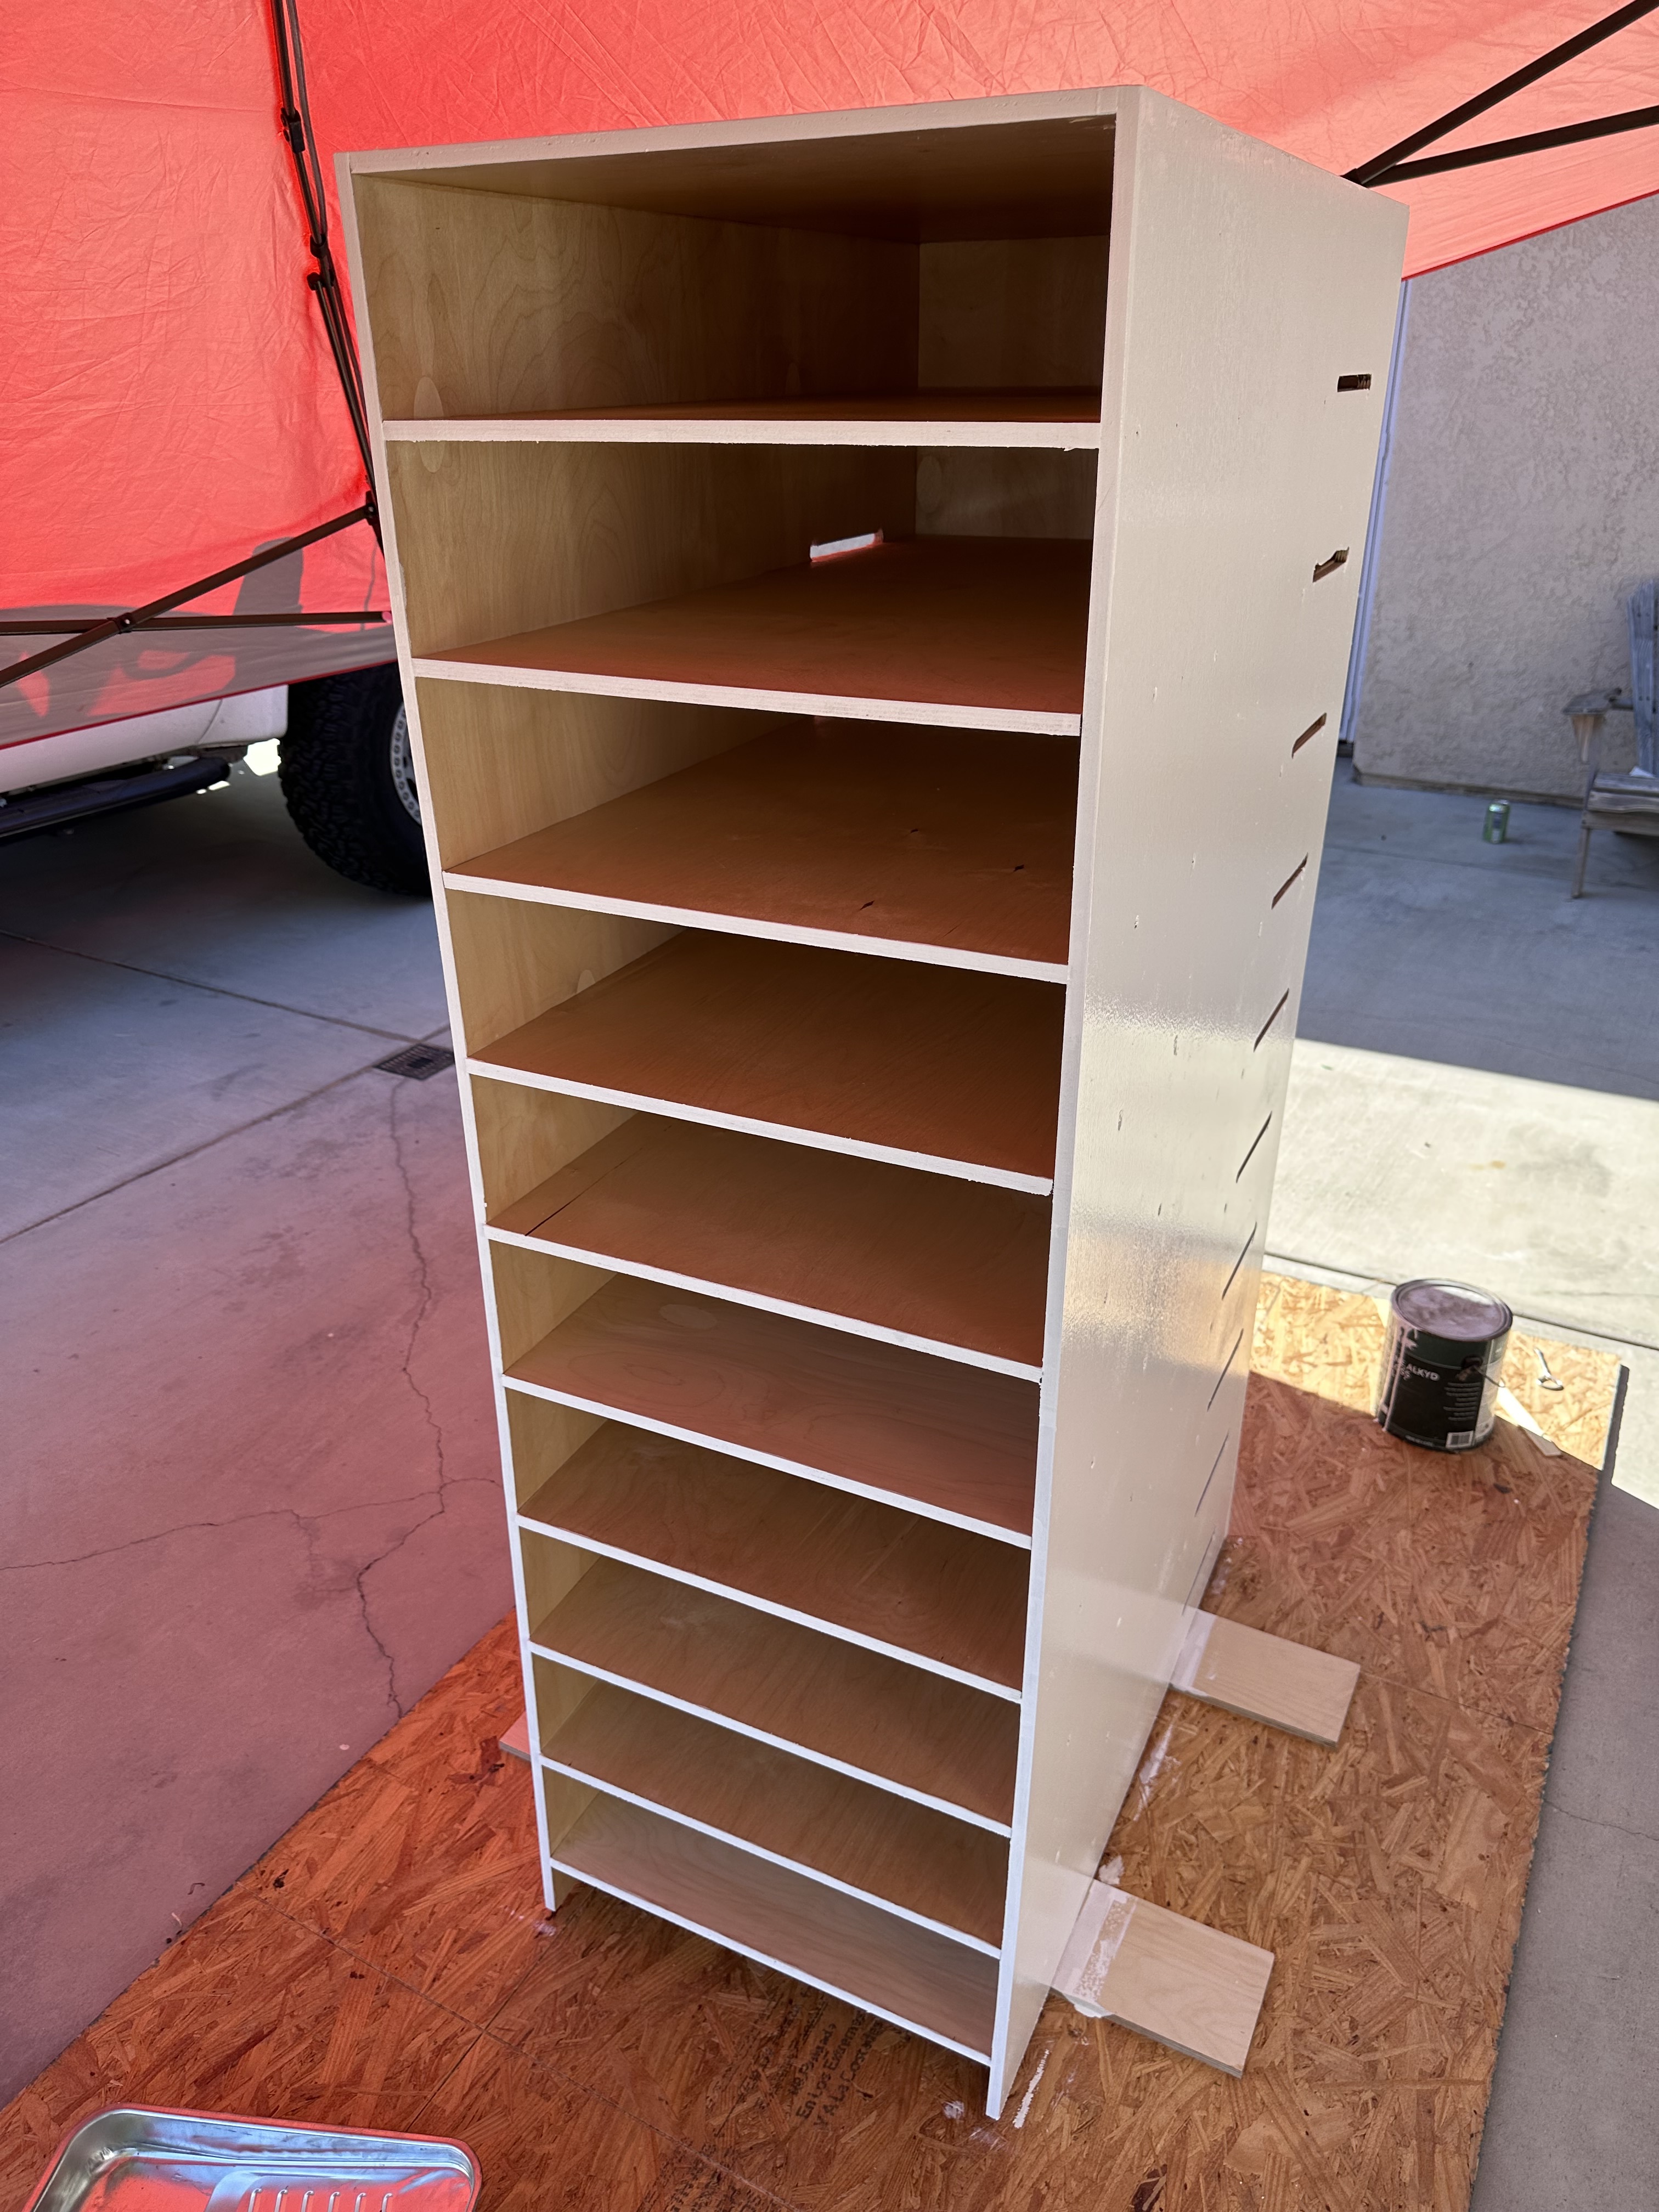
I wanted to take a crack at a DIY rack. It for sure has some DIY vibes but overall came out alright and is functional.
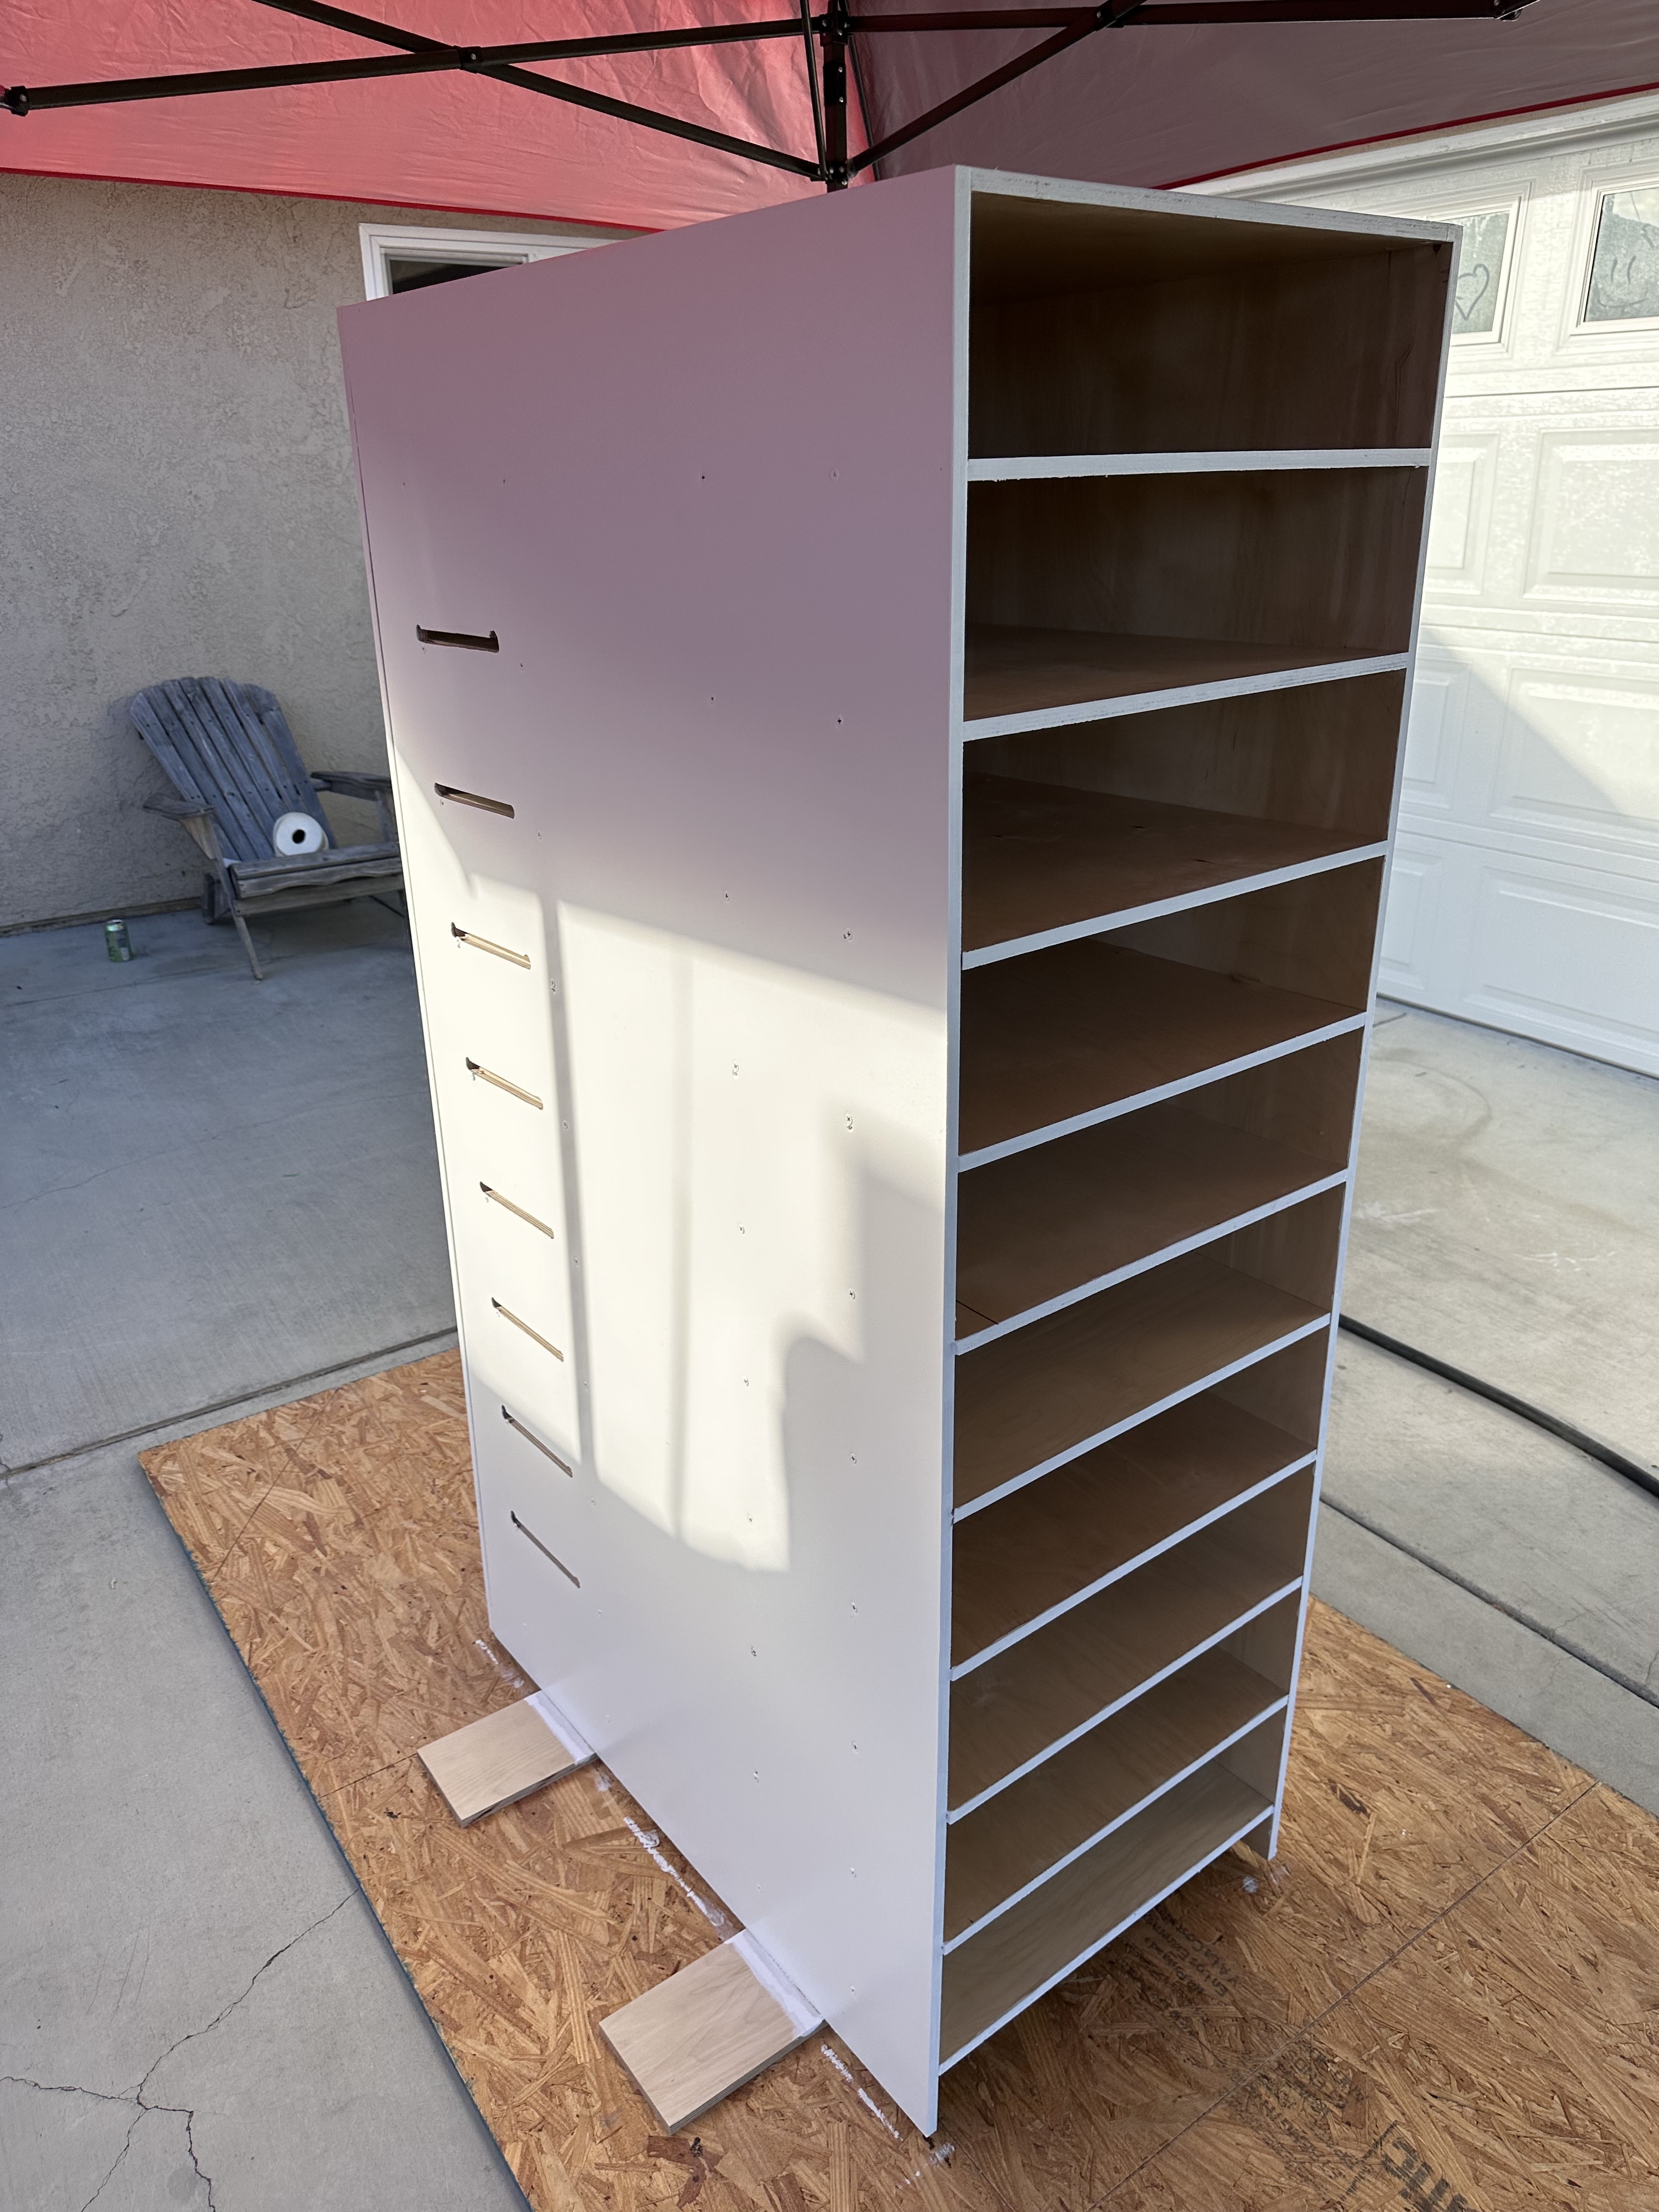
It is going to be a garage rack so I made the sides completely enclosed. I left a section open in the back for cords and to give me a little more control over ambient temps in summer vs winter since my garage is not insulated/heated. My plan is to cut some foam inserts I can place in the openings. That way in the cooler months I can block off that heat escape and force air to flow out the front hopefully raising the ambient cool side temperature in the process. Summer I can pull the foam to keep it cooler overall and let heat escape out the back of the rack.
It’s a 5 slot rack, but I could add a 6th on the bottom if need be.
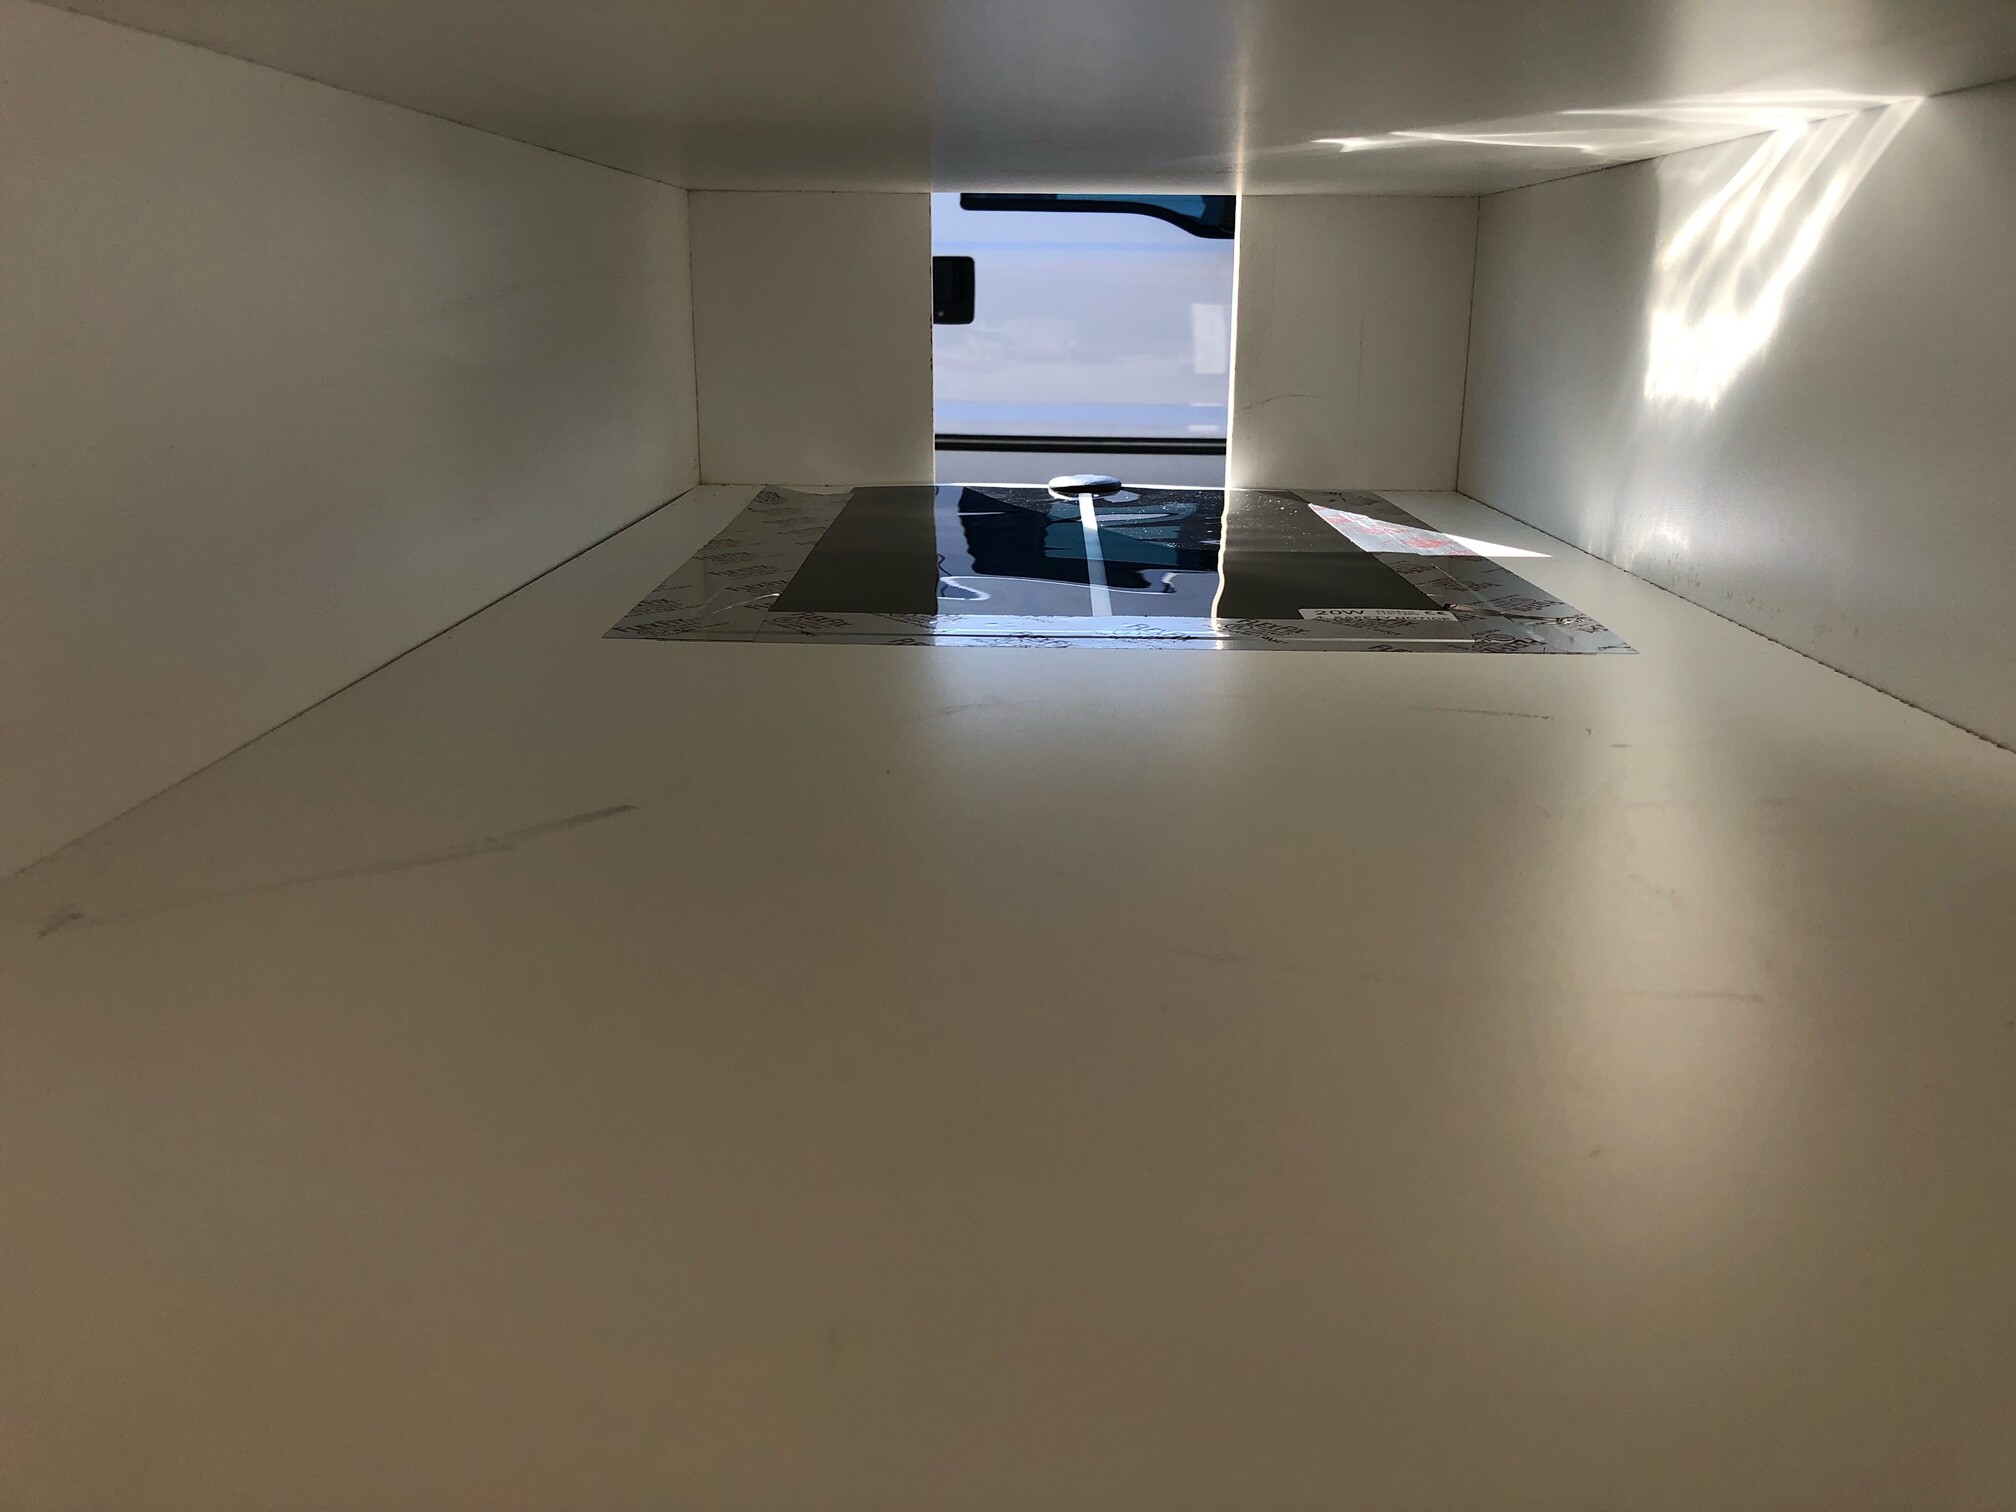
I went back and forth between weaving flexwatt through the whole unit, so I could use 1 t-stat, or going with individual pads. I ended up going with individual pads since I currently only have 1 boa (1 on the way pending shipping) and don’t want to run all those watts on empty slots. CA kw/h is pretty bad. I landed on these amazon 20w heat pads just under $20 a piece. Aluminum air duct tape to hold pad down, $20 a roll at HD.
I’ll be controlling each slot with it’s own inkbird controller. These are about $35 on amazon. I had a few from keeping reef tanks and they work pretty well and you can calibrate them. I’ll be verifying hot spots and all that with a temp gun routinely.
I thought I’d share and give a few build costs incase anyone is between buying and building for themselves. I had screws laying around but the rack itself cost me roughly $95 but I had all the tools and as mentioned screws. The tubs are <$110 for the 5. $100 for all heat pads. So a little over $300 bucks pre controller choice.
Question:
I plan to use a old soldering iron to melt some air holes but haven’t decided on a layout yet. I’m open to ideas or layouts from pro tubs. I’m thinking a few in the back but more up front to maybe draw the warm air through the cool end?
I’m actually planning to build a melamine rack for leopard geckos. It will hold 18 28qt tubs and will be a lot bigger. If anyone’s interested I can add my plans.
When I had melamine racks I melted holes towards the front end sides of my tubs so it would let the air and moisture go out the uncovered part of the rack. Also some of my hatchling tubs that I got from freedom breeder has several small holes in the front sides of the tubs as well. But nothing is set in stone so whatever works best for your setup to get the best results.
Thanks, that’ll be my starting point then. I’ll start off with a row of holes up front and on the sides in the front 1/3 of the tank. All towards the top. Then I’ll do a test run for temp and humidity and go from there.
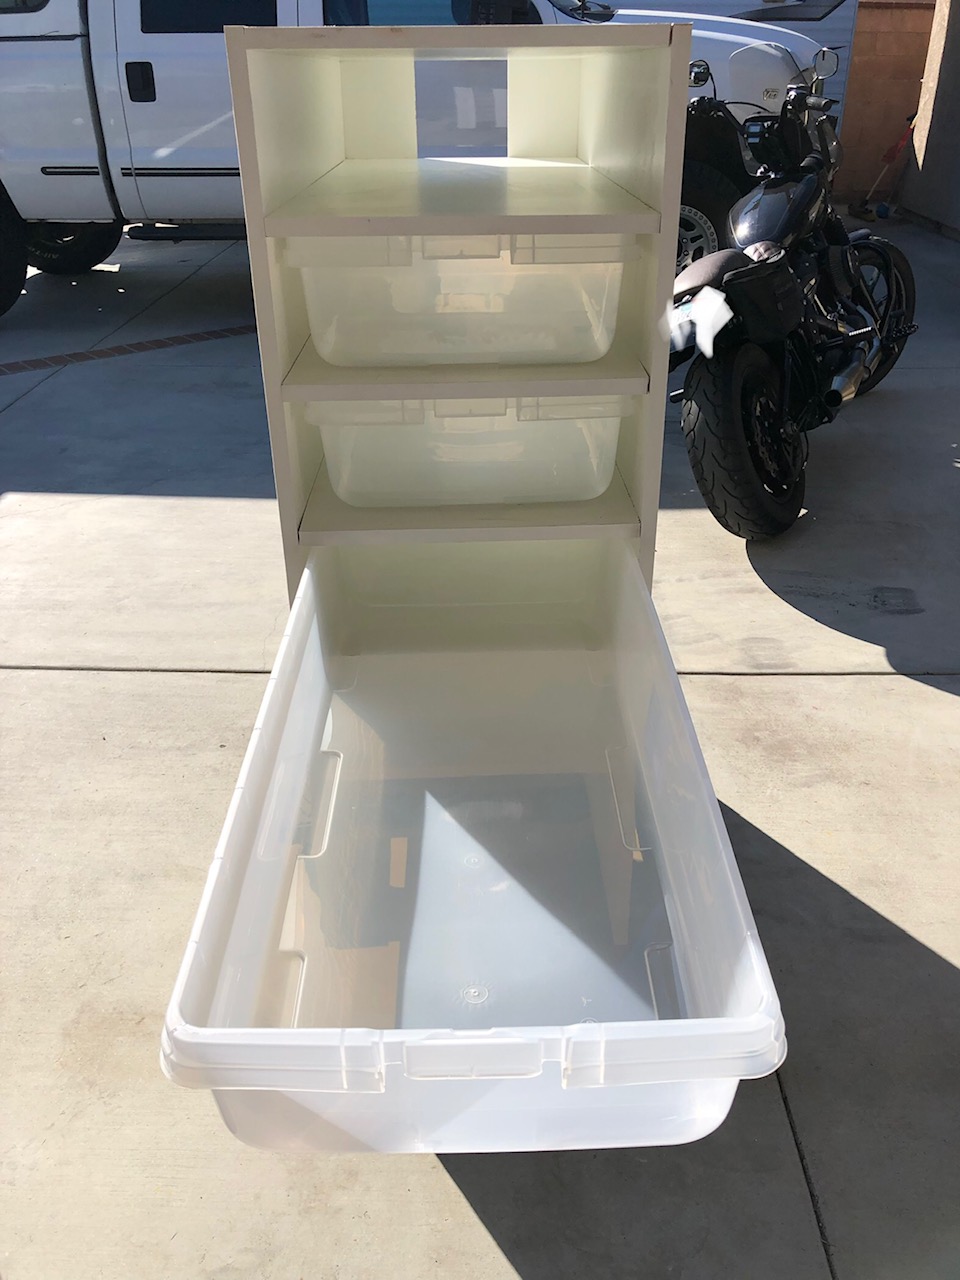
The dimensions that are on the rack itself are supposed to be estimated and larger than it is so I can make sure that I have the room.
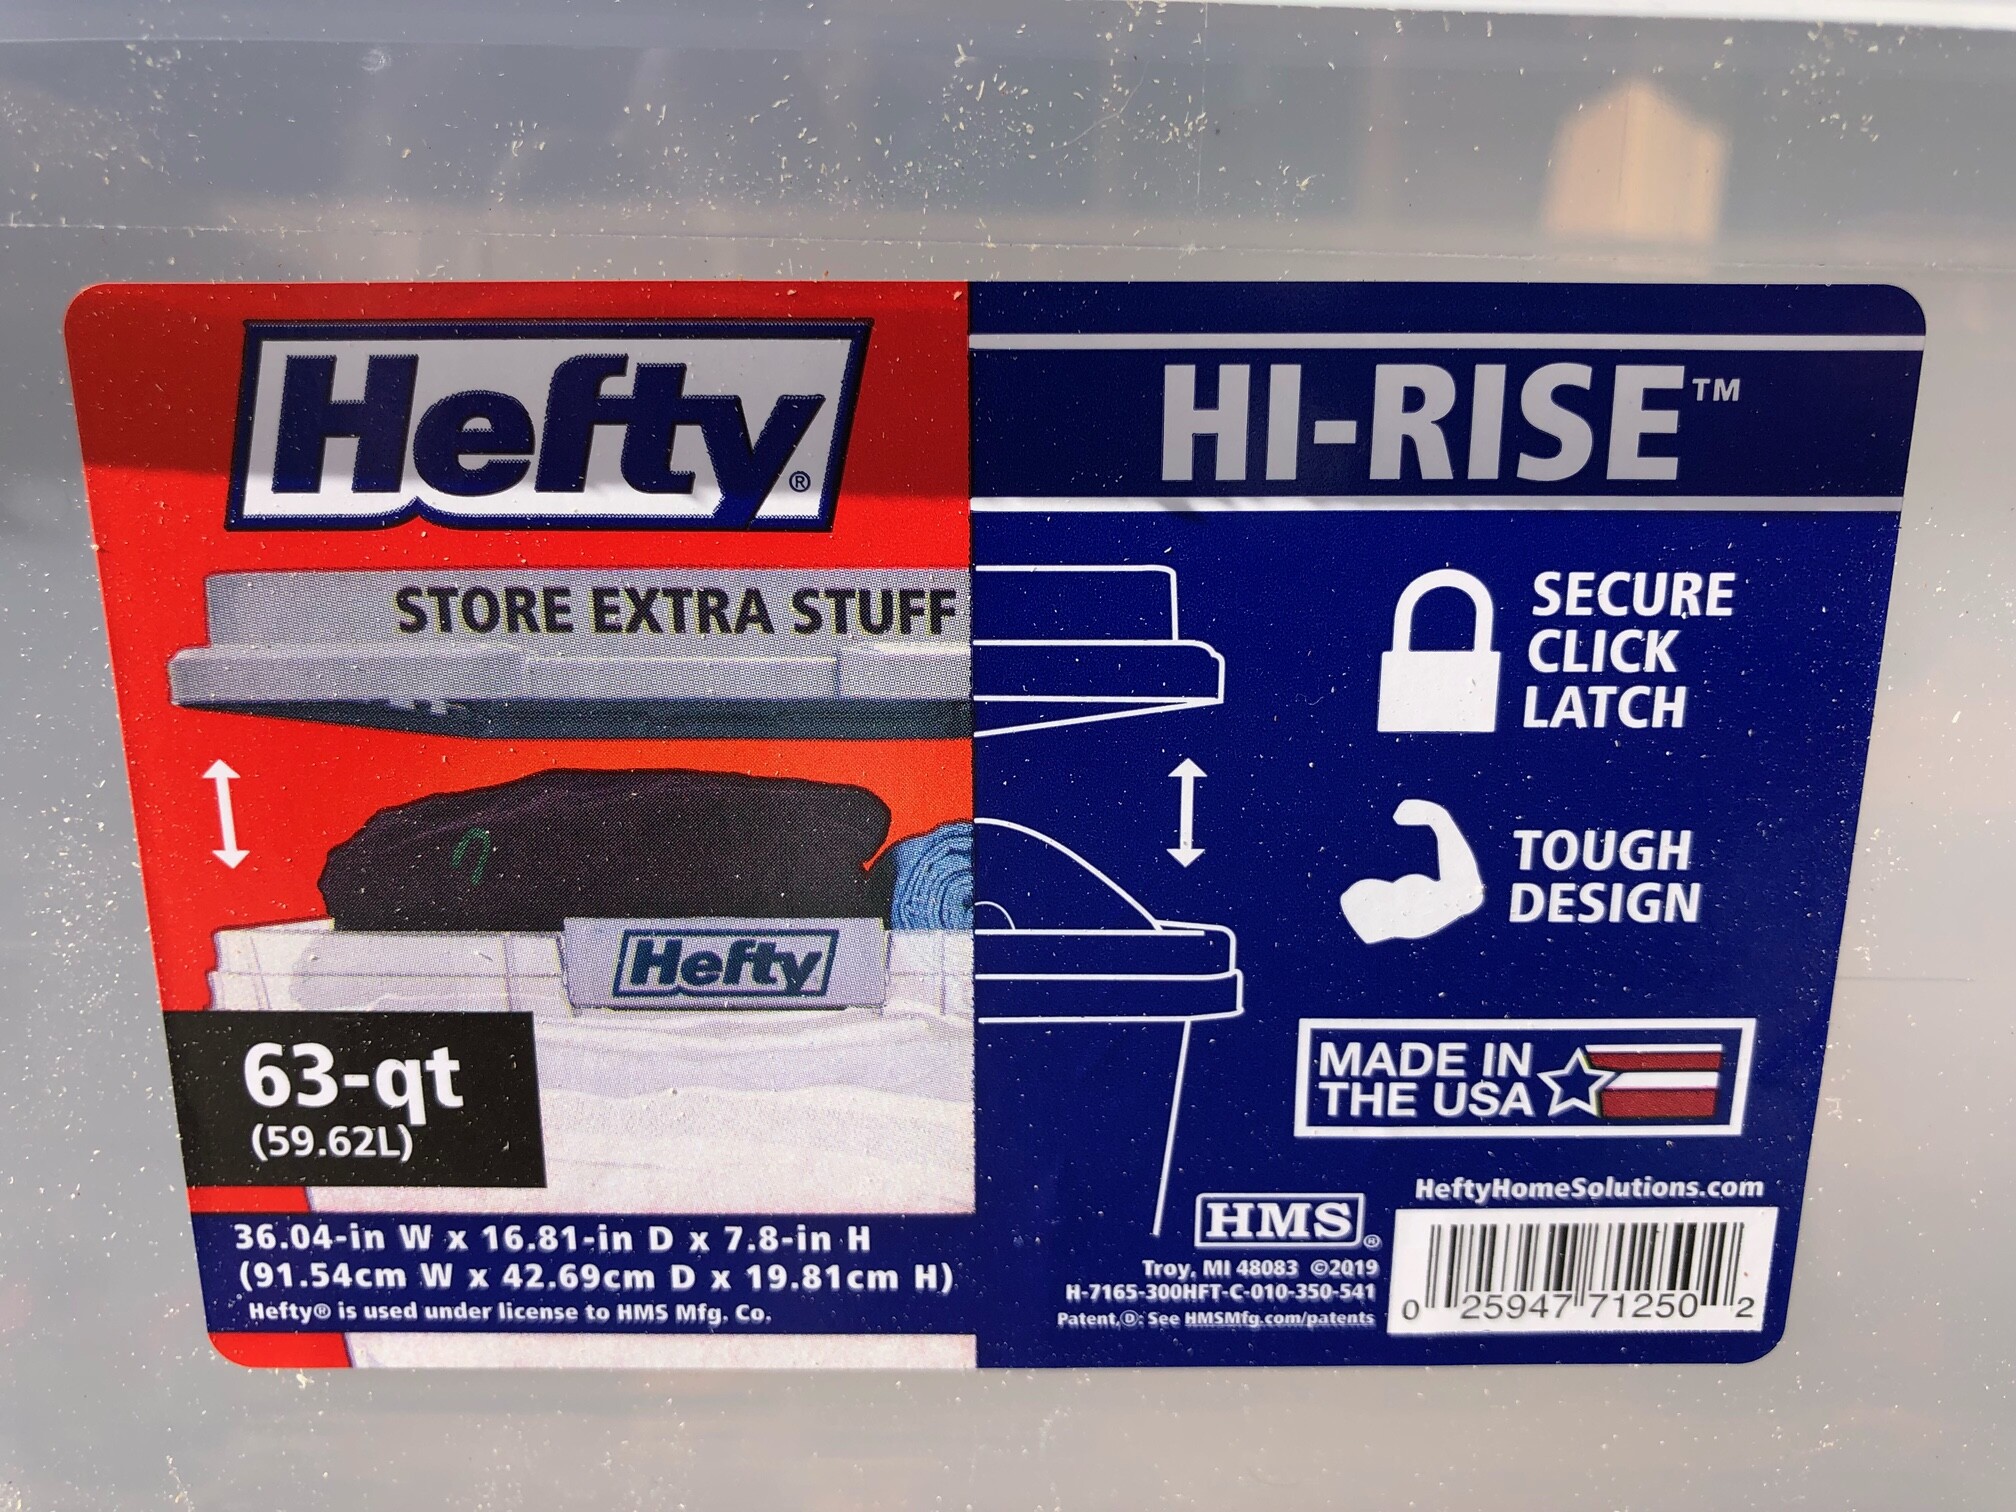
These are designed to be for tubs with the lids on, I just used the dimensions on Sterilite website, I haven’t checked them myself yet. I added a little bit of space in the middle so I can add a center brace (I’ll use a threaded axle). The links on the bottom that are price are for the tubs, the melamine, and the heat tape; it doesn’t include the thermostat.
So my cool end is getting too cool on me. About 69F when I check in the early morning. I’ve raised the hotspot to 93F. I’m not able to control ambient air temps in my garage. The rack is pushed up against the wall. I’m considering buying some foam sheets to slide in the gaps on the sides of the tubs and maybe to insulate between the wall and the rack. I would like to hear if anyone else has any ideas/recommendations. Maybe a heavy moving blanket?
I used a soldering iron to melt about 8 holes across the front of the tub and then 6 down the front 1/3 of each side, 3 on the back sides. I feel like that was kind of minimal for air flow in the tubs. The heat pad is 16" and the tubs are 37".
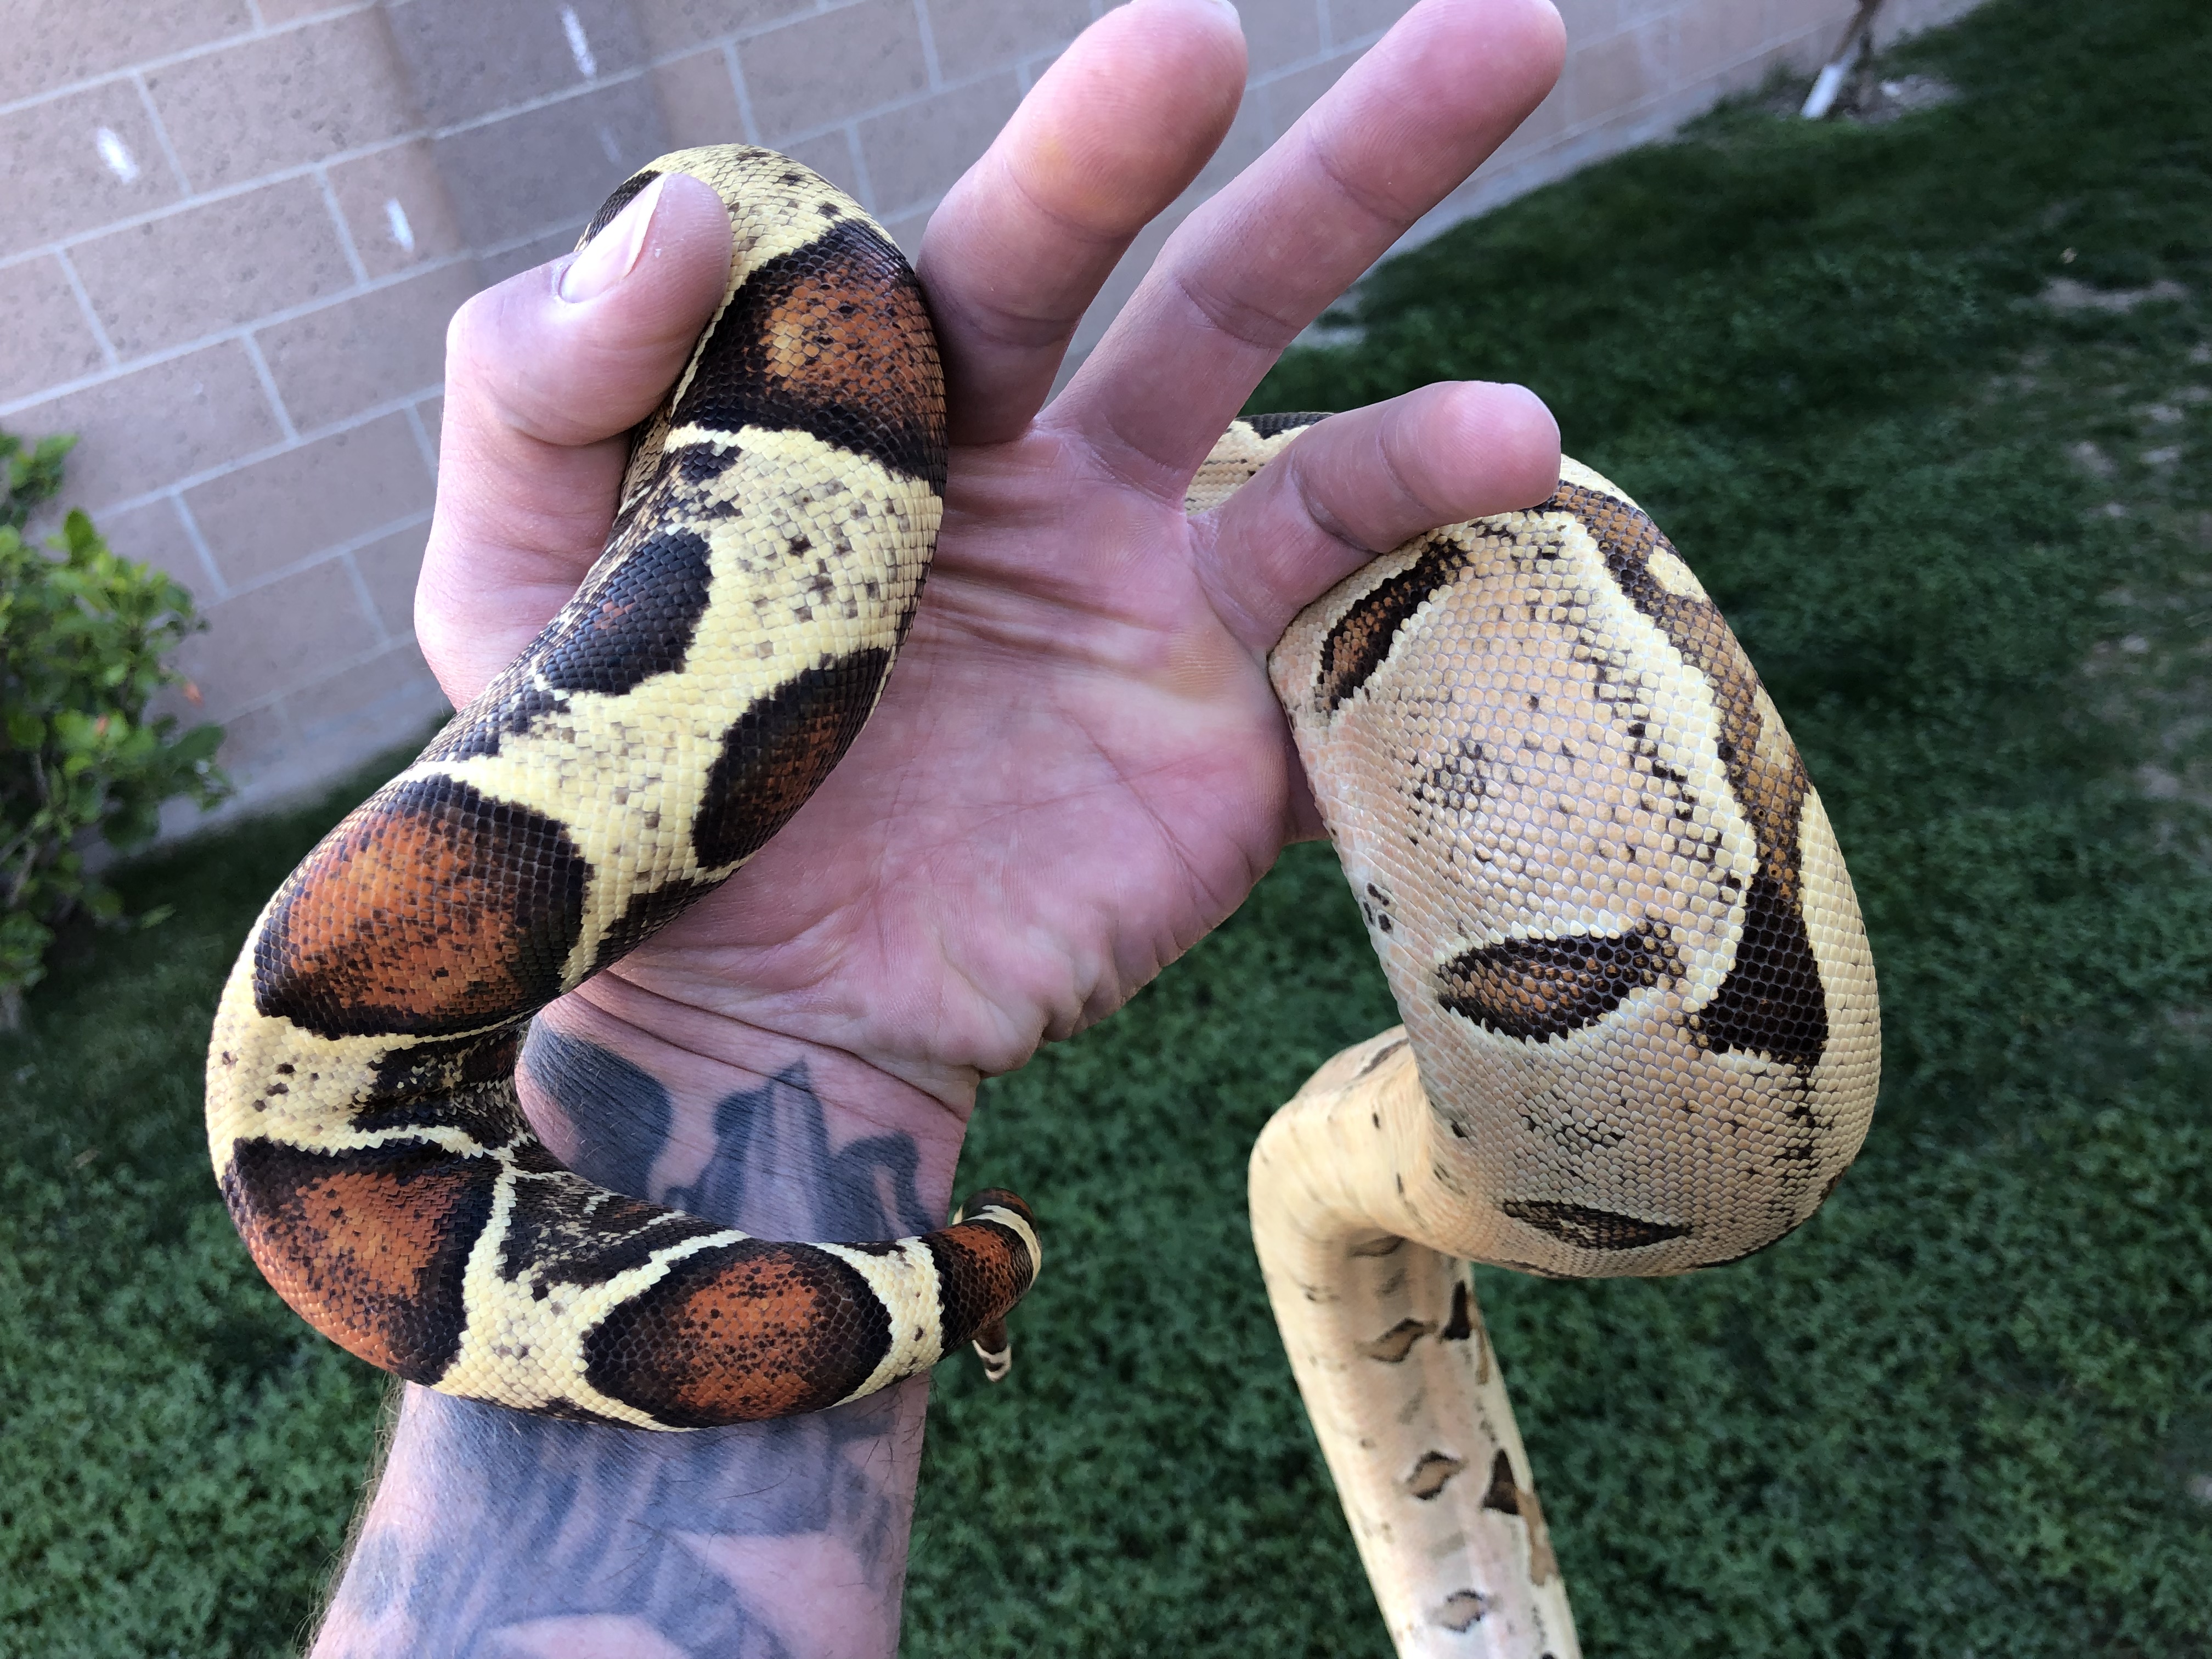
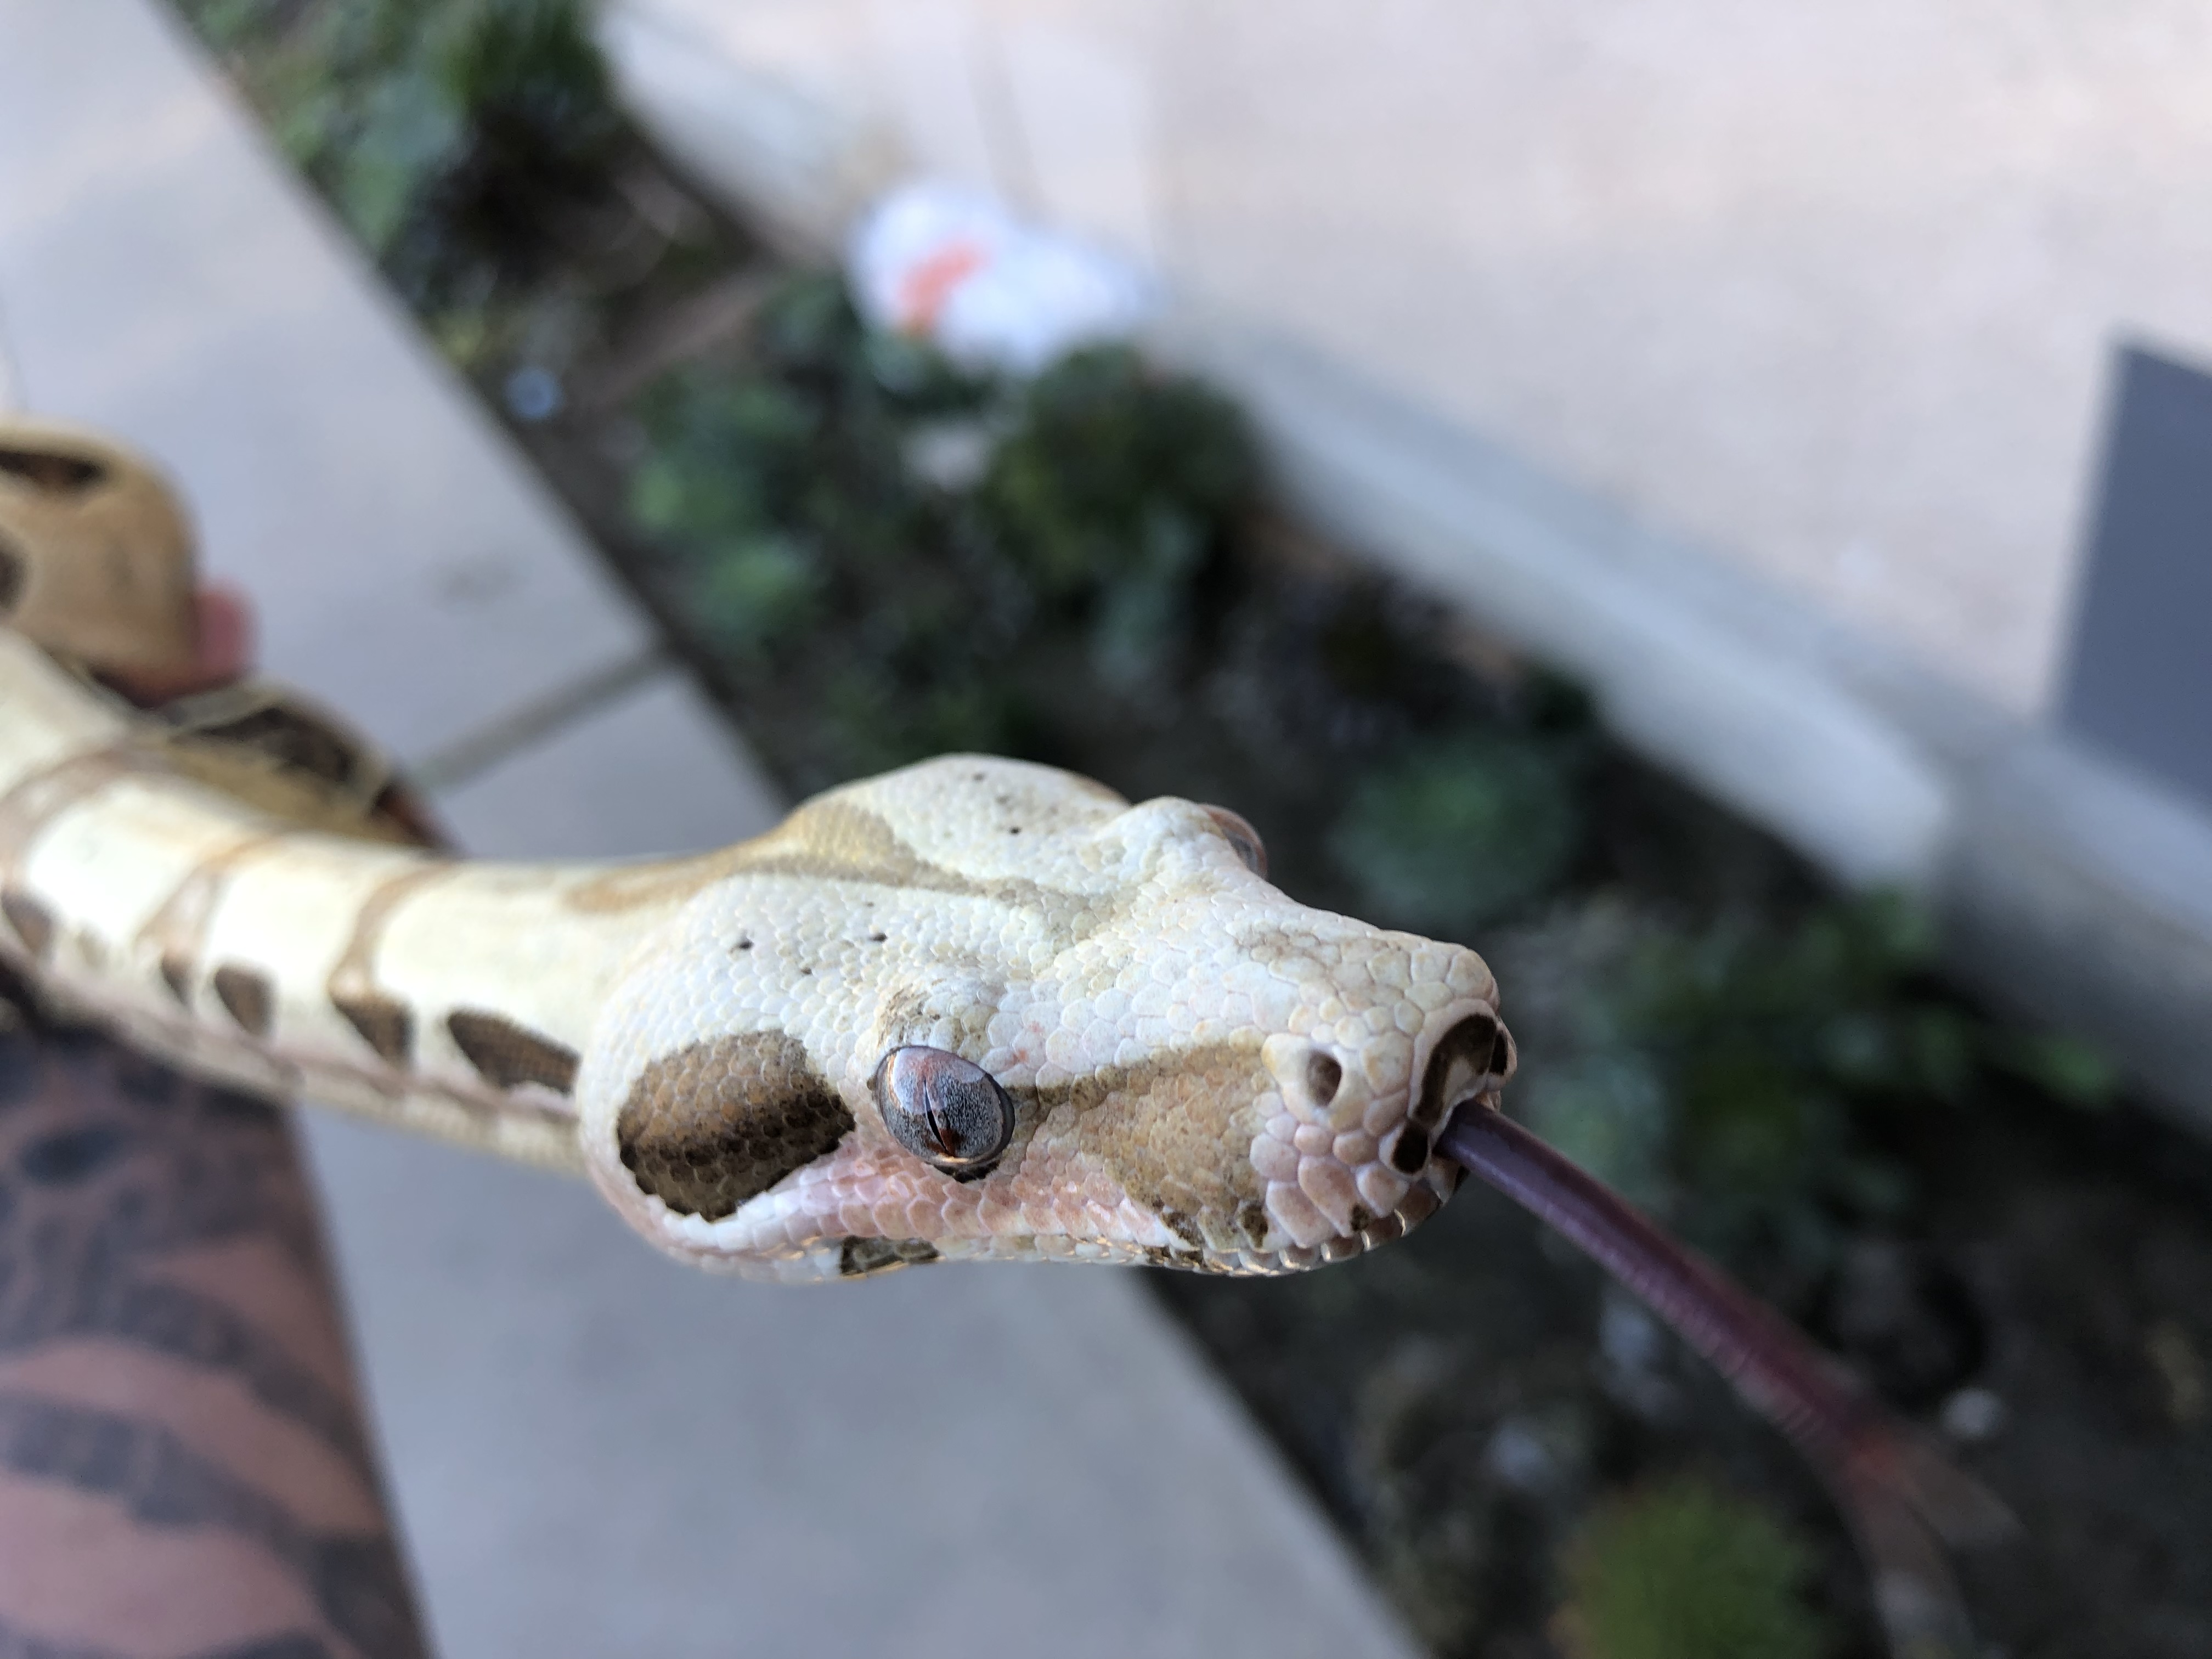
Quick picture of one of the ‘19 females I picked up this weekend.
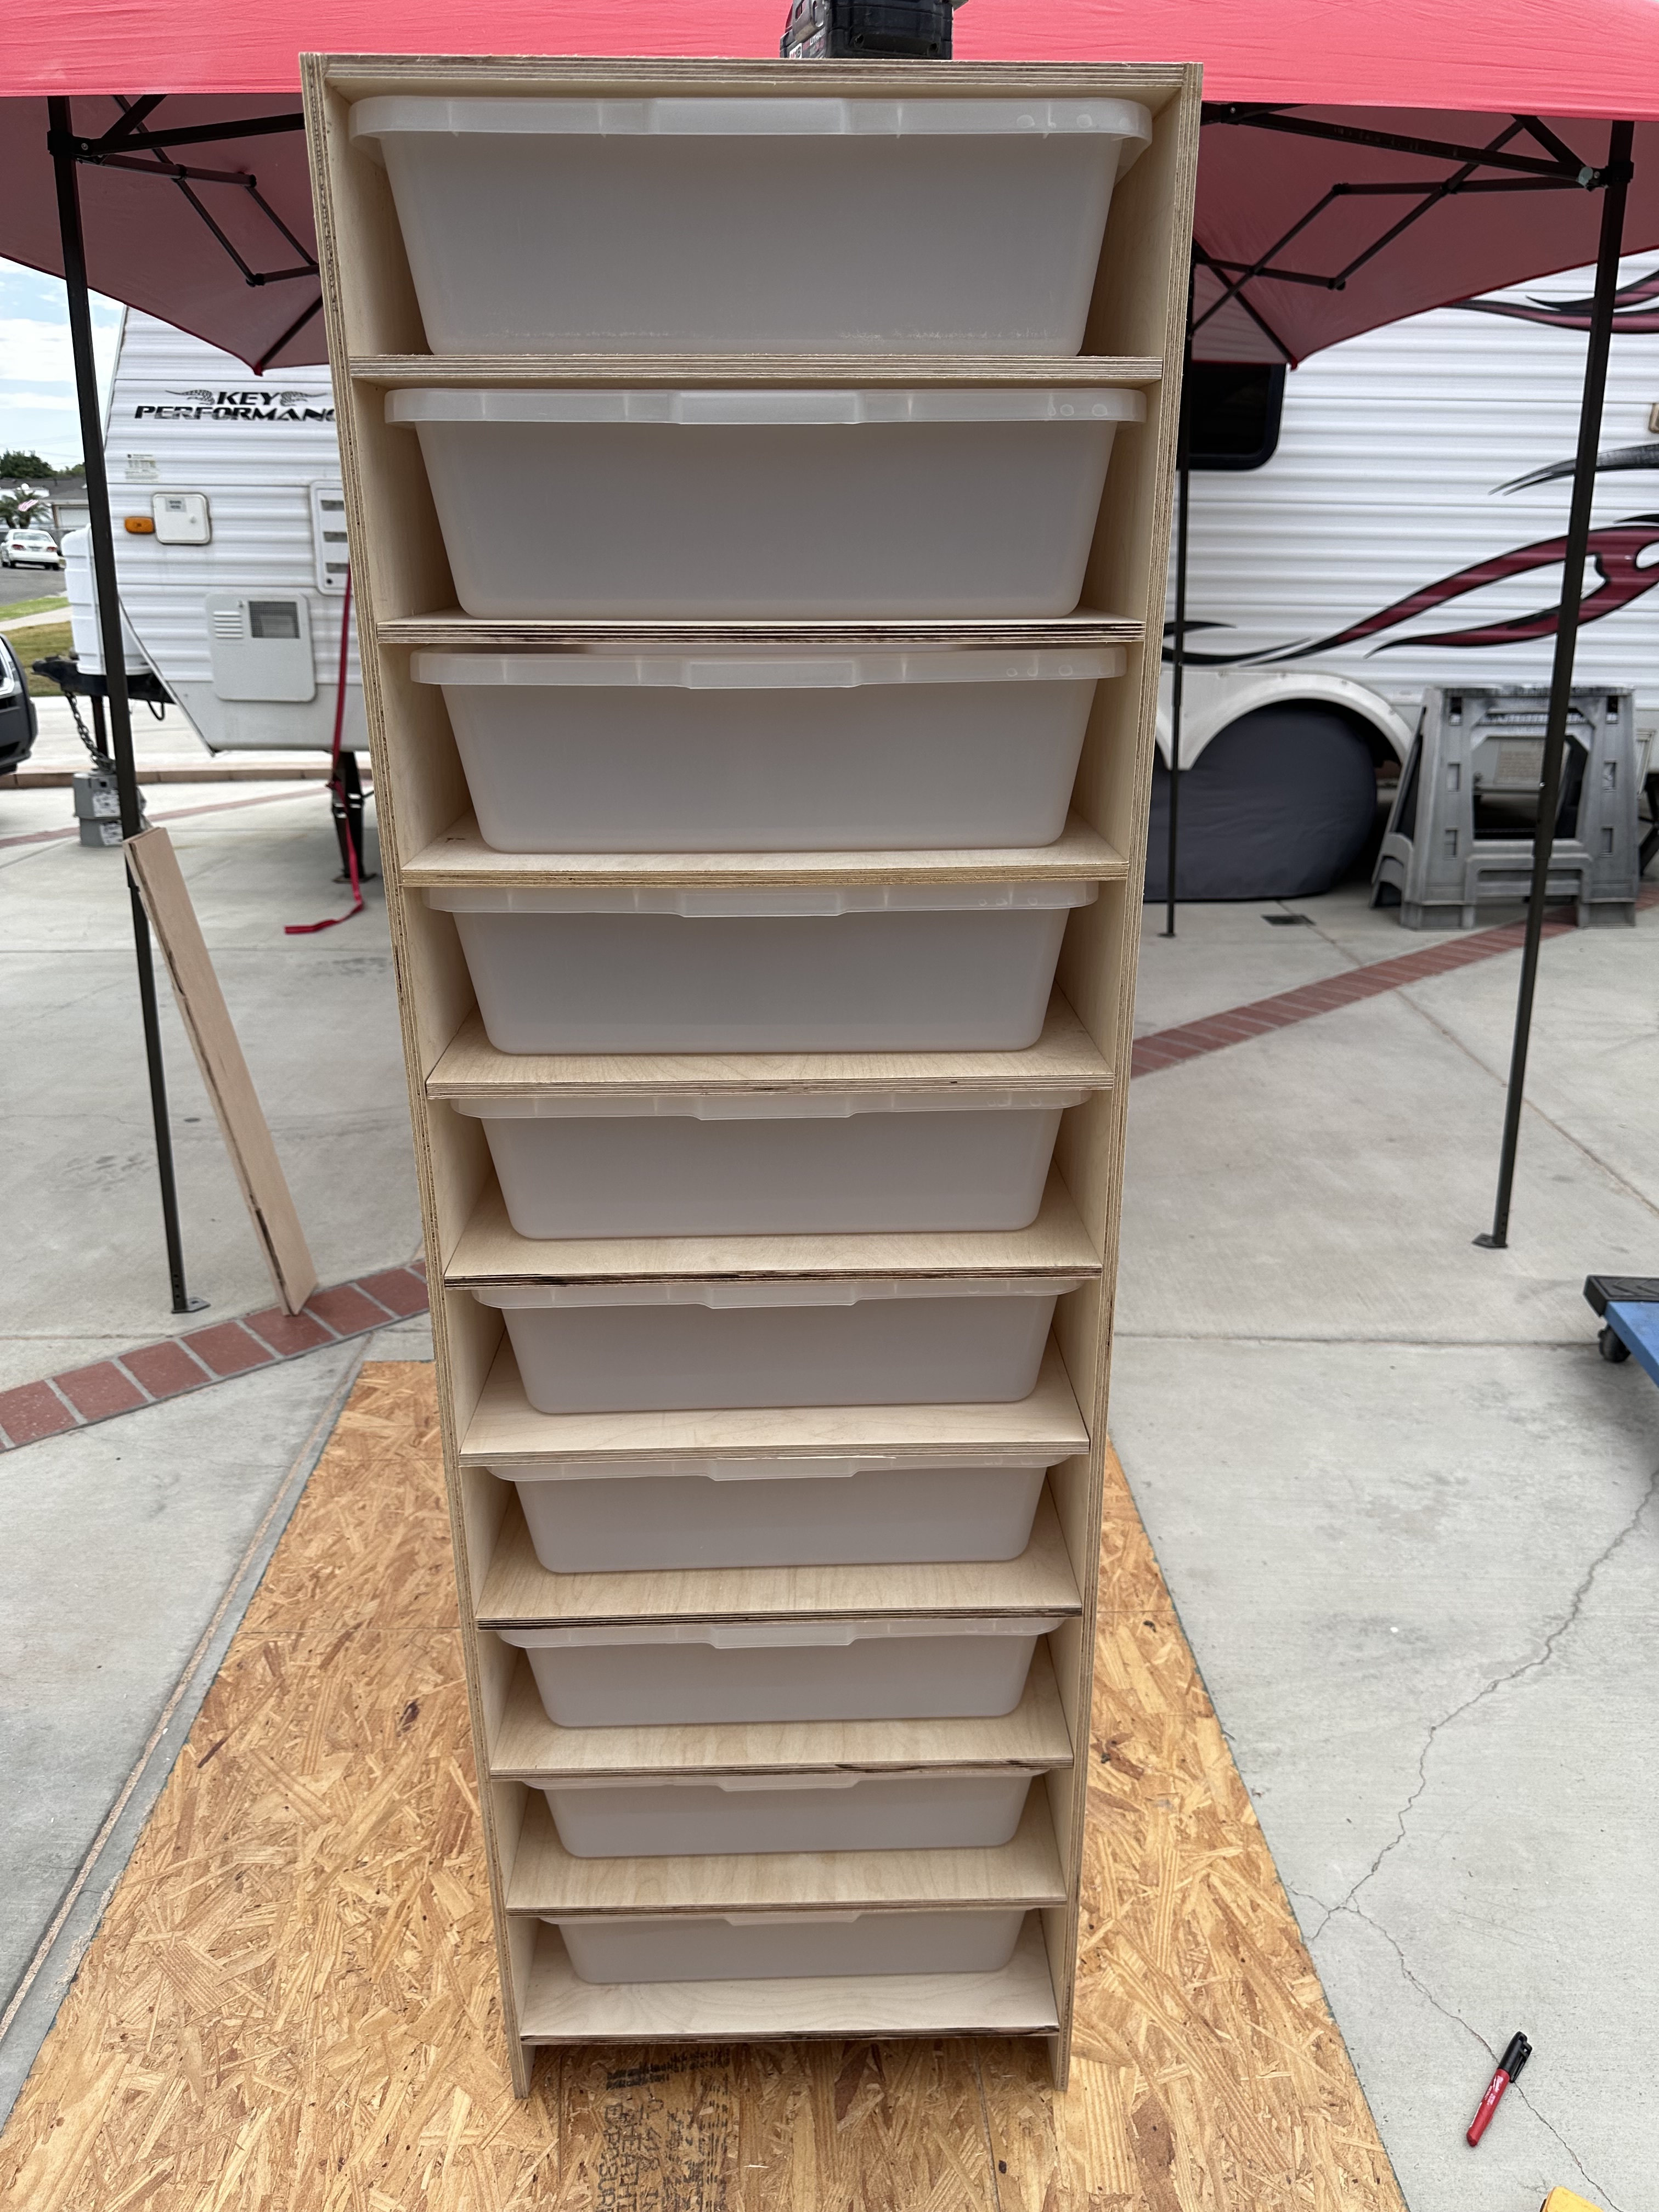
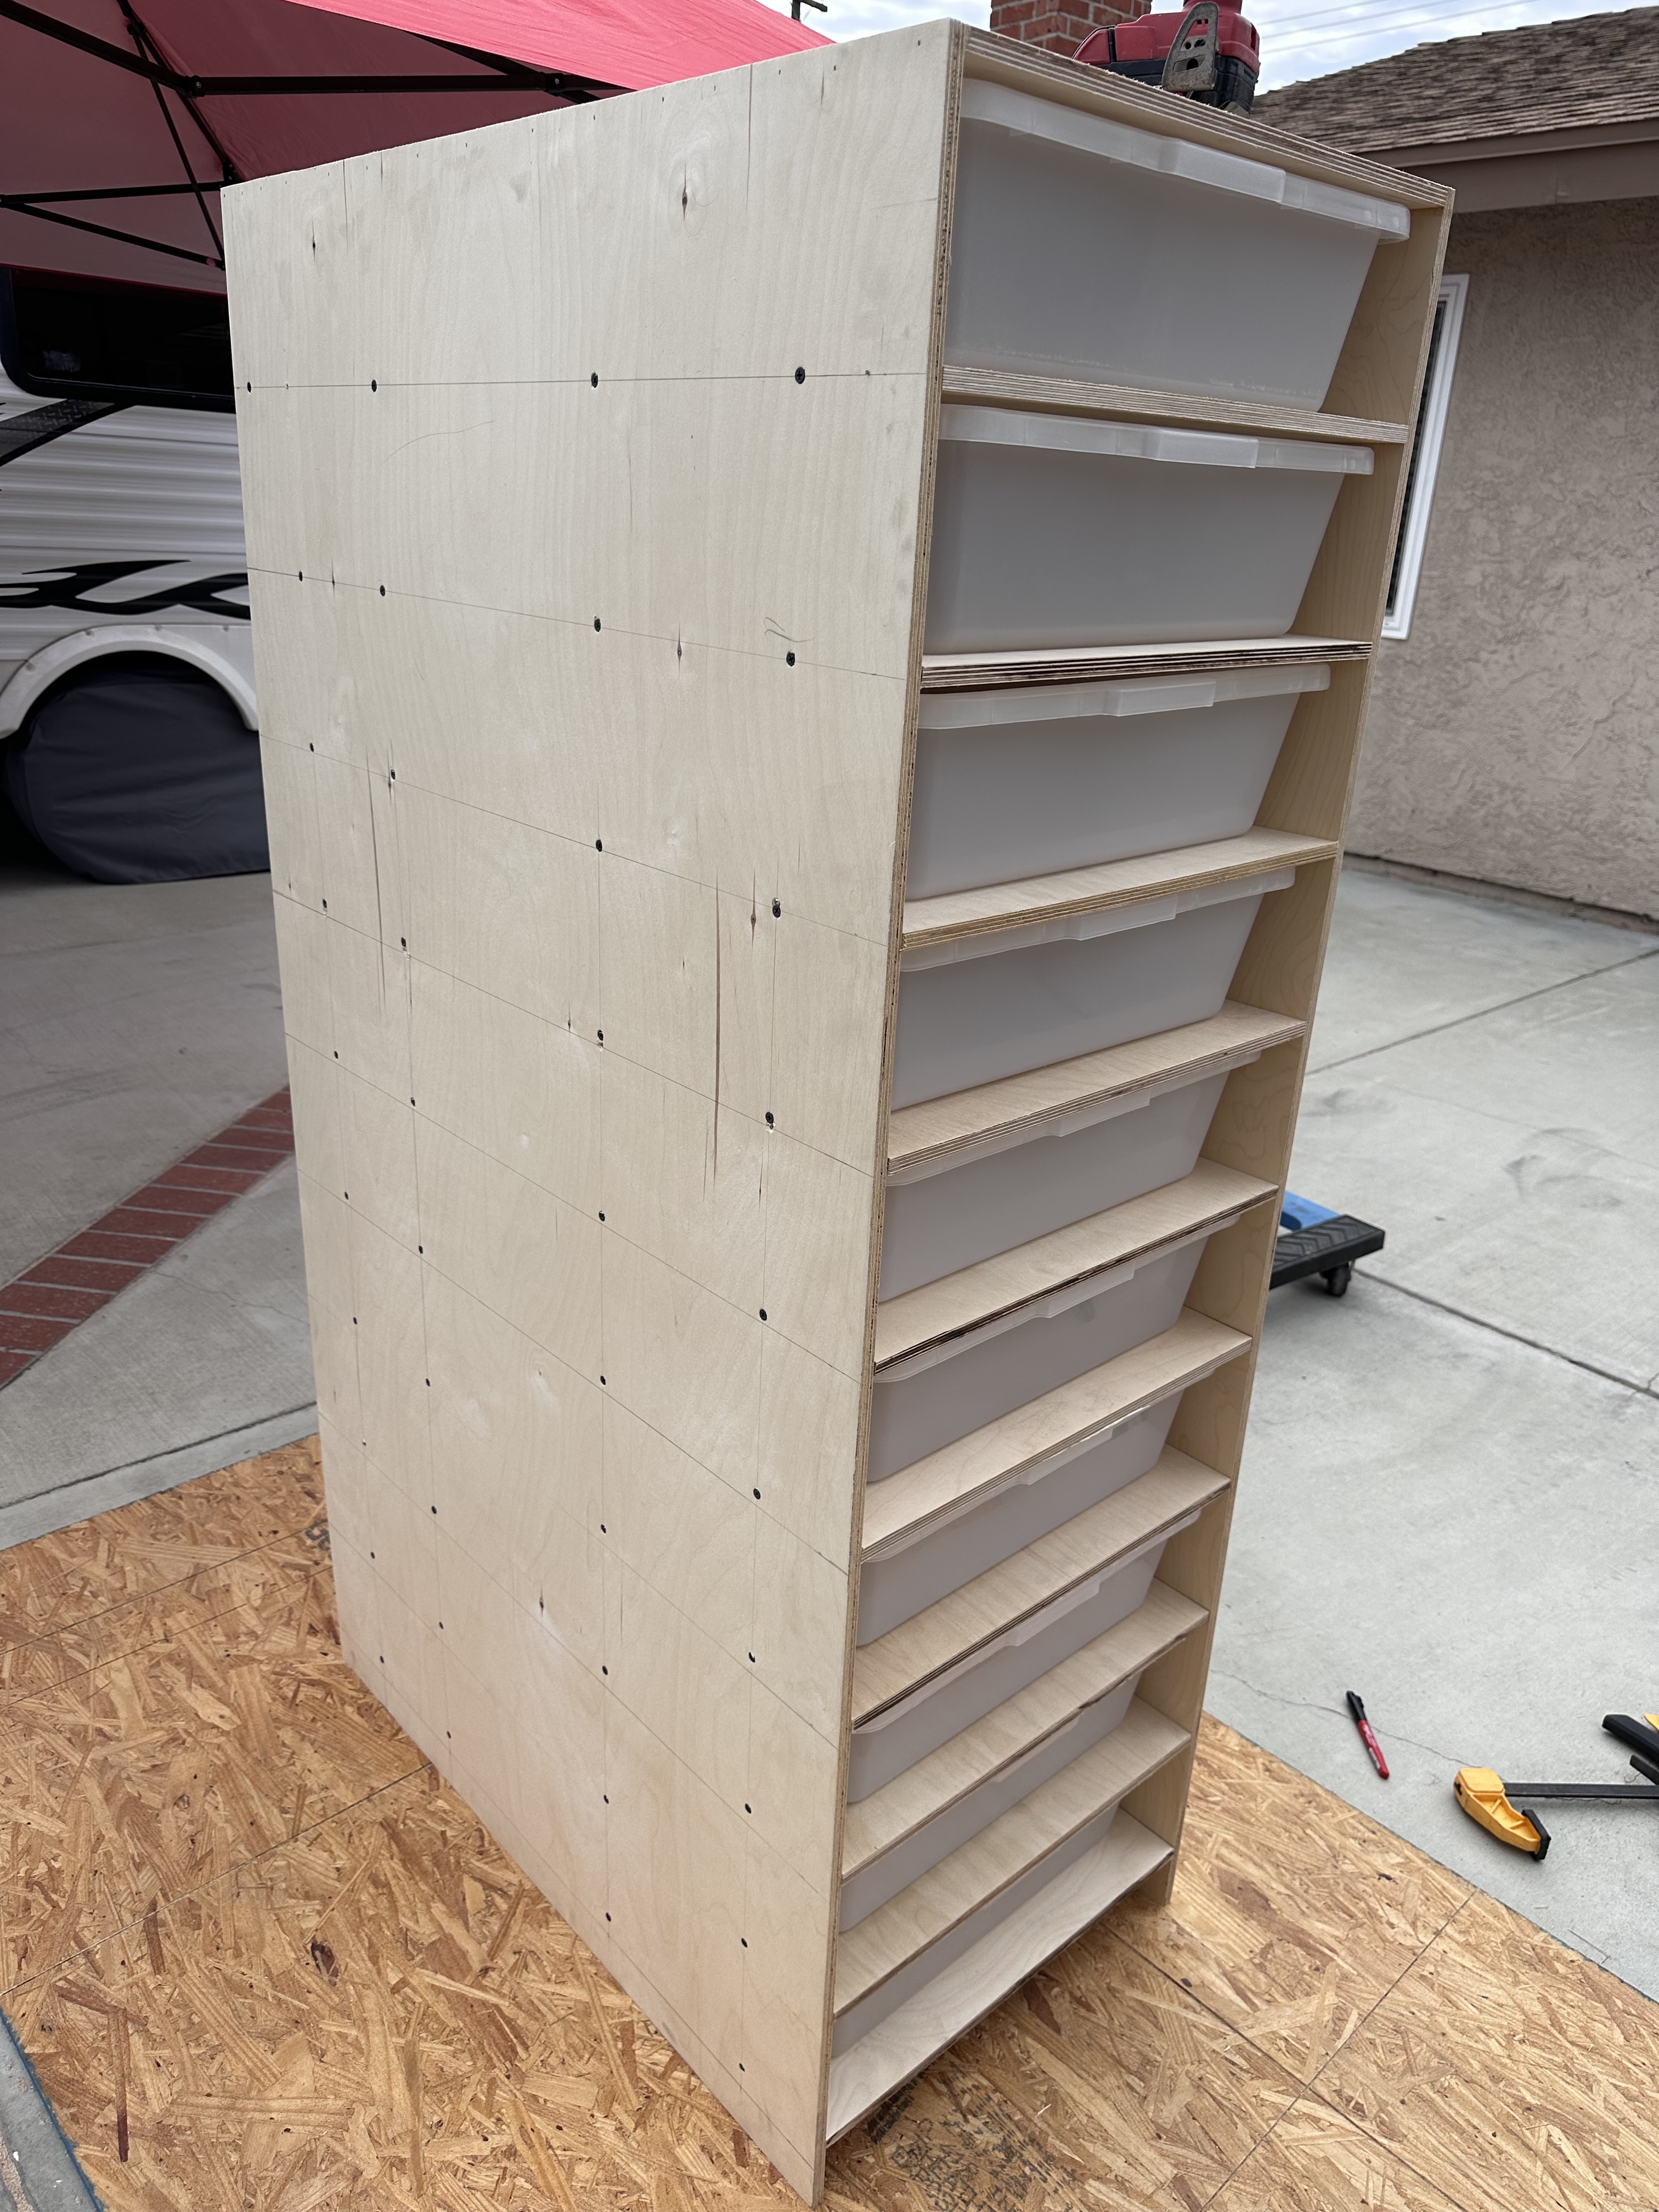
Upgrade time for the little ones. Still a lot of work to do but it’s coming along.
10 tub Super 70 rack.
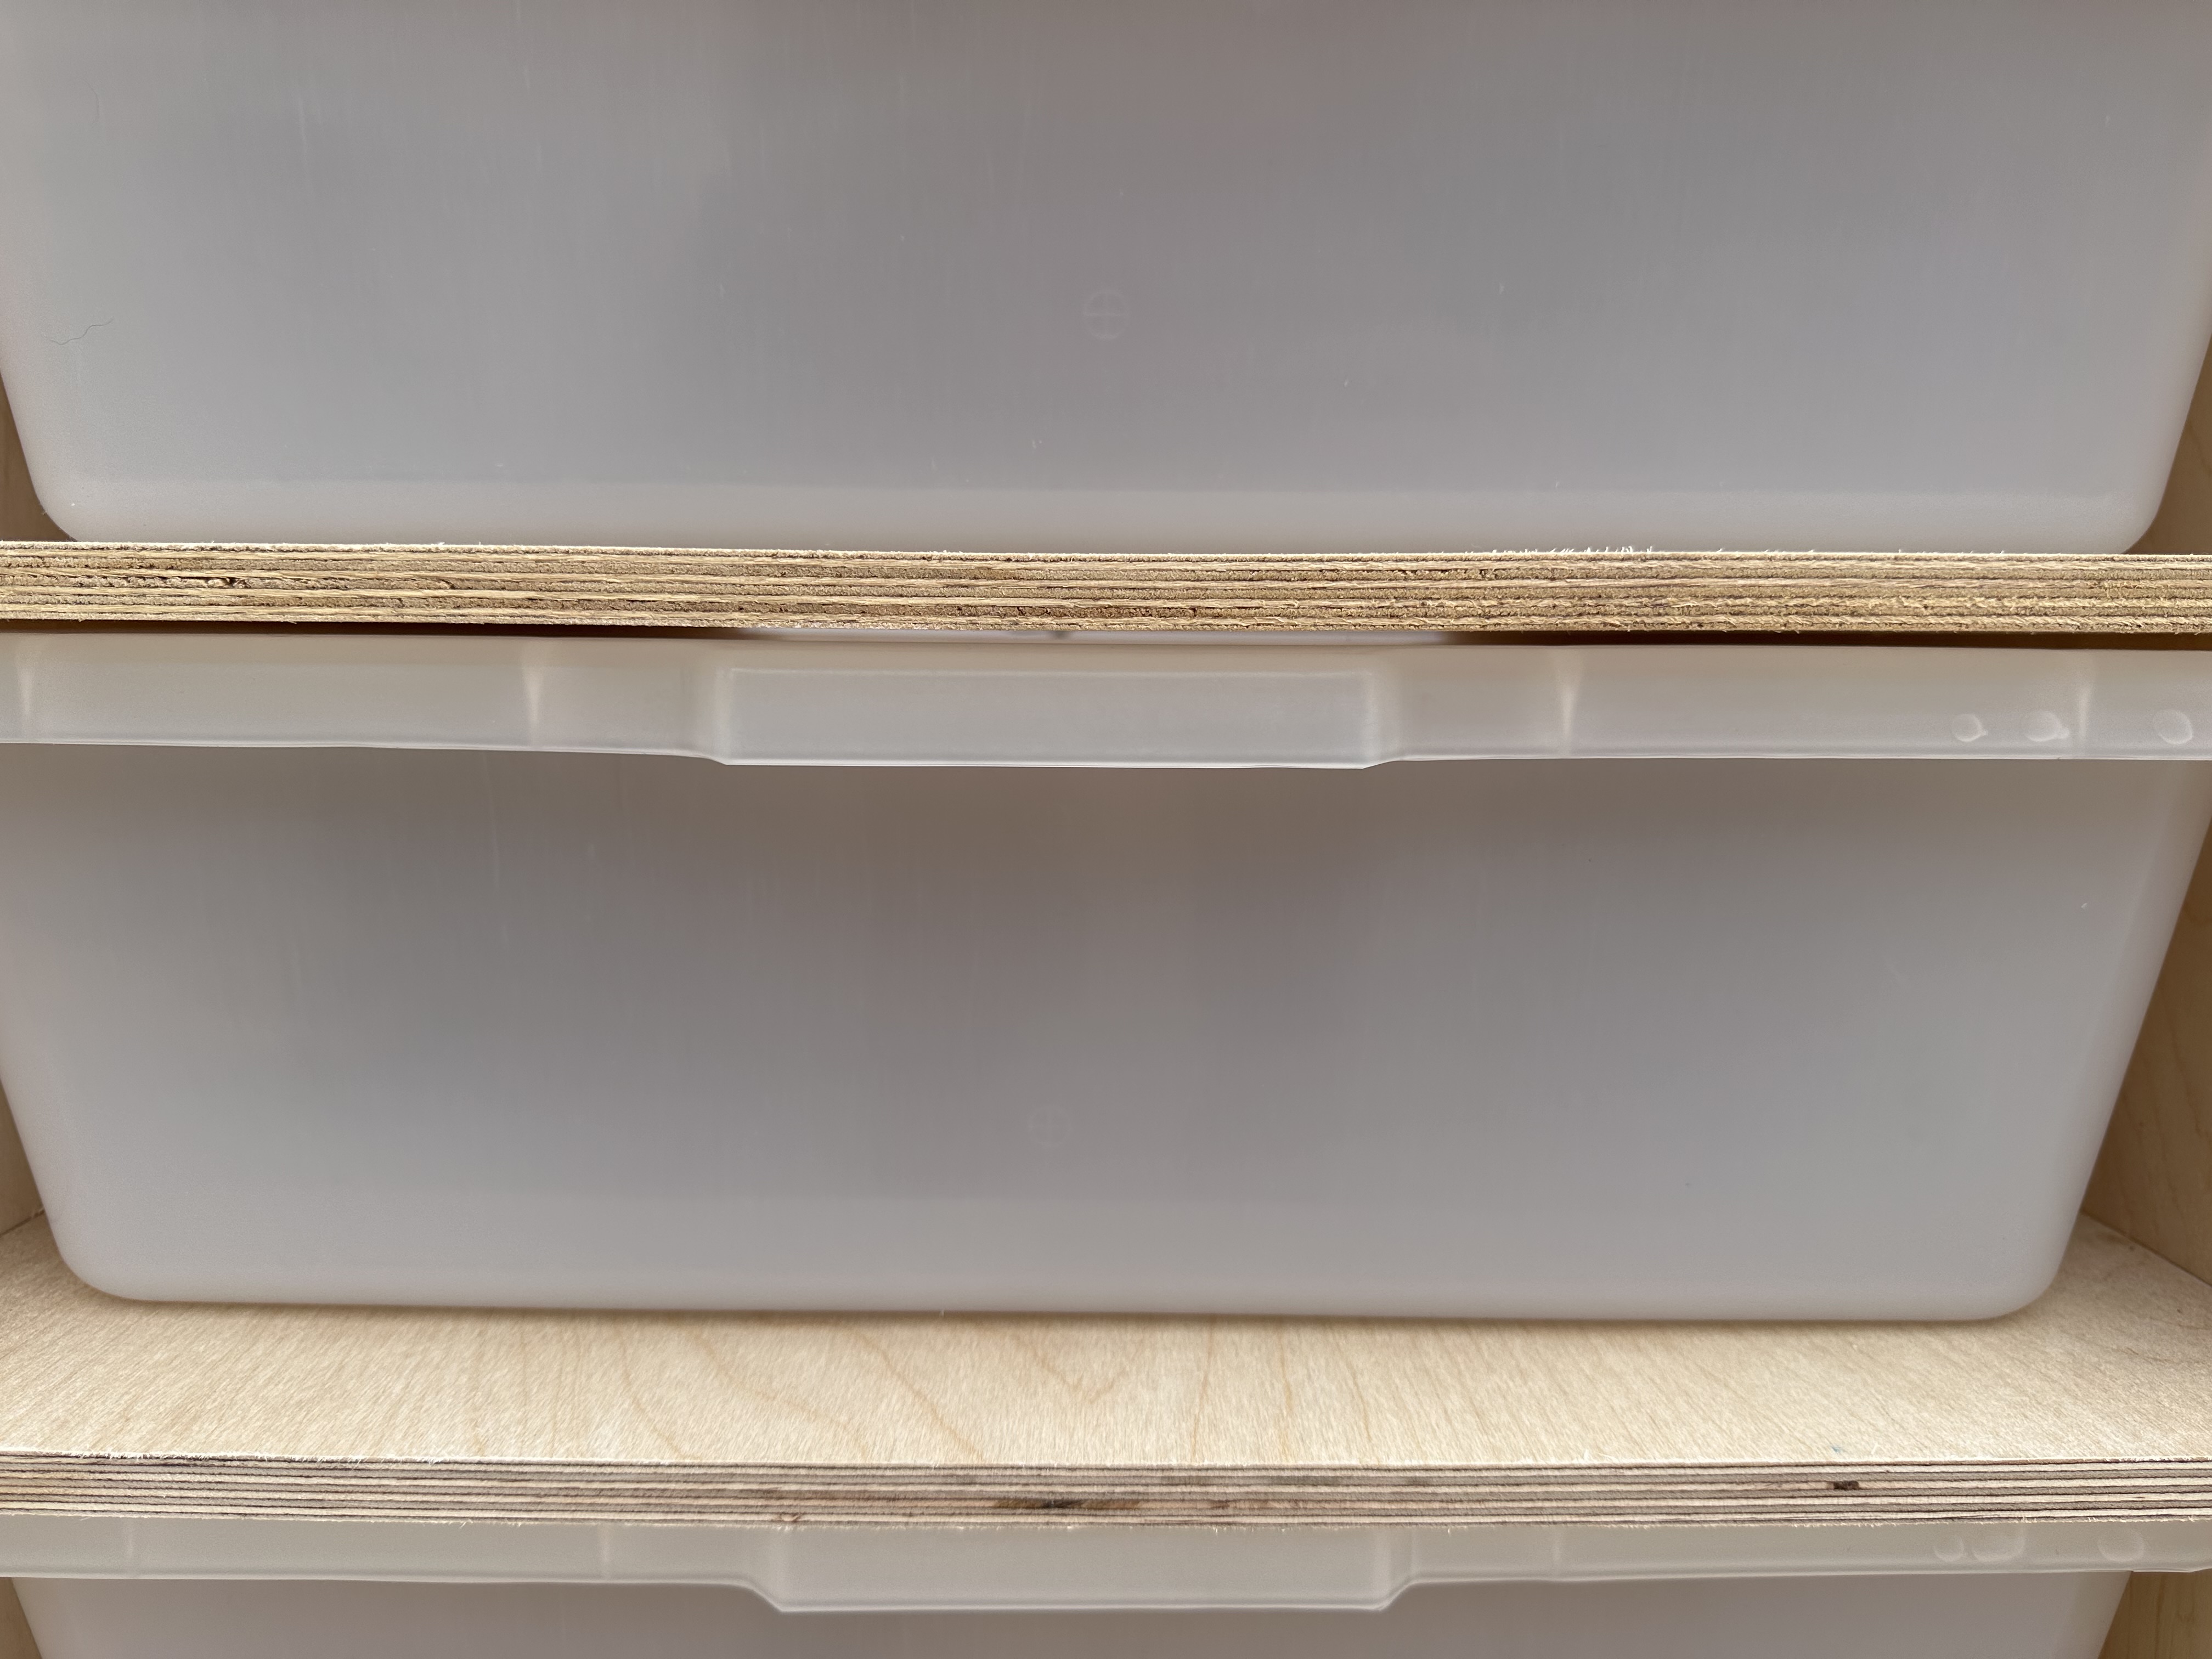
1/2 birch - sturdy but I’d go 3/4 just for ease of assembly. 1/2 is hard to hit perfect. The weight and price difference is why I went 1/2.
I mimicked my VE rack and left 1/8” gap for airflow. My last rack I used the tubs as spacers but some fit too snug. This time I cut shims from scrap at 5 & 7/16”. that I use to keep my gap even, 1/8” taller than the tub.
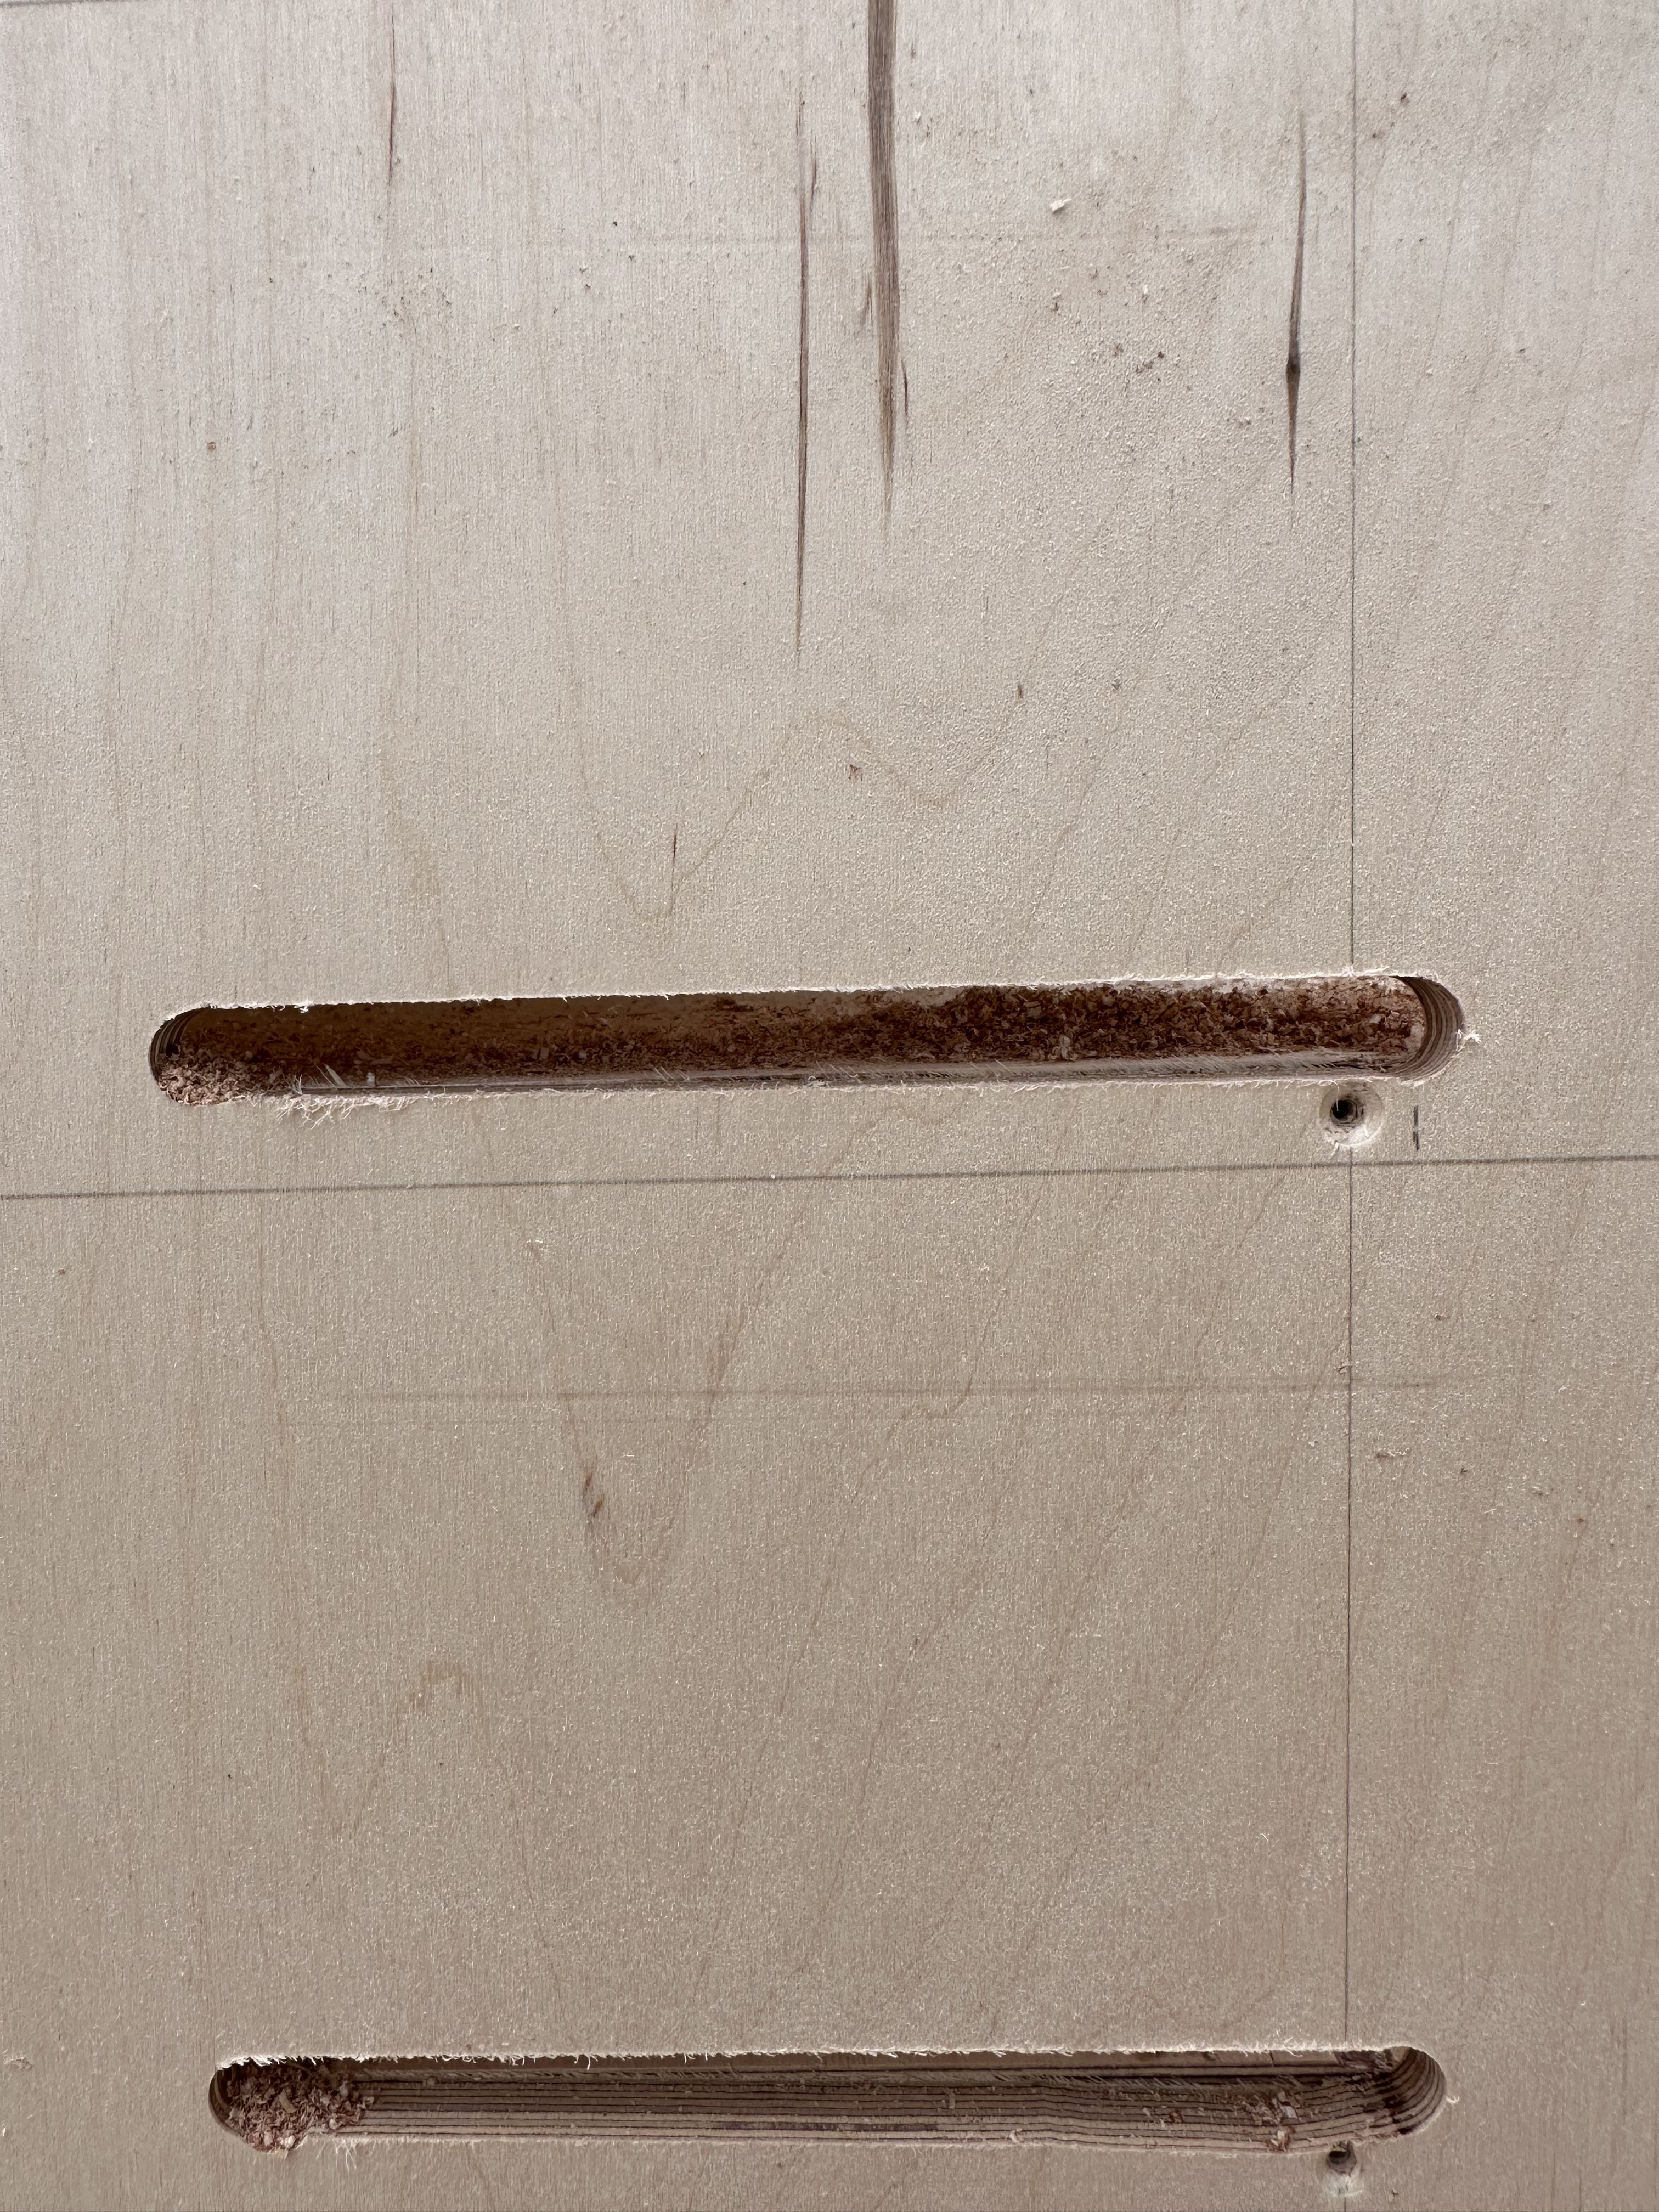
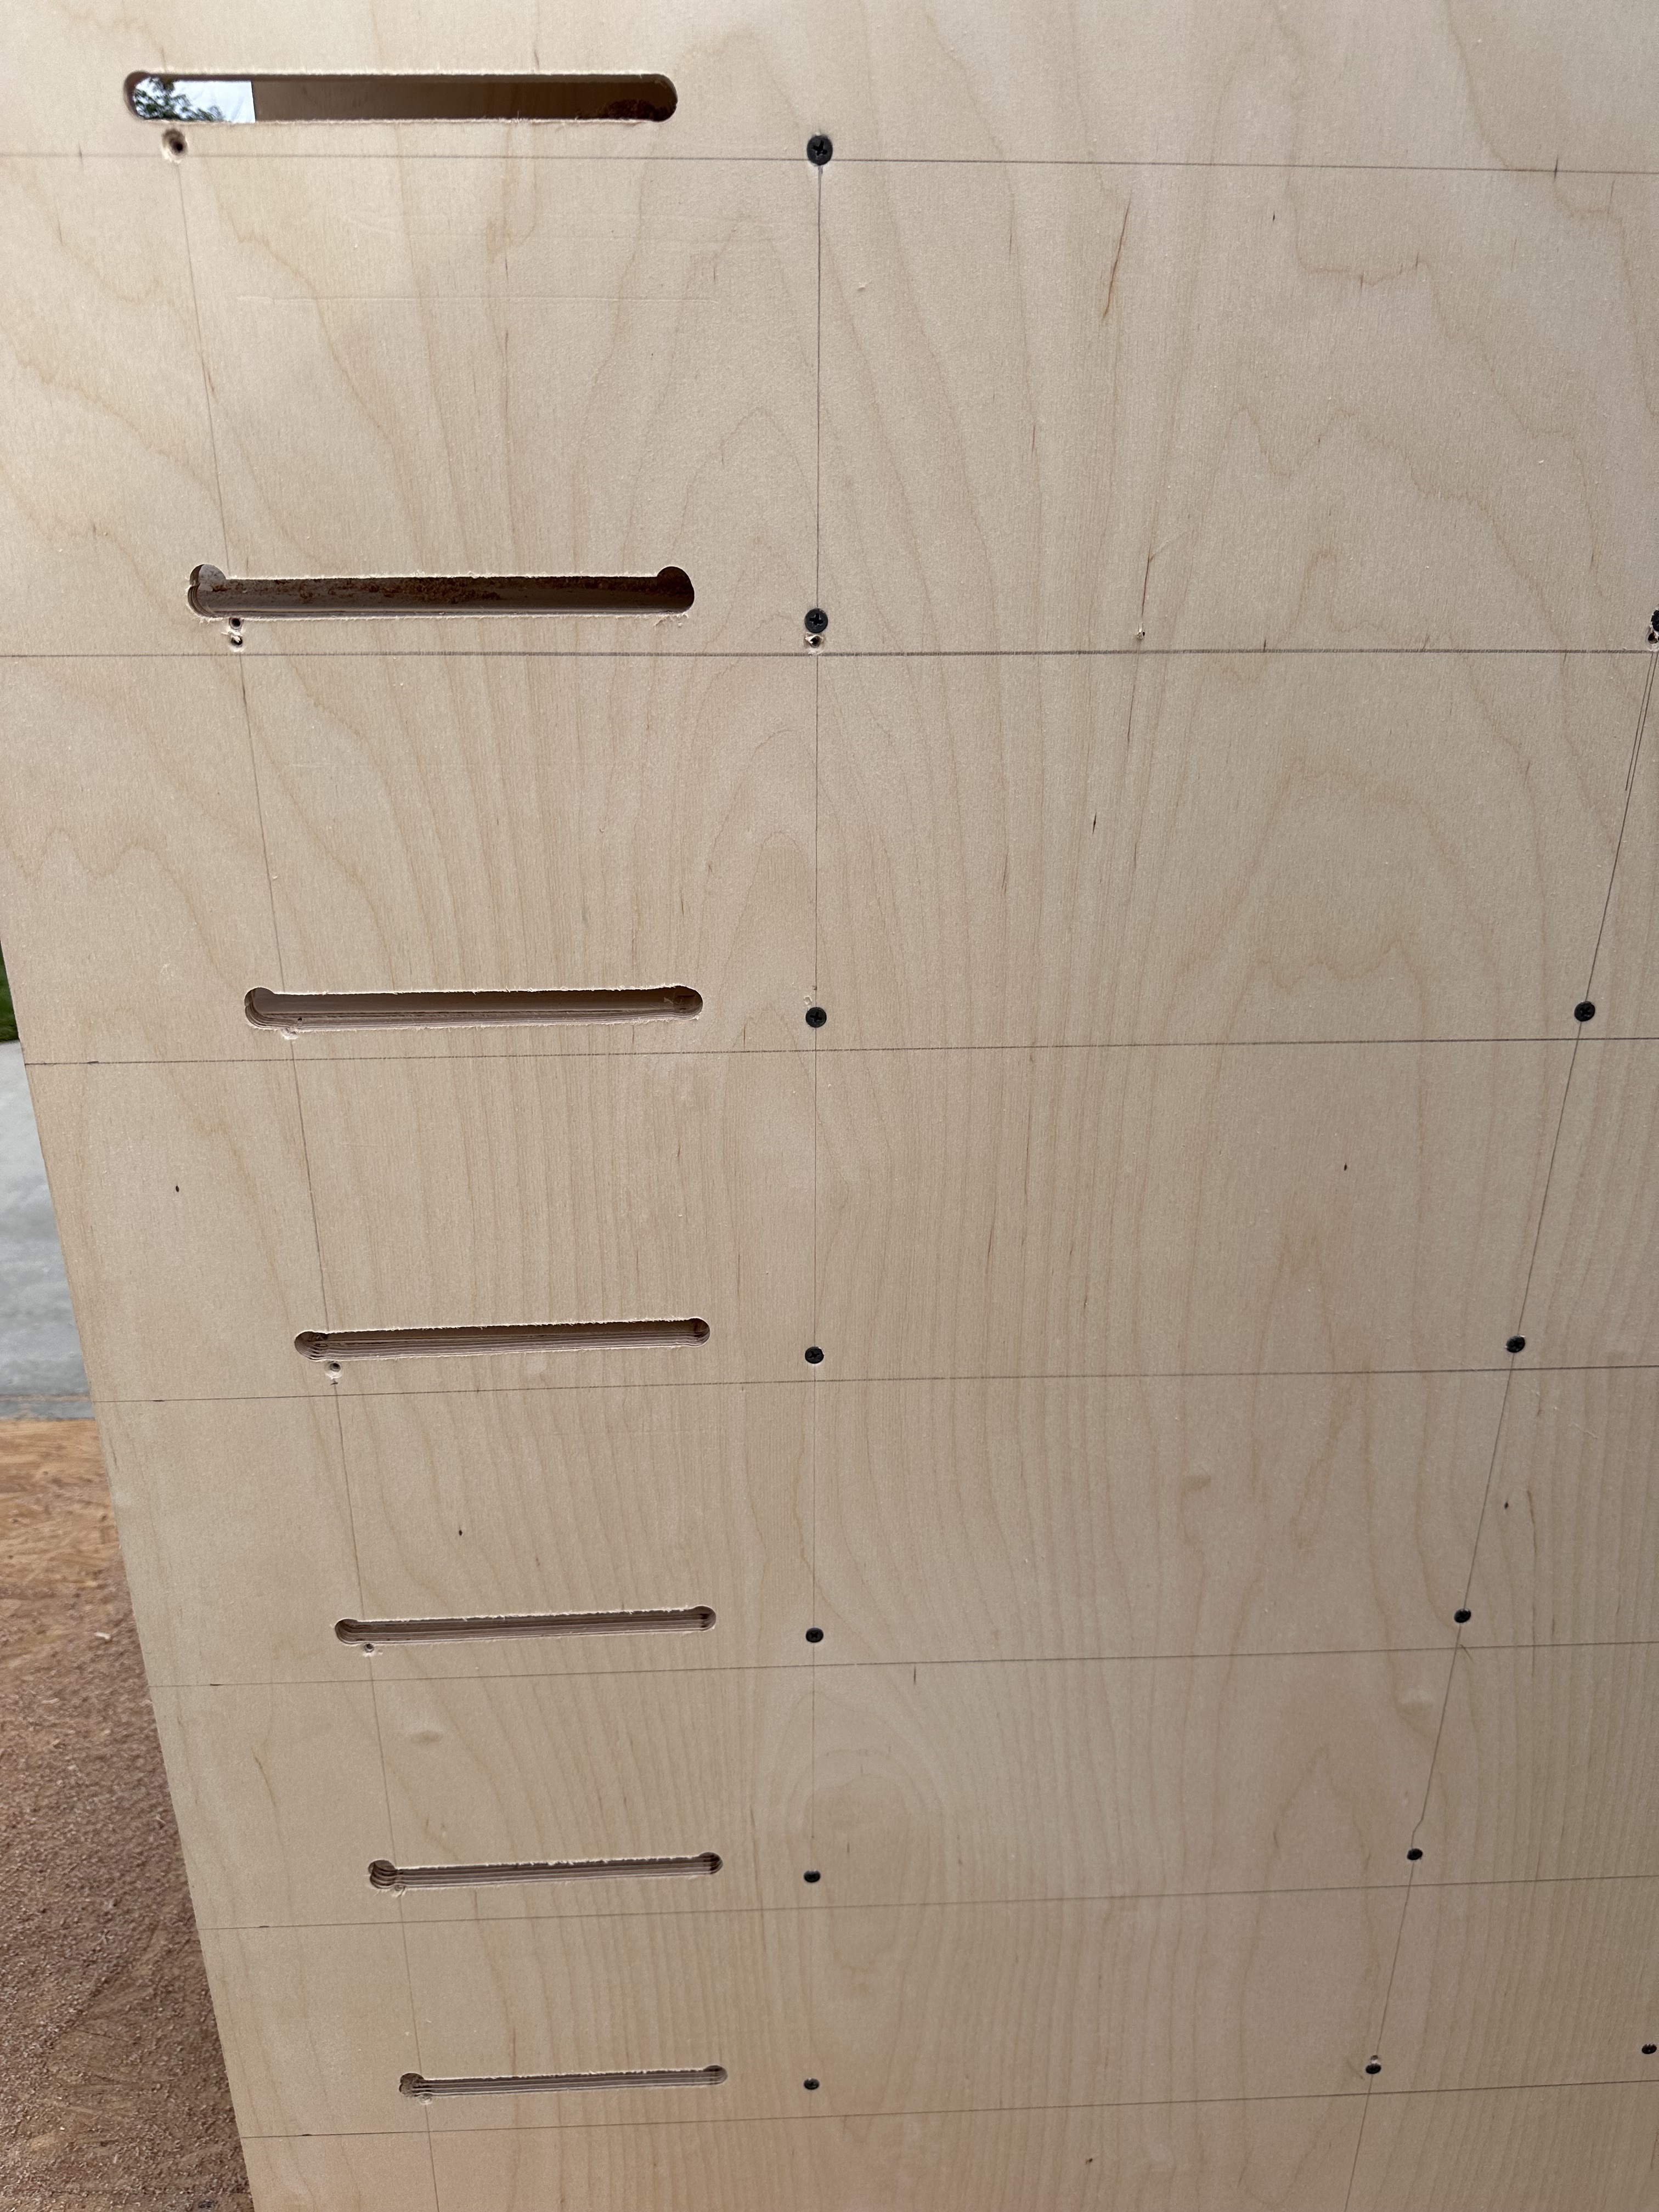
I’m running 6” flex watt. I plan to just weave similar to VE rack. For this I drilled 2 x 1/2” holes the width of the flex watt and used a router to connect them. Not perfect at all but it’ll work. A skill saw would probably have been cleaner but this will be easier to work with.
Next will be waterproofing the wood. I’m not sure if I’ll do some type of water based poly or drylock. I’m just not sure how well drylock does with humidity and if it’s actually non toxic? If anyone has input or experience with something that worked great let me know.
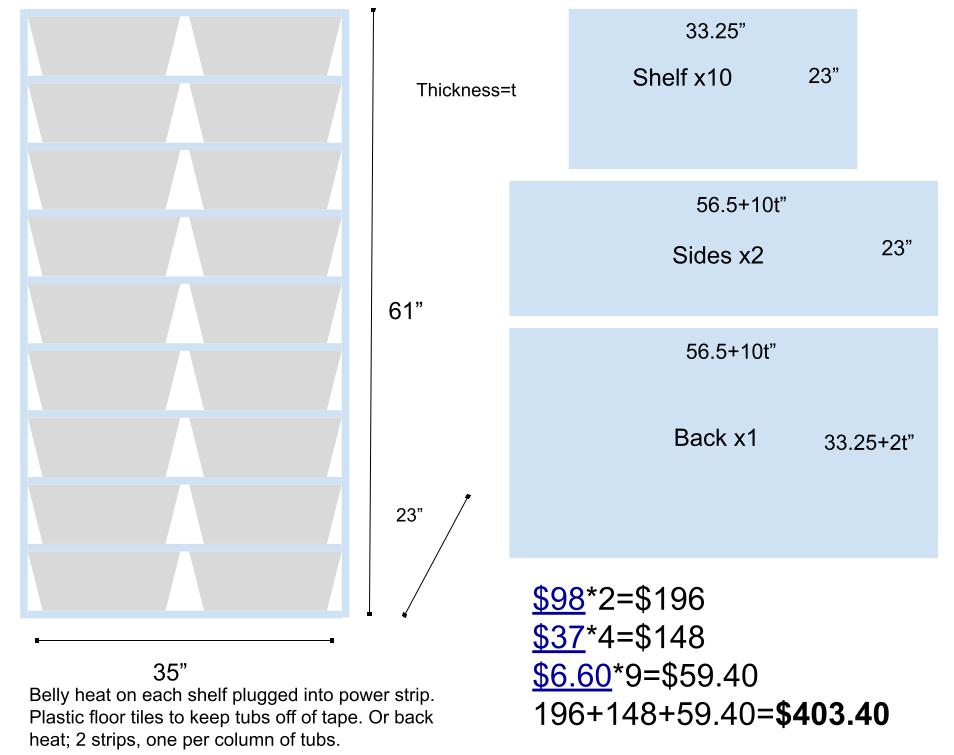
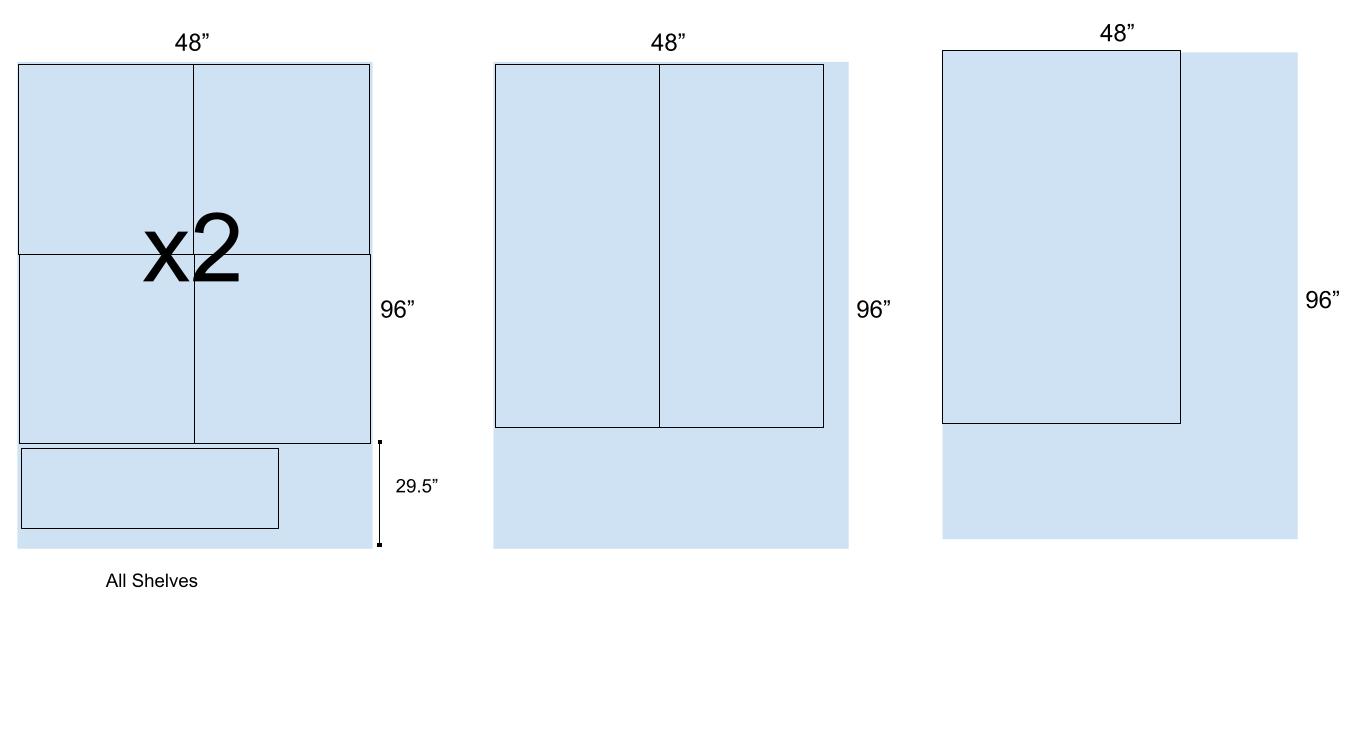
I’m working on a 28qt rack now. It had to go on the backburner due to other things going on, but I just got the materials and cut them down to where I need. I’m not going to make a thread here about it until it’s done or at least close to done, which might be a while since I can’t start assembly until I get all the parts. But it will be 10 levels and each level will hold 2 28 qt tubs or 4 6 qt tubs.
What’s the best way to recess heat tape? I was thinking about using plastic floor tiles to elevate the tubs, but that’s about $60, and for that price it might be better just to get tools to recess the tape. I think a router would take way too long since I’m using 6" heat tape over 25+ feet.
What material are you making the rack out of? If you’re using melamine, and you use a router, you’ll have to seal the channels you are making to keep them waterproof. Otherwise any moisture will absolutely ruin that area.
I’d vote going for the router. It would be the best, long term consistent solution in my opinion. Regardless of needing to seal it if melamine. You can set up straight edges using clamps on the shelves and then just go to town with the router. It’ll go a lot faster than you’d think.
Same. I did a test run with a router and it didn’t work out so well. Basically the 6” flex watt is thicker than the router guide and it becomes very difficult to remove material in the middle without the surface to plane off. You’re almost need to cut a 2-3 shim to fit once you got to one side.
I’m trying to find some kind of cheap/thin material I can use as bumper system on either side of the flexwatt to give me protection and an air gap. I was thinking those light diffuser plastic panels, but they aren’t all that cheap anymore. I’ll update with what I decide to do.
I ended up doing a few coats of water based polyurethane on the inside shelves. Outside I used some leftover acrylic type paint I used on my saltwater reef tank doors.
The super70 tubs are pretty rigid, so I may cut these into 4 x 4"x19" strips. Sand the edges down so they don’t catch the tub and glue them on either side of the flexwatt and split the distance of the front of tub with the other two. $35 seems like my cheapest option so far. 1mm thick shouldn’t effect my air gap/clearance too much.
I’m using melamine, I’ve been going through and sealing the edges of the shelves. If I end up routing it, I’ll seal that the same way. I think I’ll use some of the scrap wood to test how long a router takes and see if it’s worth it.

 I’ll be referencing it in the future