Multiple Part or Entry Post for the next few weeks.
Hello everyone!!! I hope all had a wonderful Thanksgiving weekend. This year was a special holiday for us!! We are going from small hobbyists to specialized species breeders and keepers. Since we have empty nested, and I have been keeping various Carpets, White Lipps, Balls and BOAS for the past 25+ years, we decided to go for it. For my XMAS gift from Cheryl this year - A FULL ON REPTARIUM ROOM!!! And I want to share this with everyone out there!!! Not all rooms have to be 15k - 25k or more!! And we are doing it based on years and years of trial and error and talking with a lot of you at shows. And as I work in Automation, I&E and Engineering… we have some ideas to share with all of you!! So let’s get started!!! This is a “pick and pull from” post for ideas.
The plan is to do this project in a 2 week time frame. That is room infrastructure and initial set up. To have it be thermally perfect for our herps. And to have it be automated and logging data for our extensive records we have collected so far. This will be a photo and videos on YOUTUBE journey - with TONS of tricks and tips and steps to help with animal safety and health!!
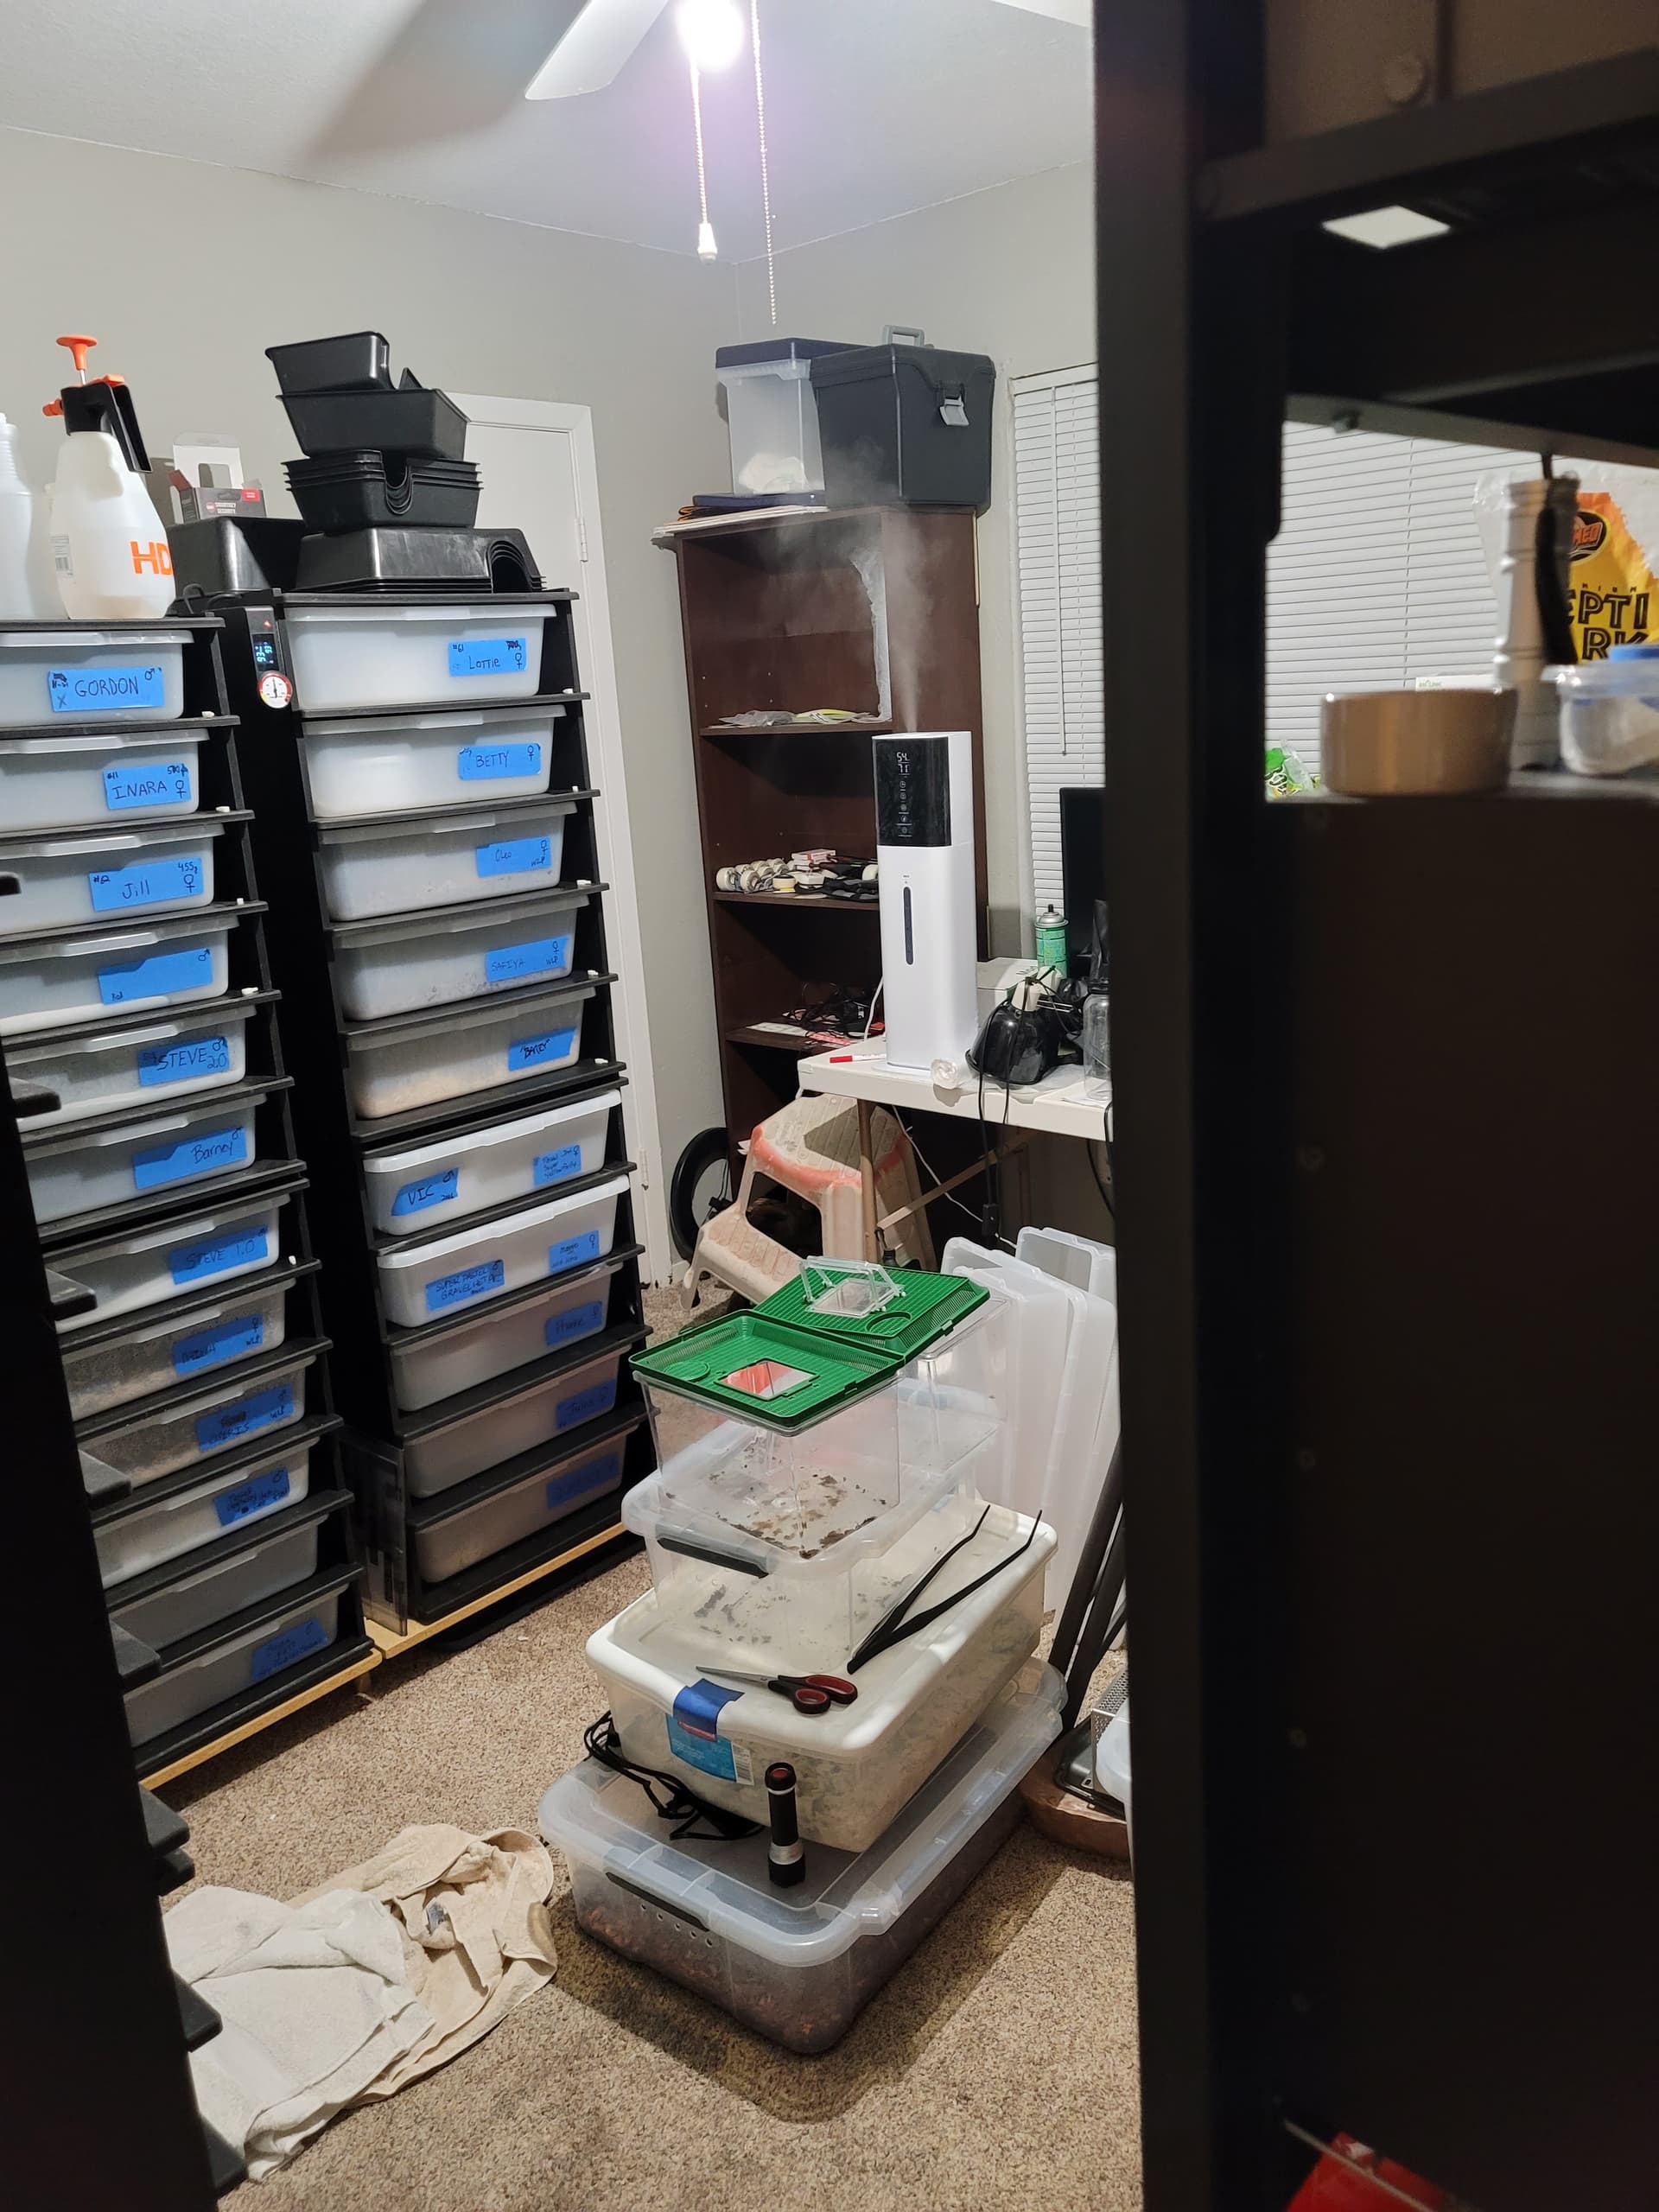
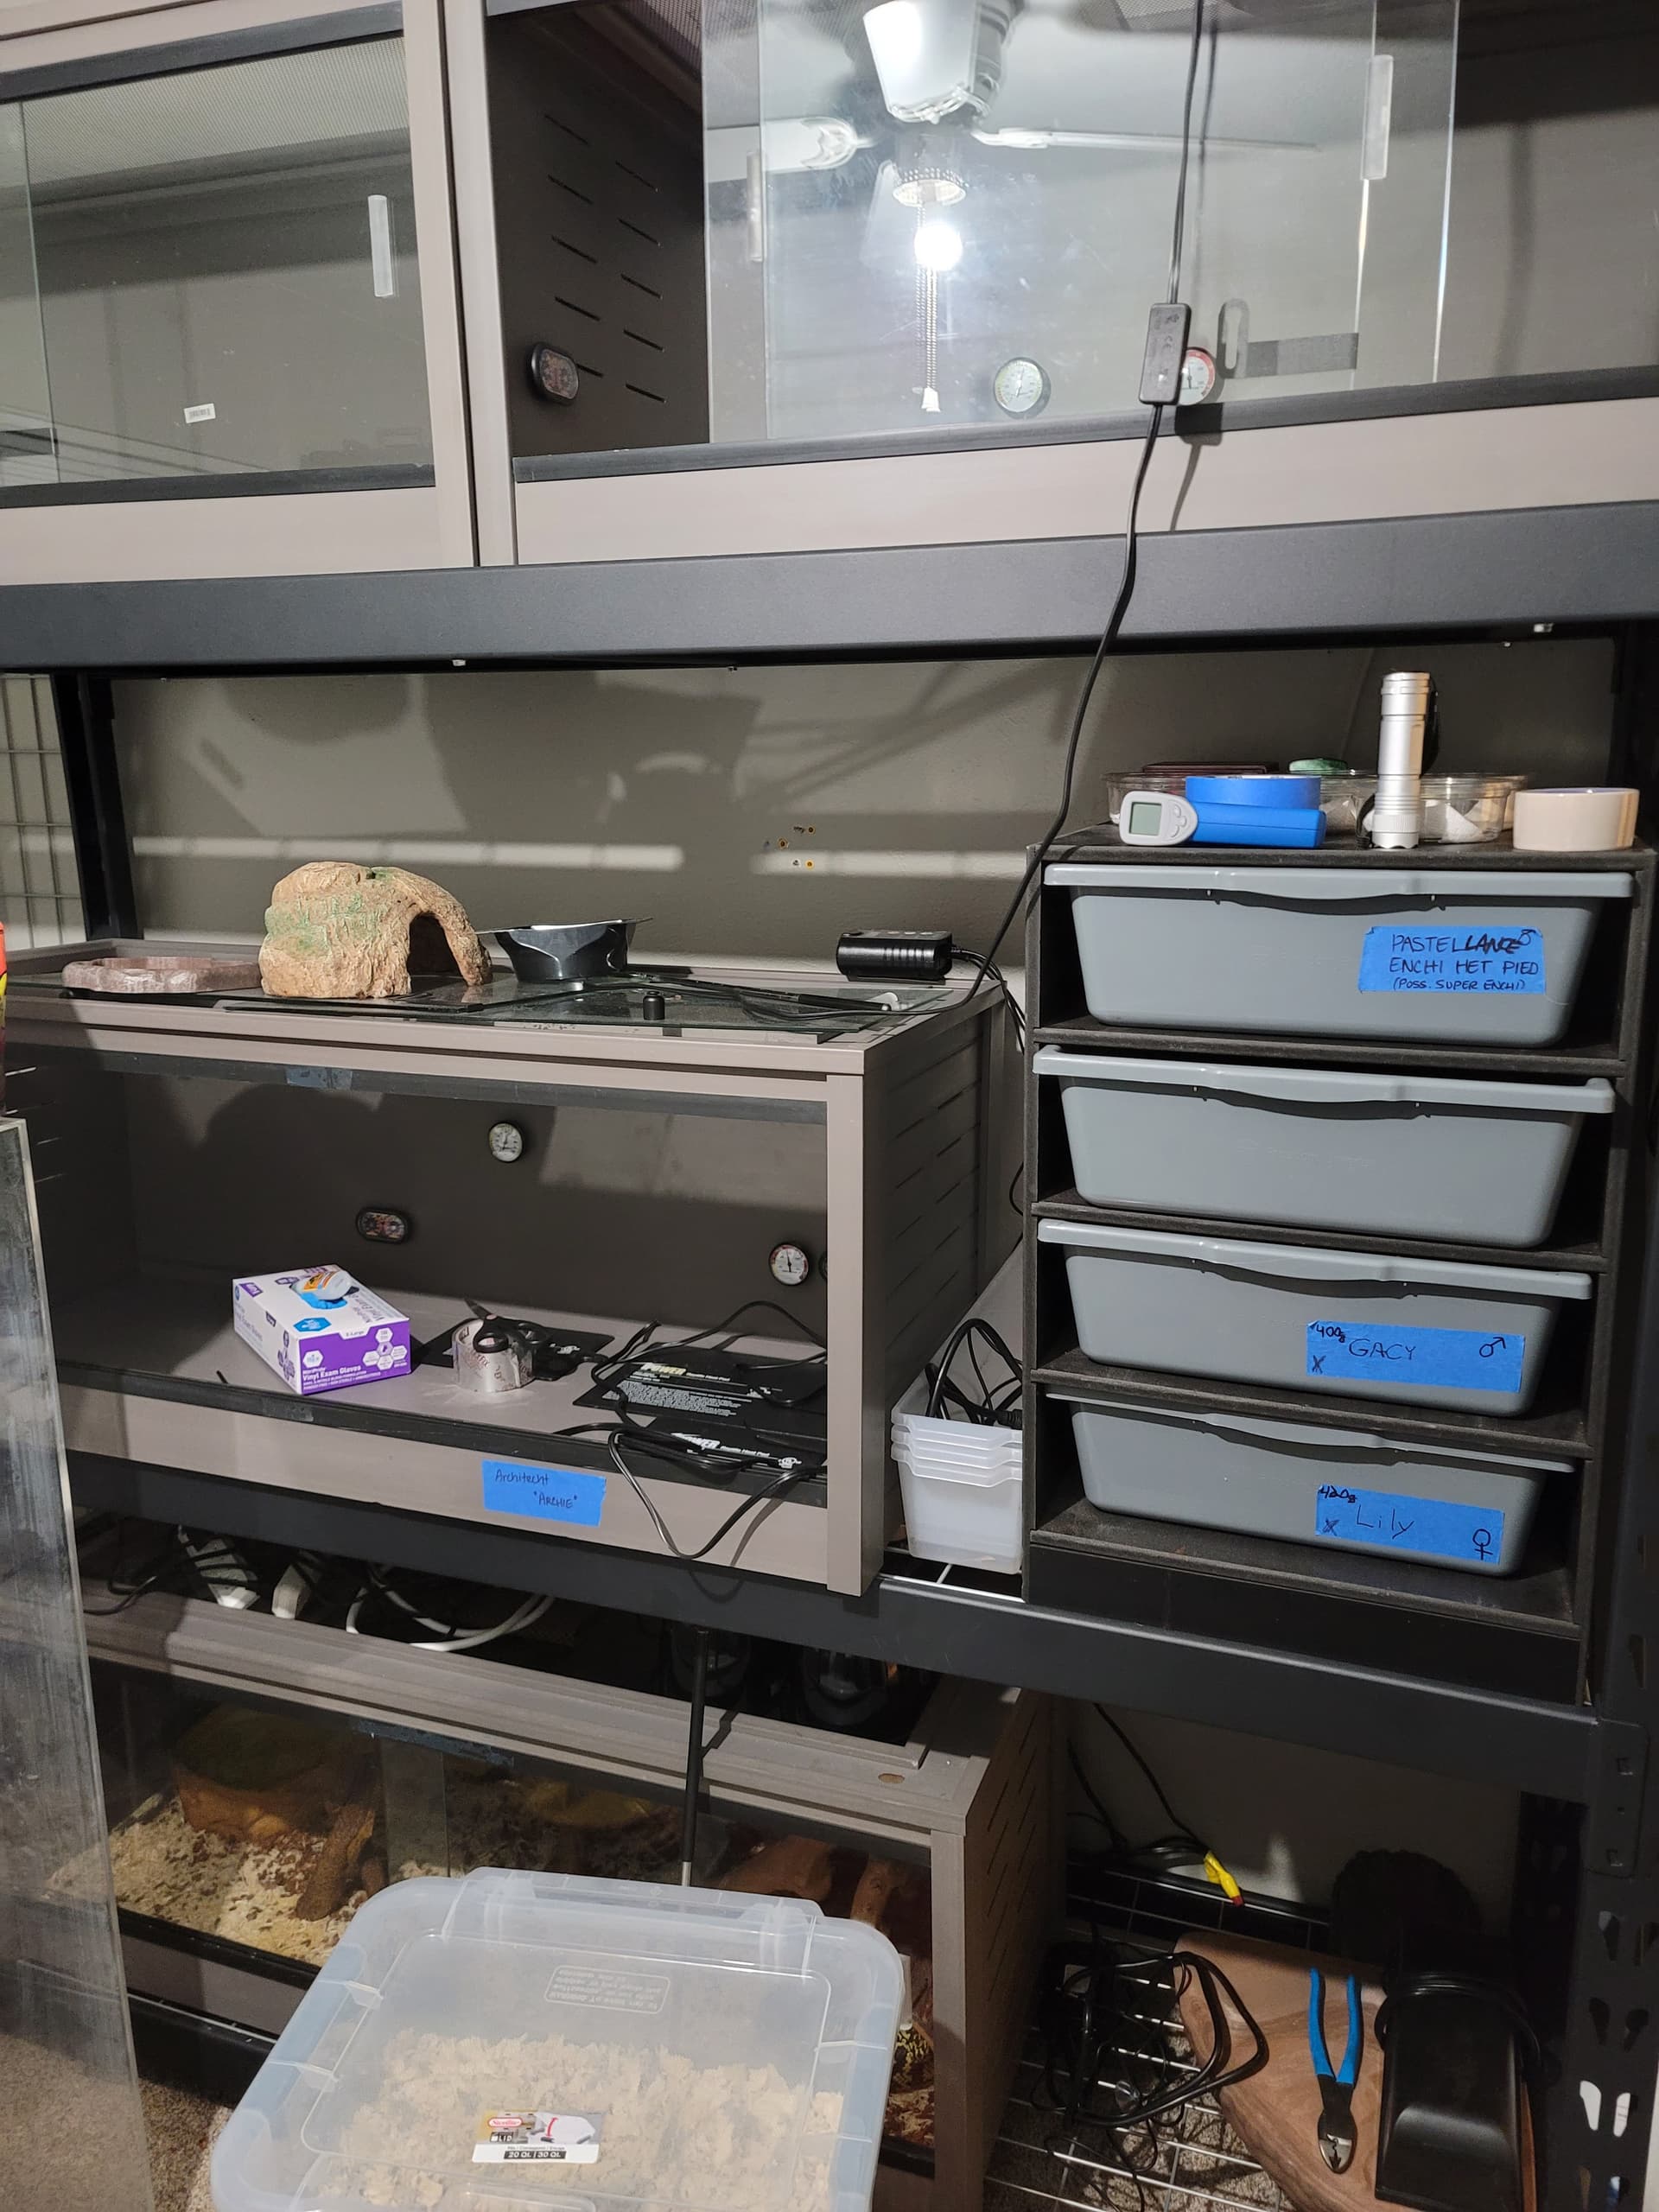
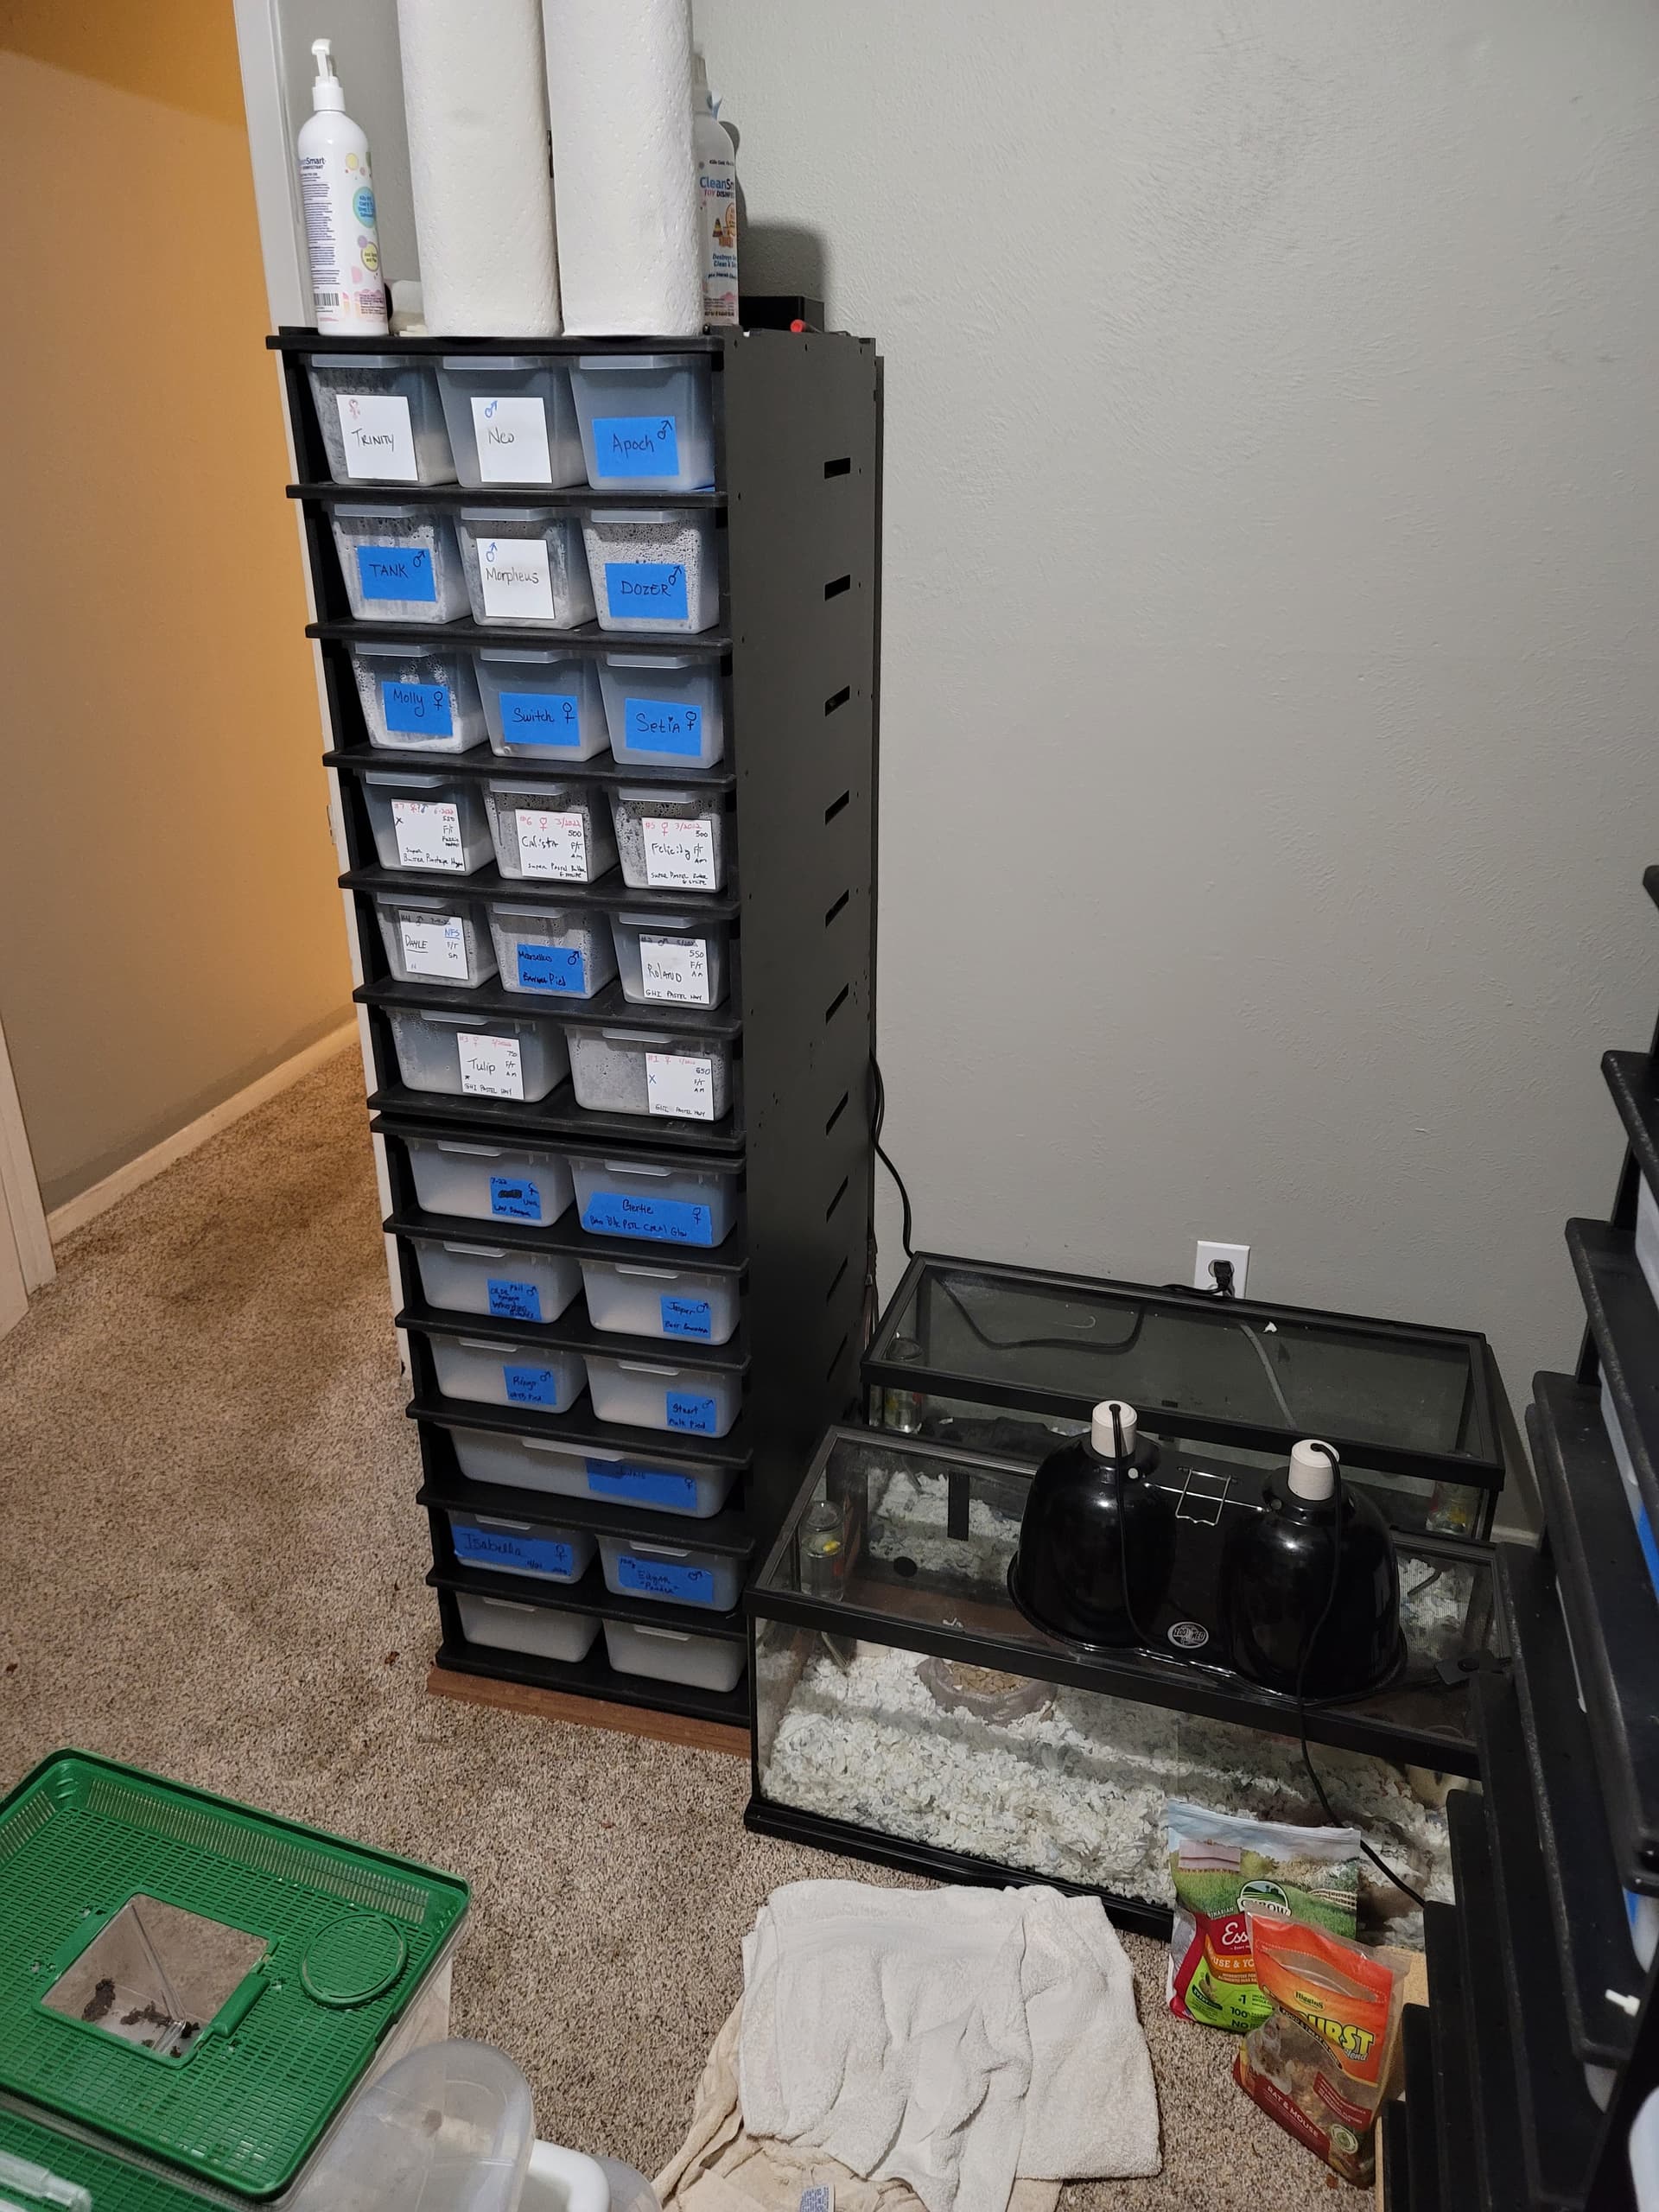
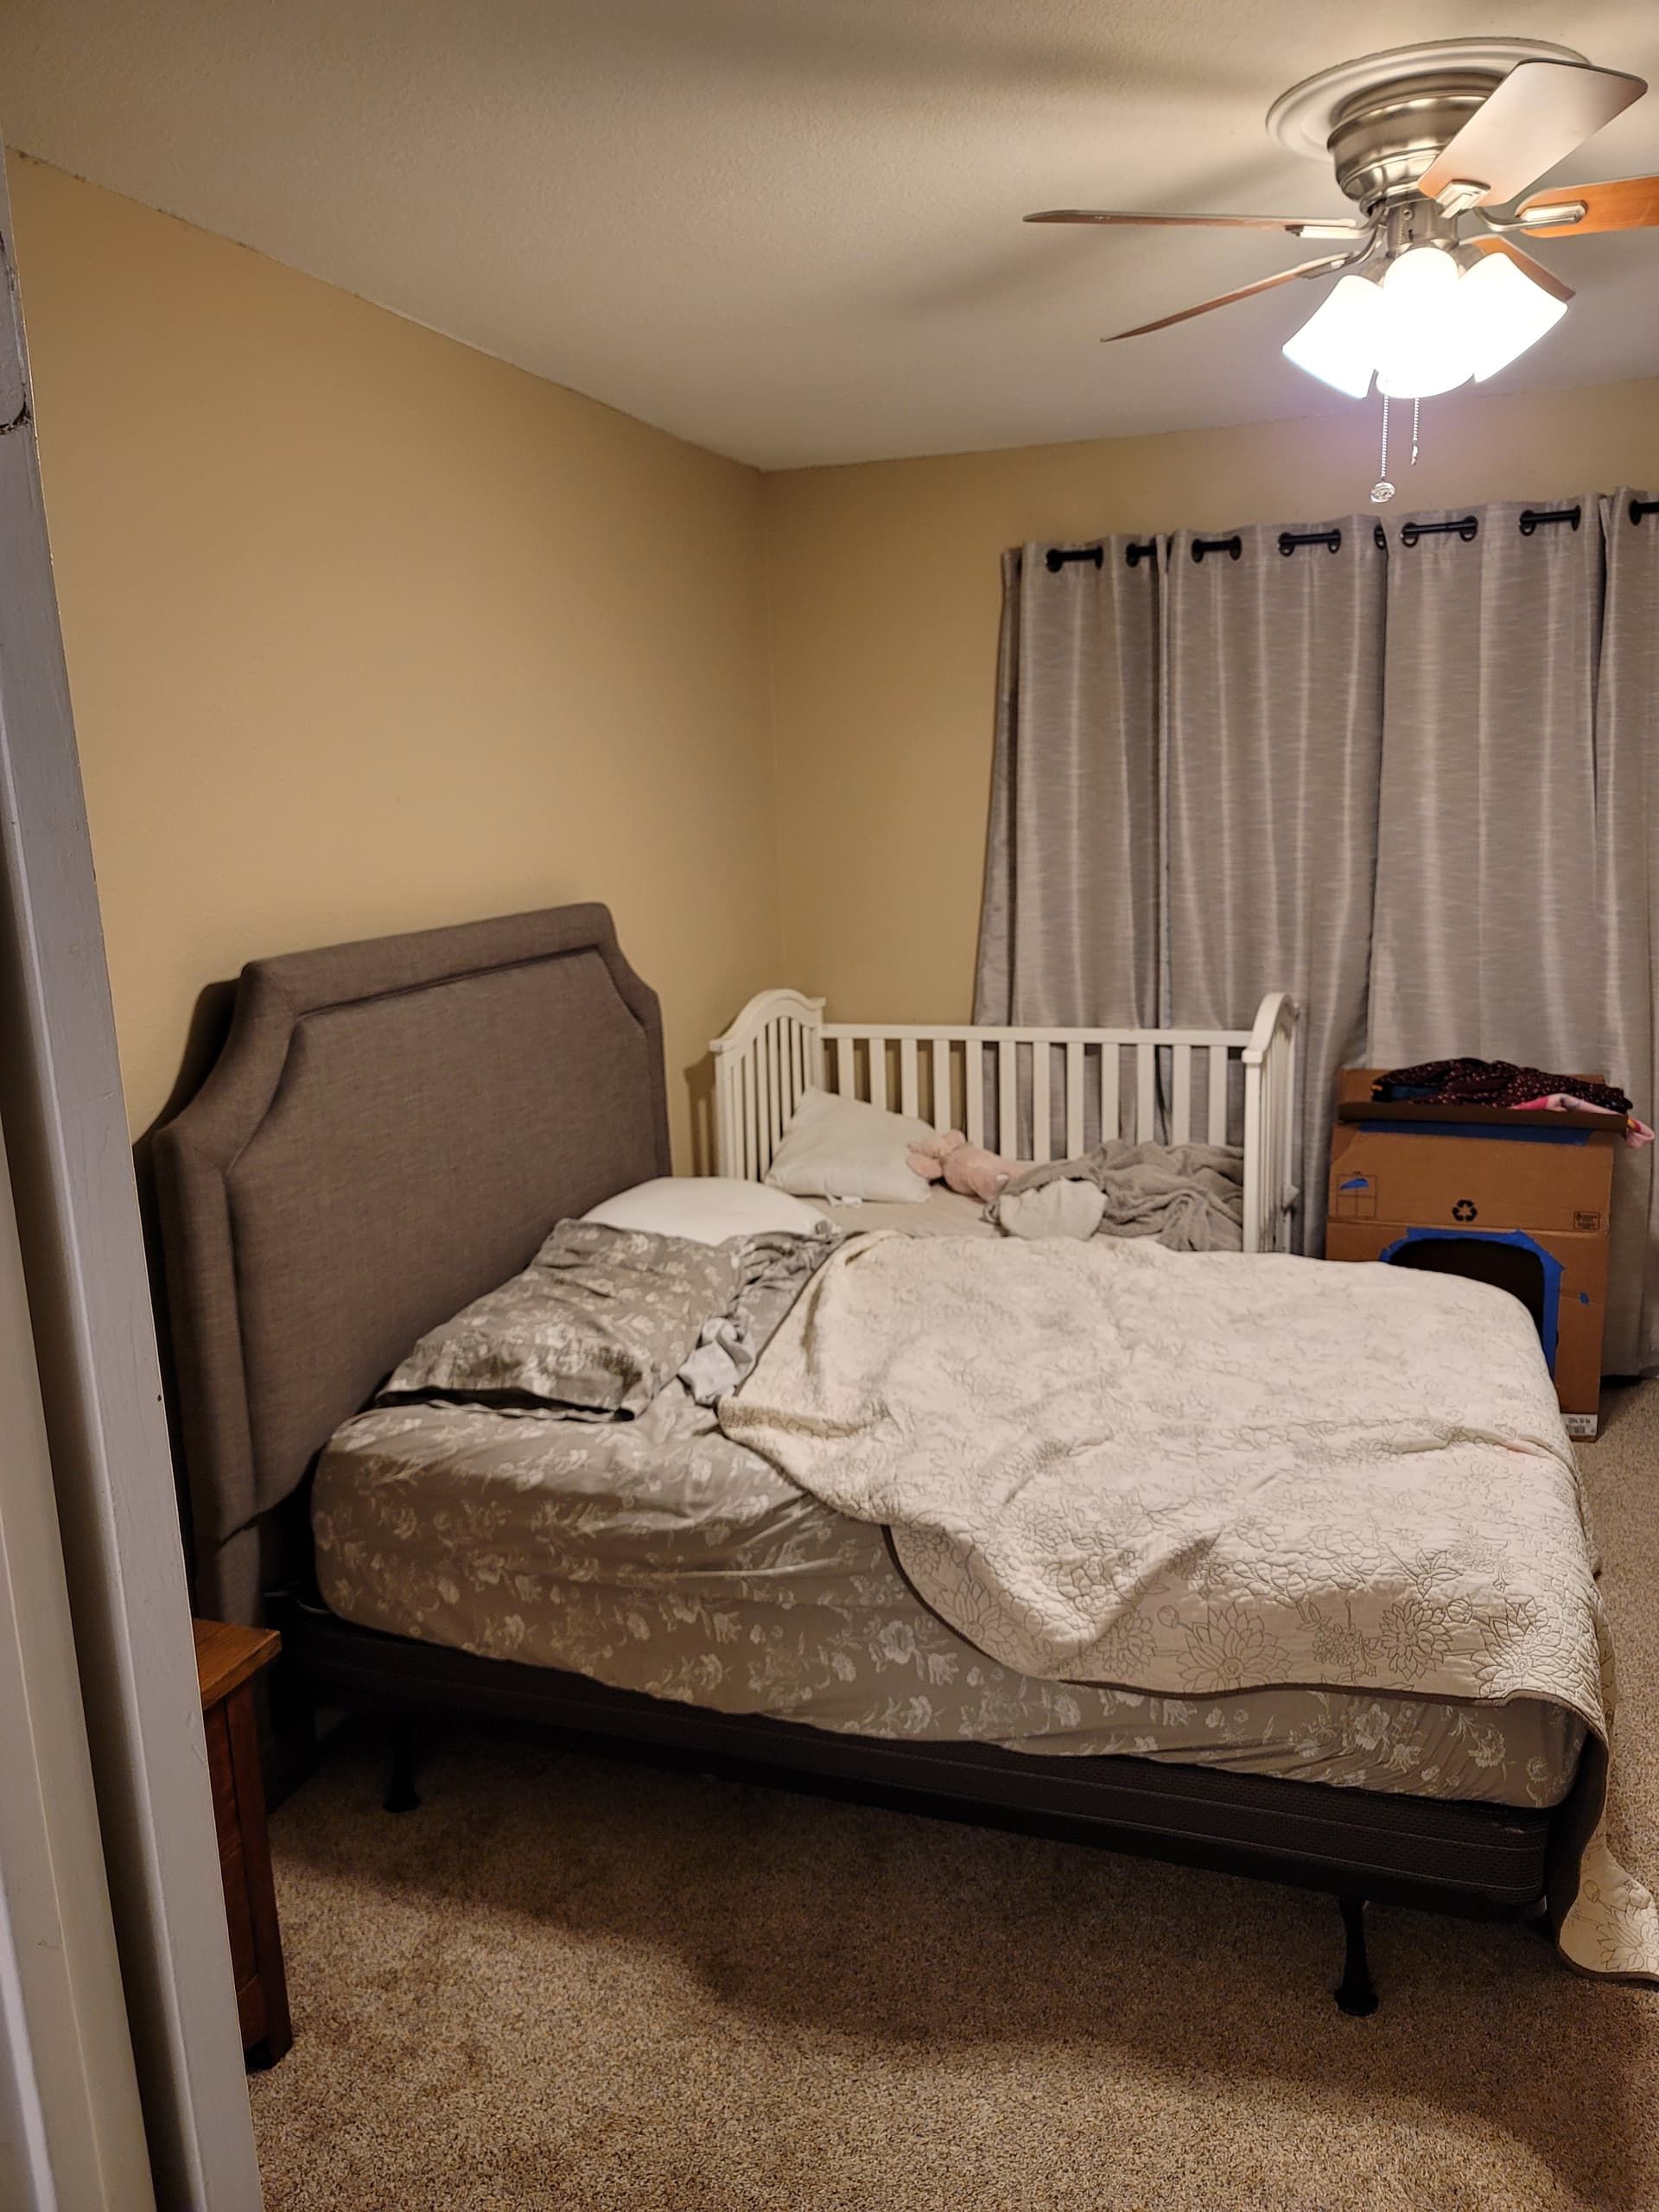
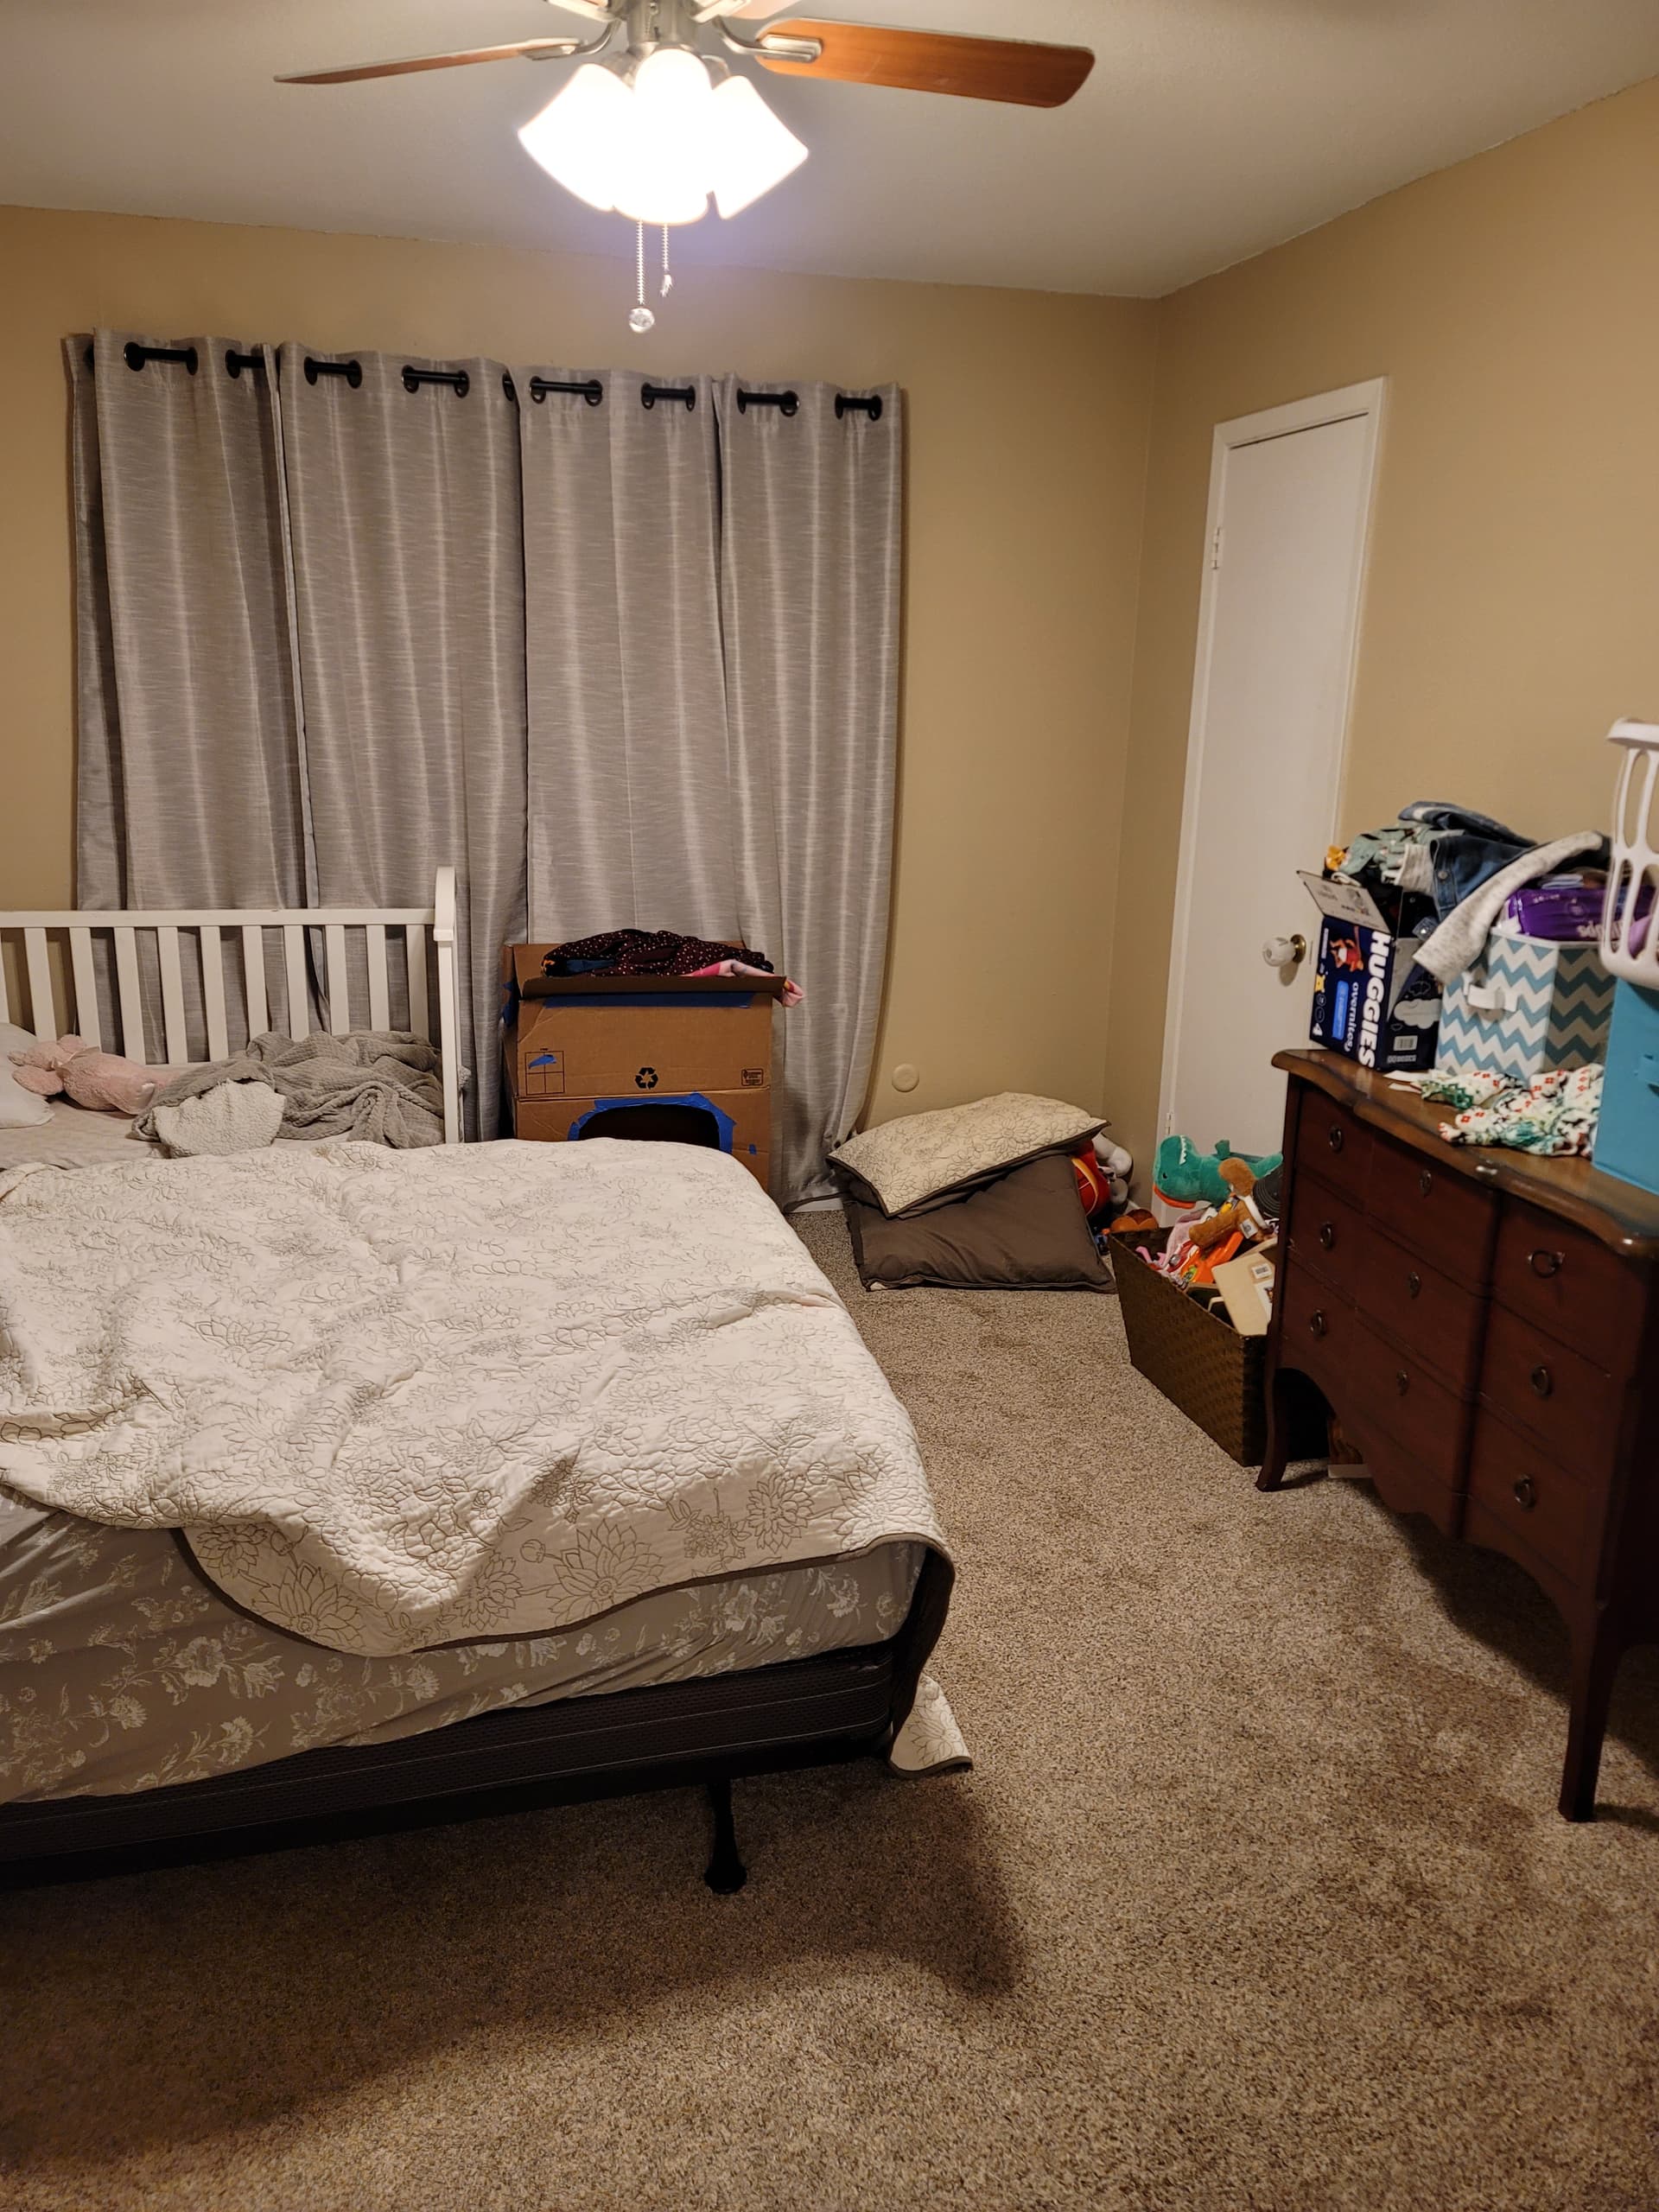
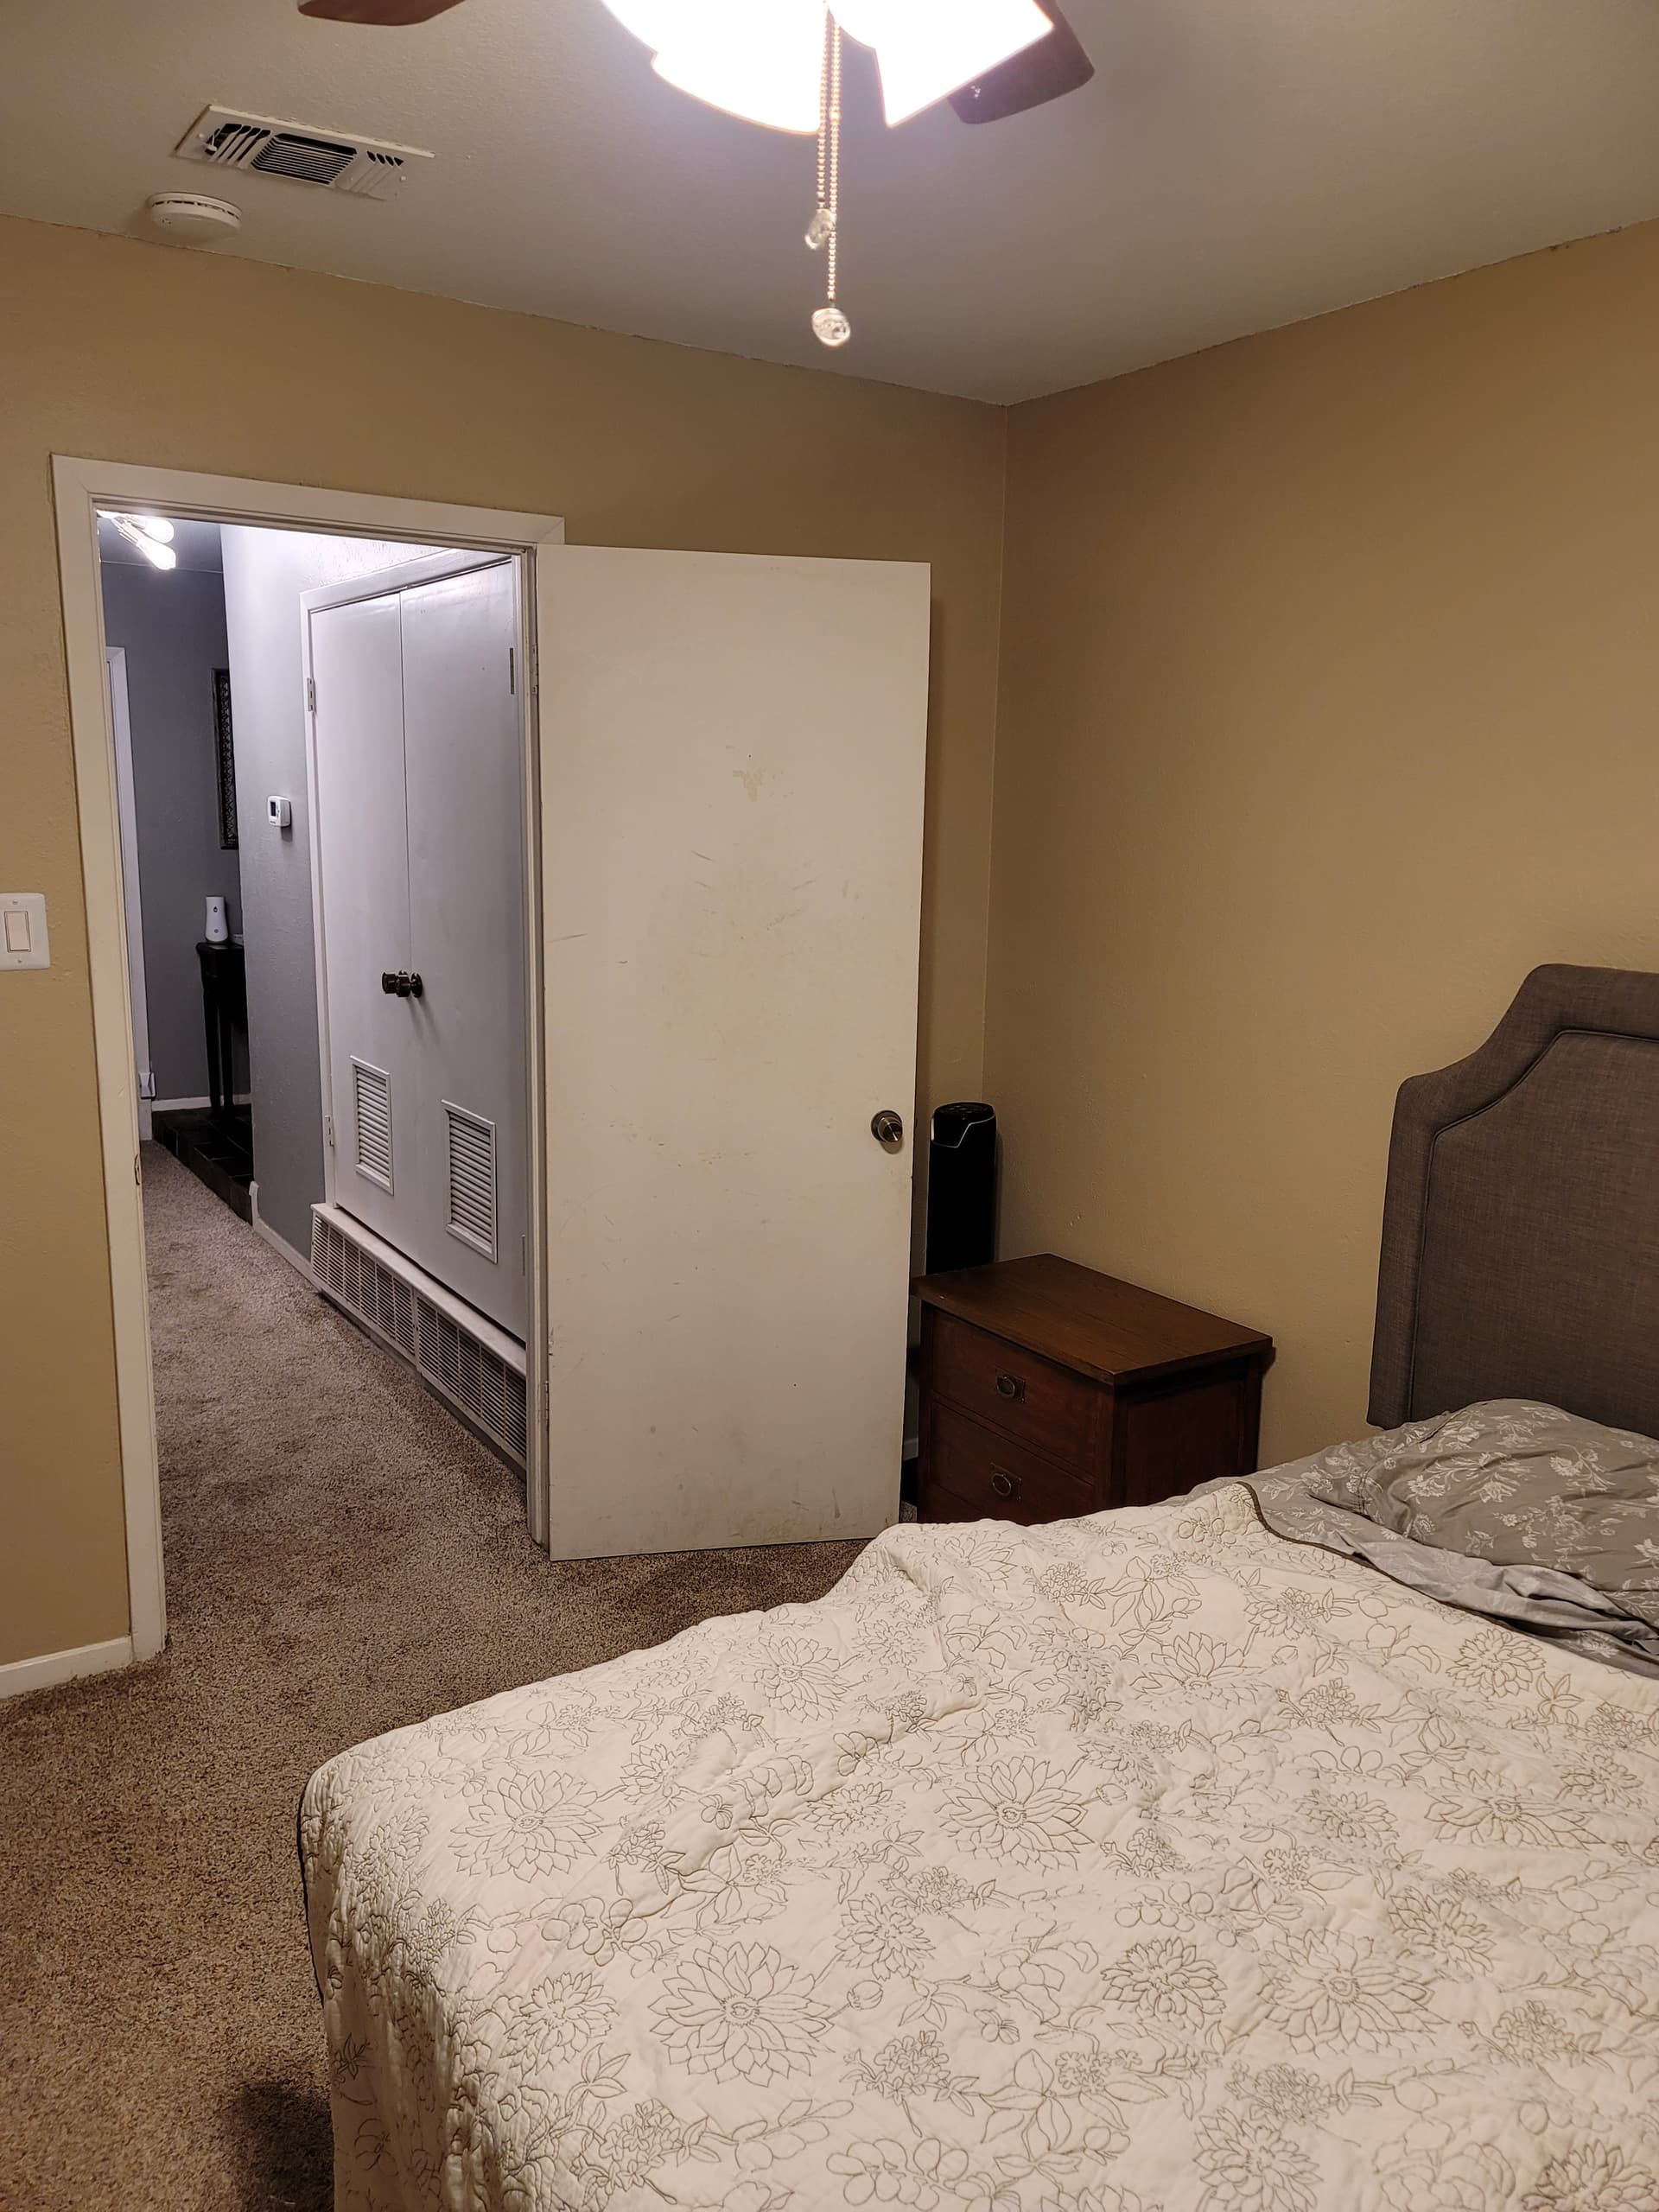
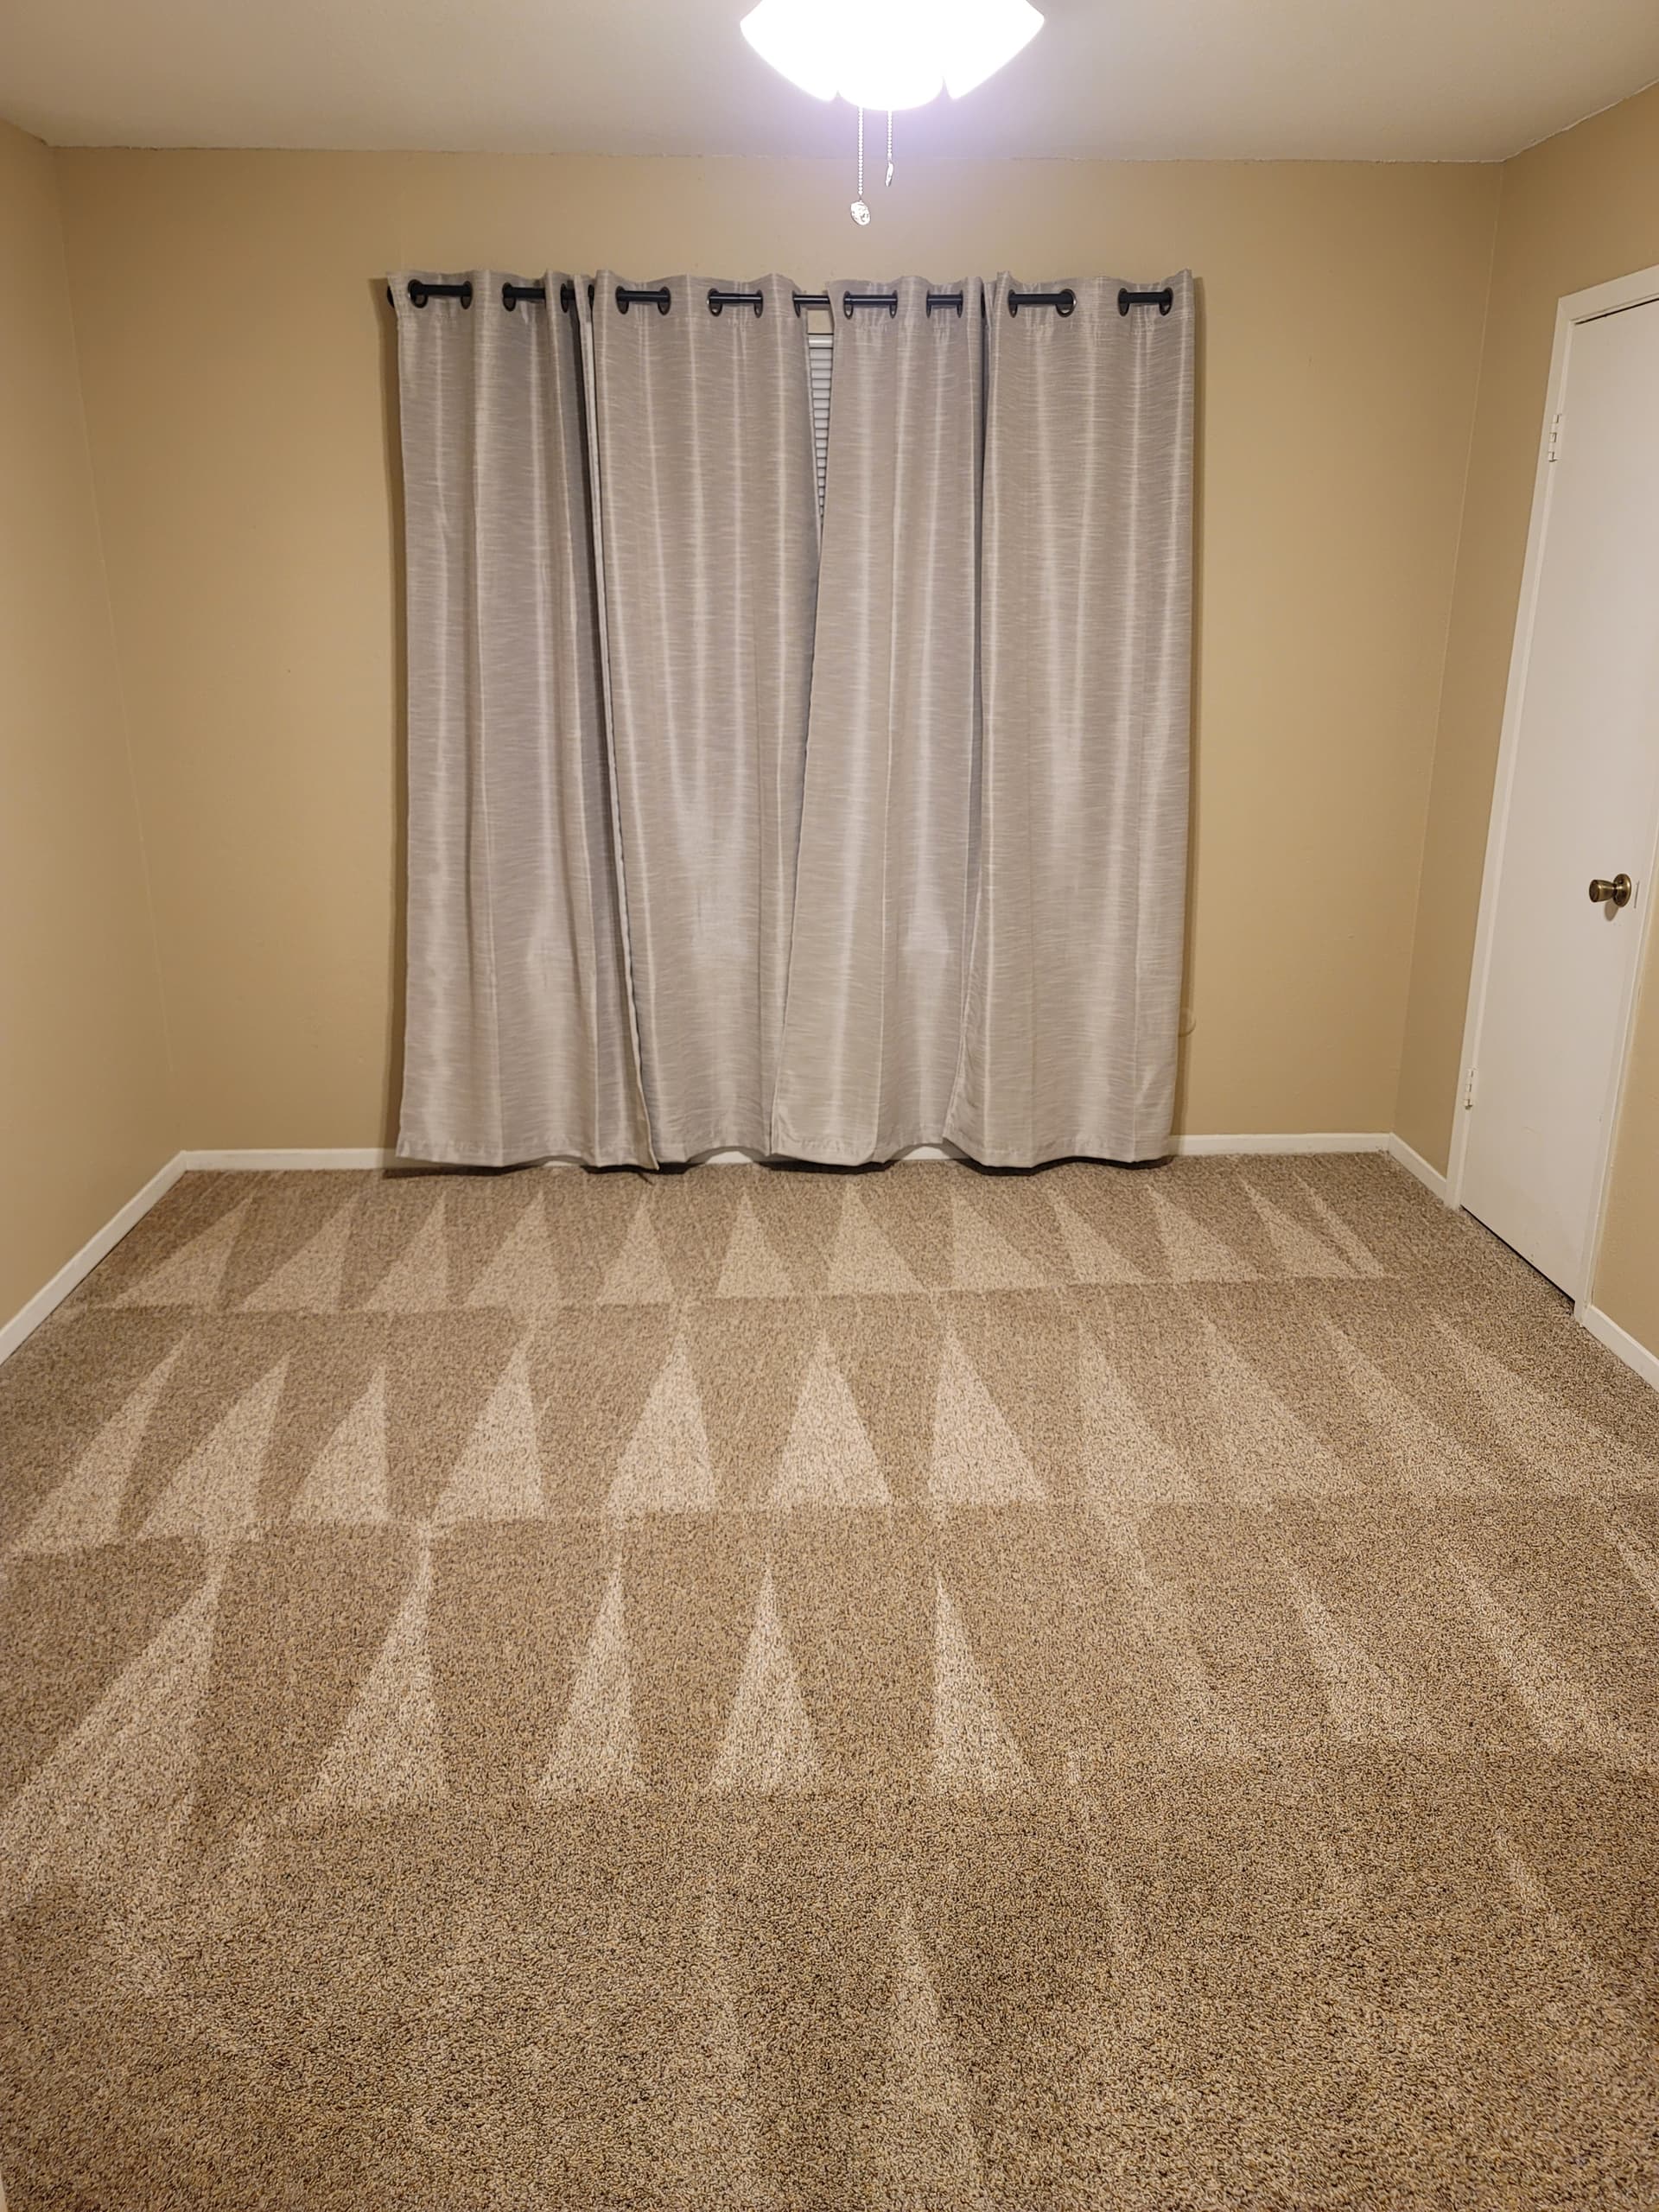
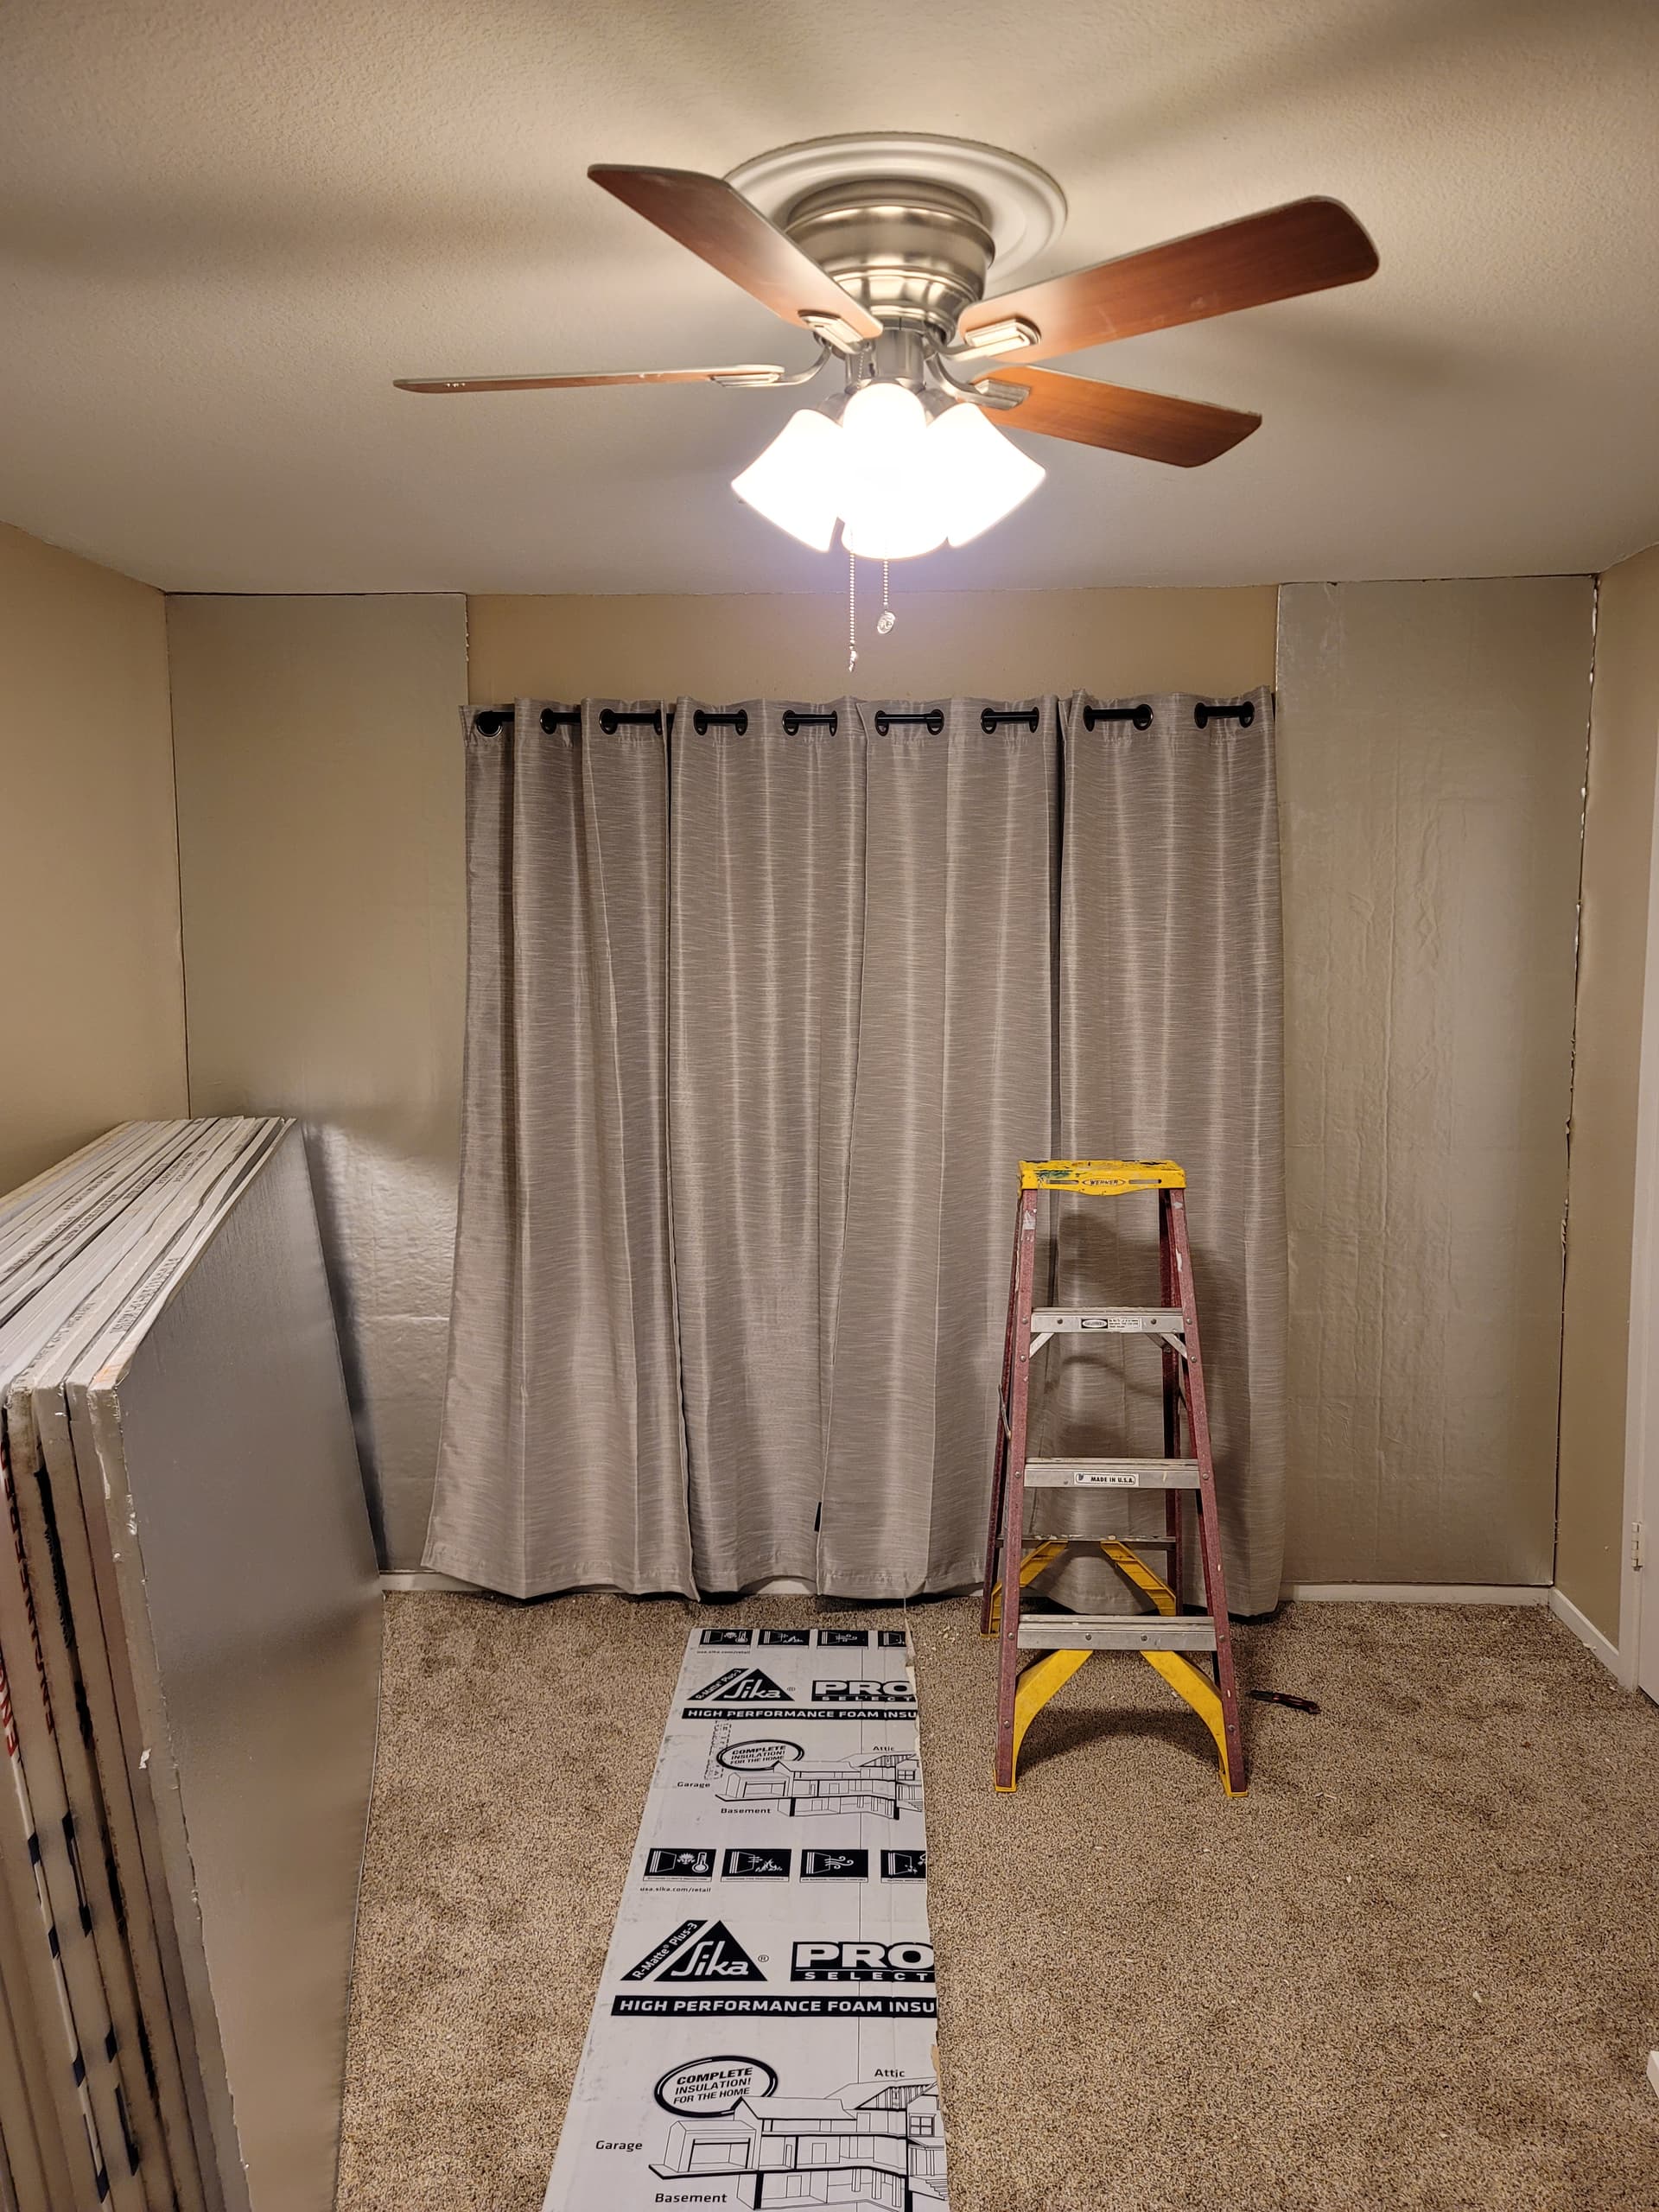
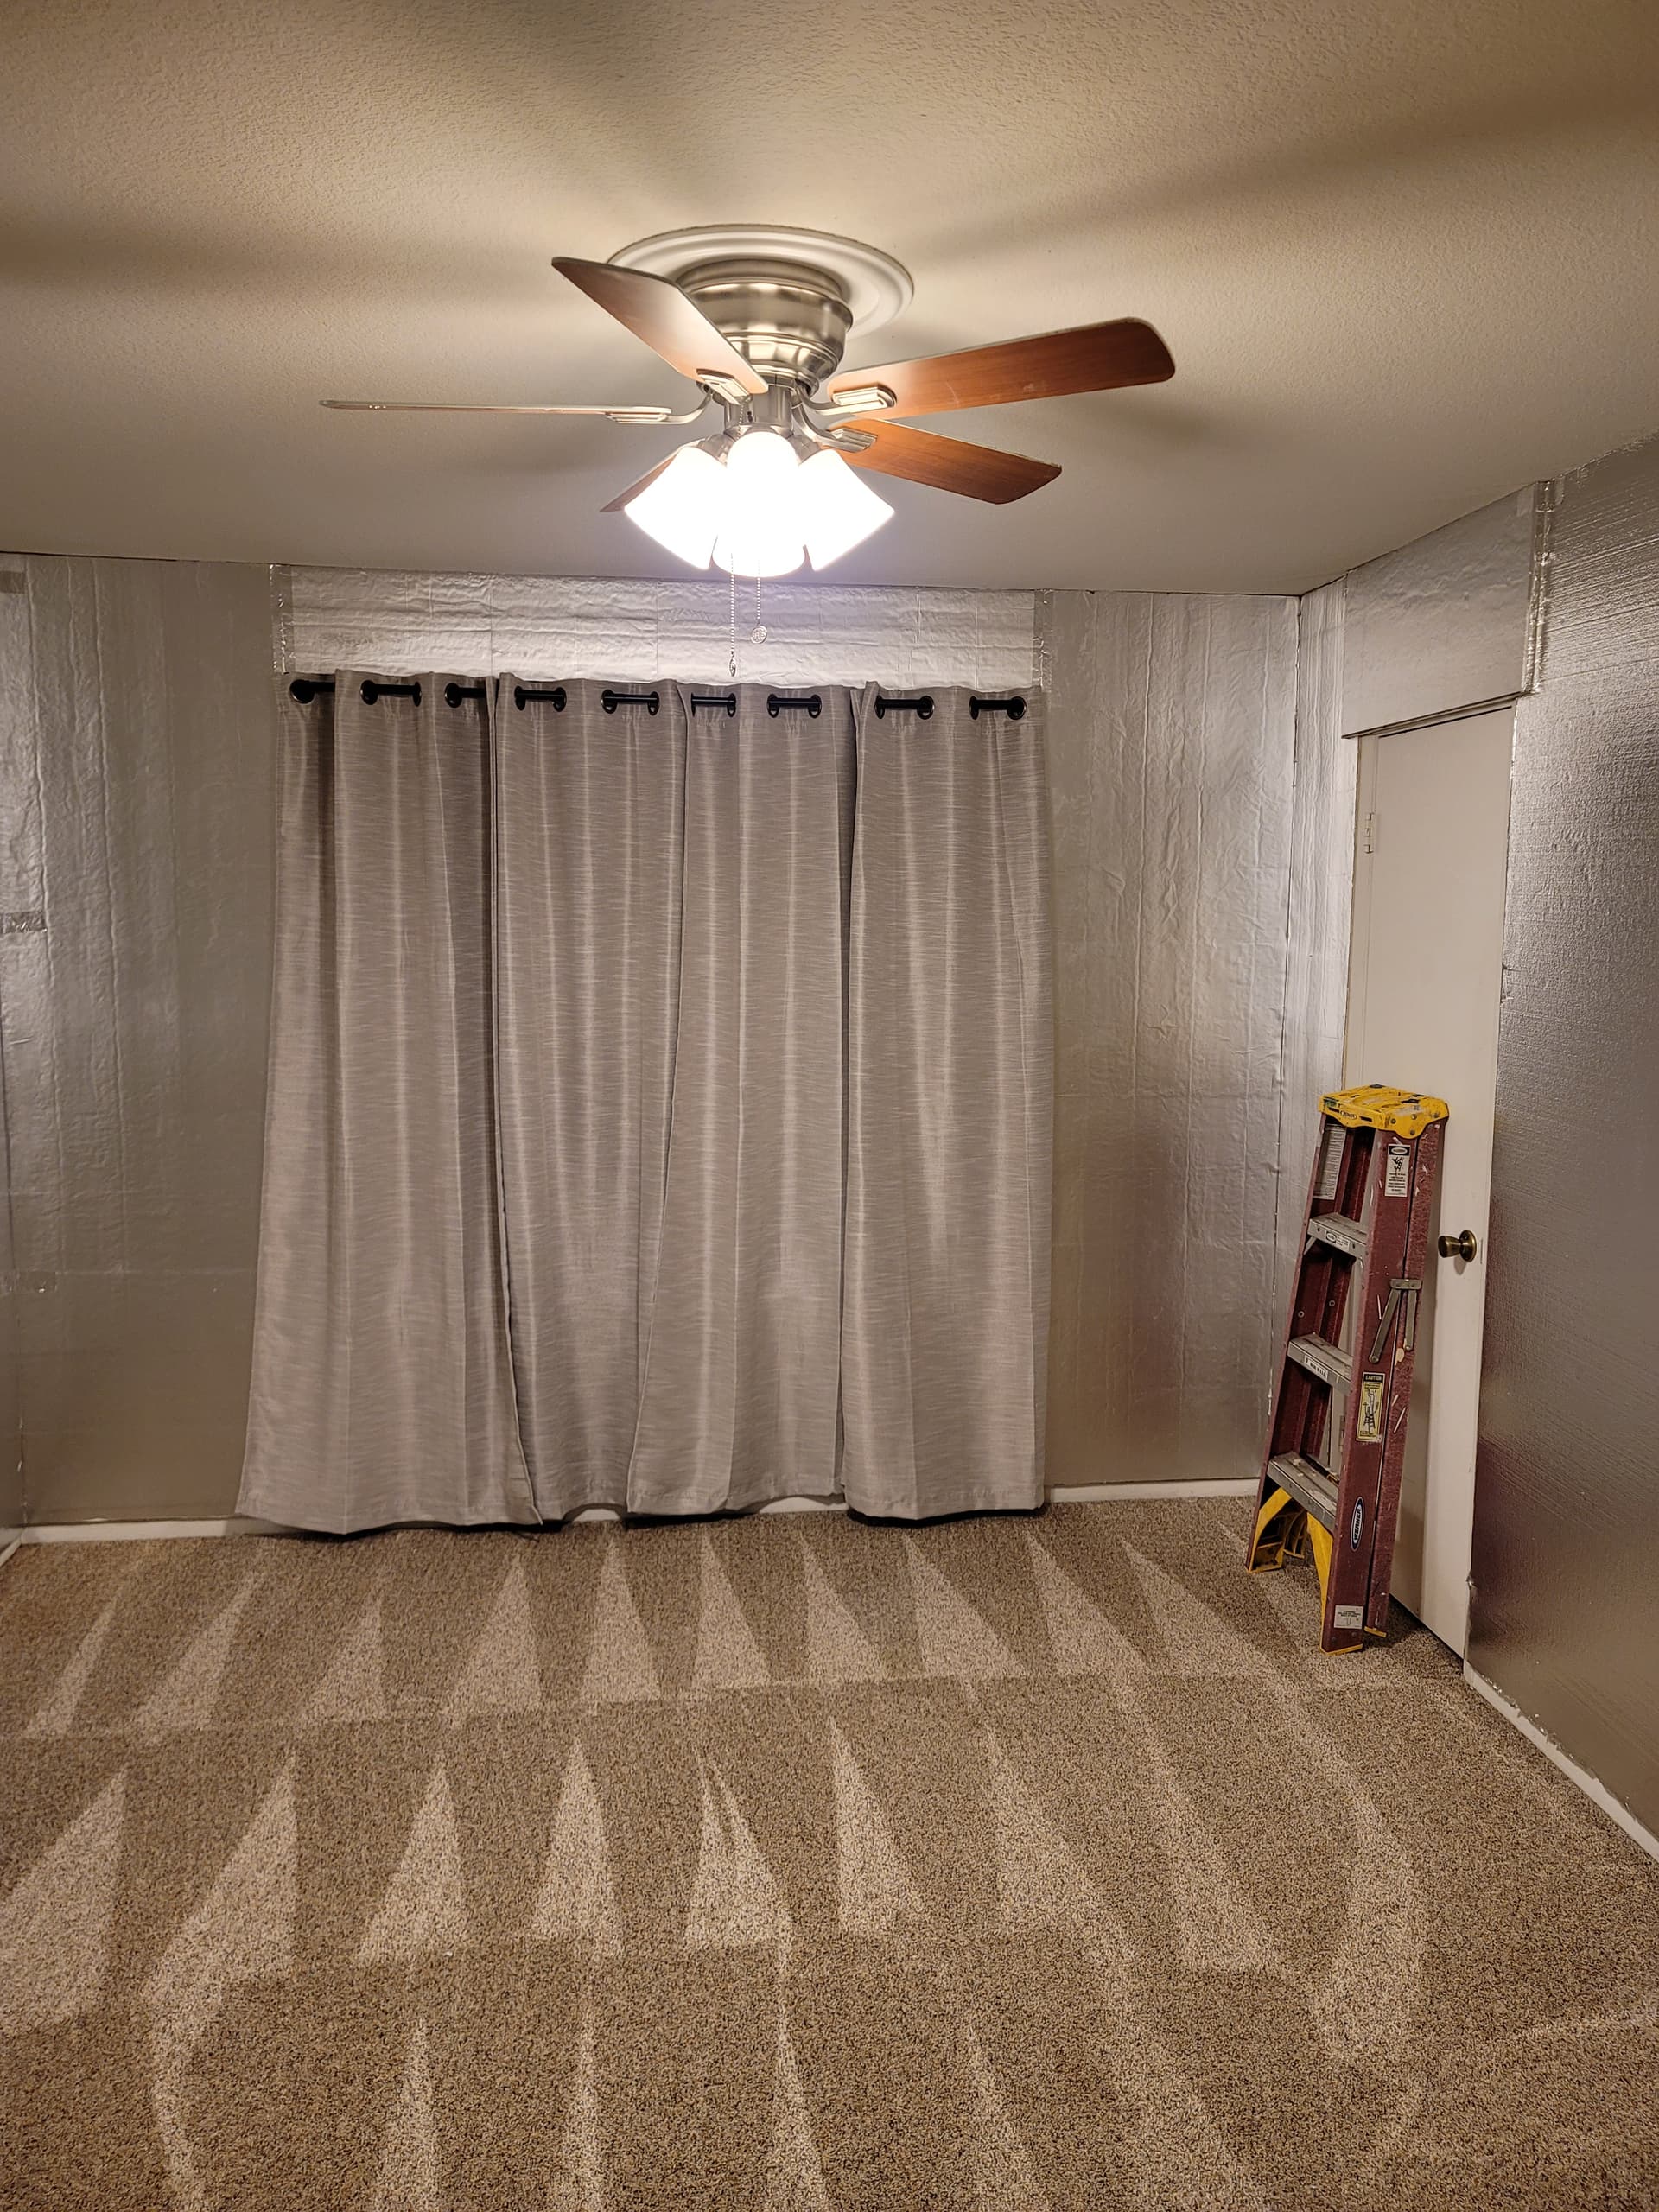
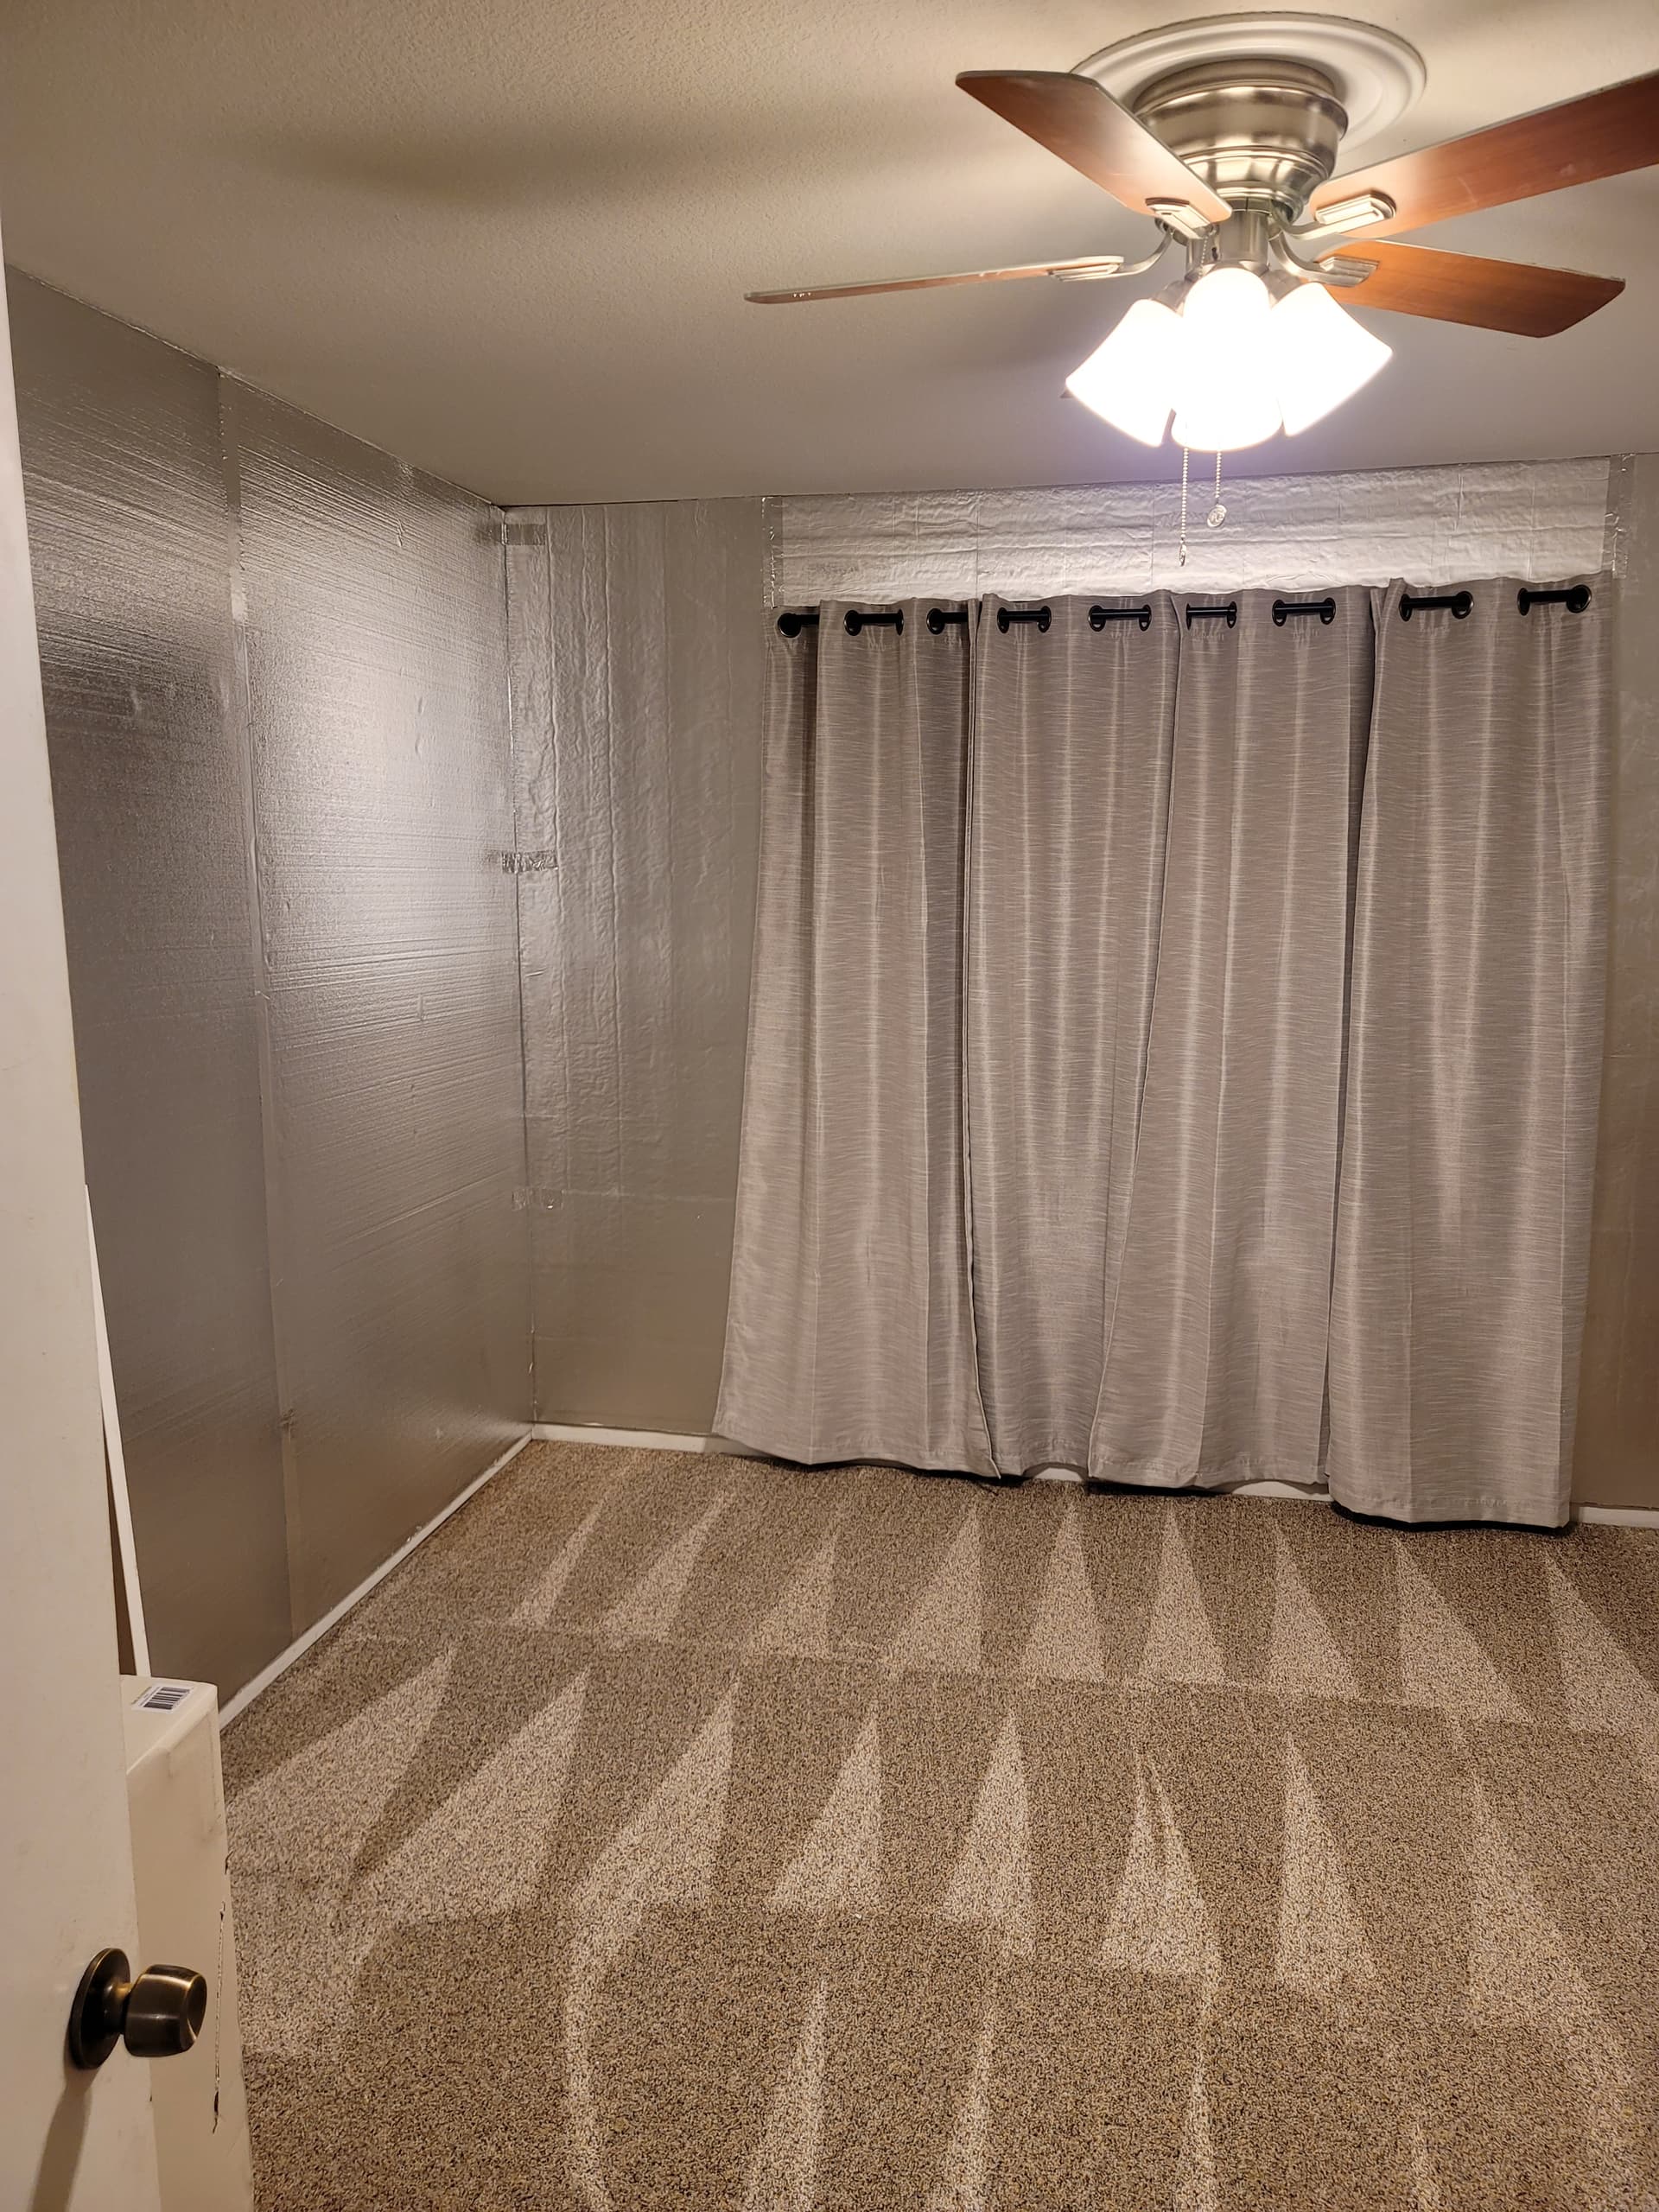
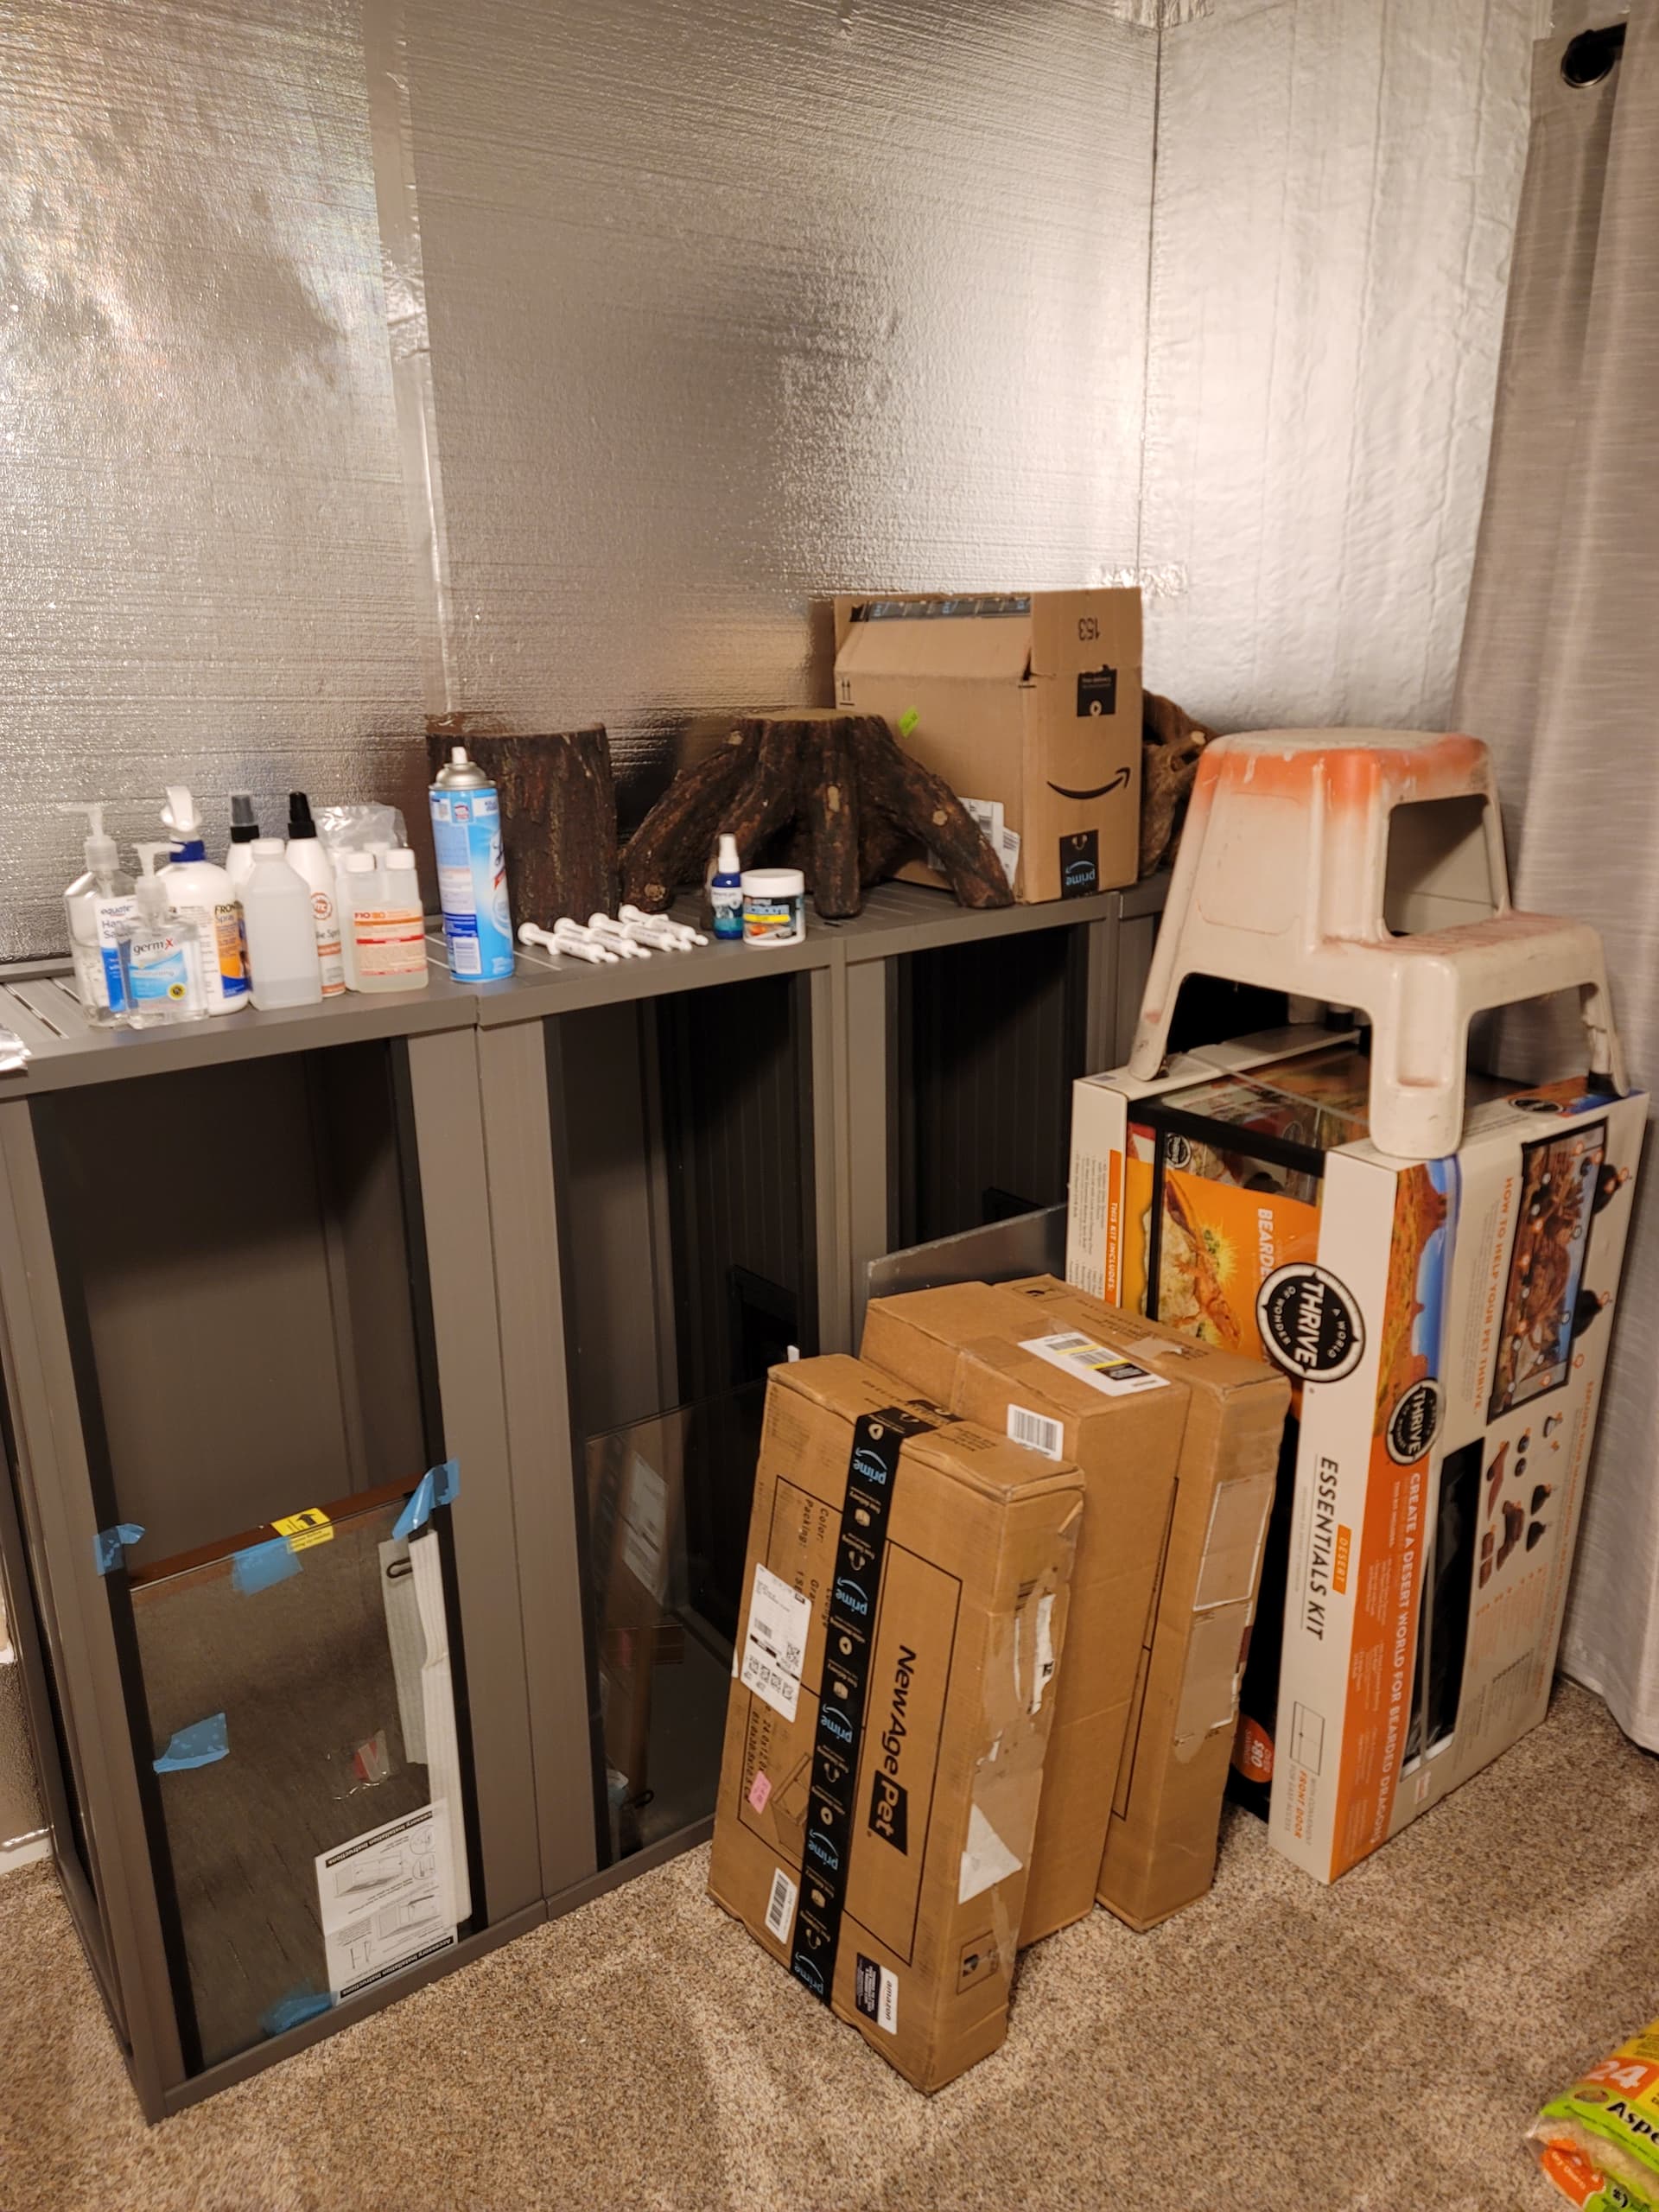
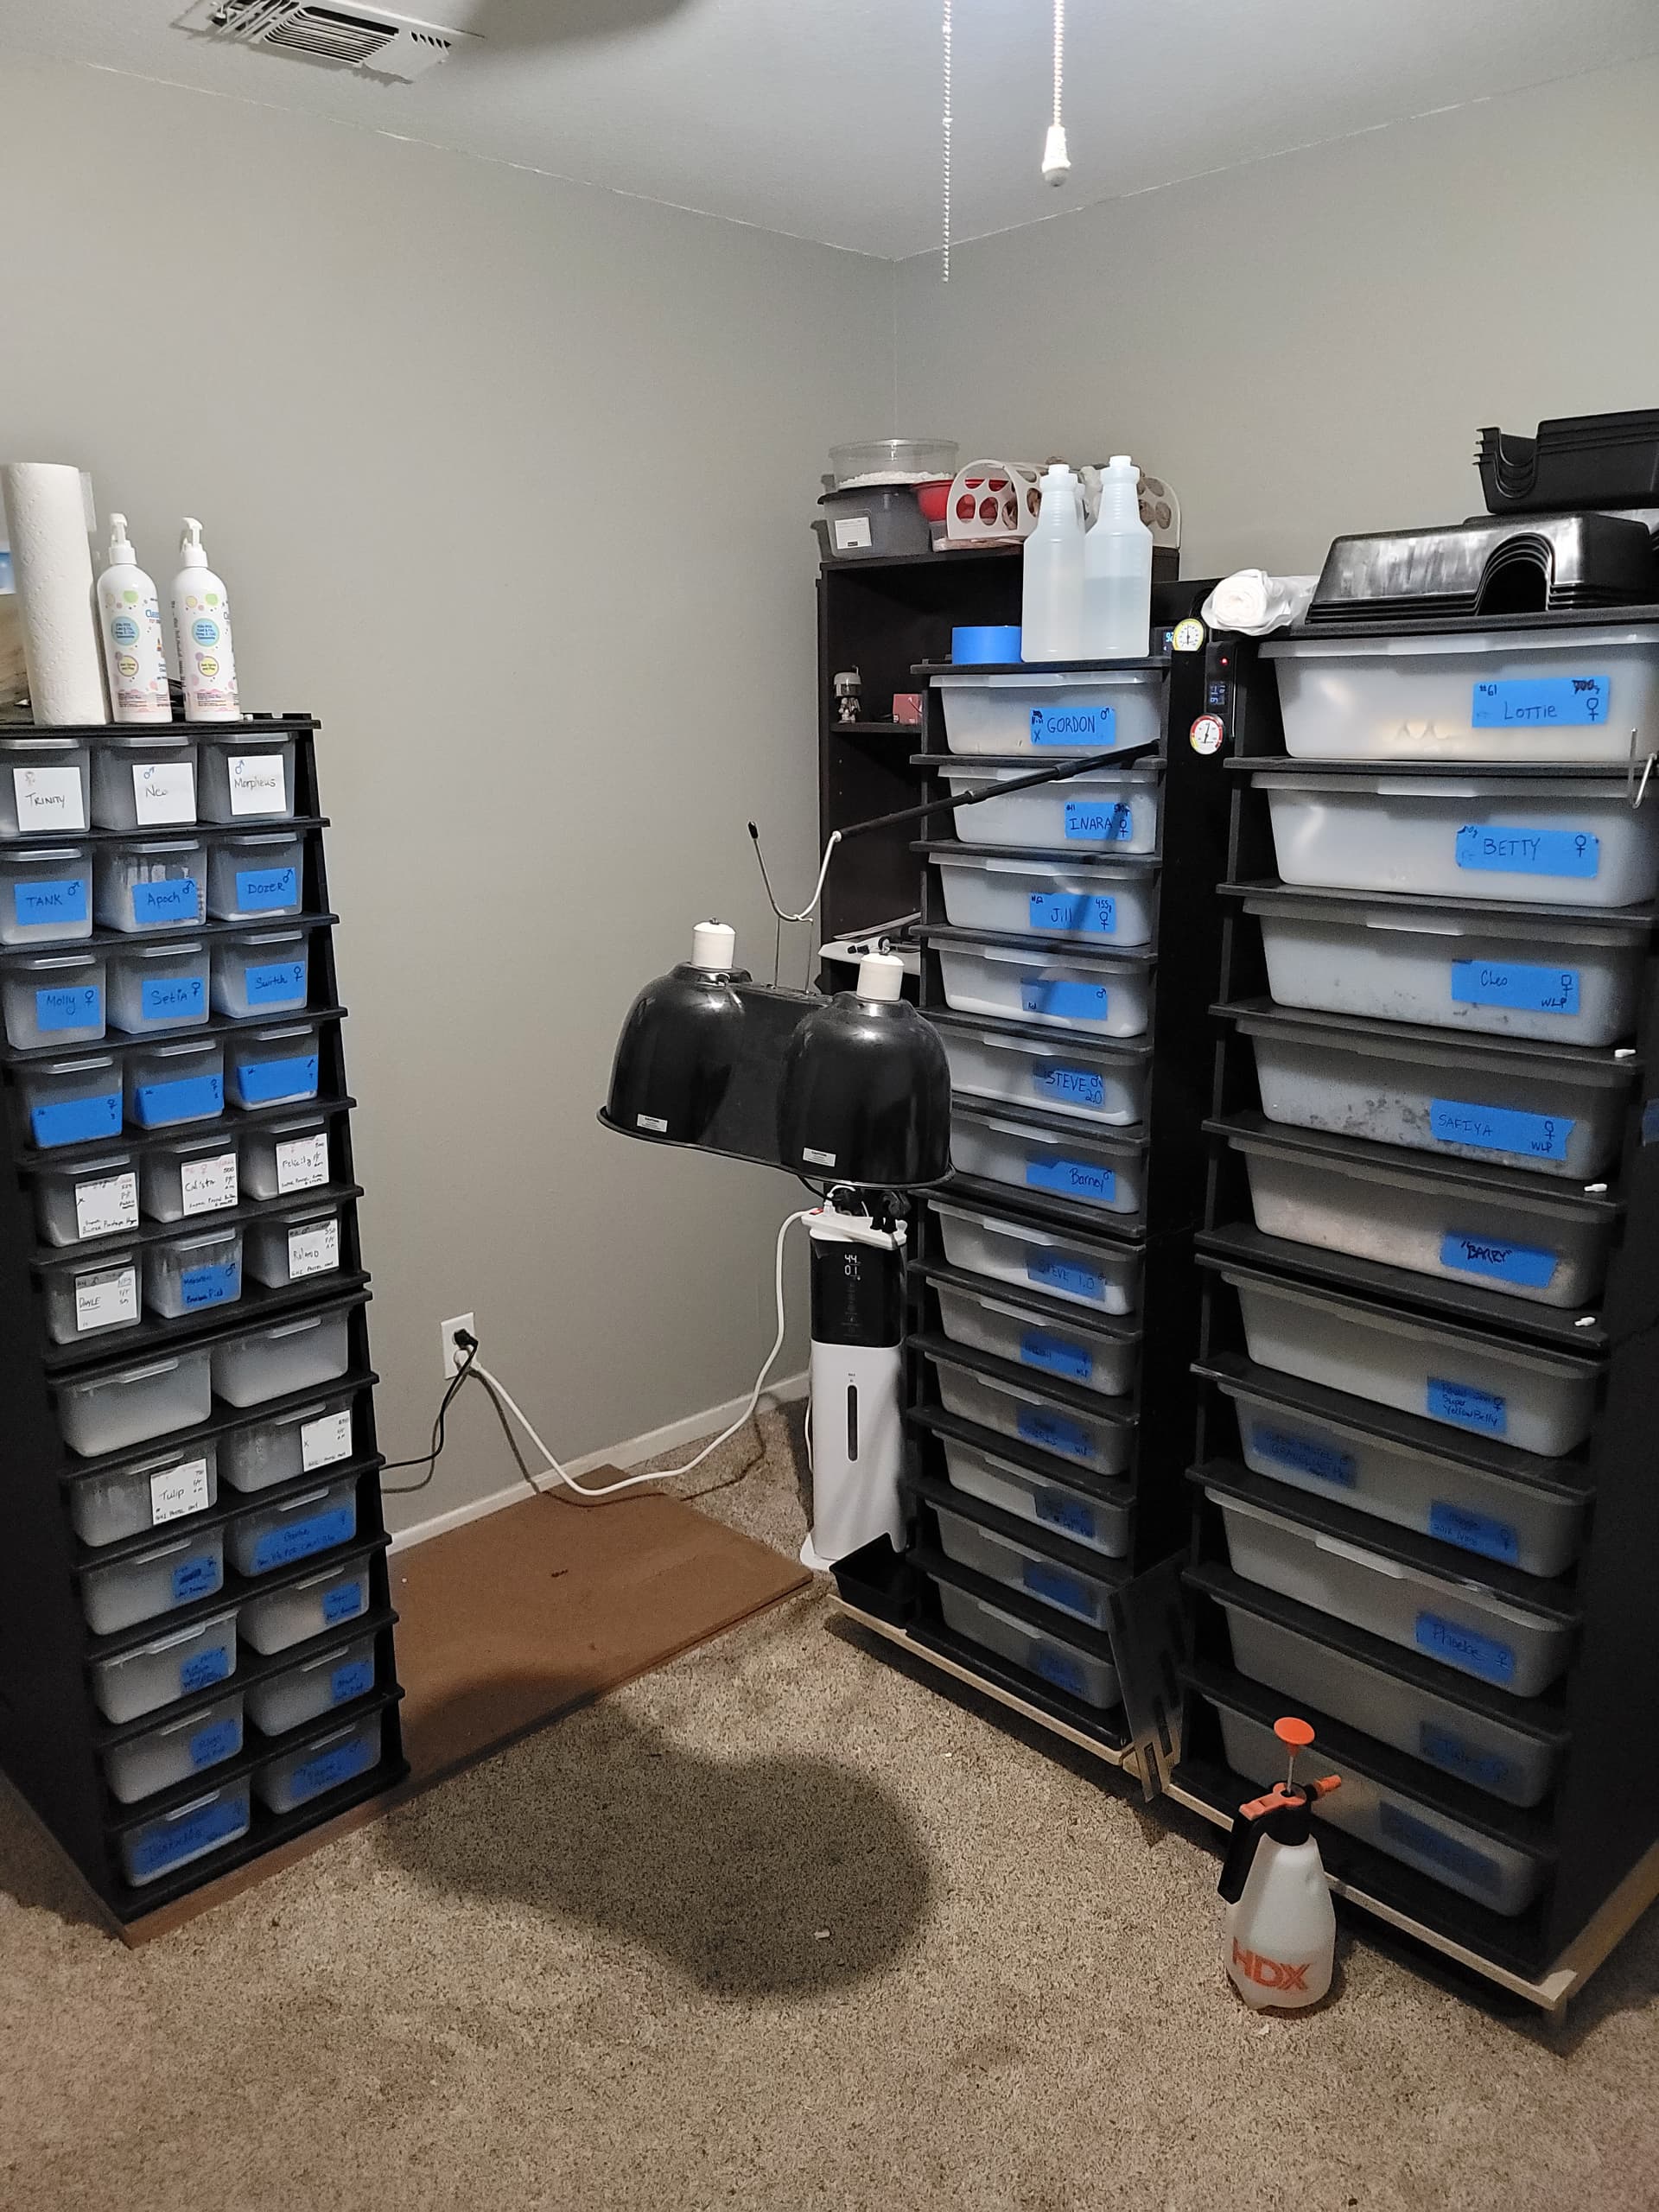
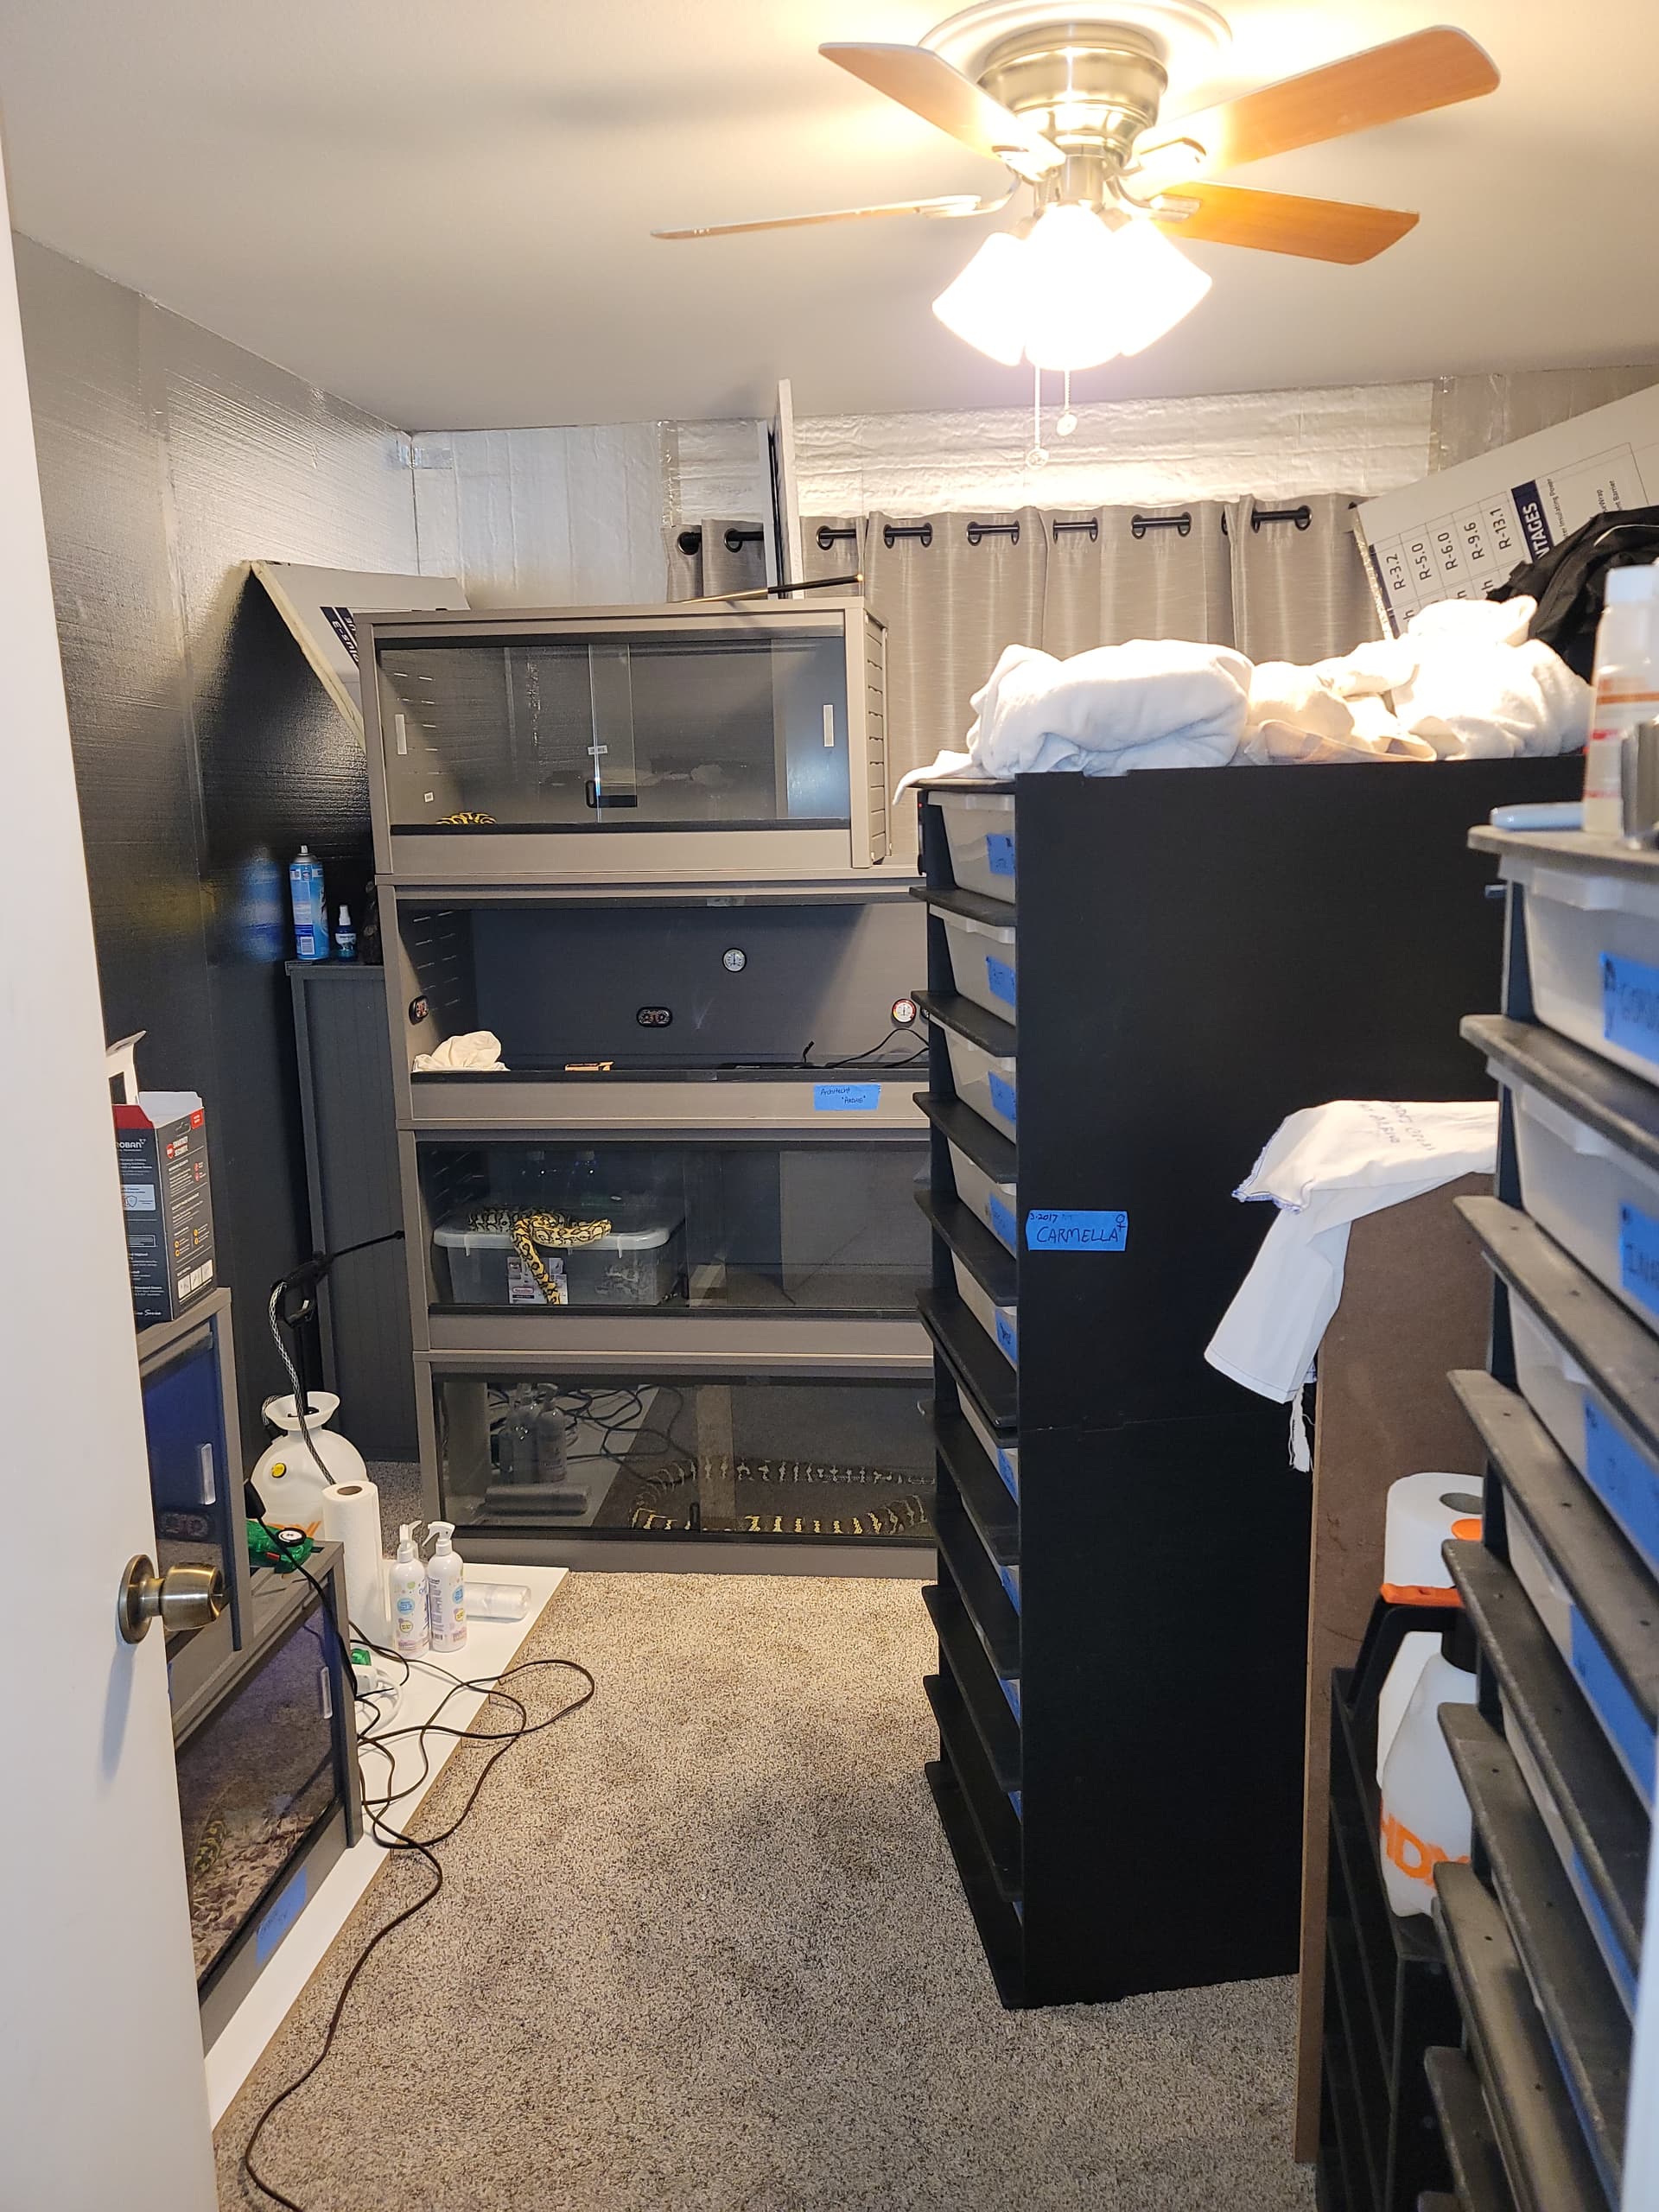
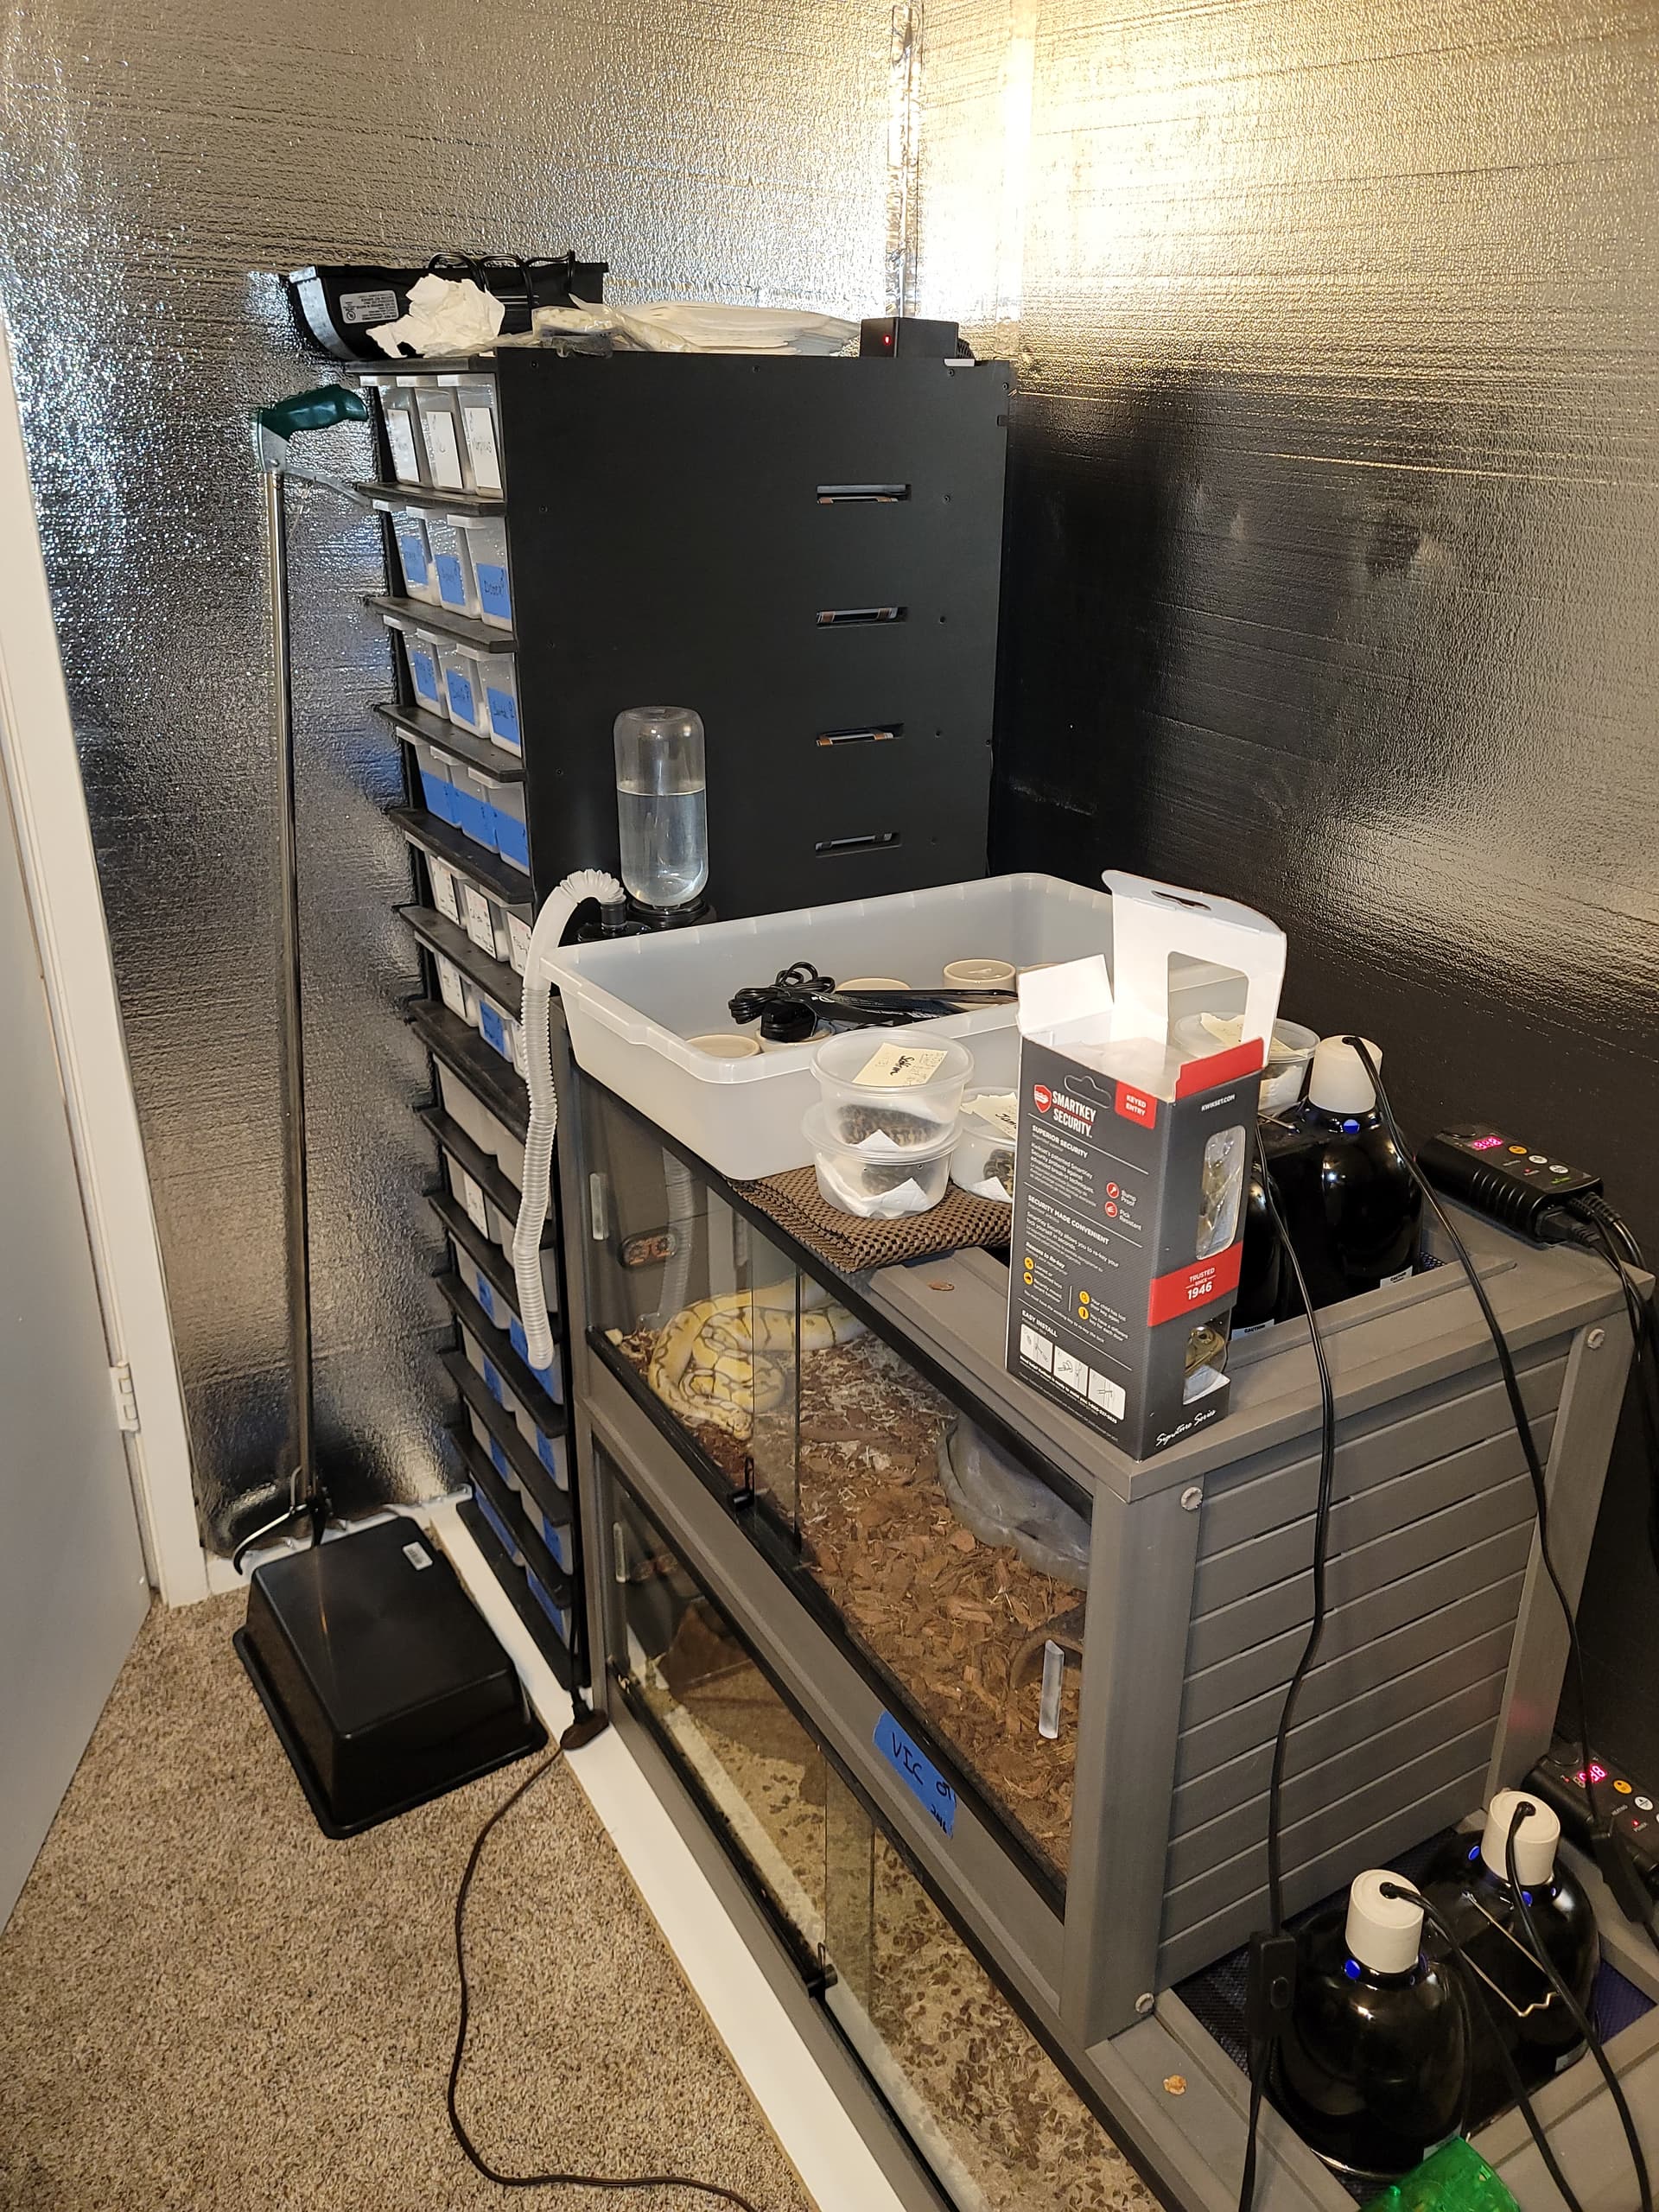
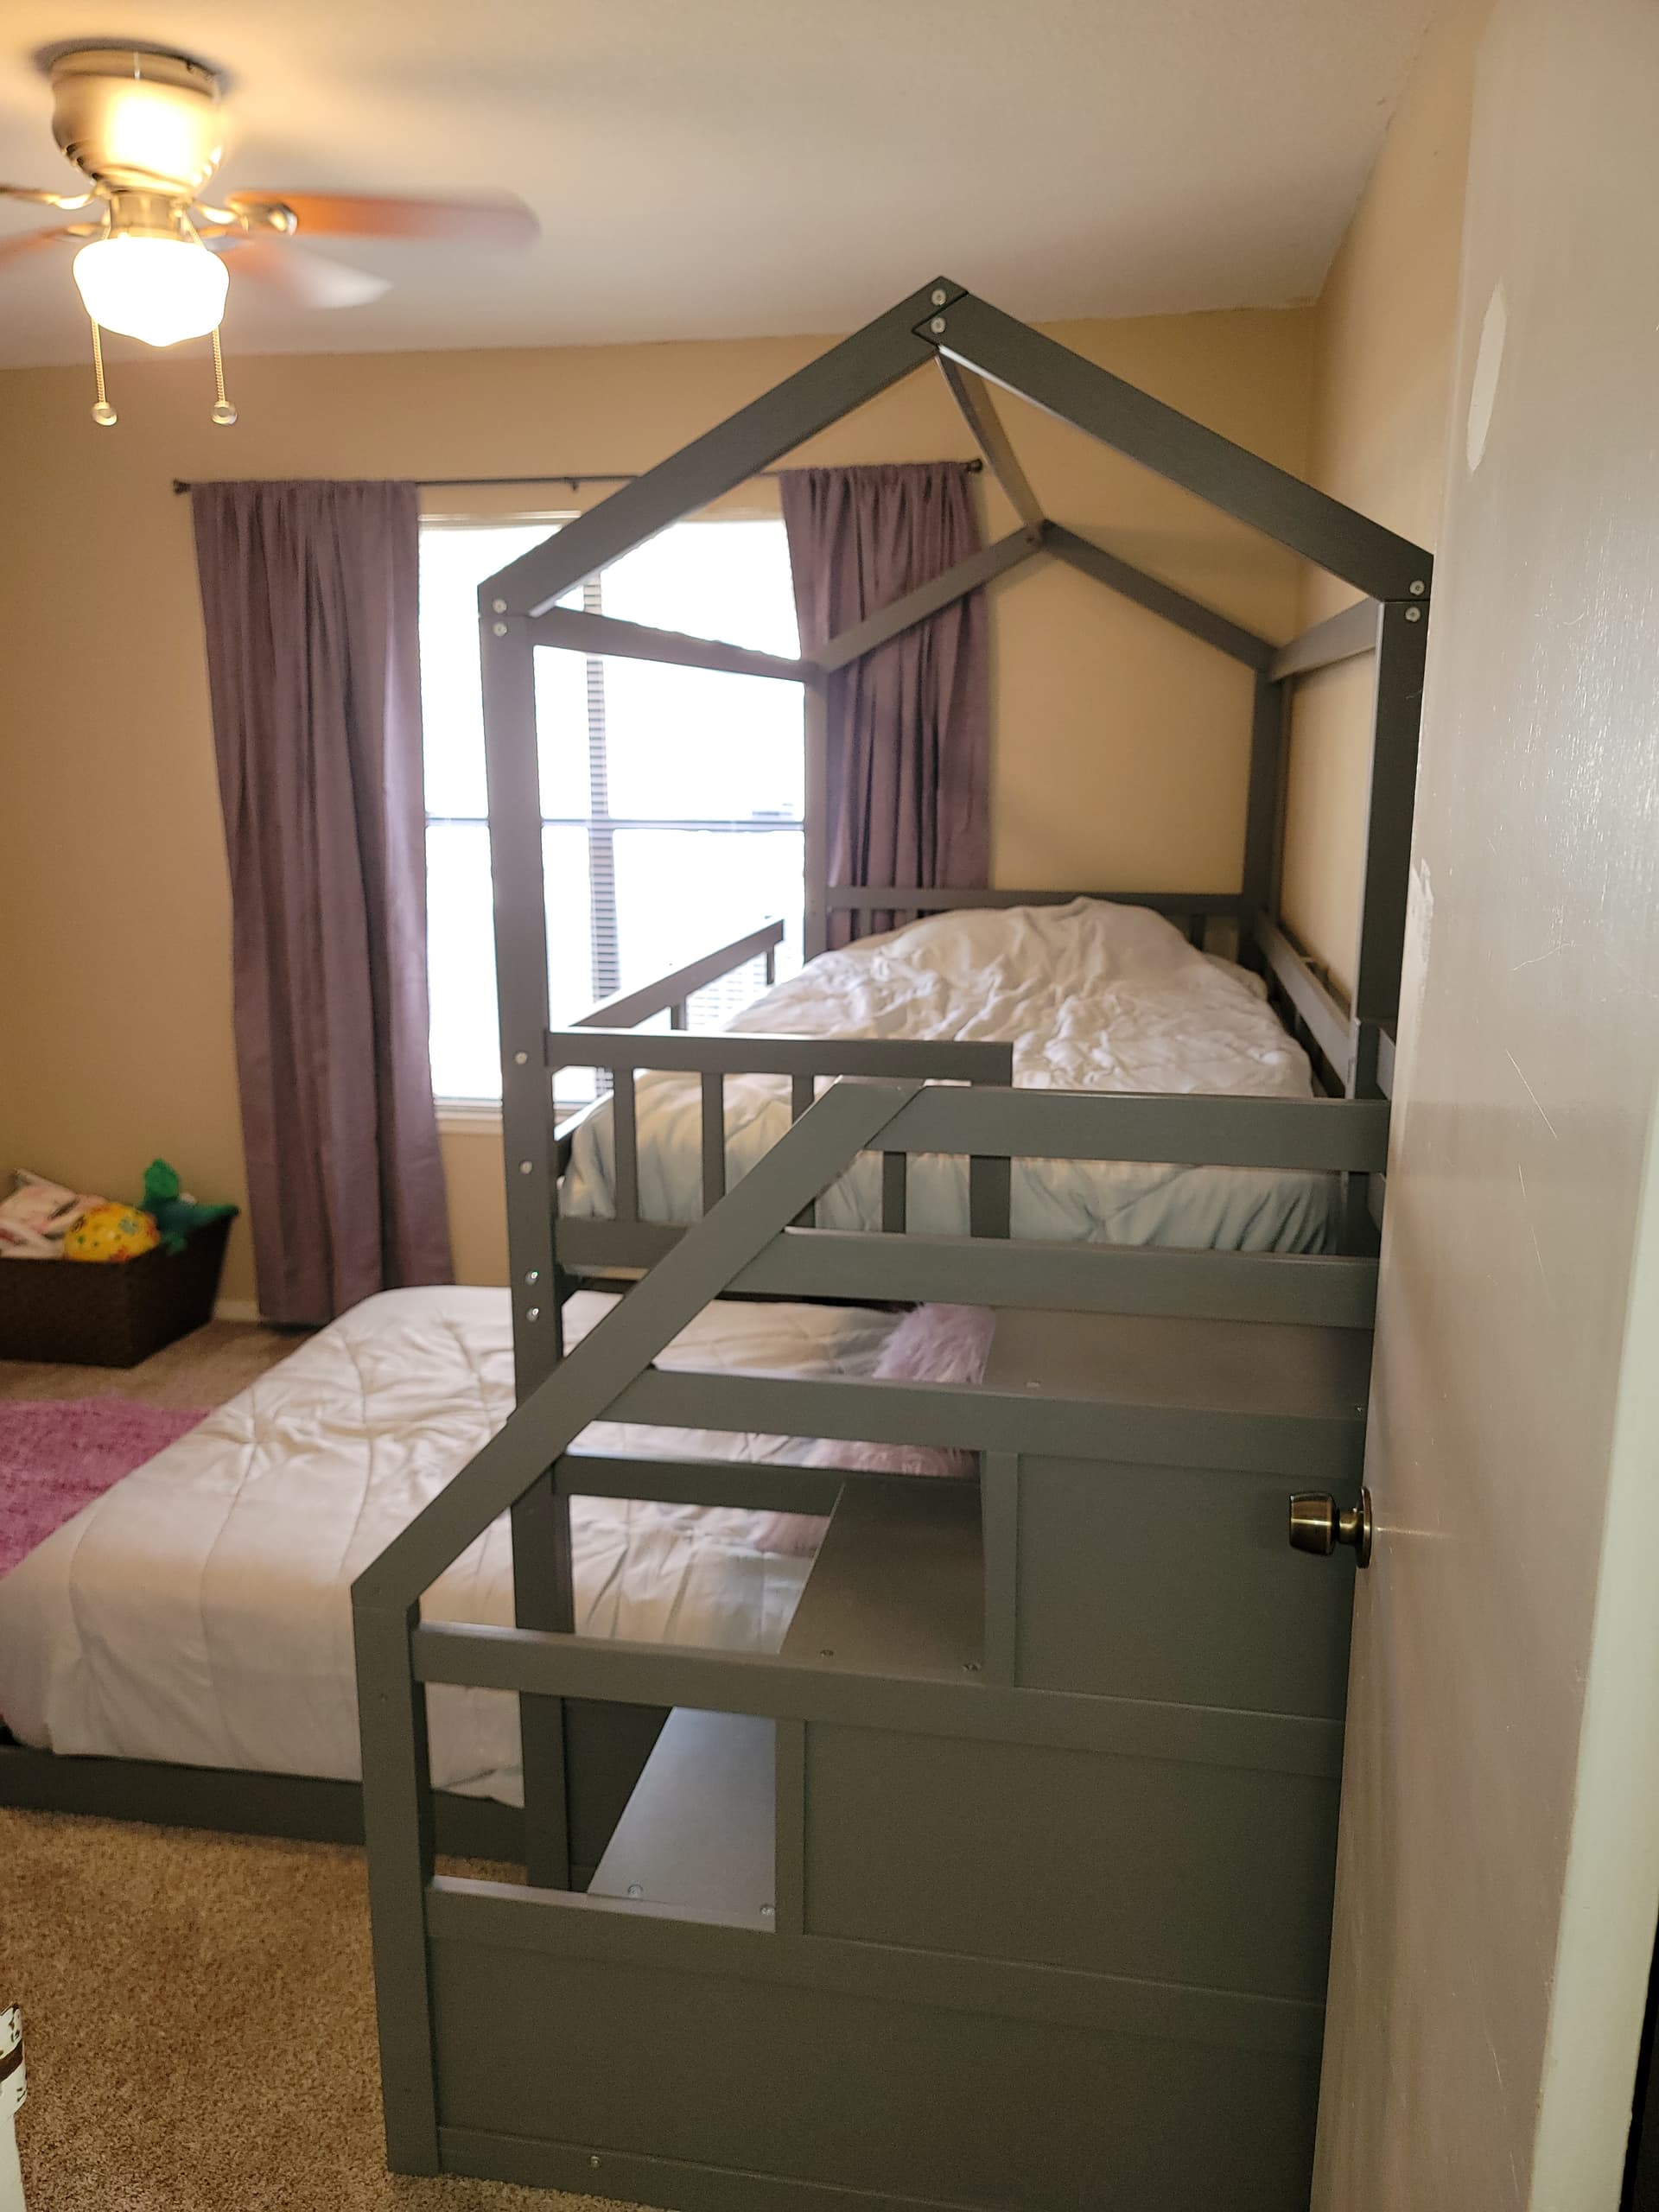
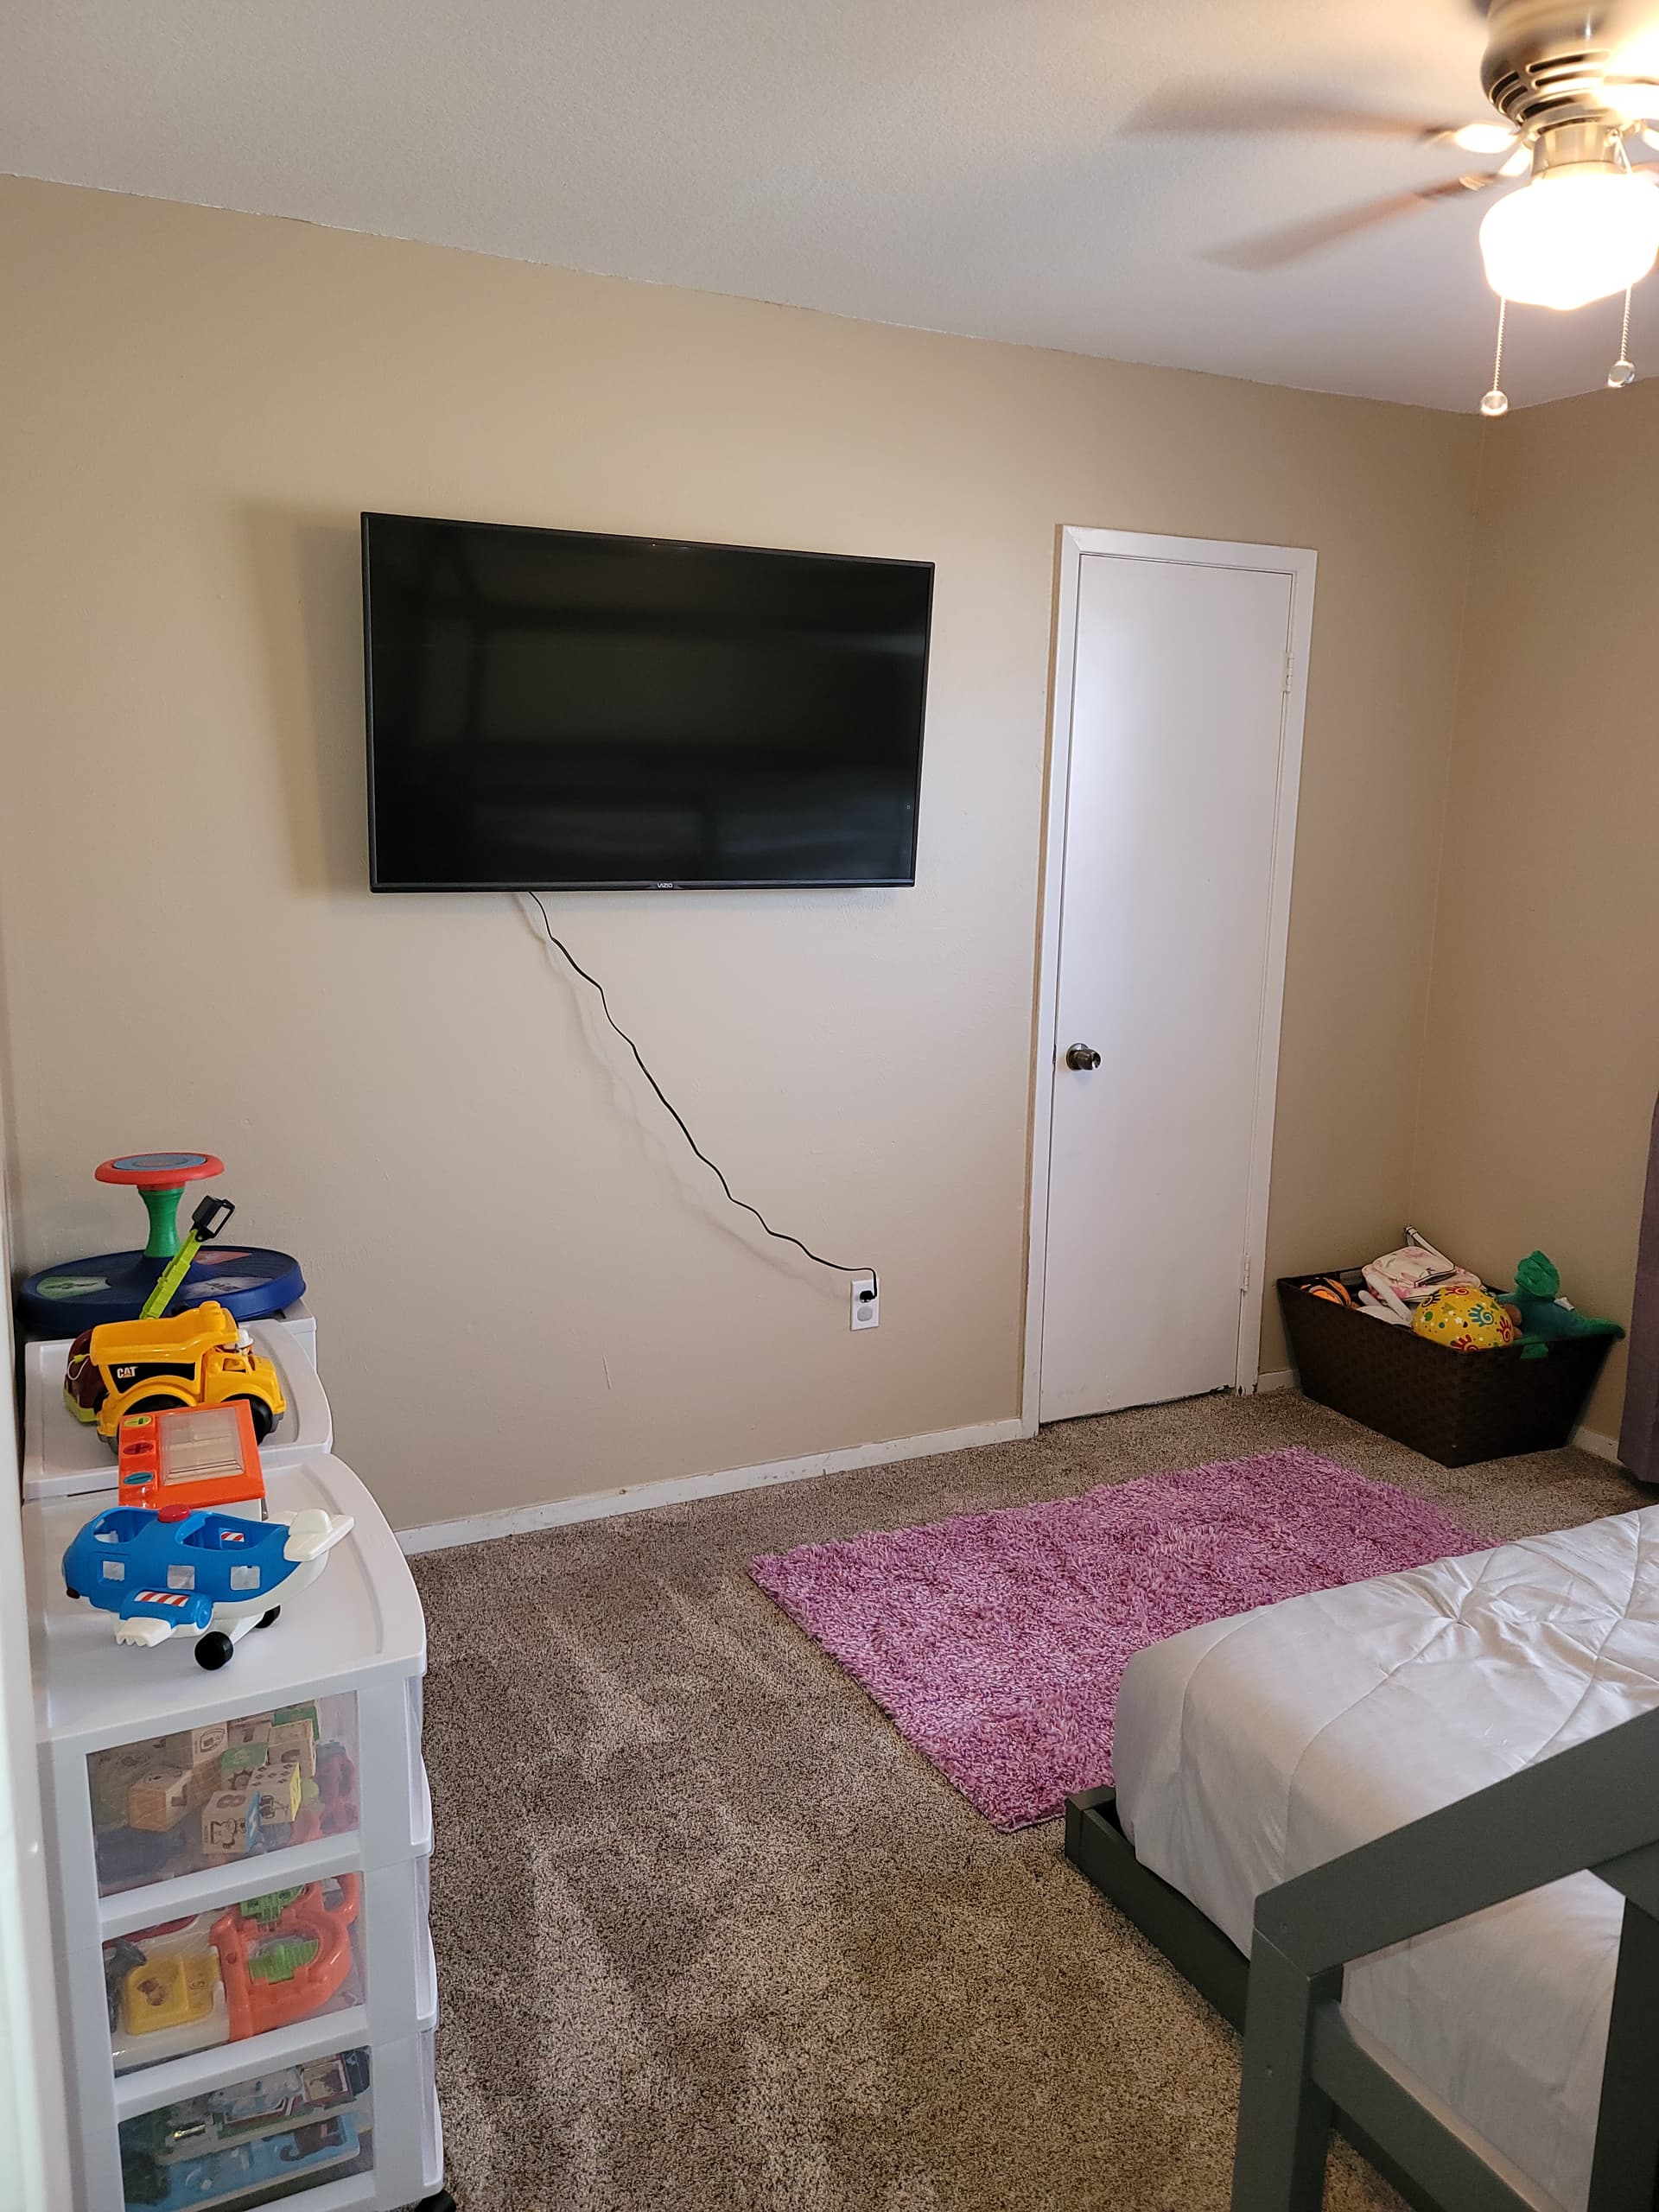
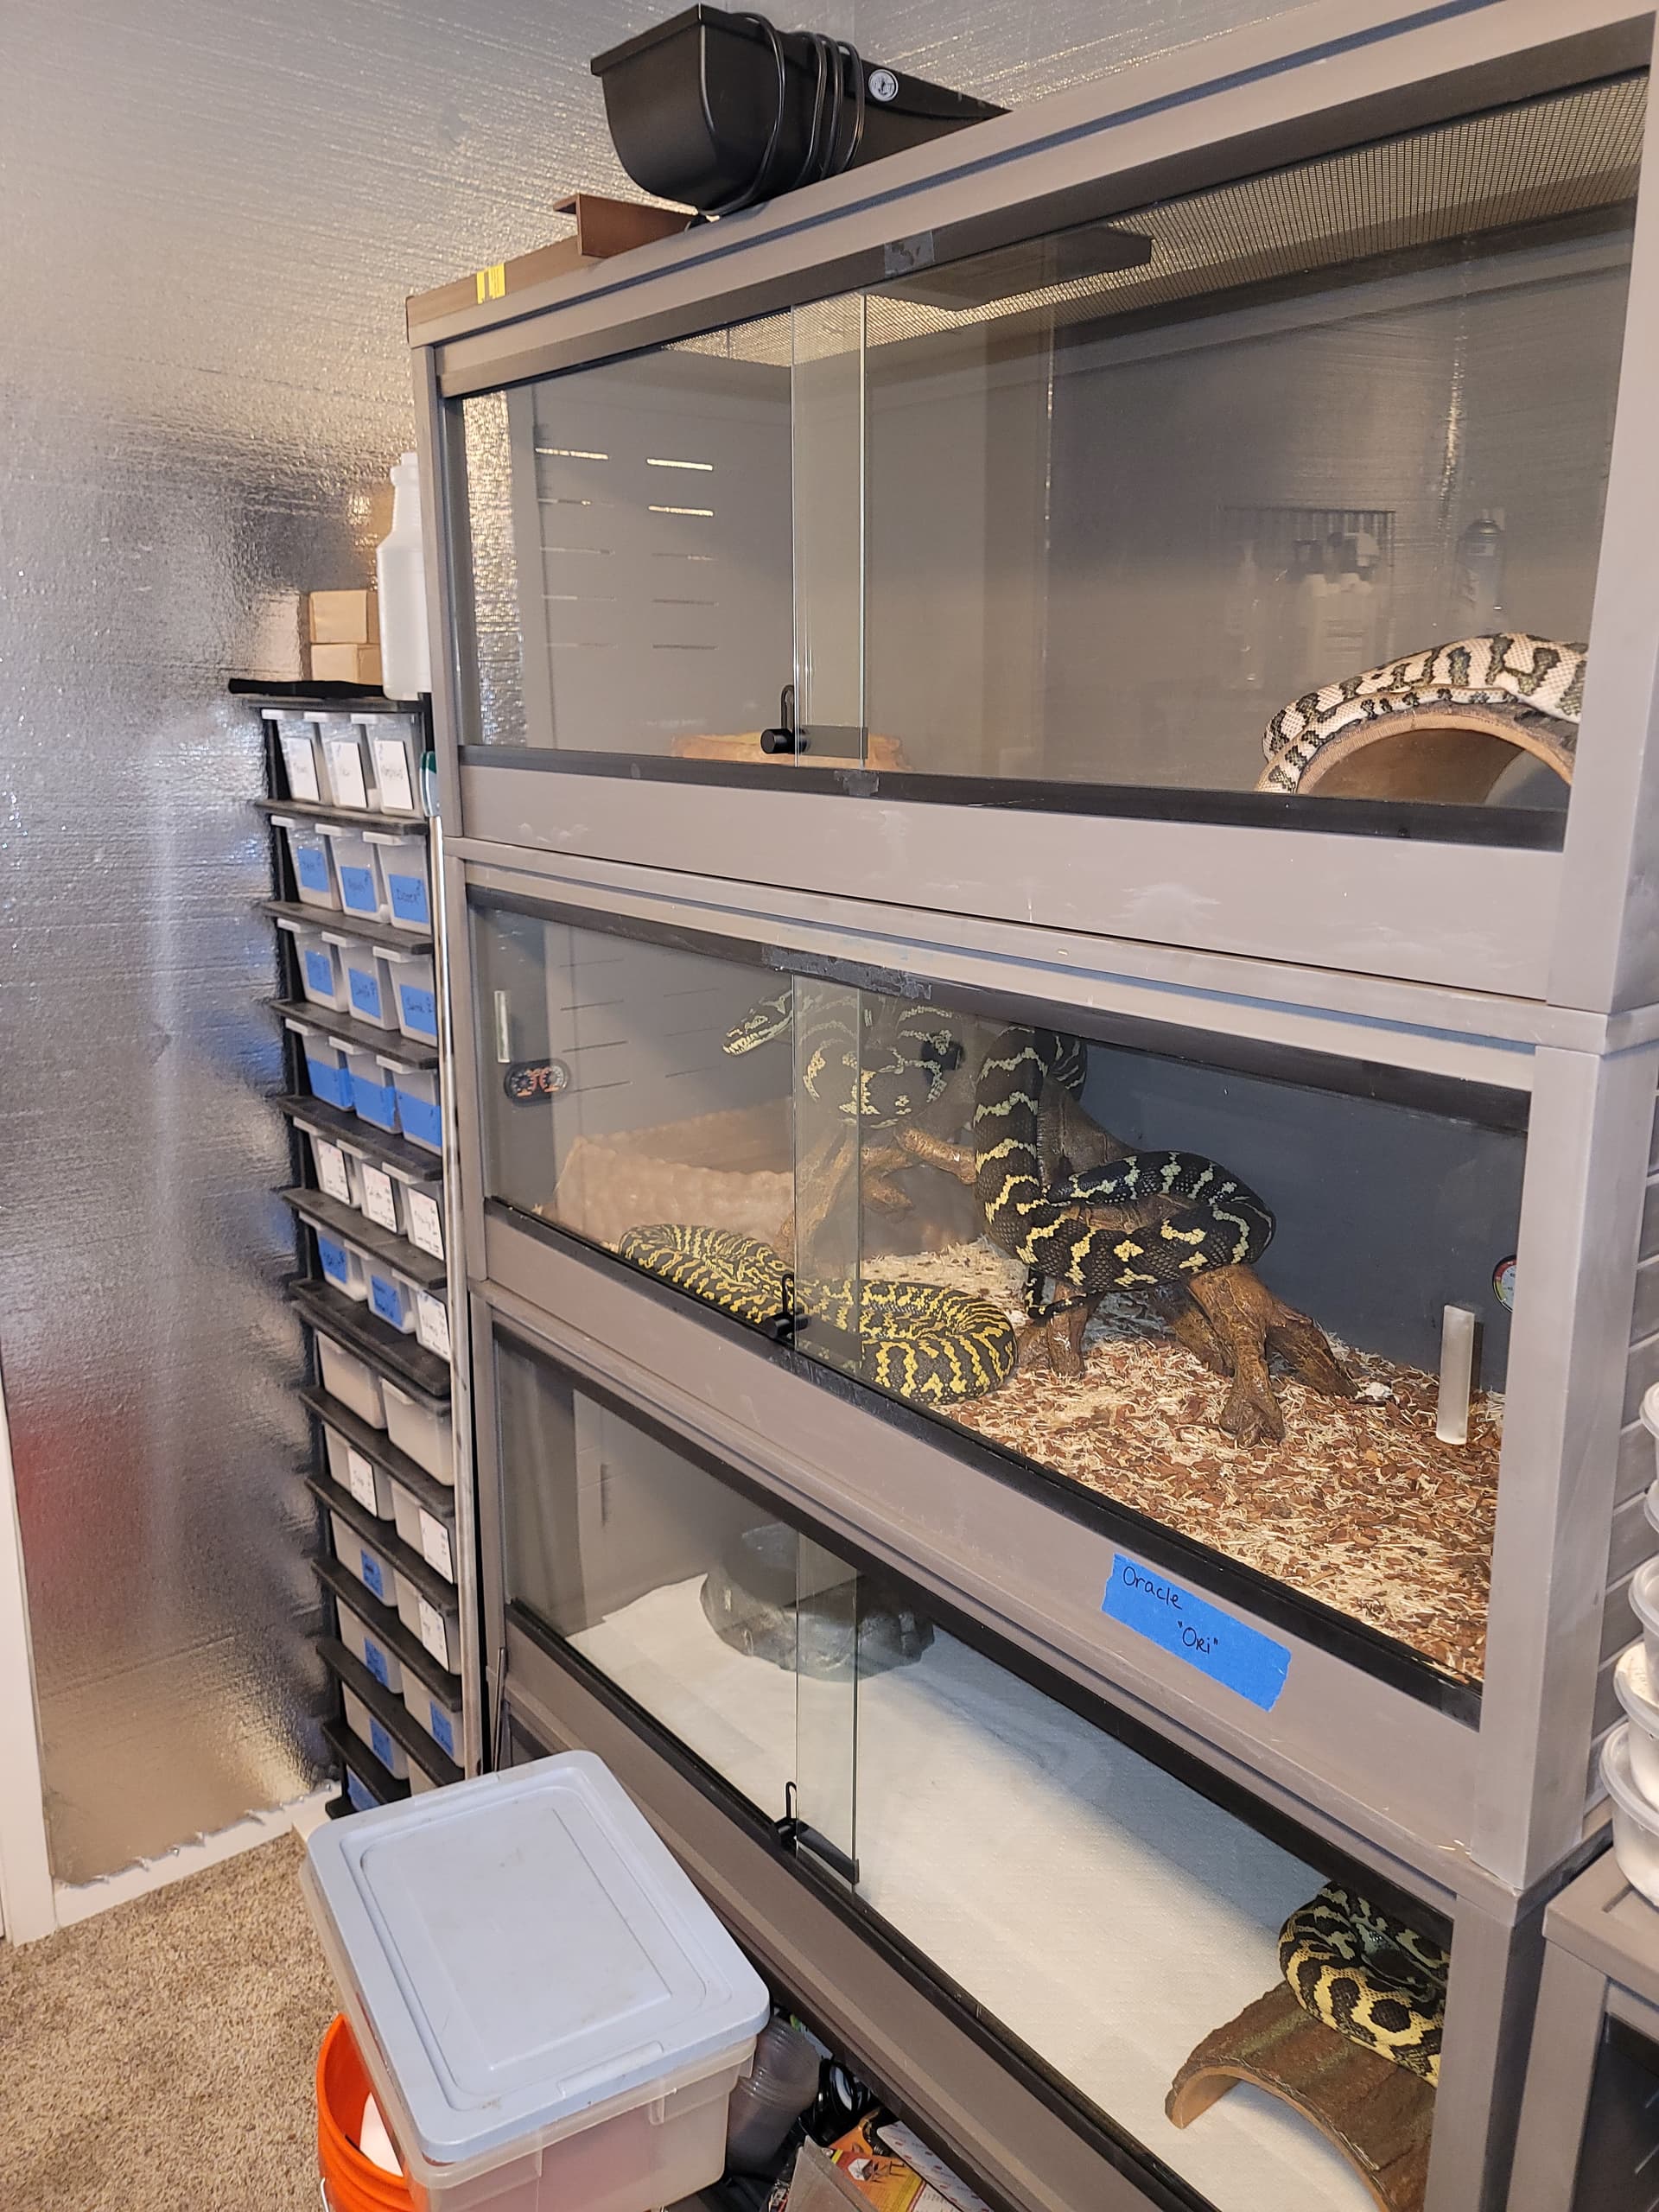
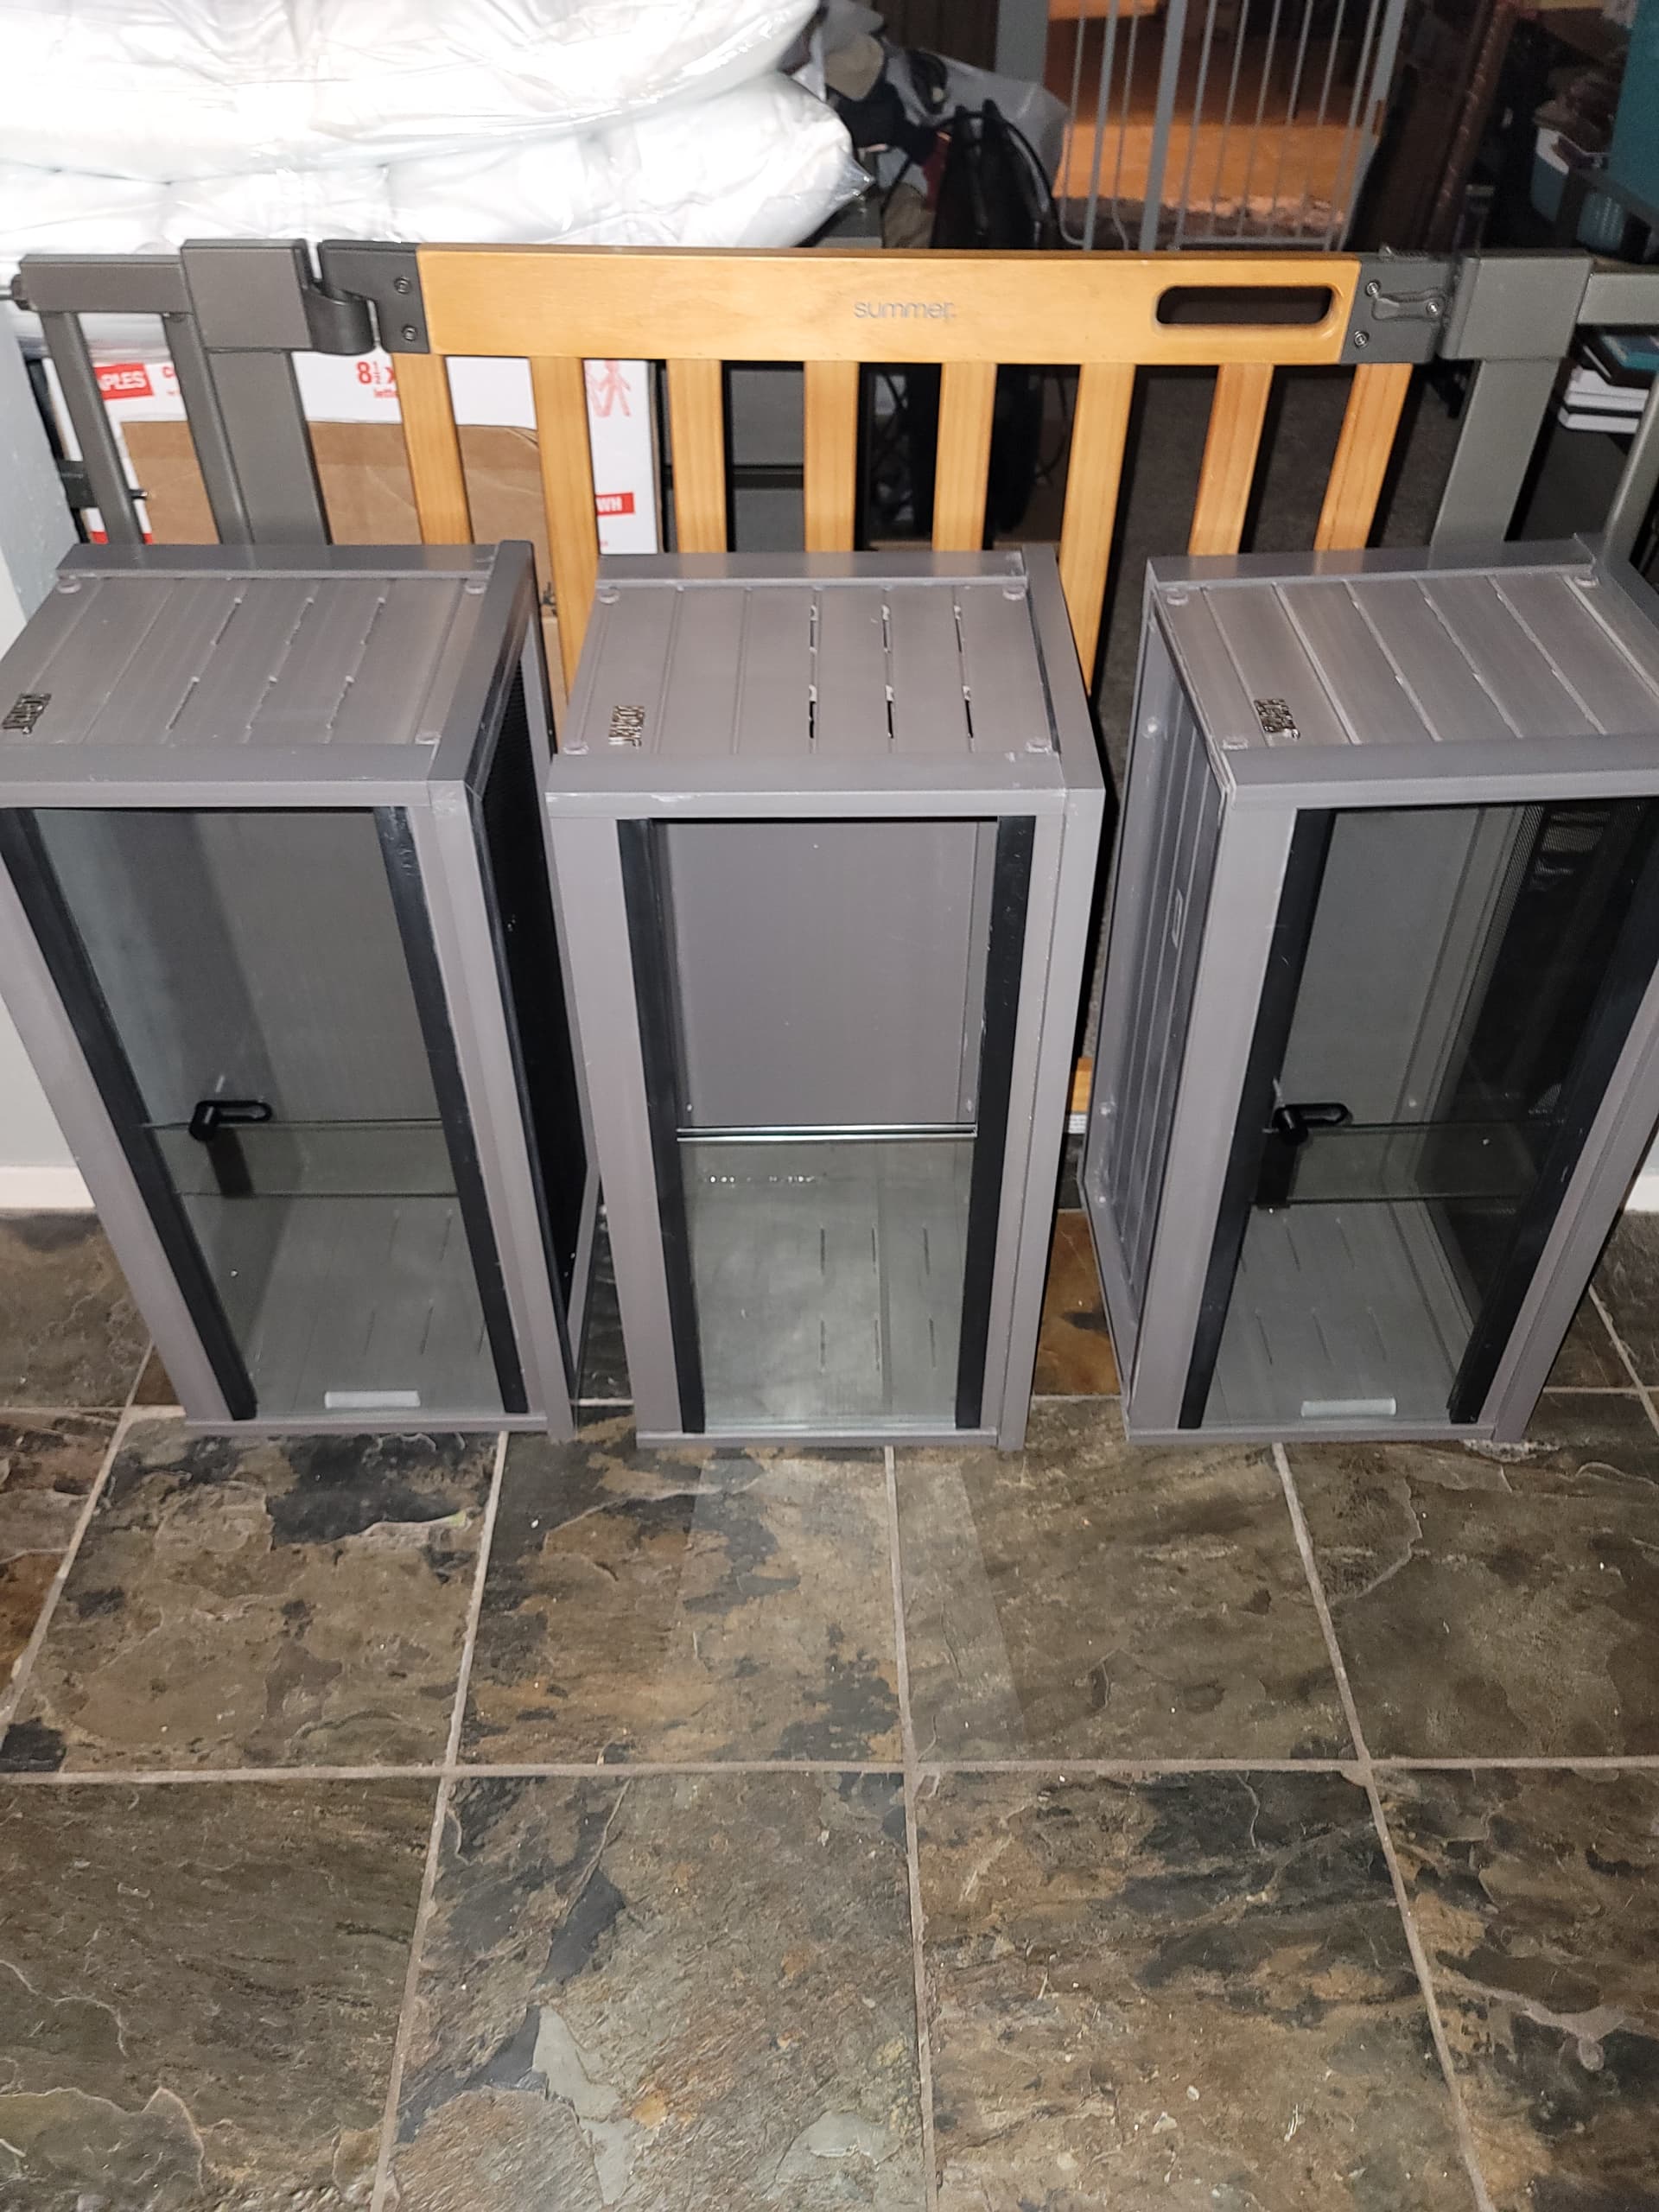
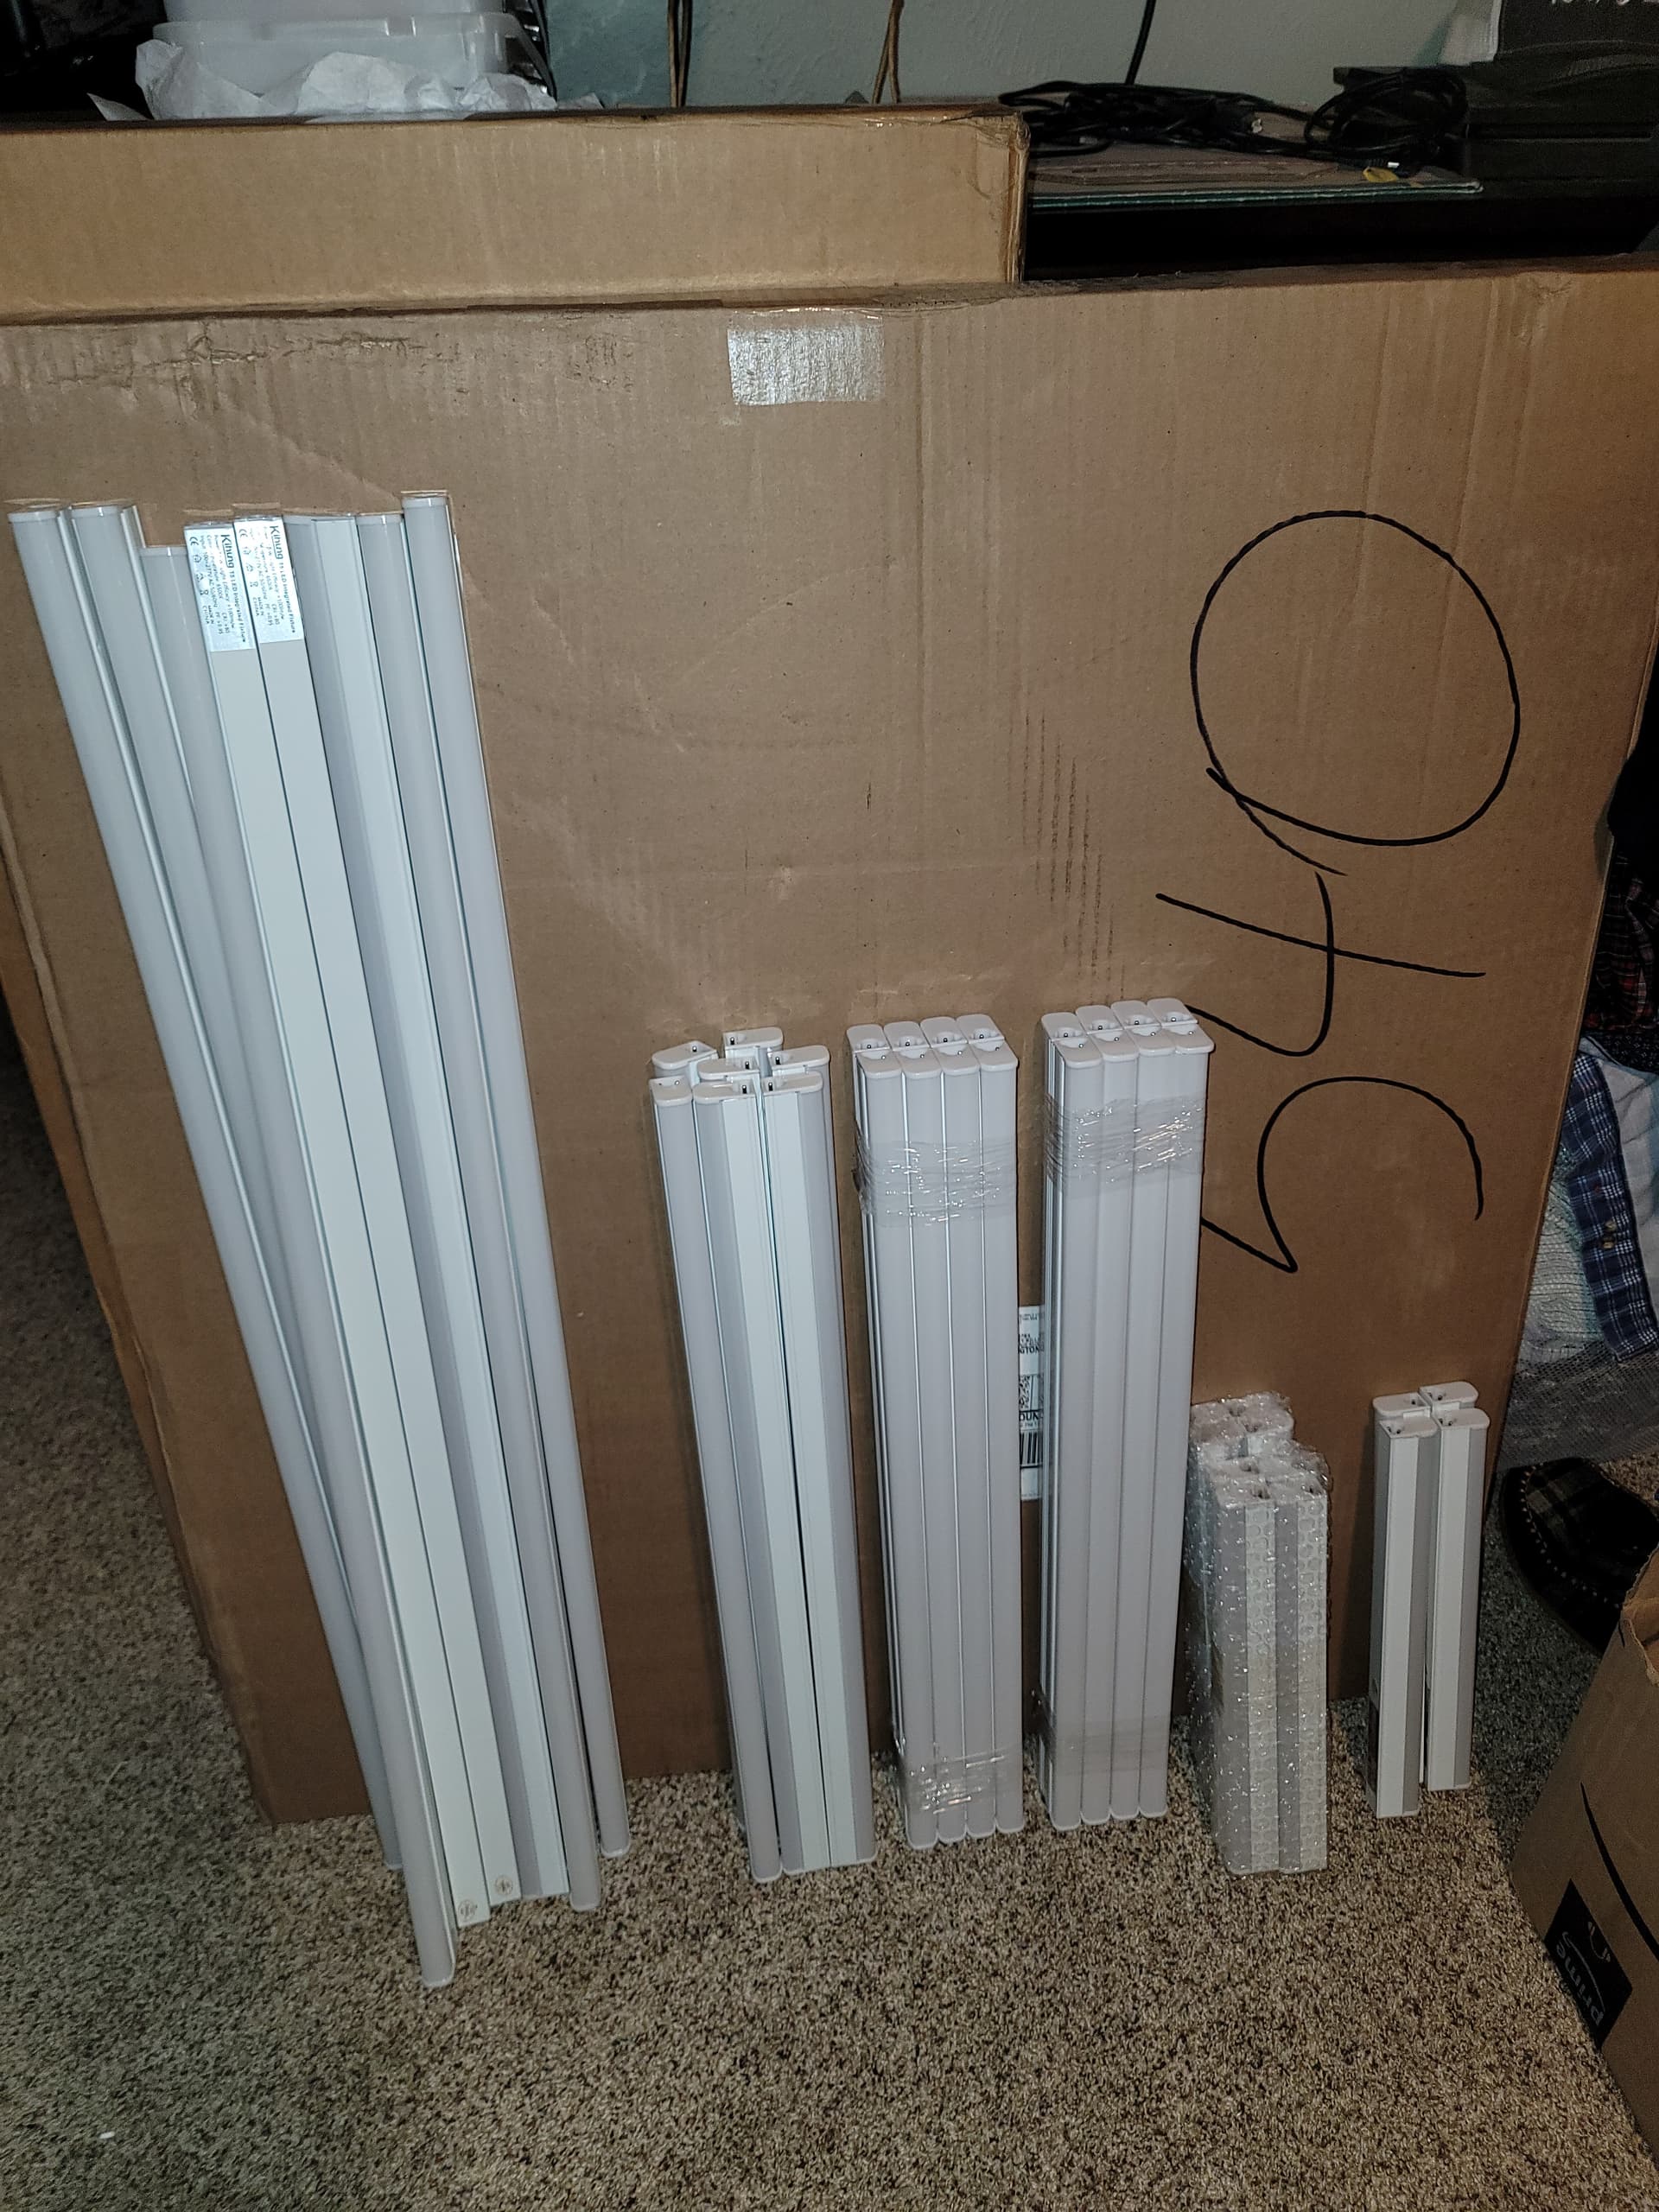
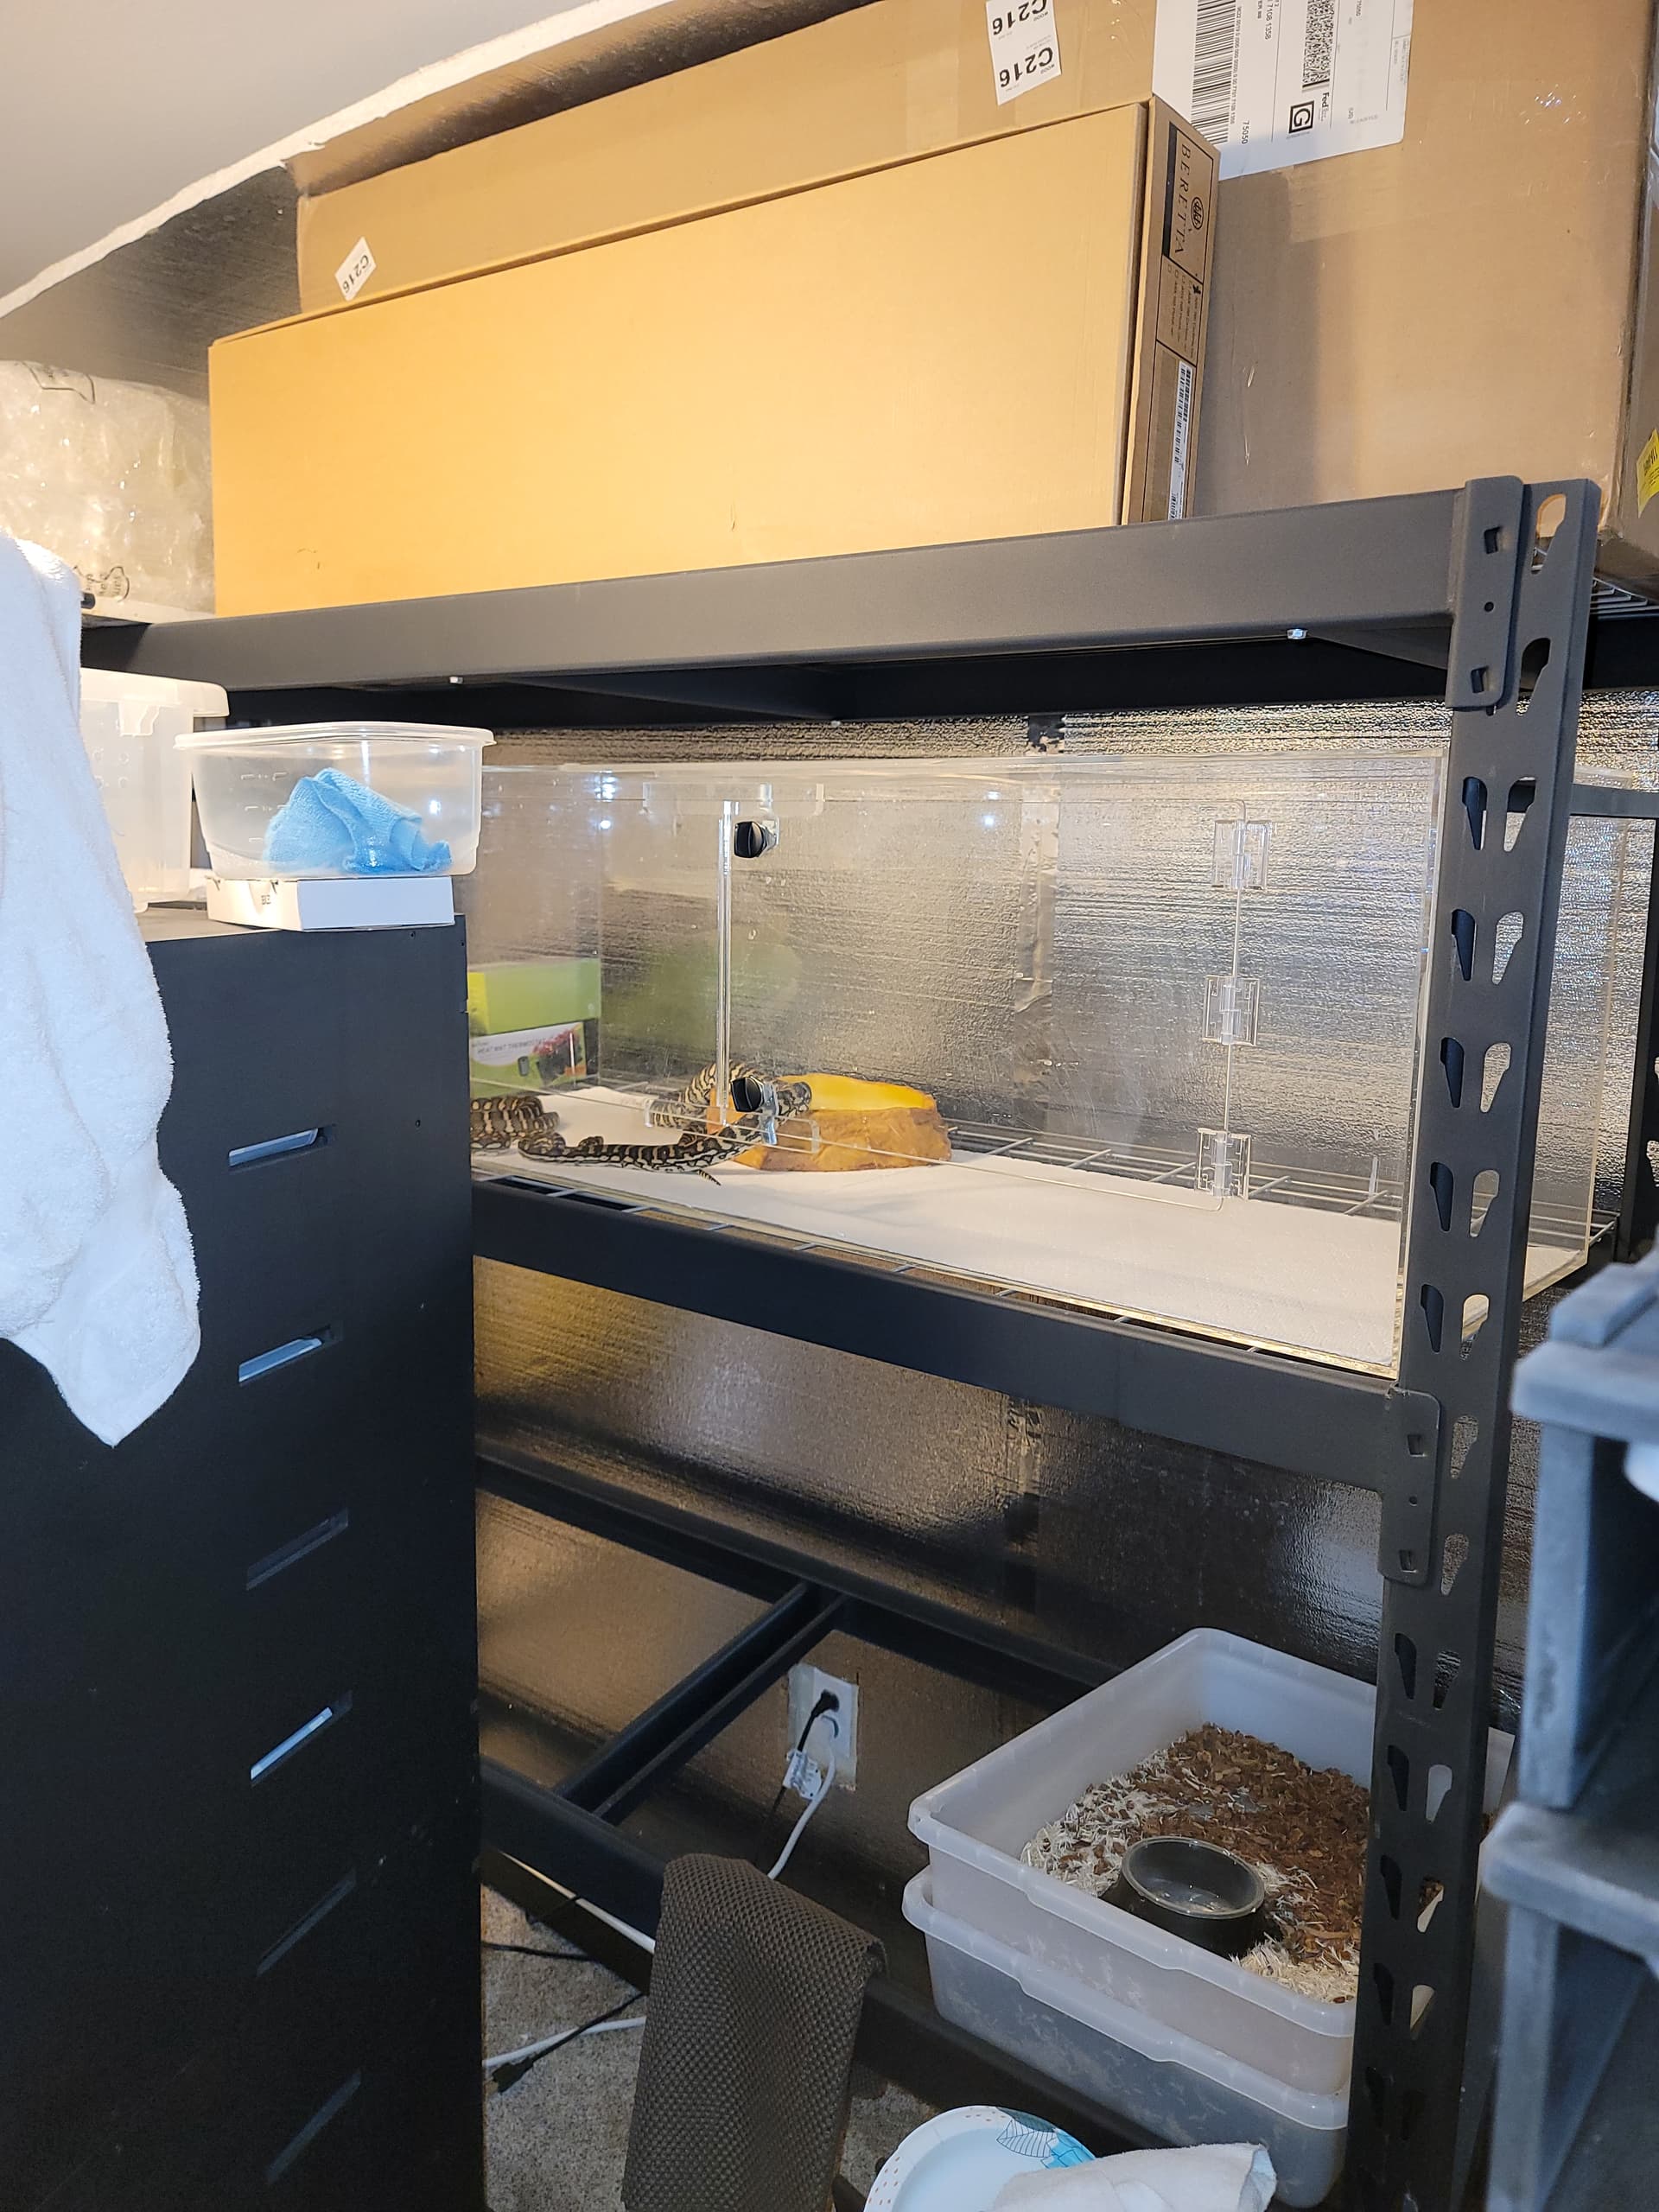
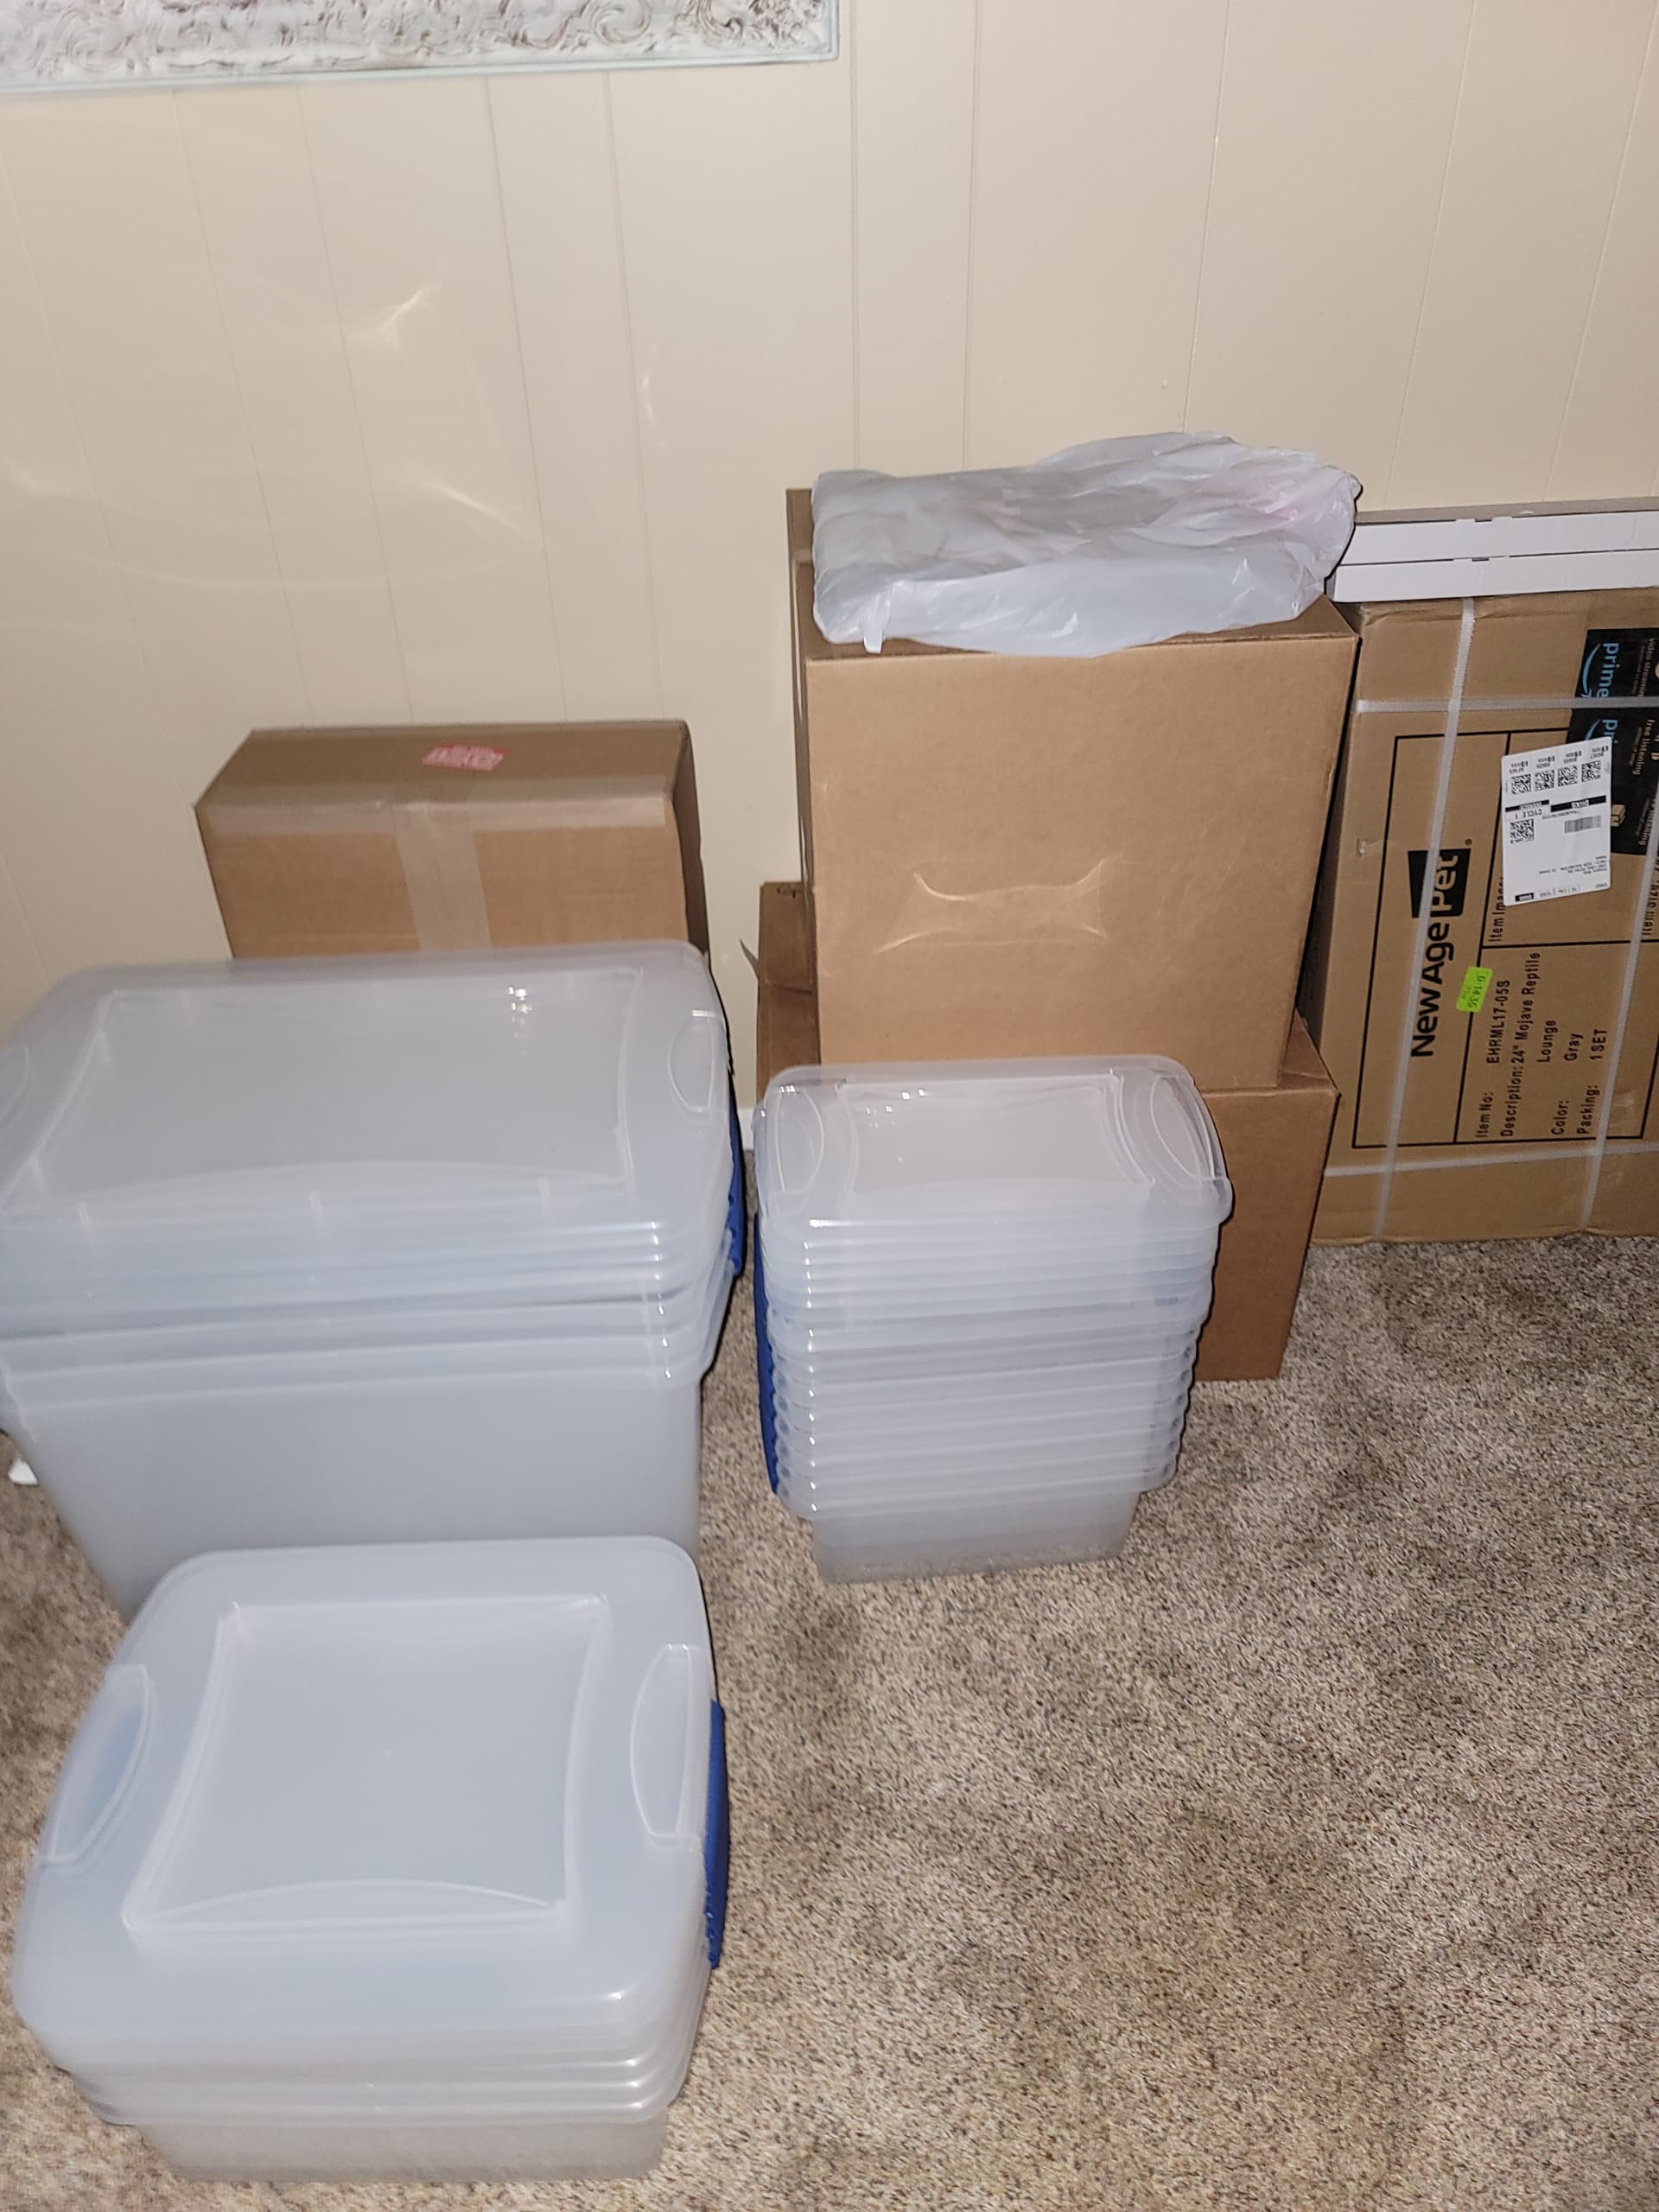
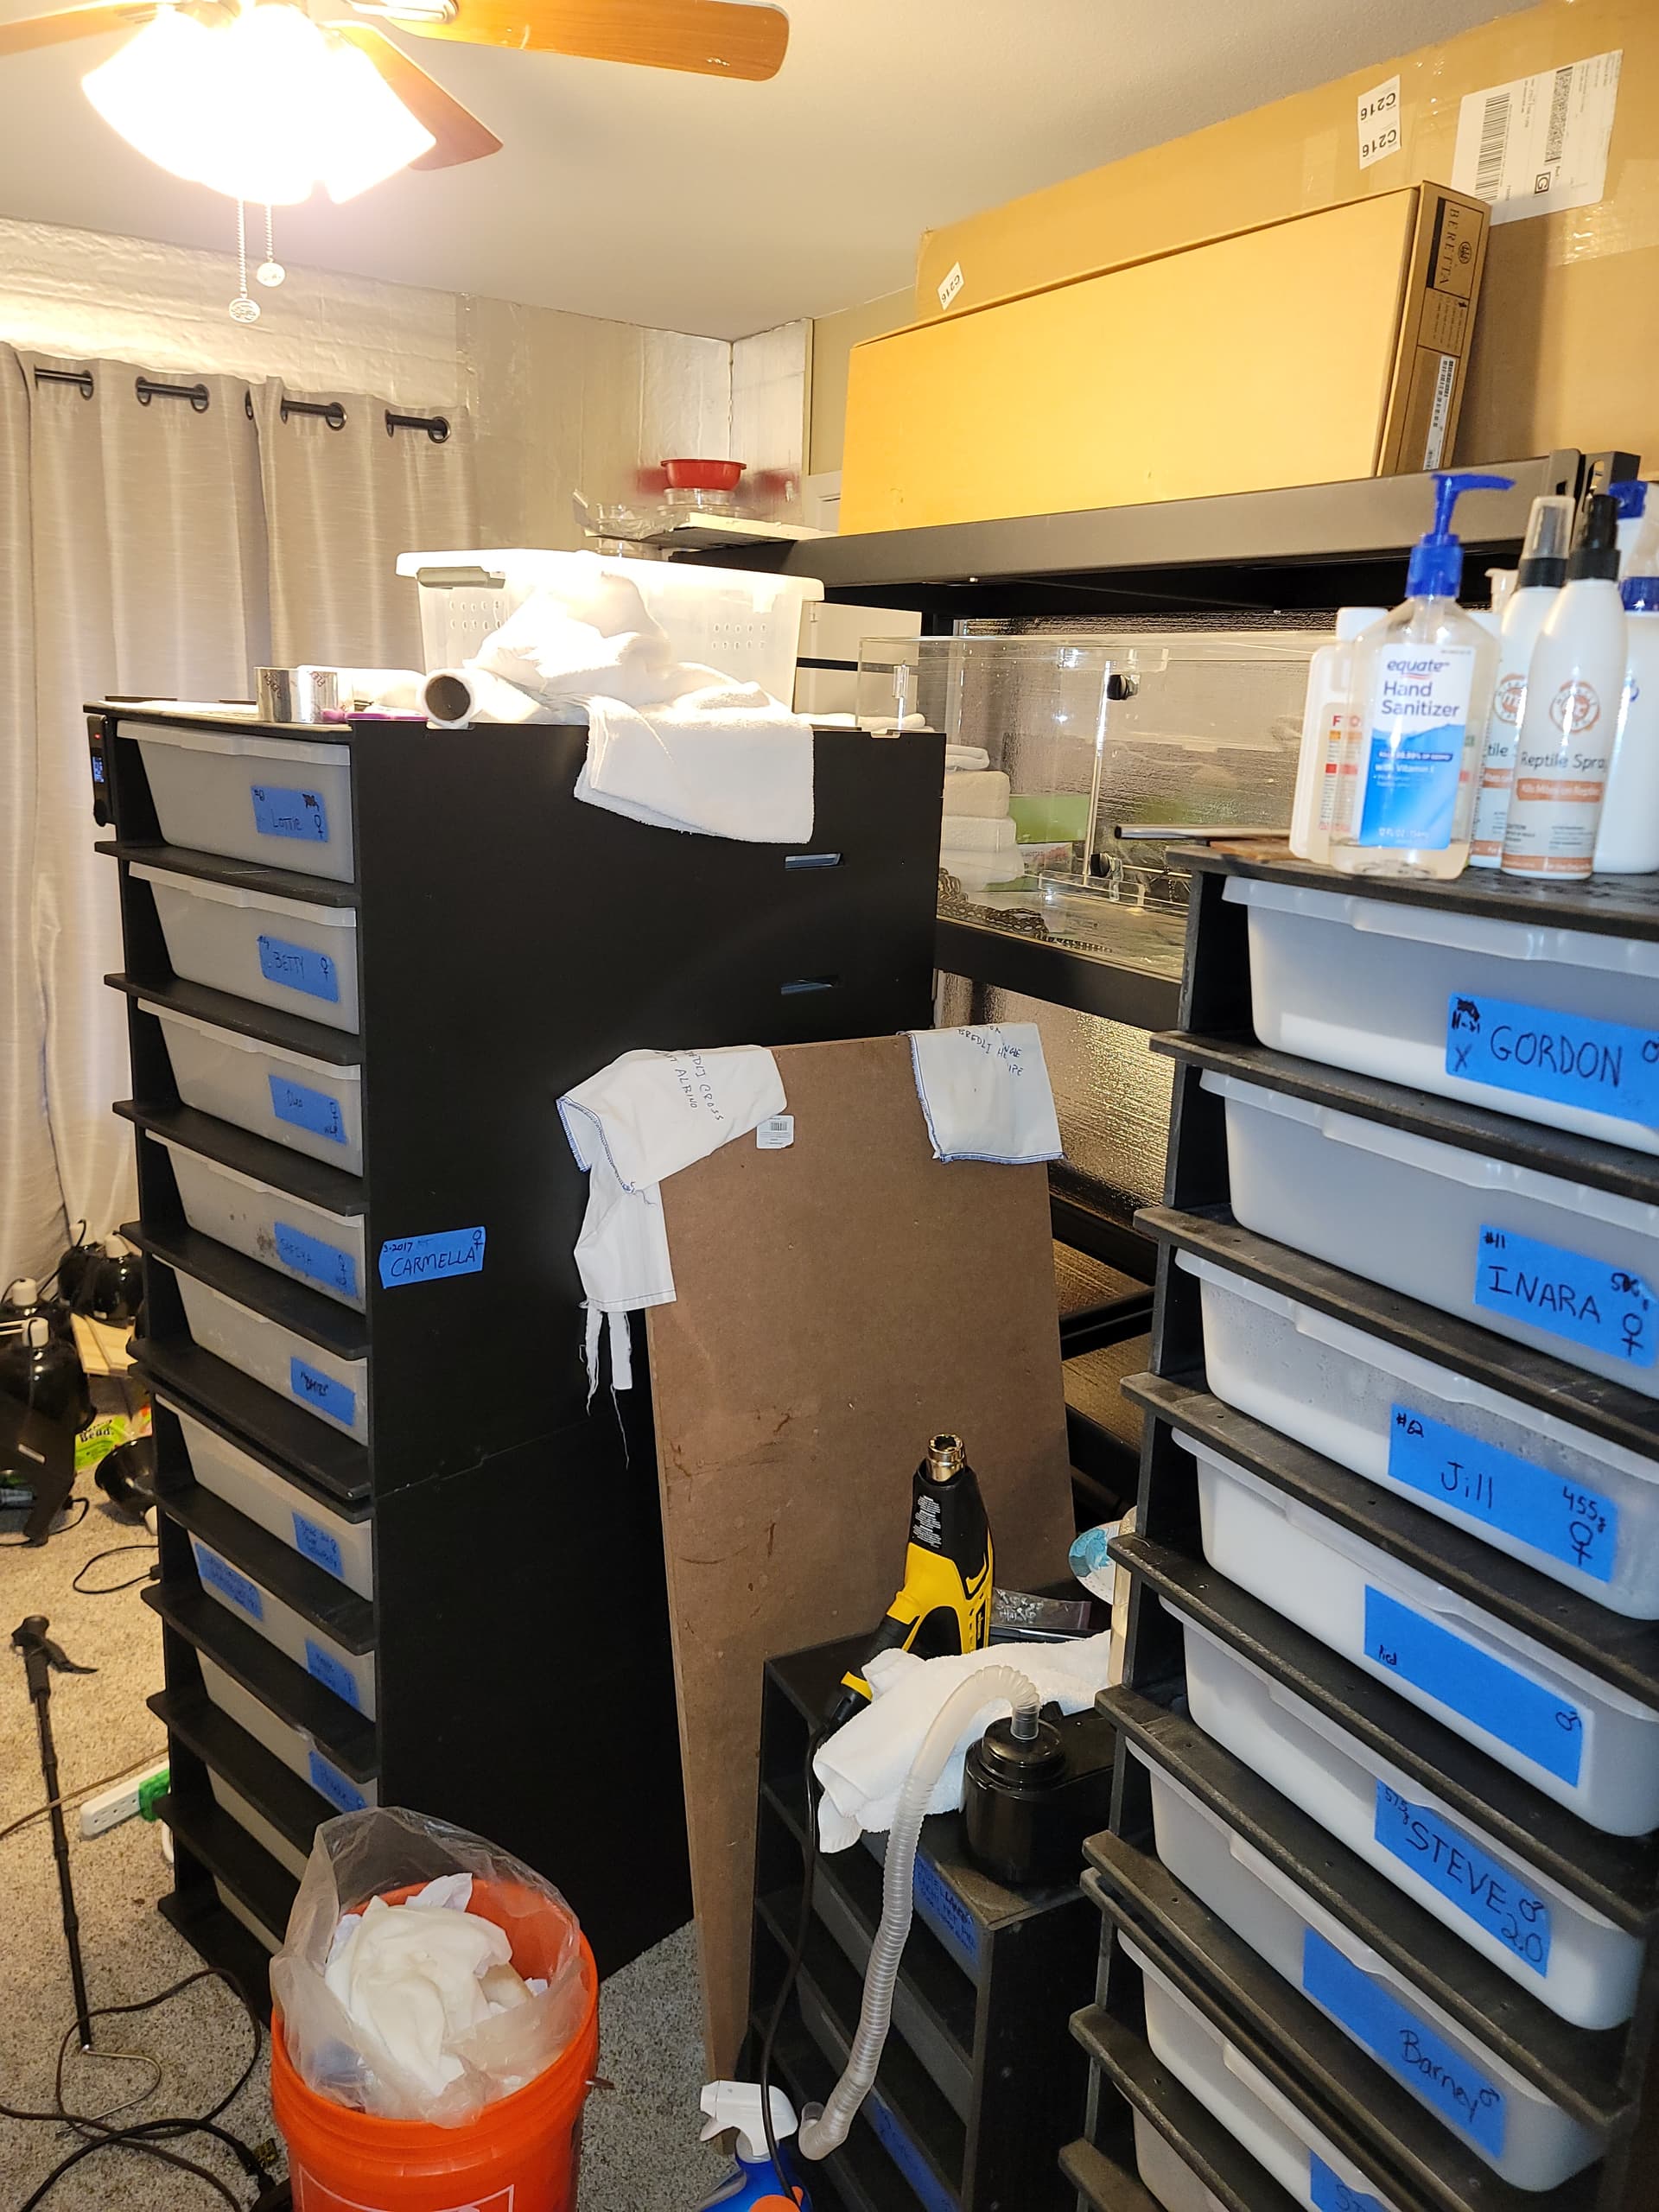
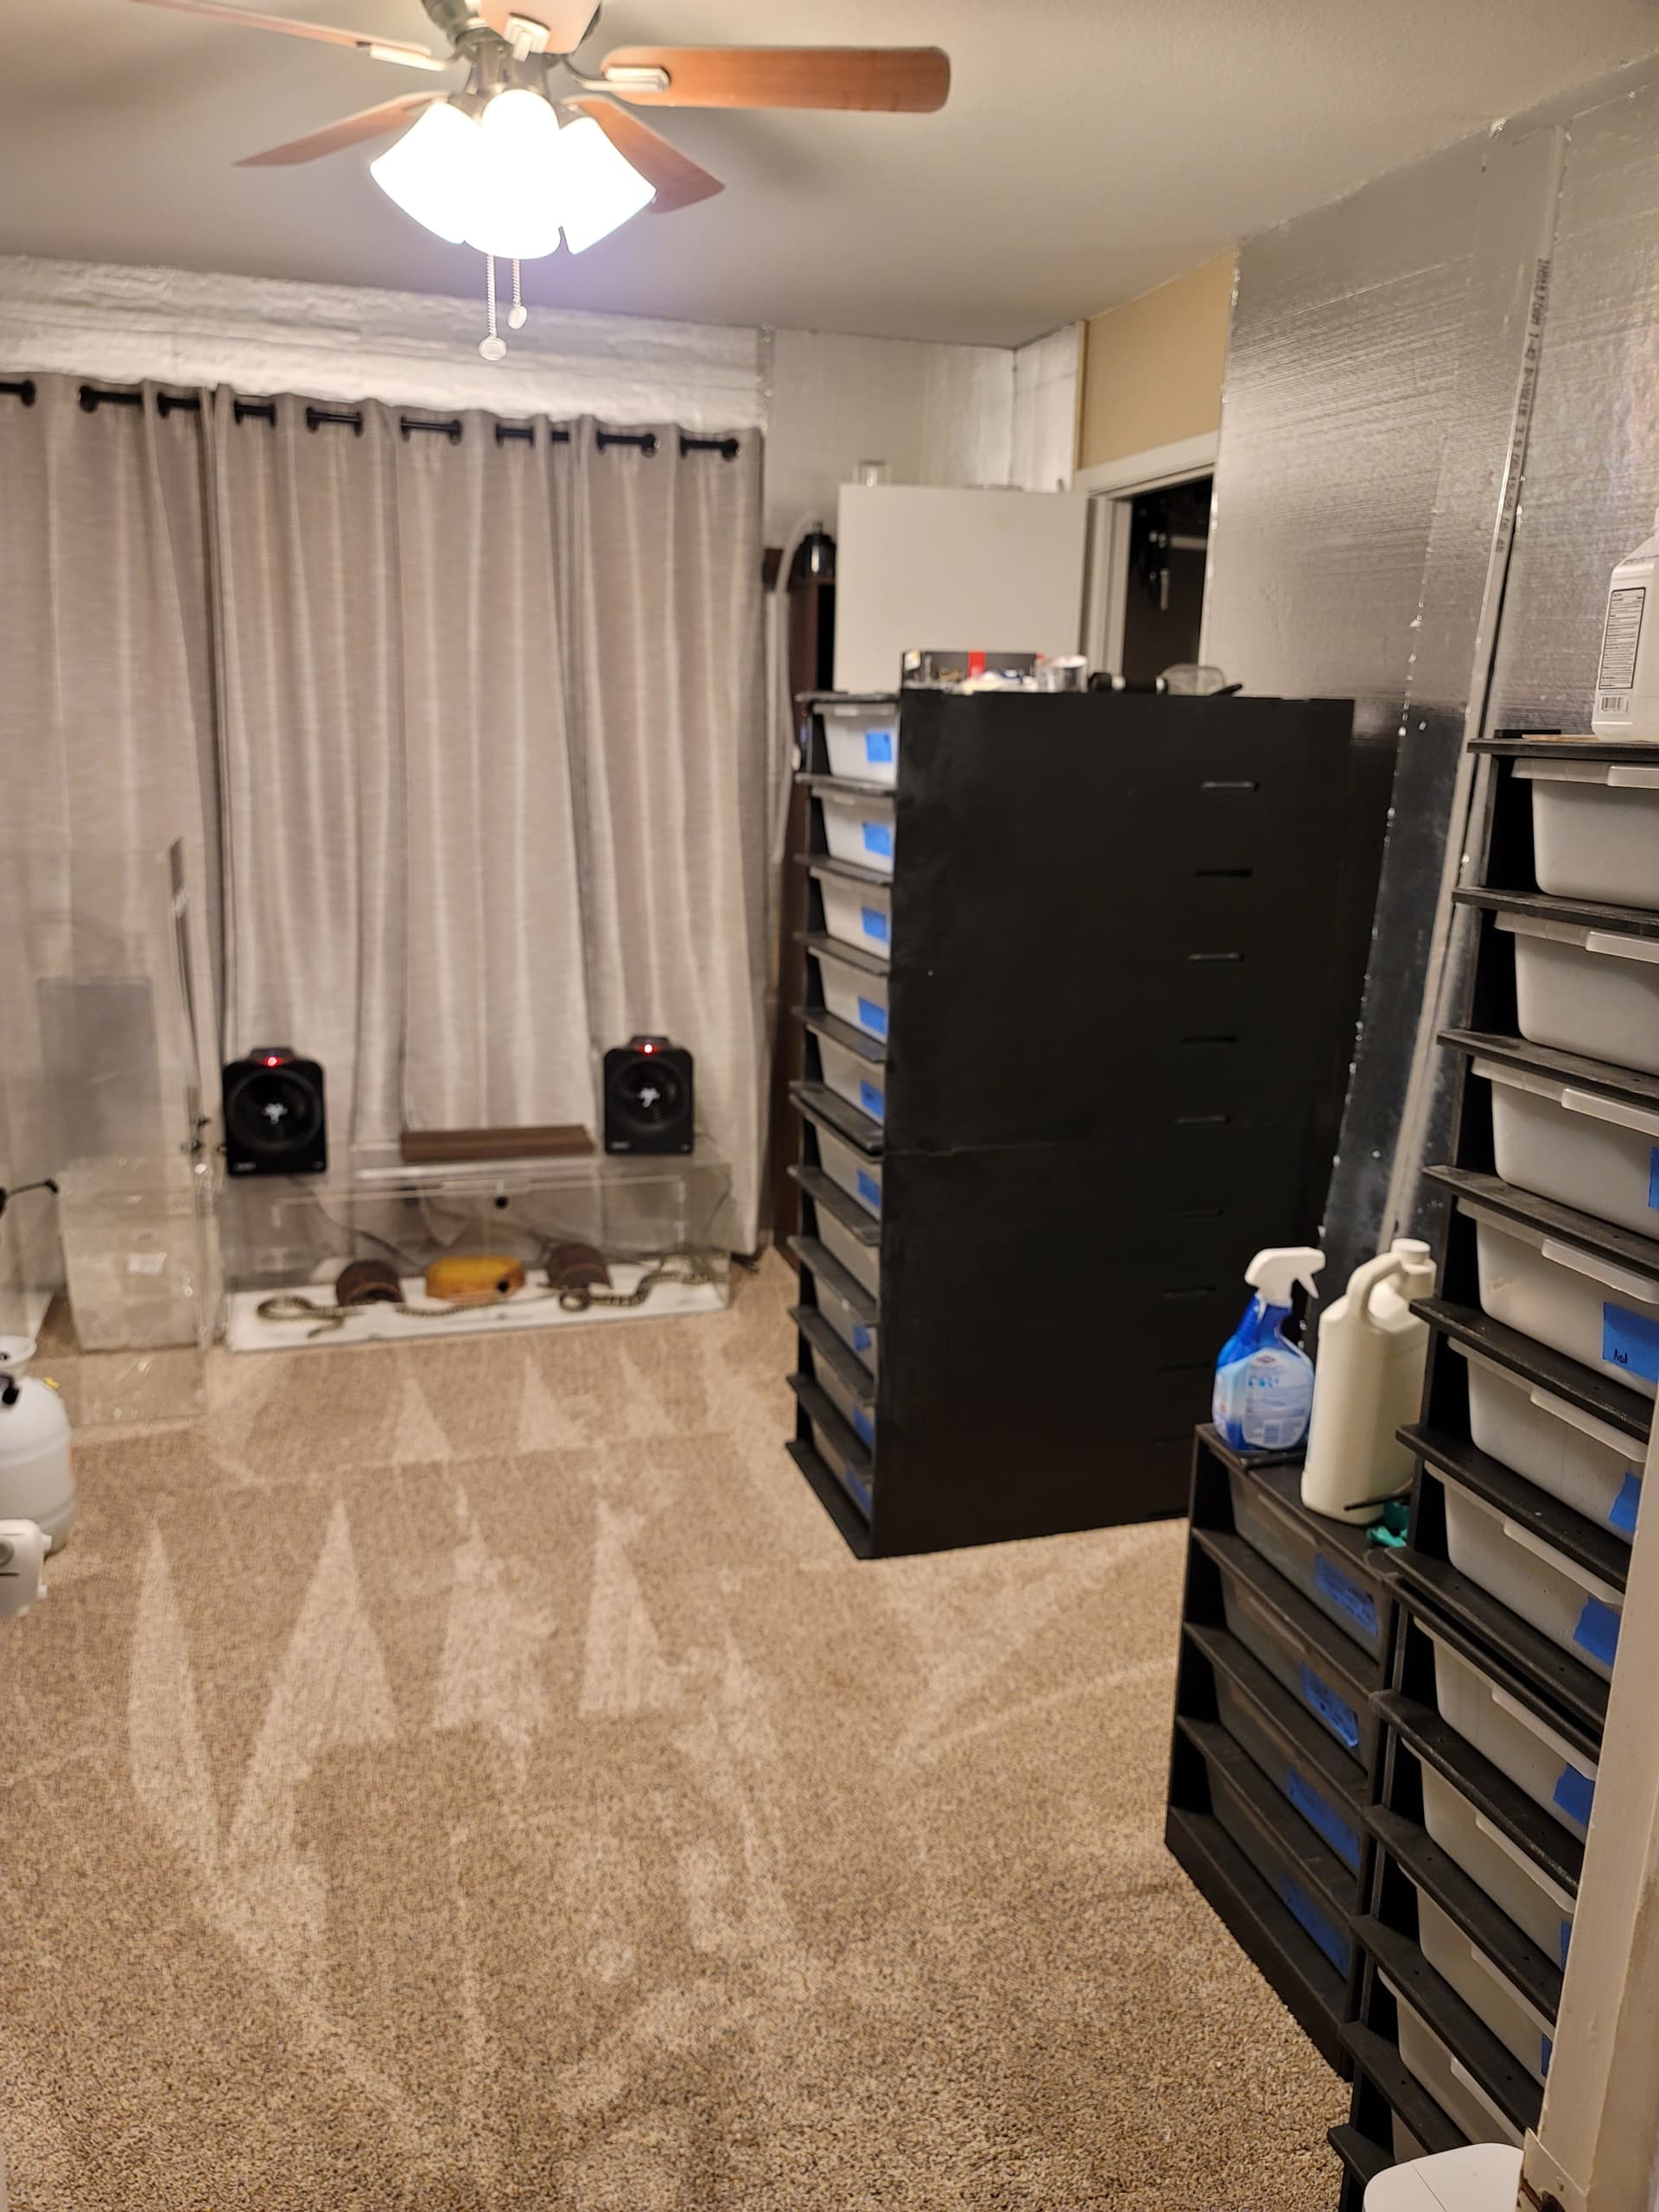
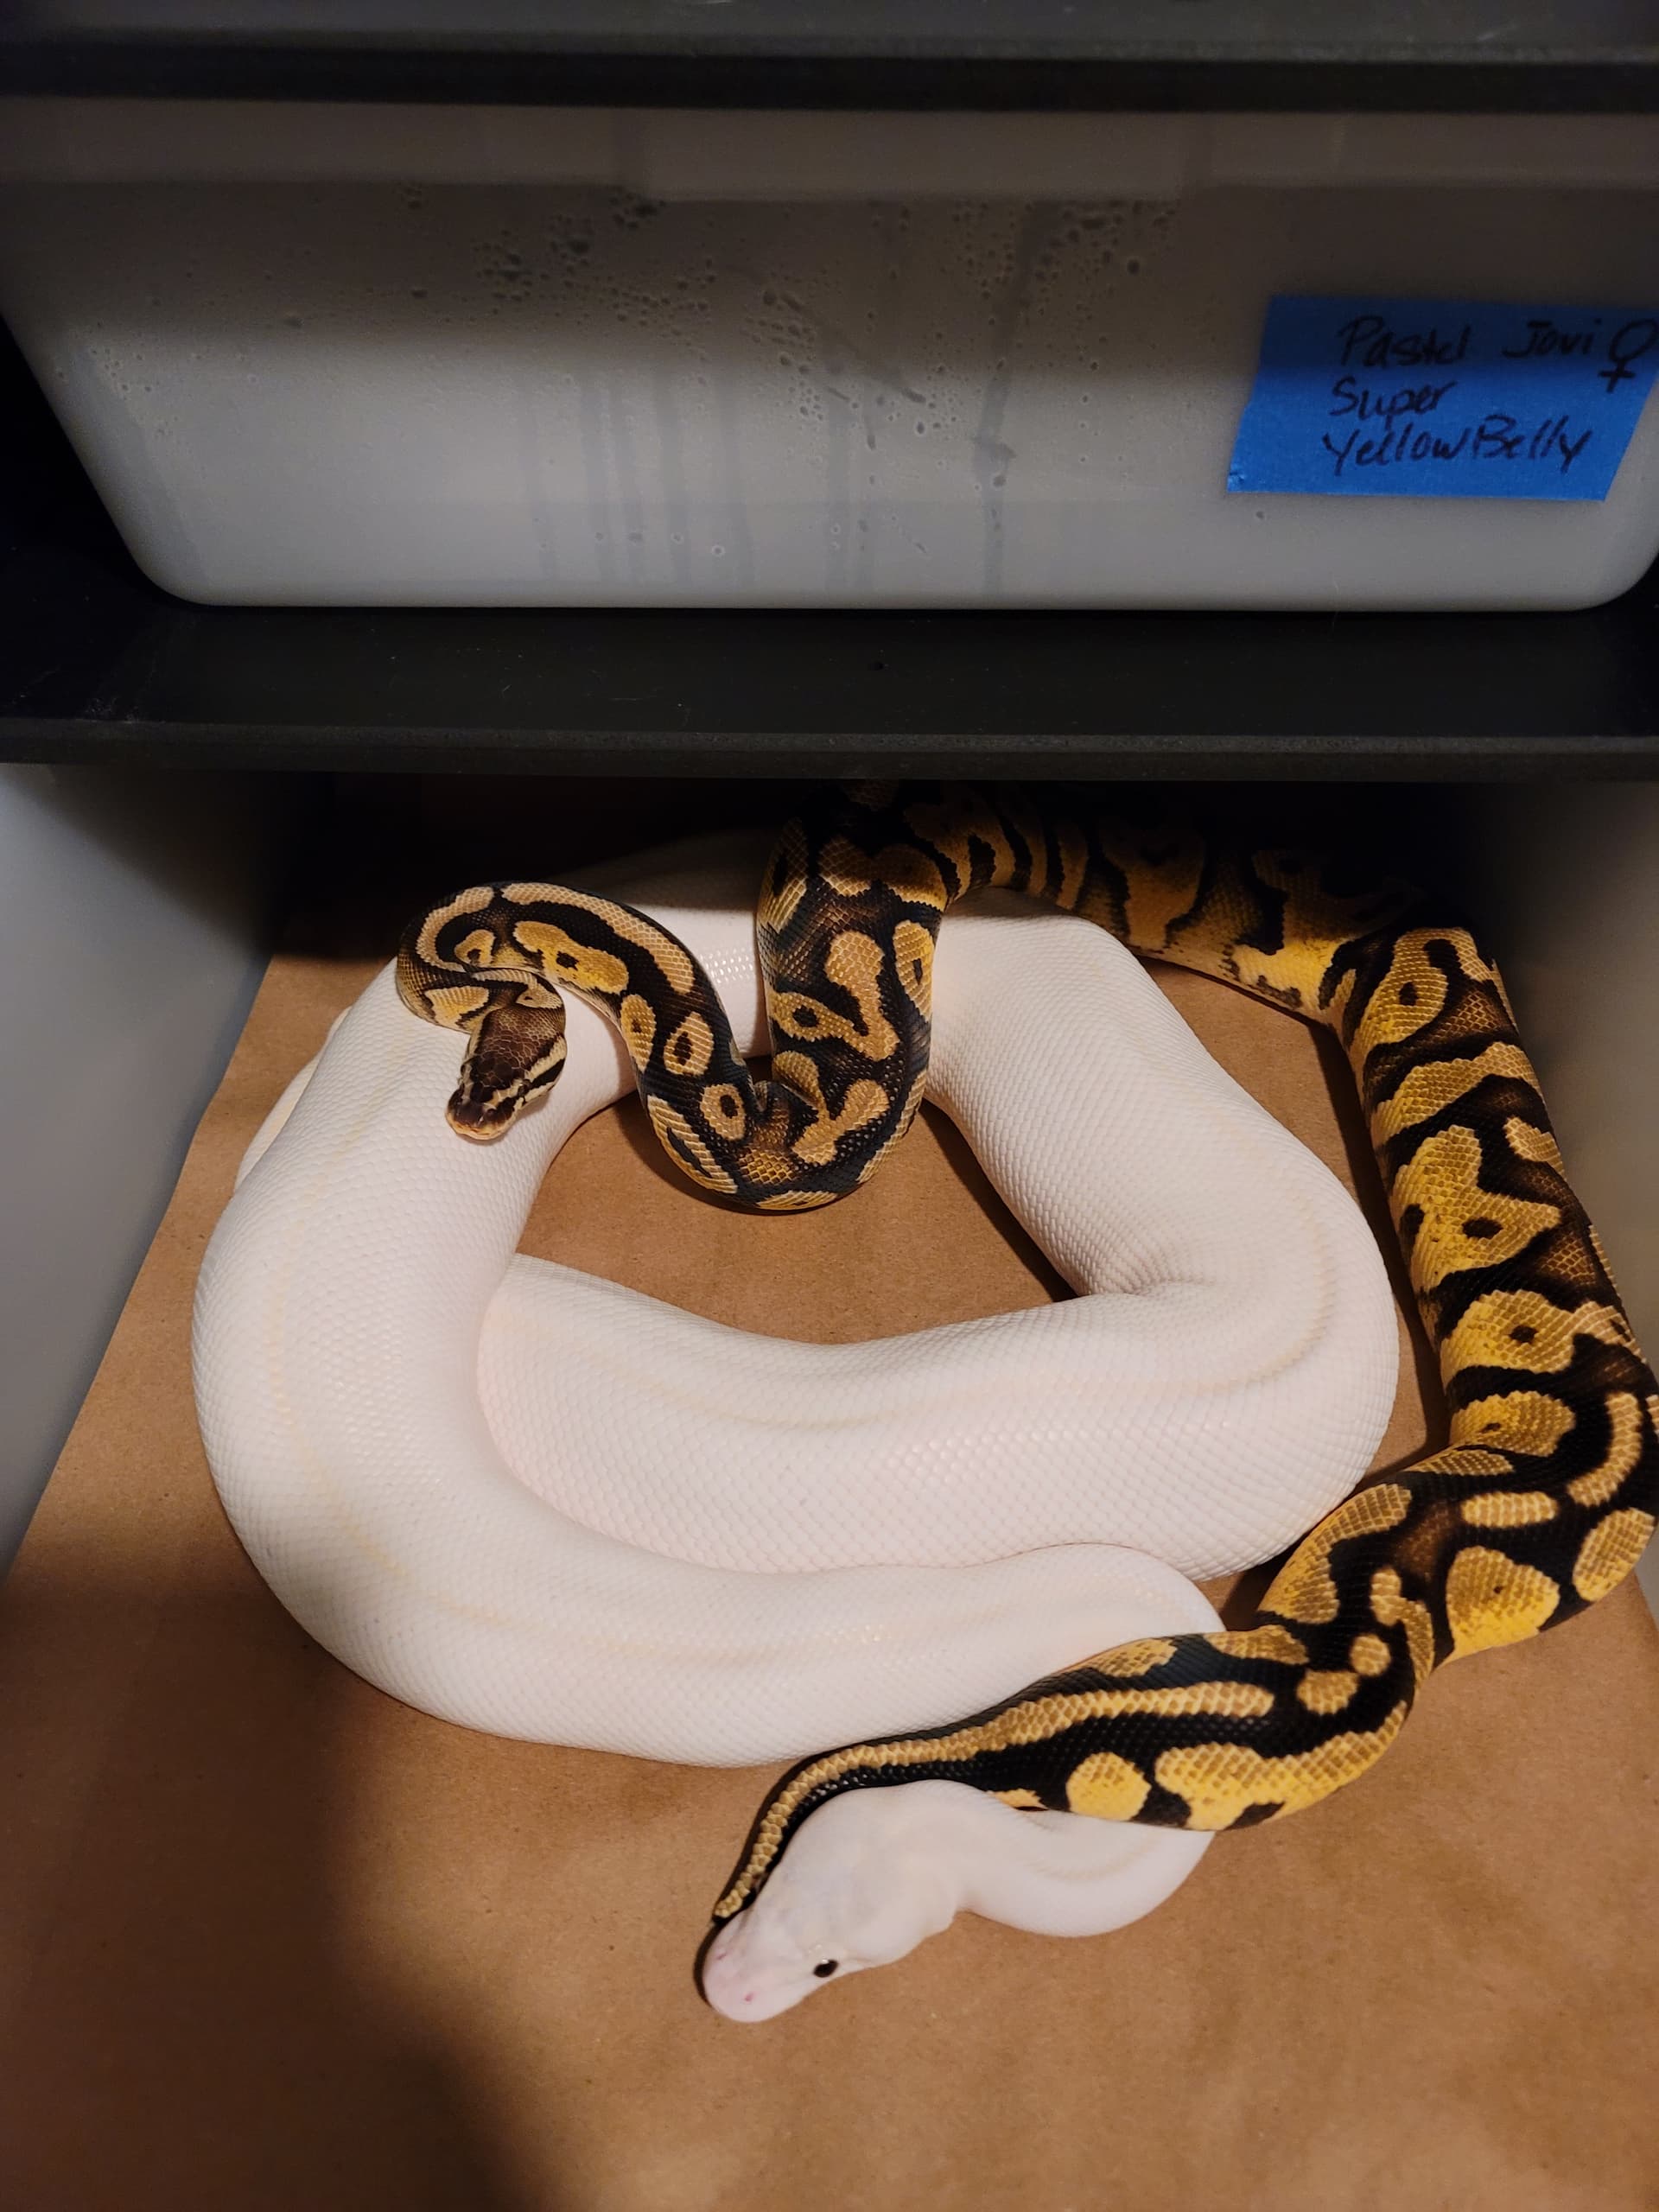
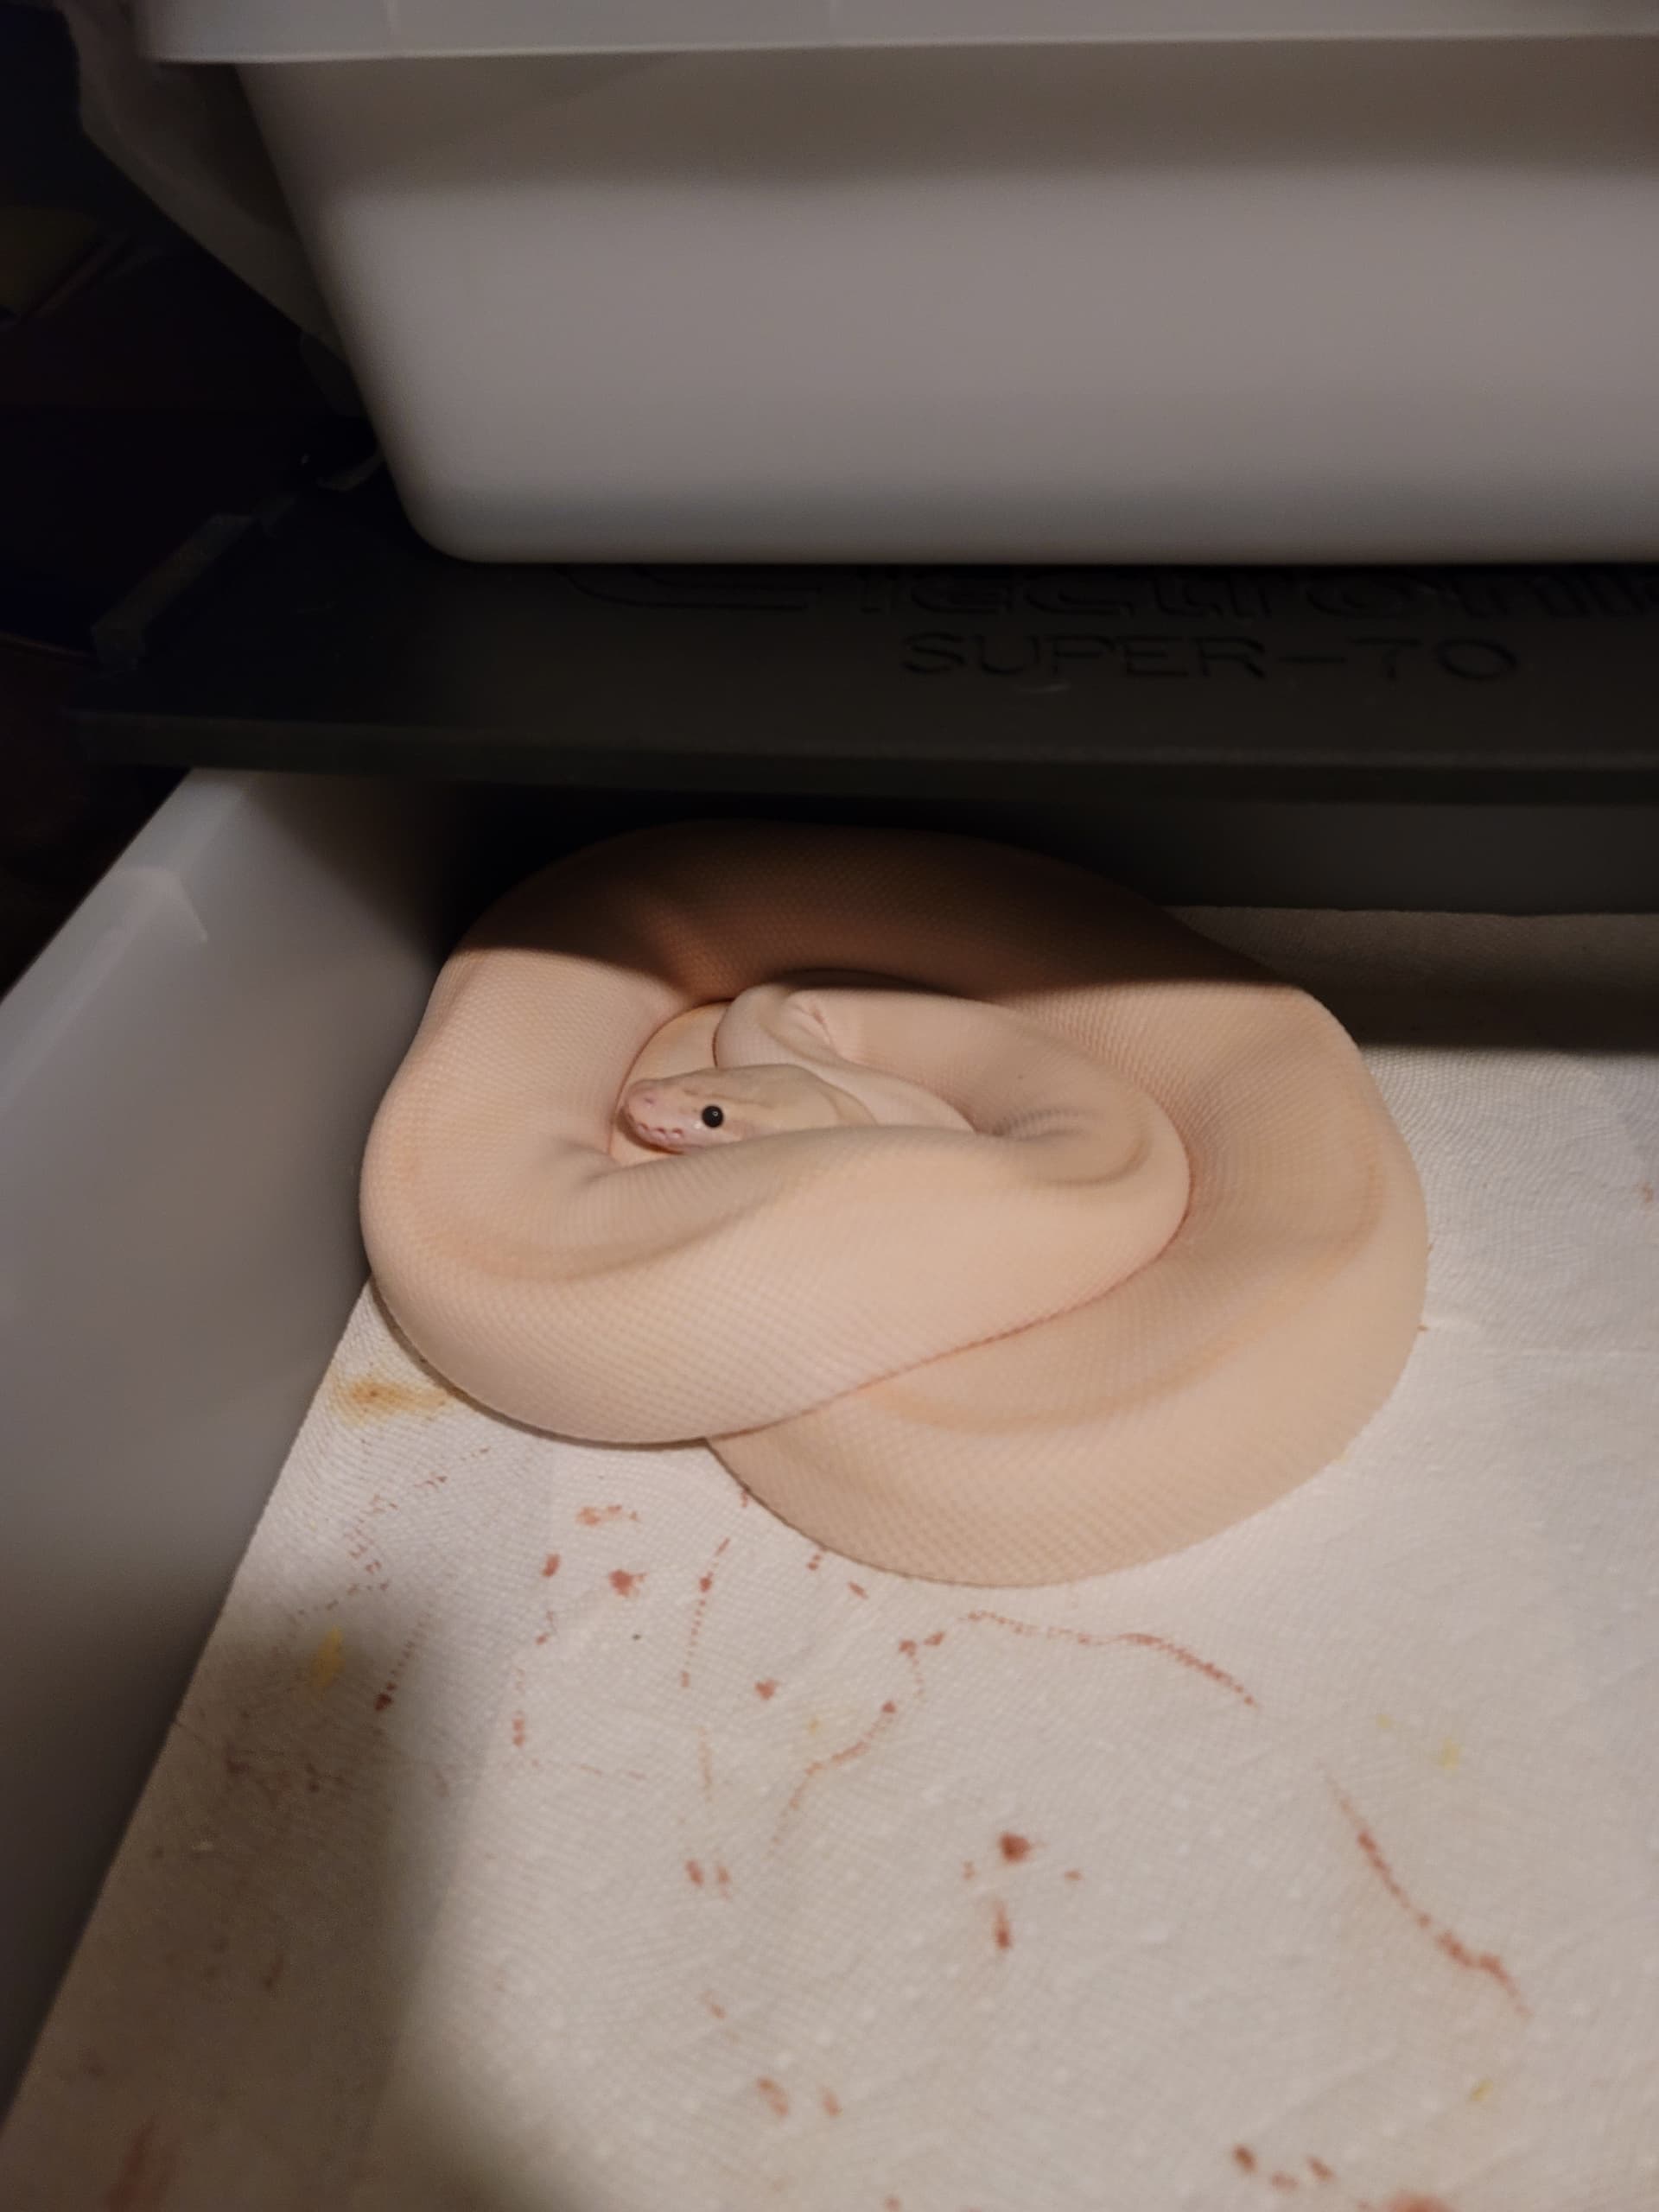
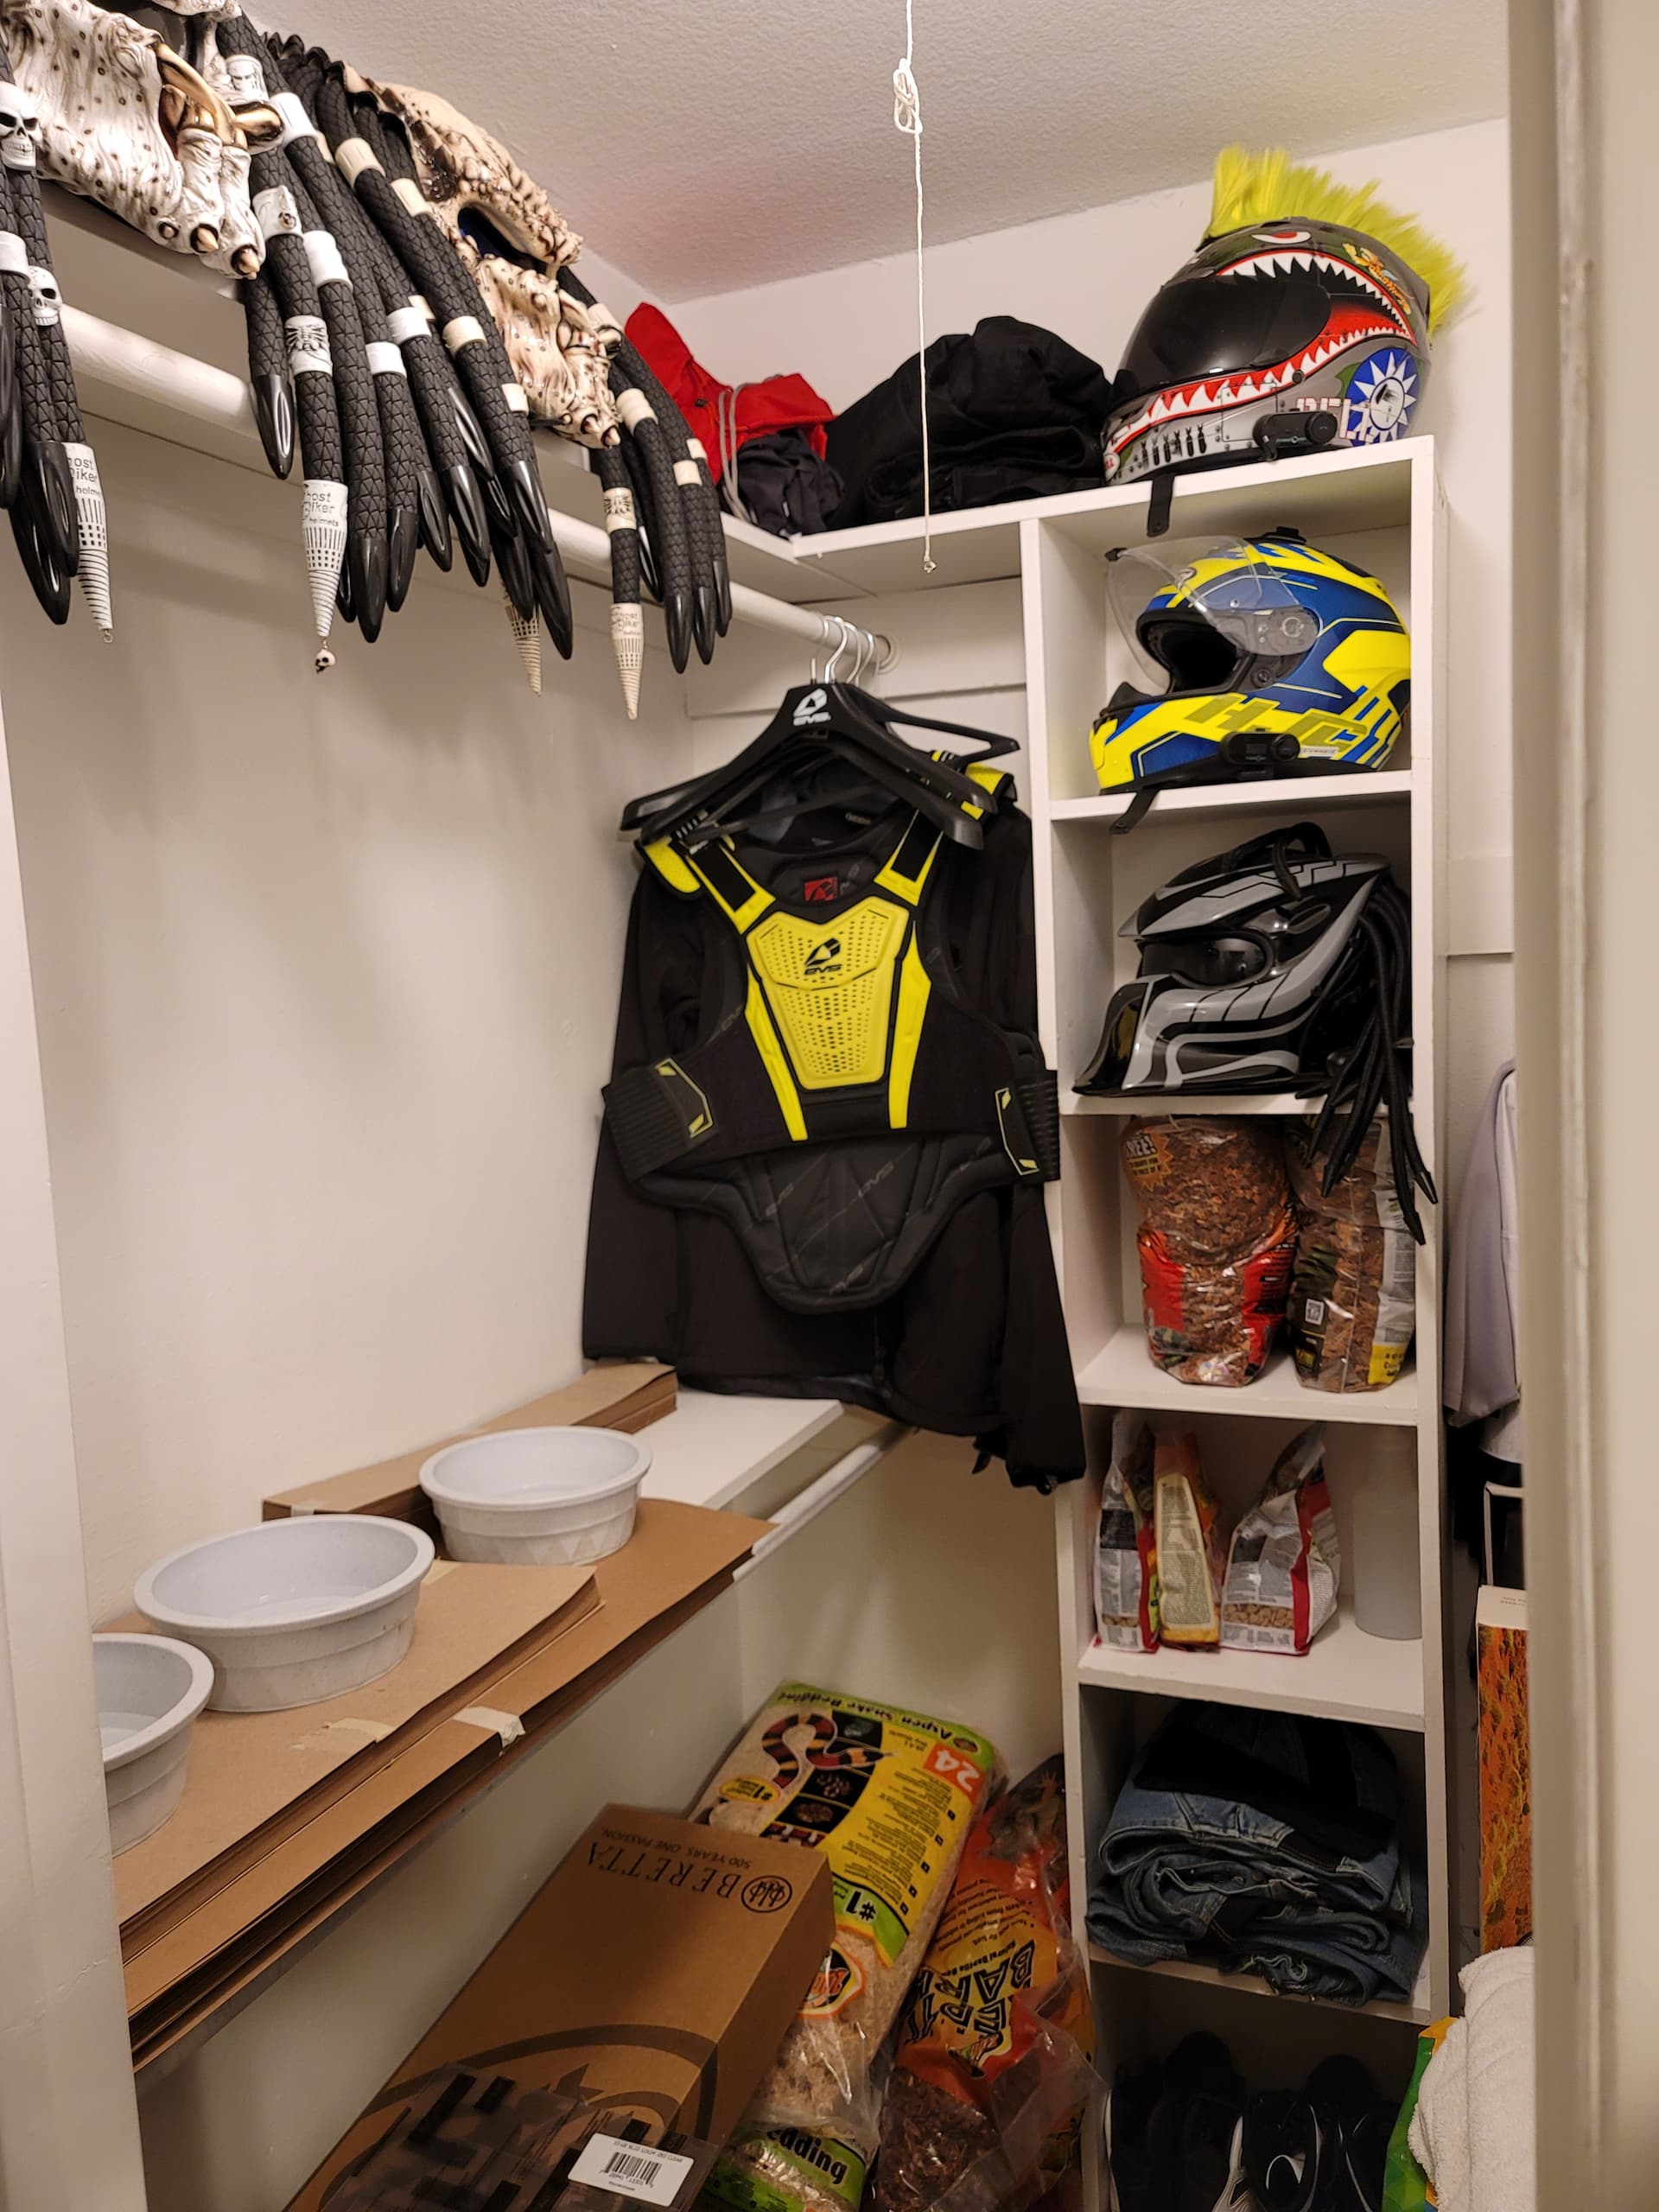
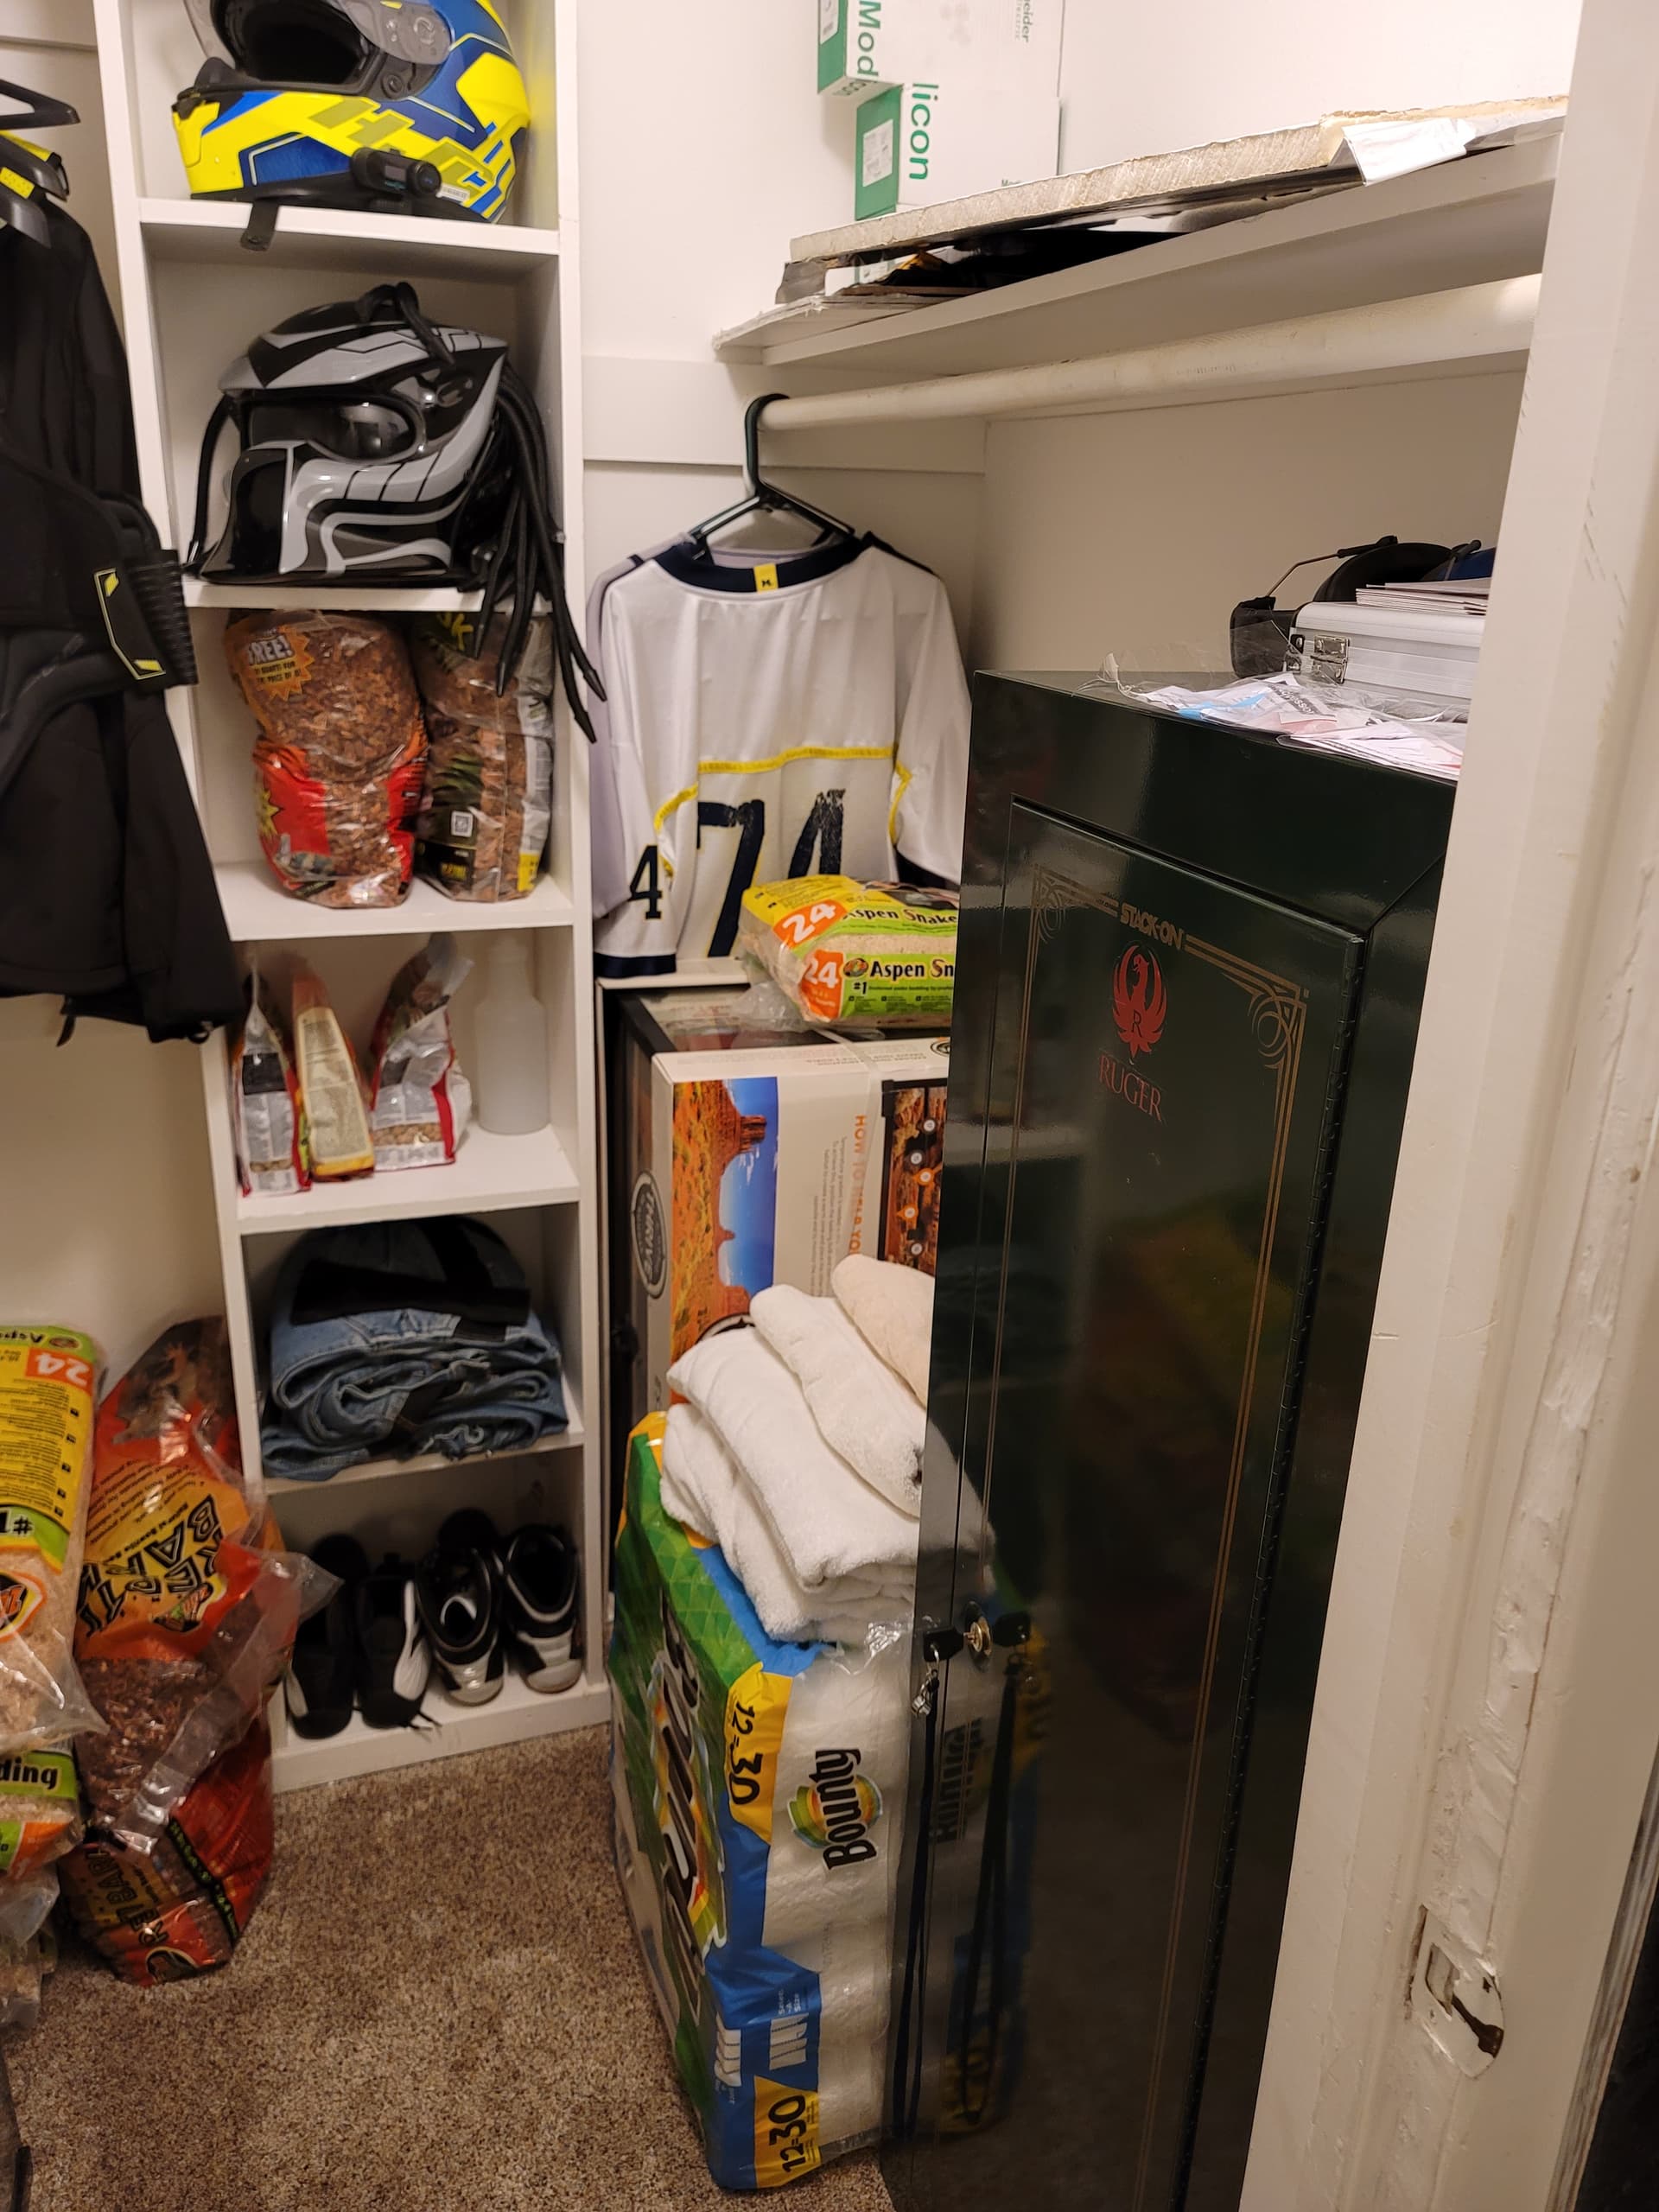
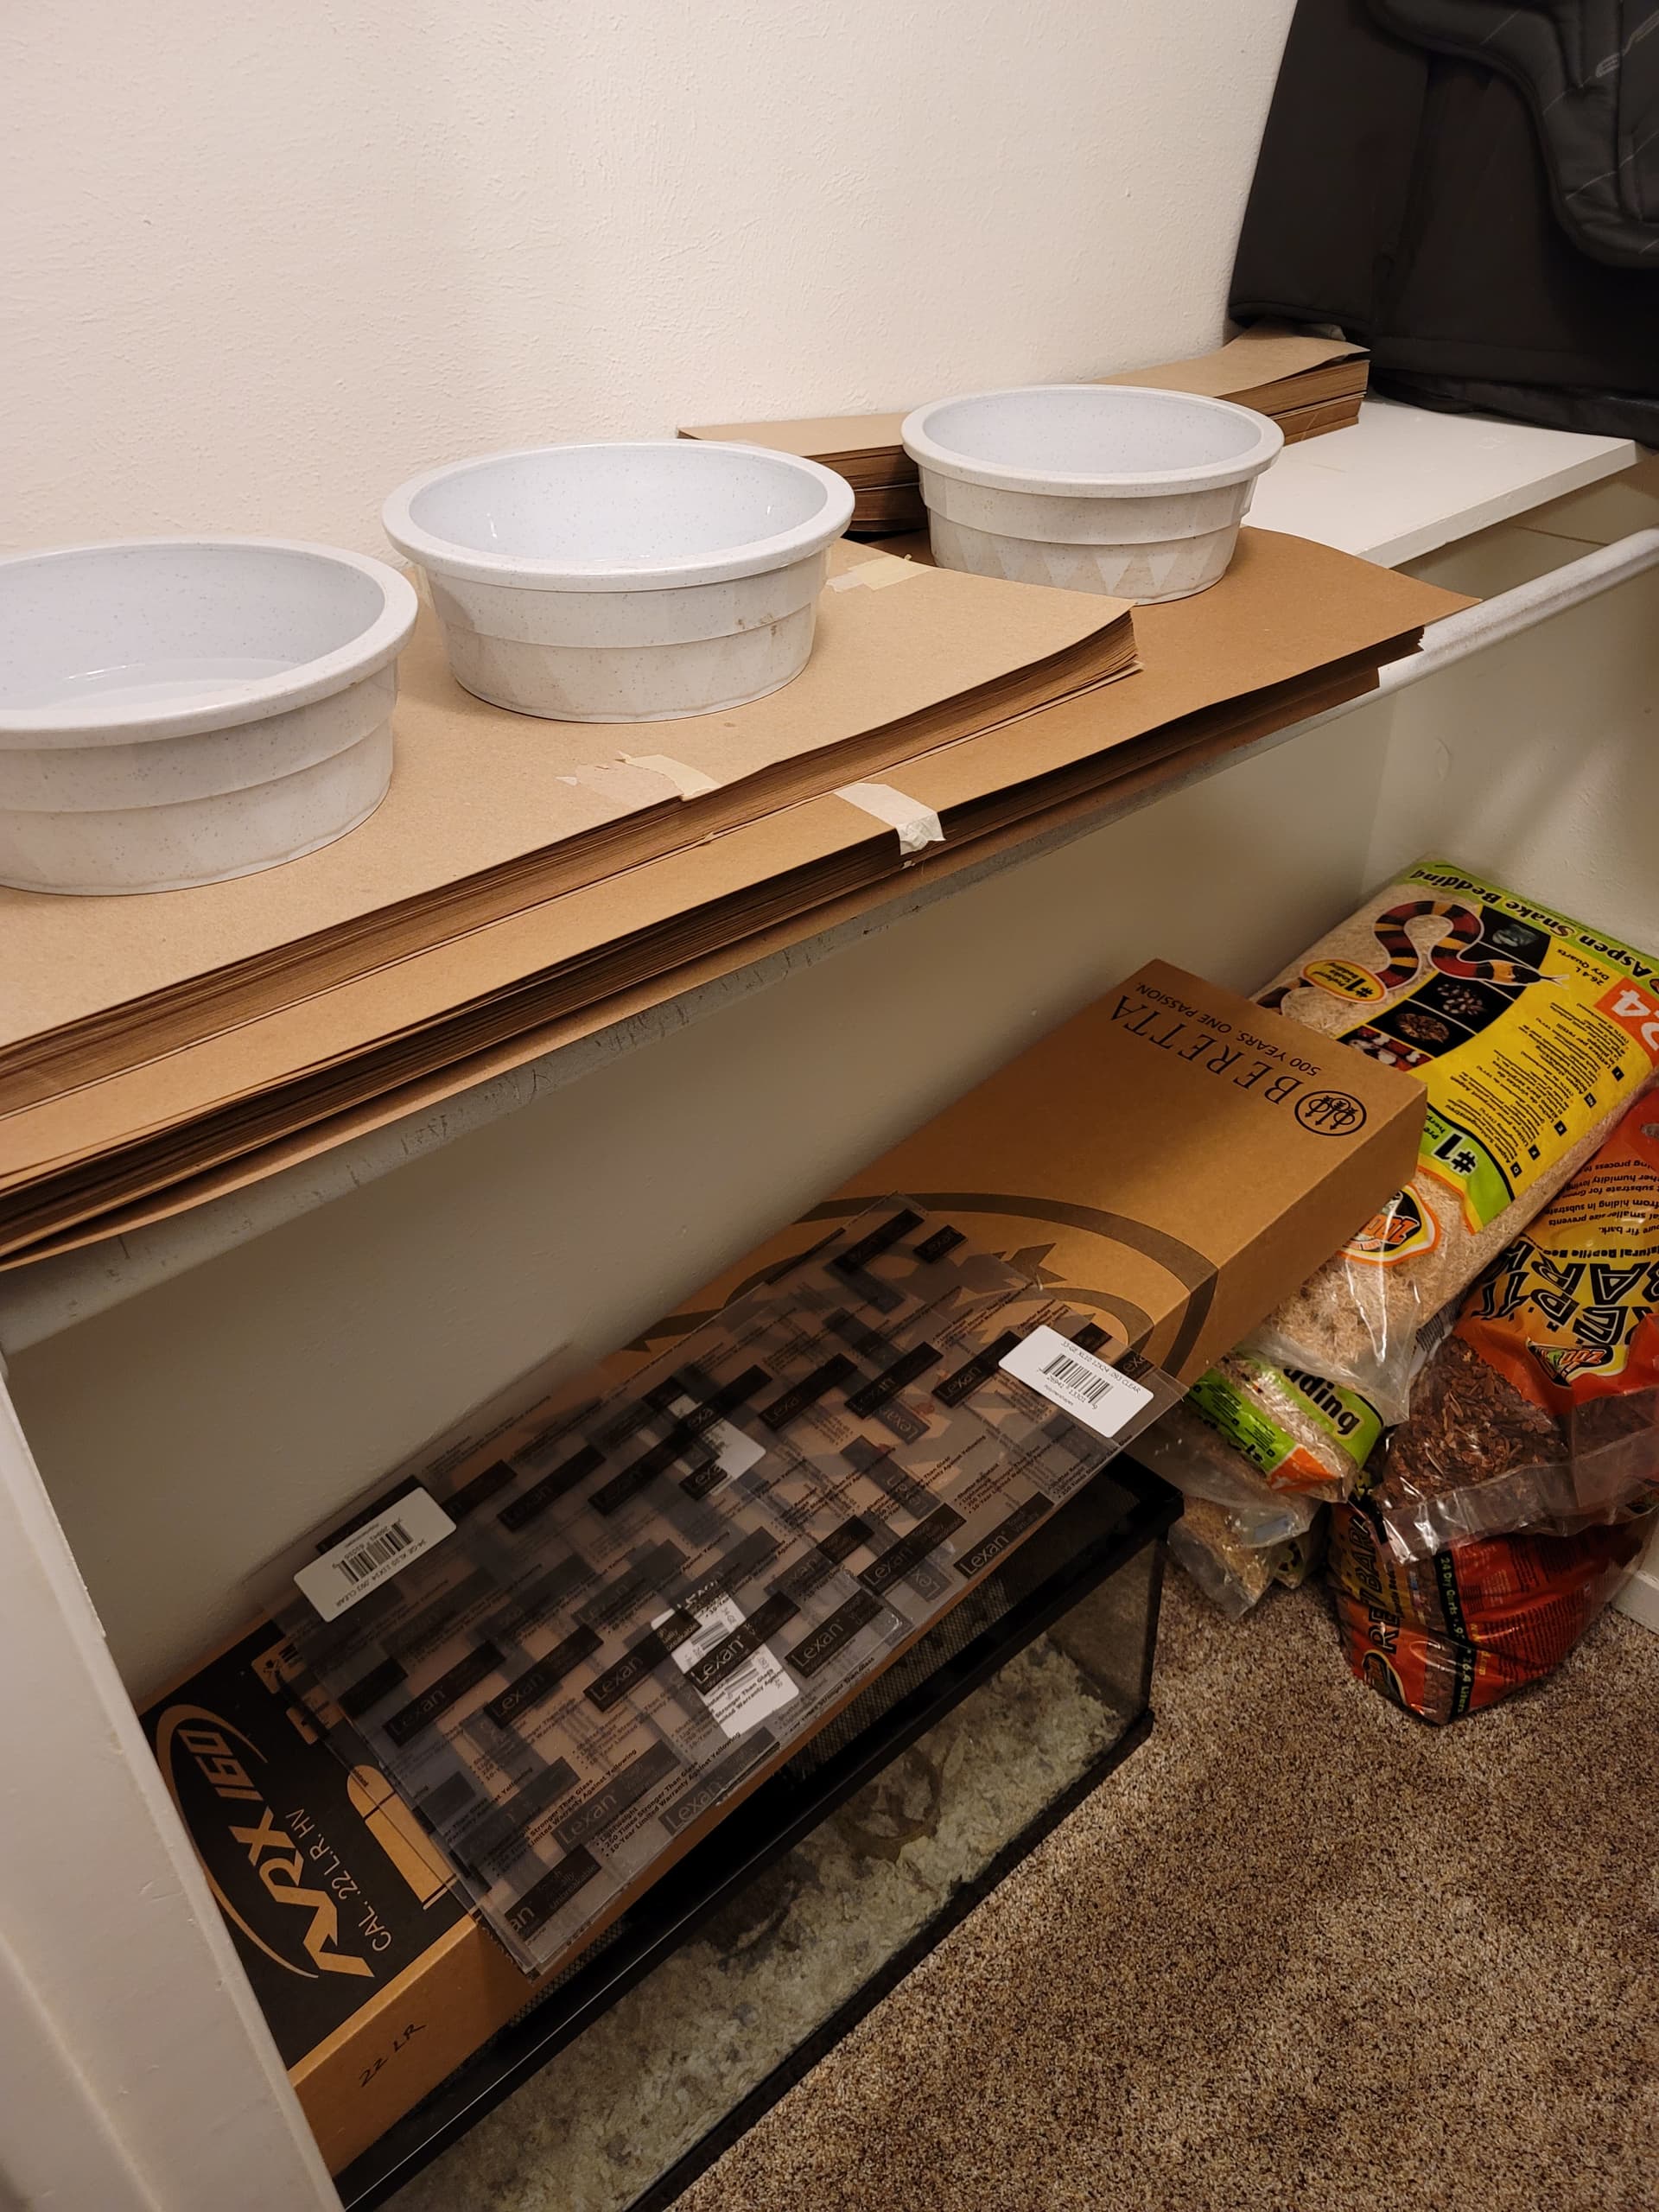
We chose to swap the existing hobby room with our youngest’s old room, that is now a Grand Kids room. The photos for old hobby room are posted and so are the photos of the new herp room - before start. Also Attached will be photos of the steps below. SO ENJOY THE JOURNEY WITH US!!!
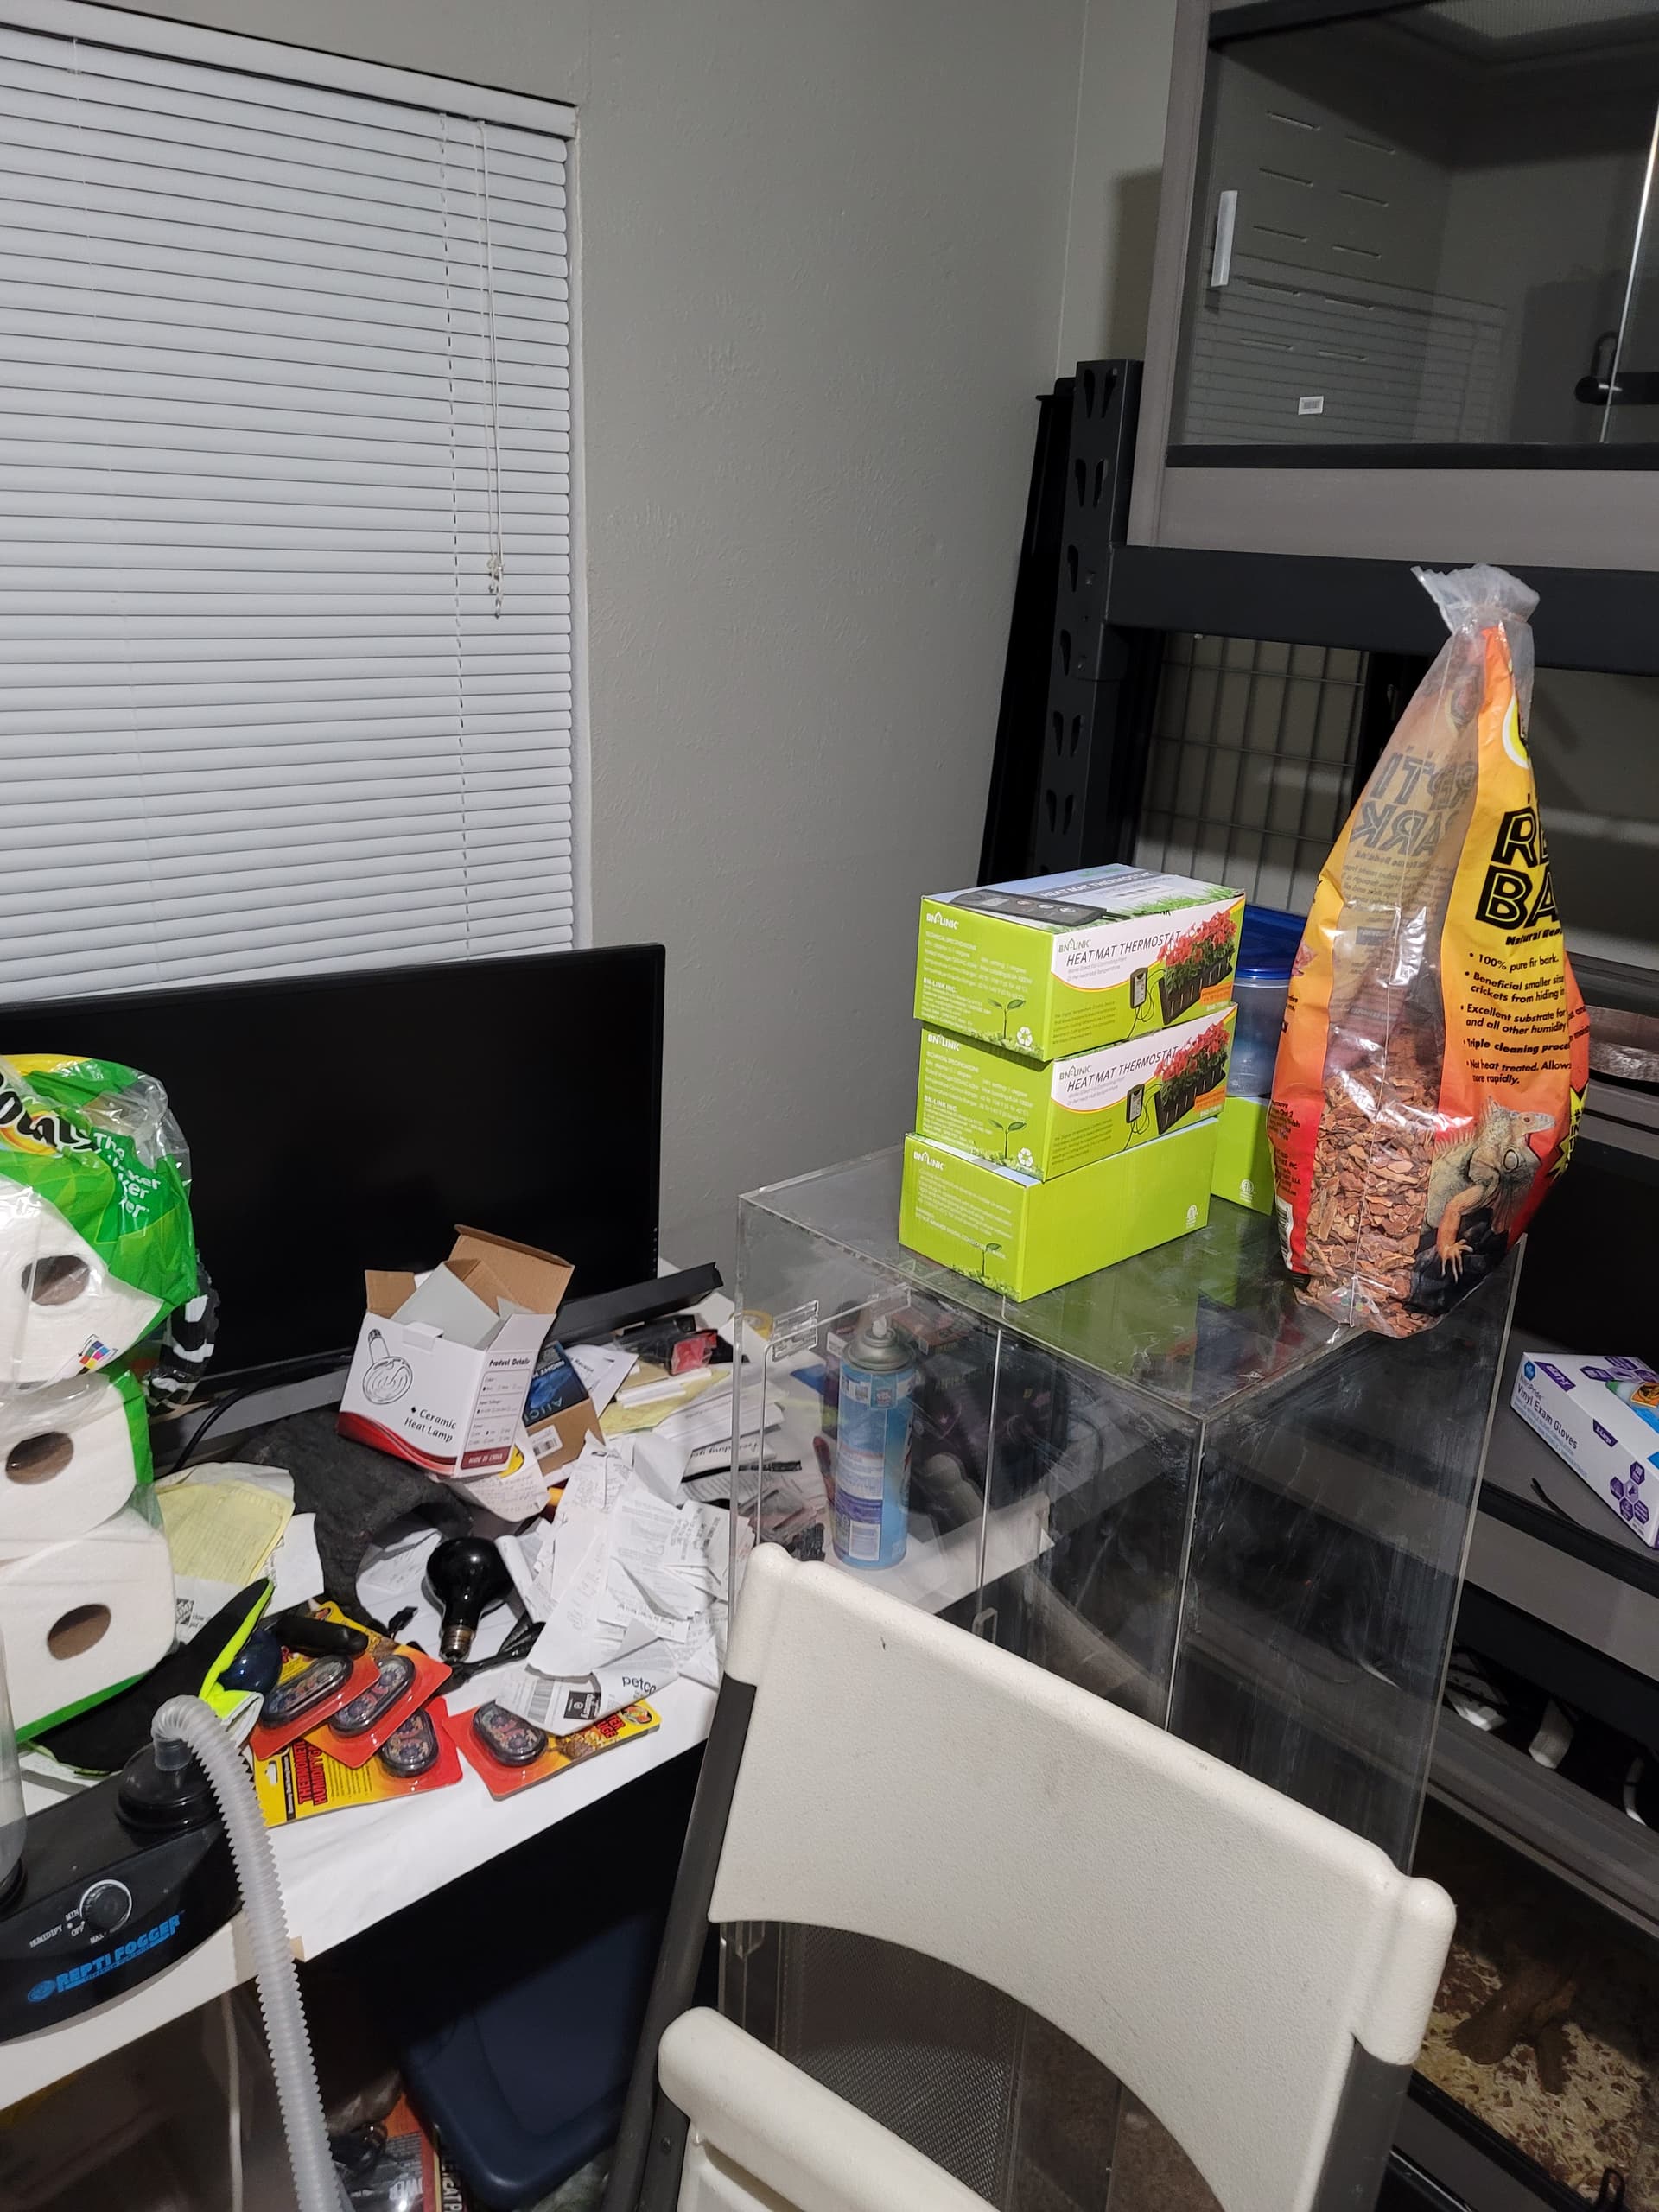
Start - Shop for the following items first:
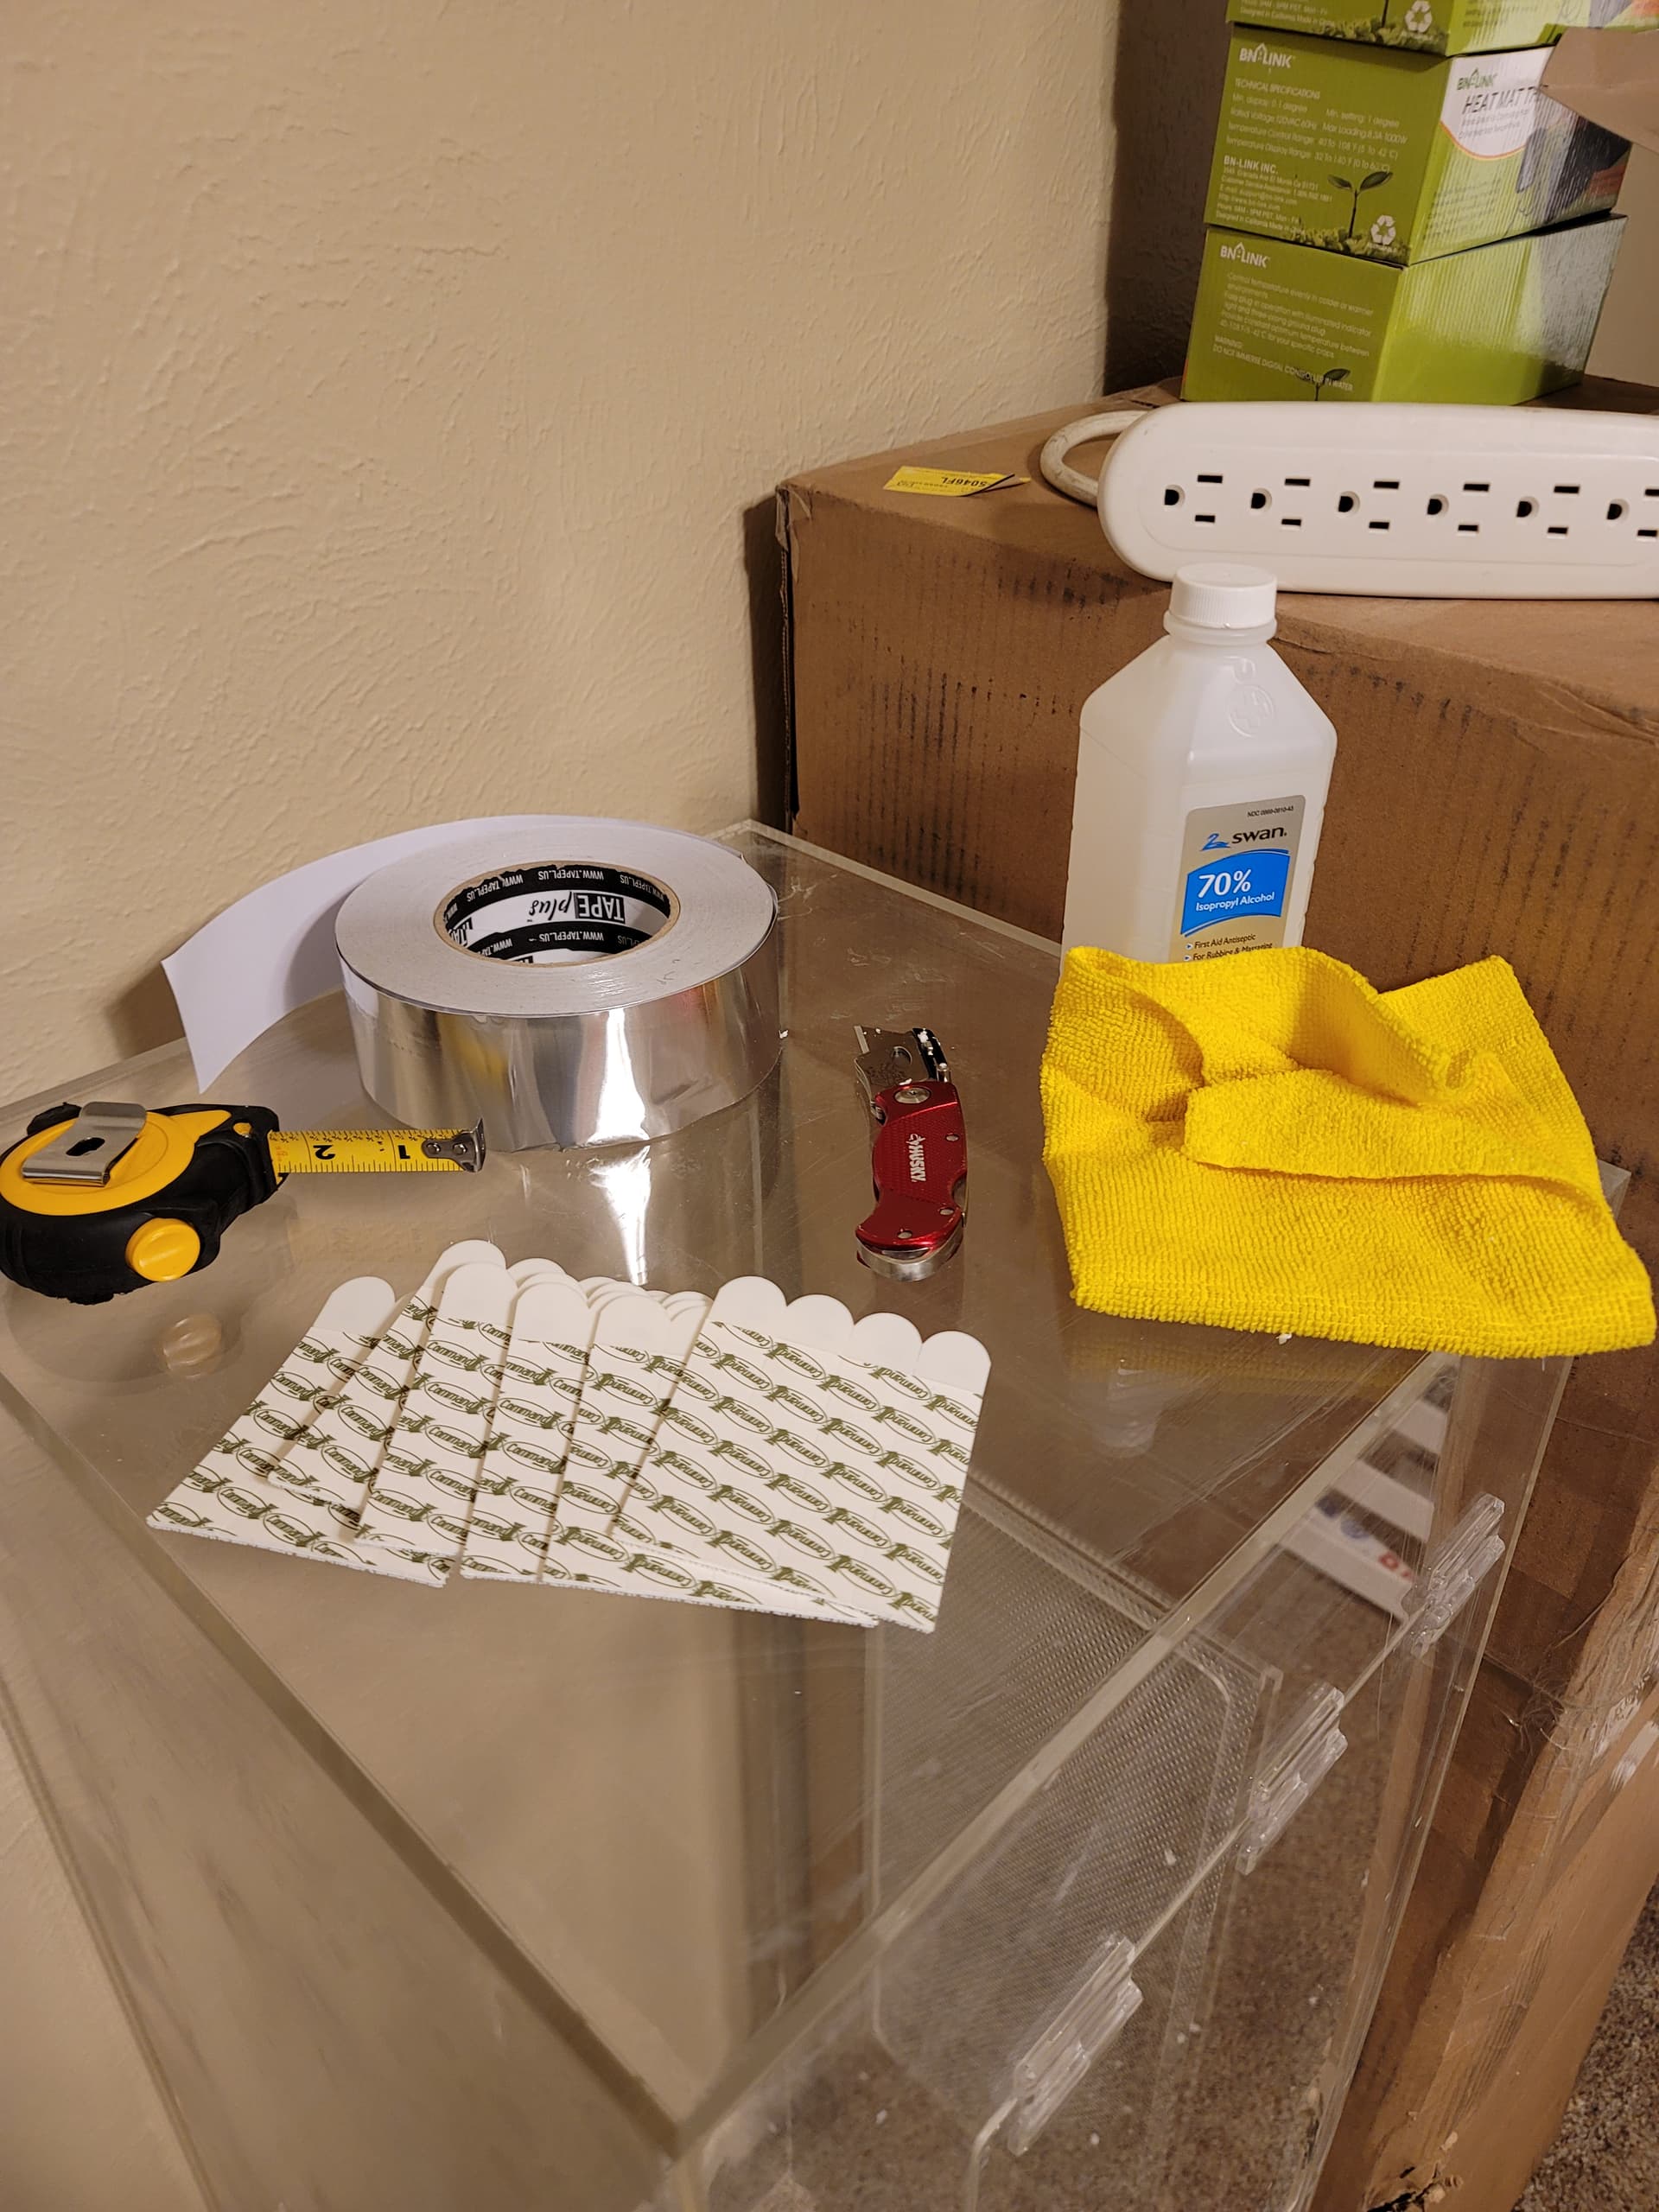
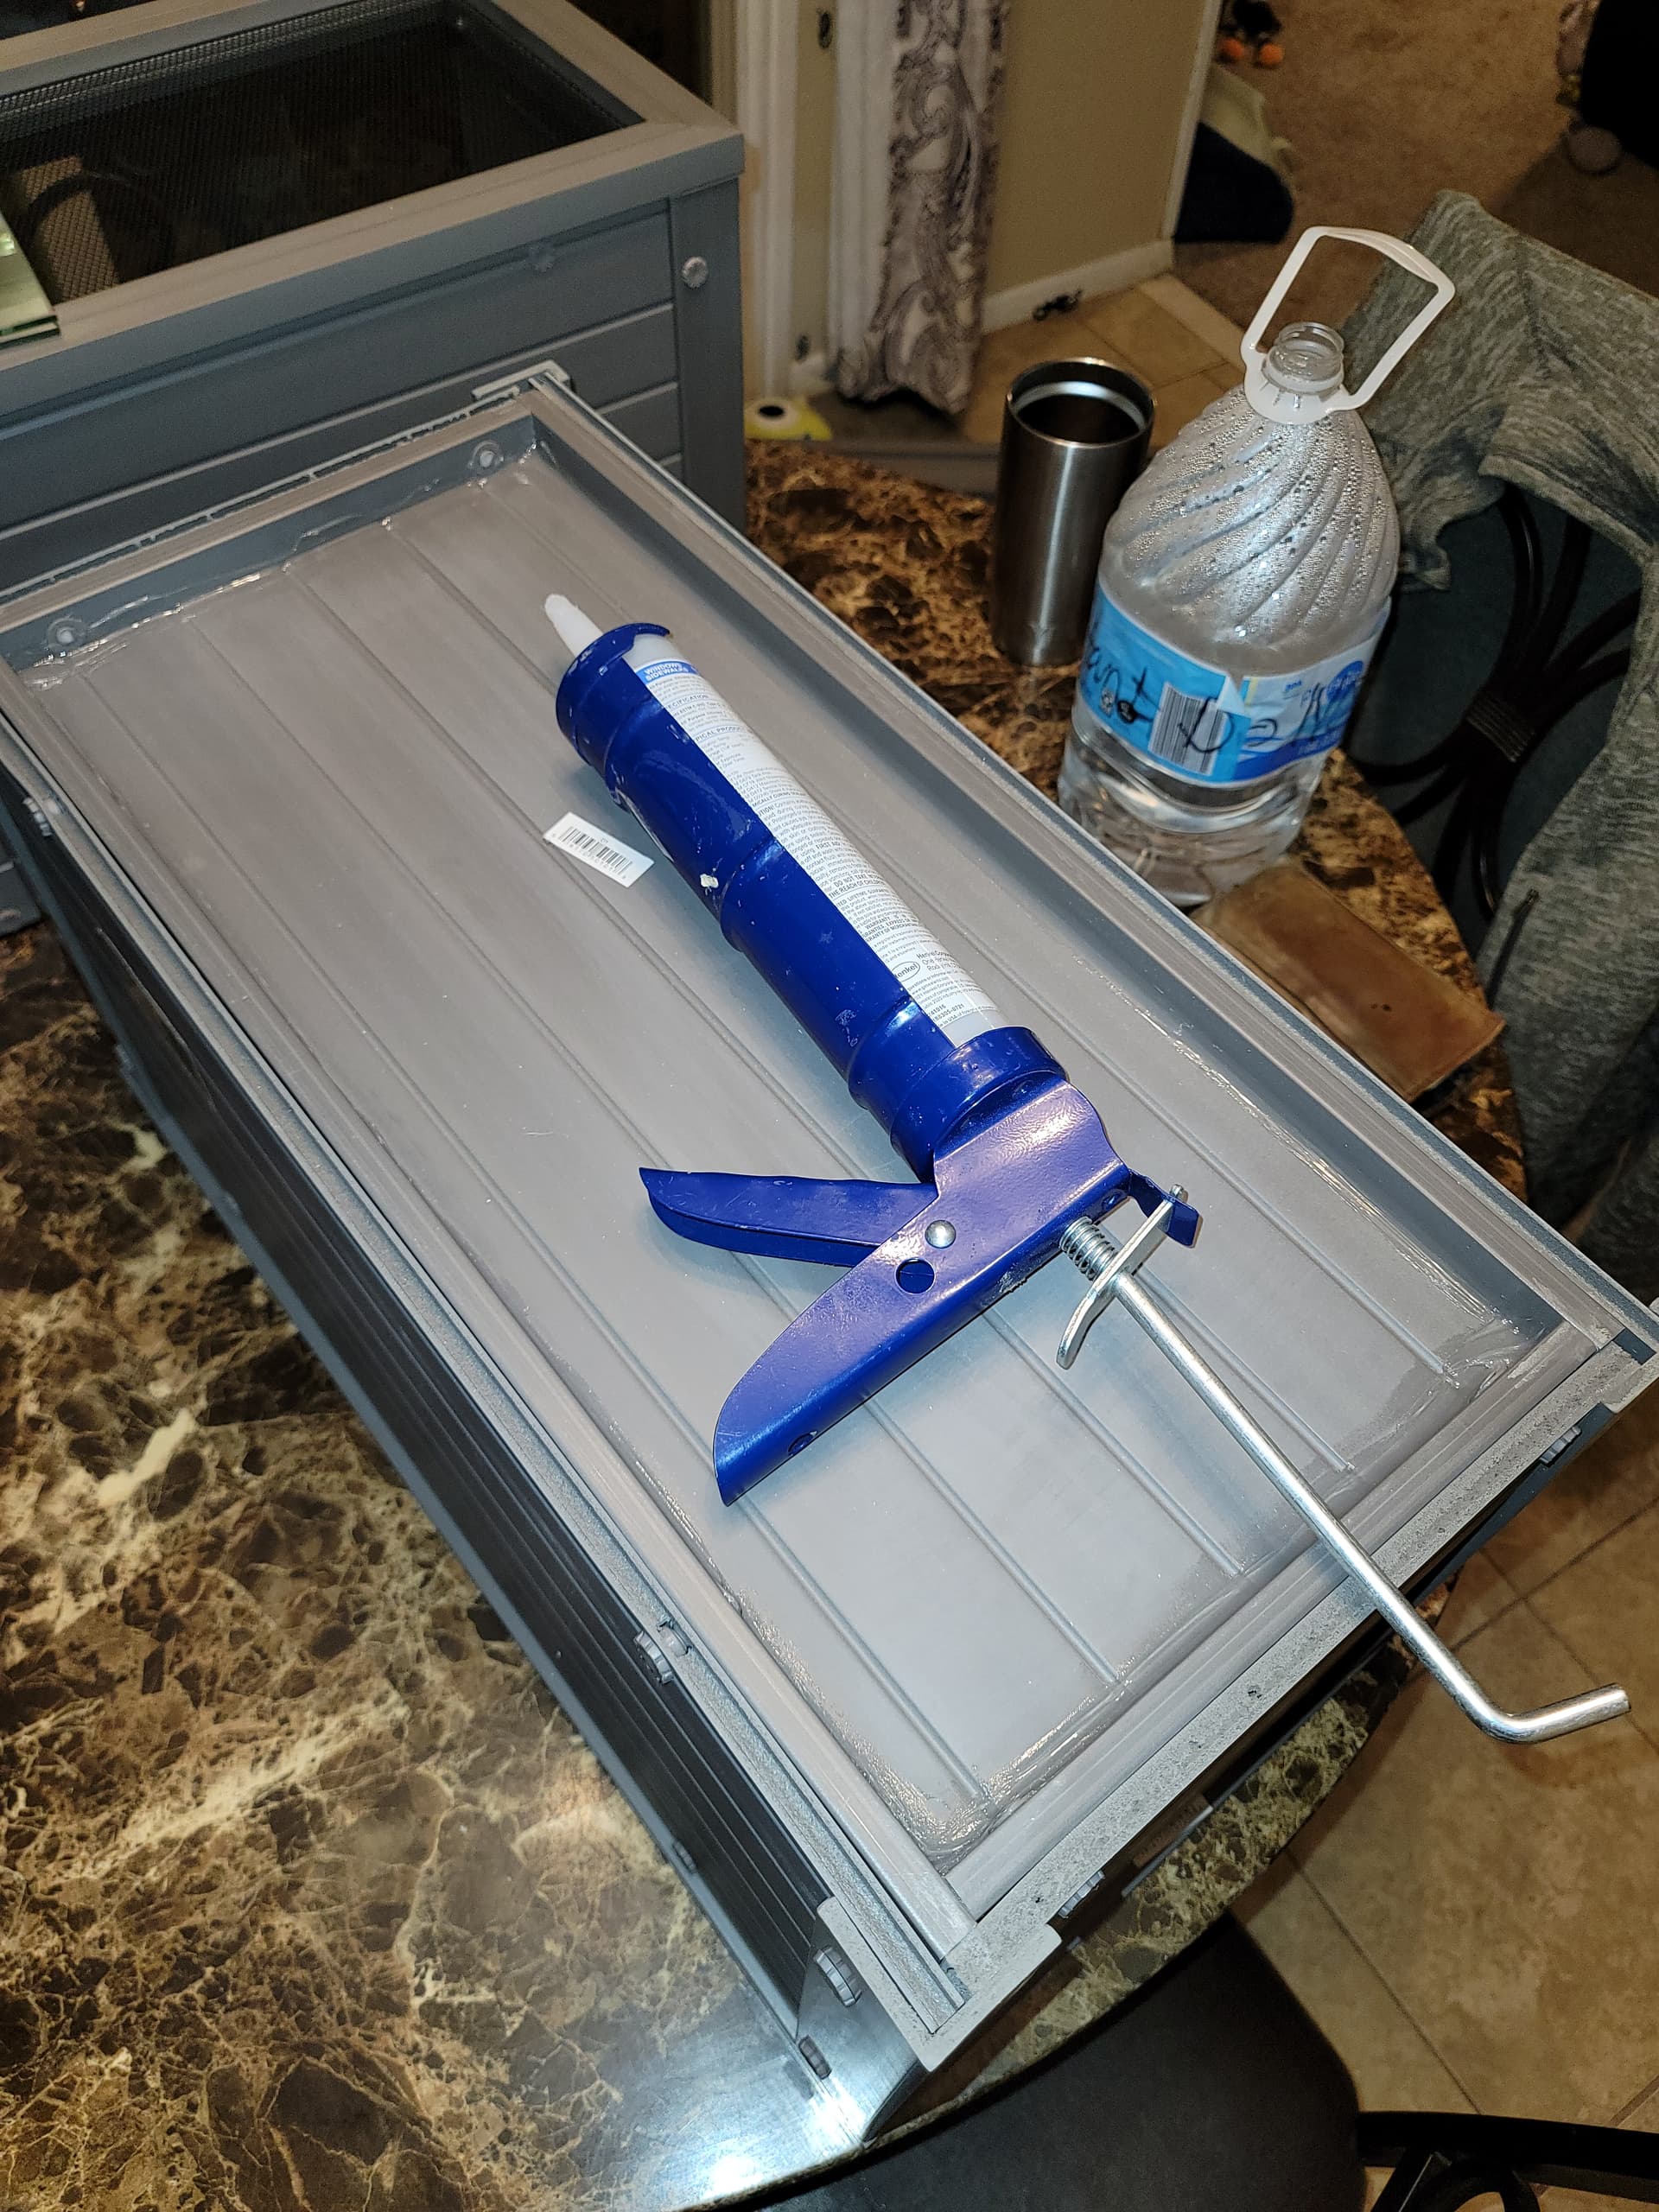
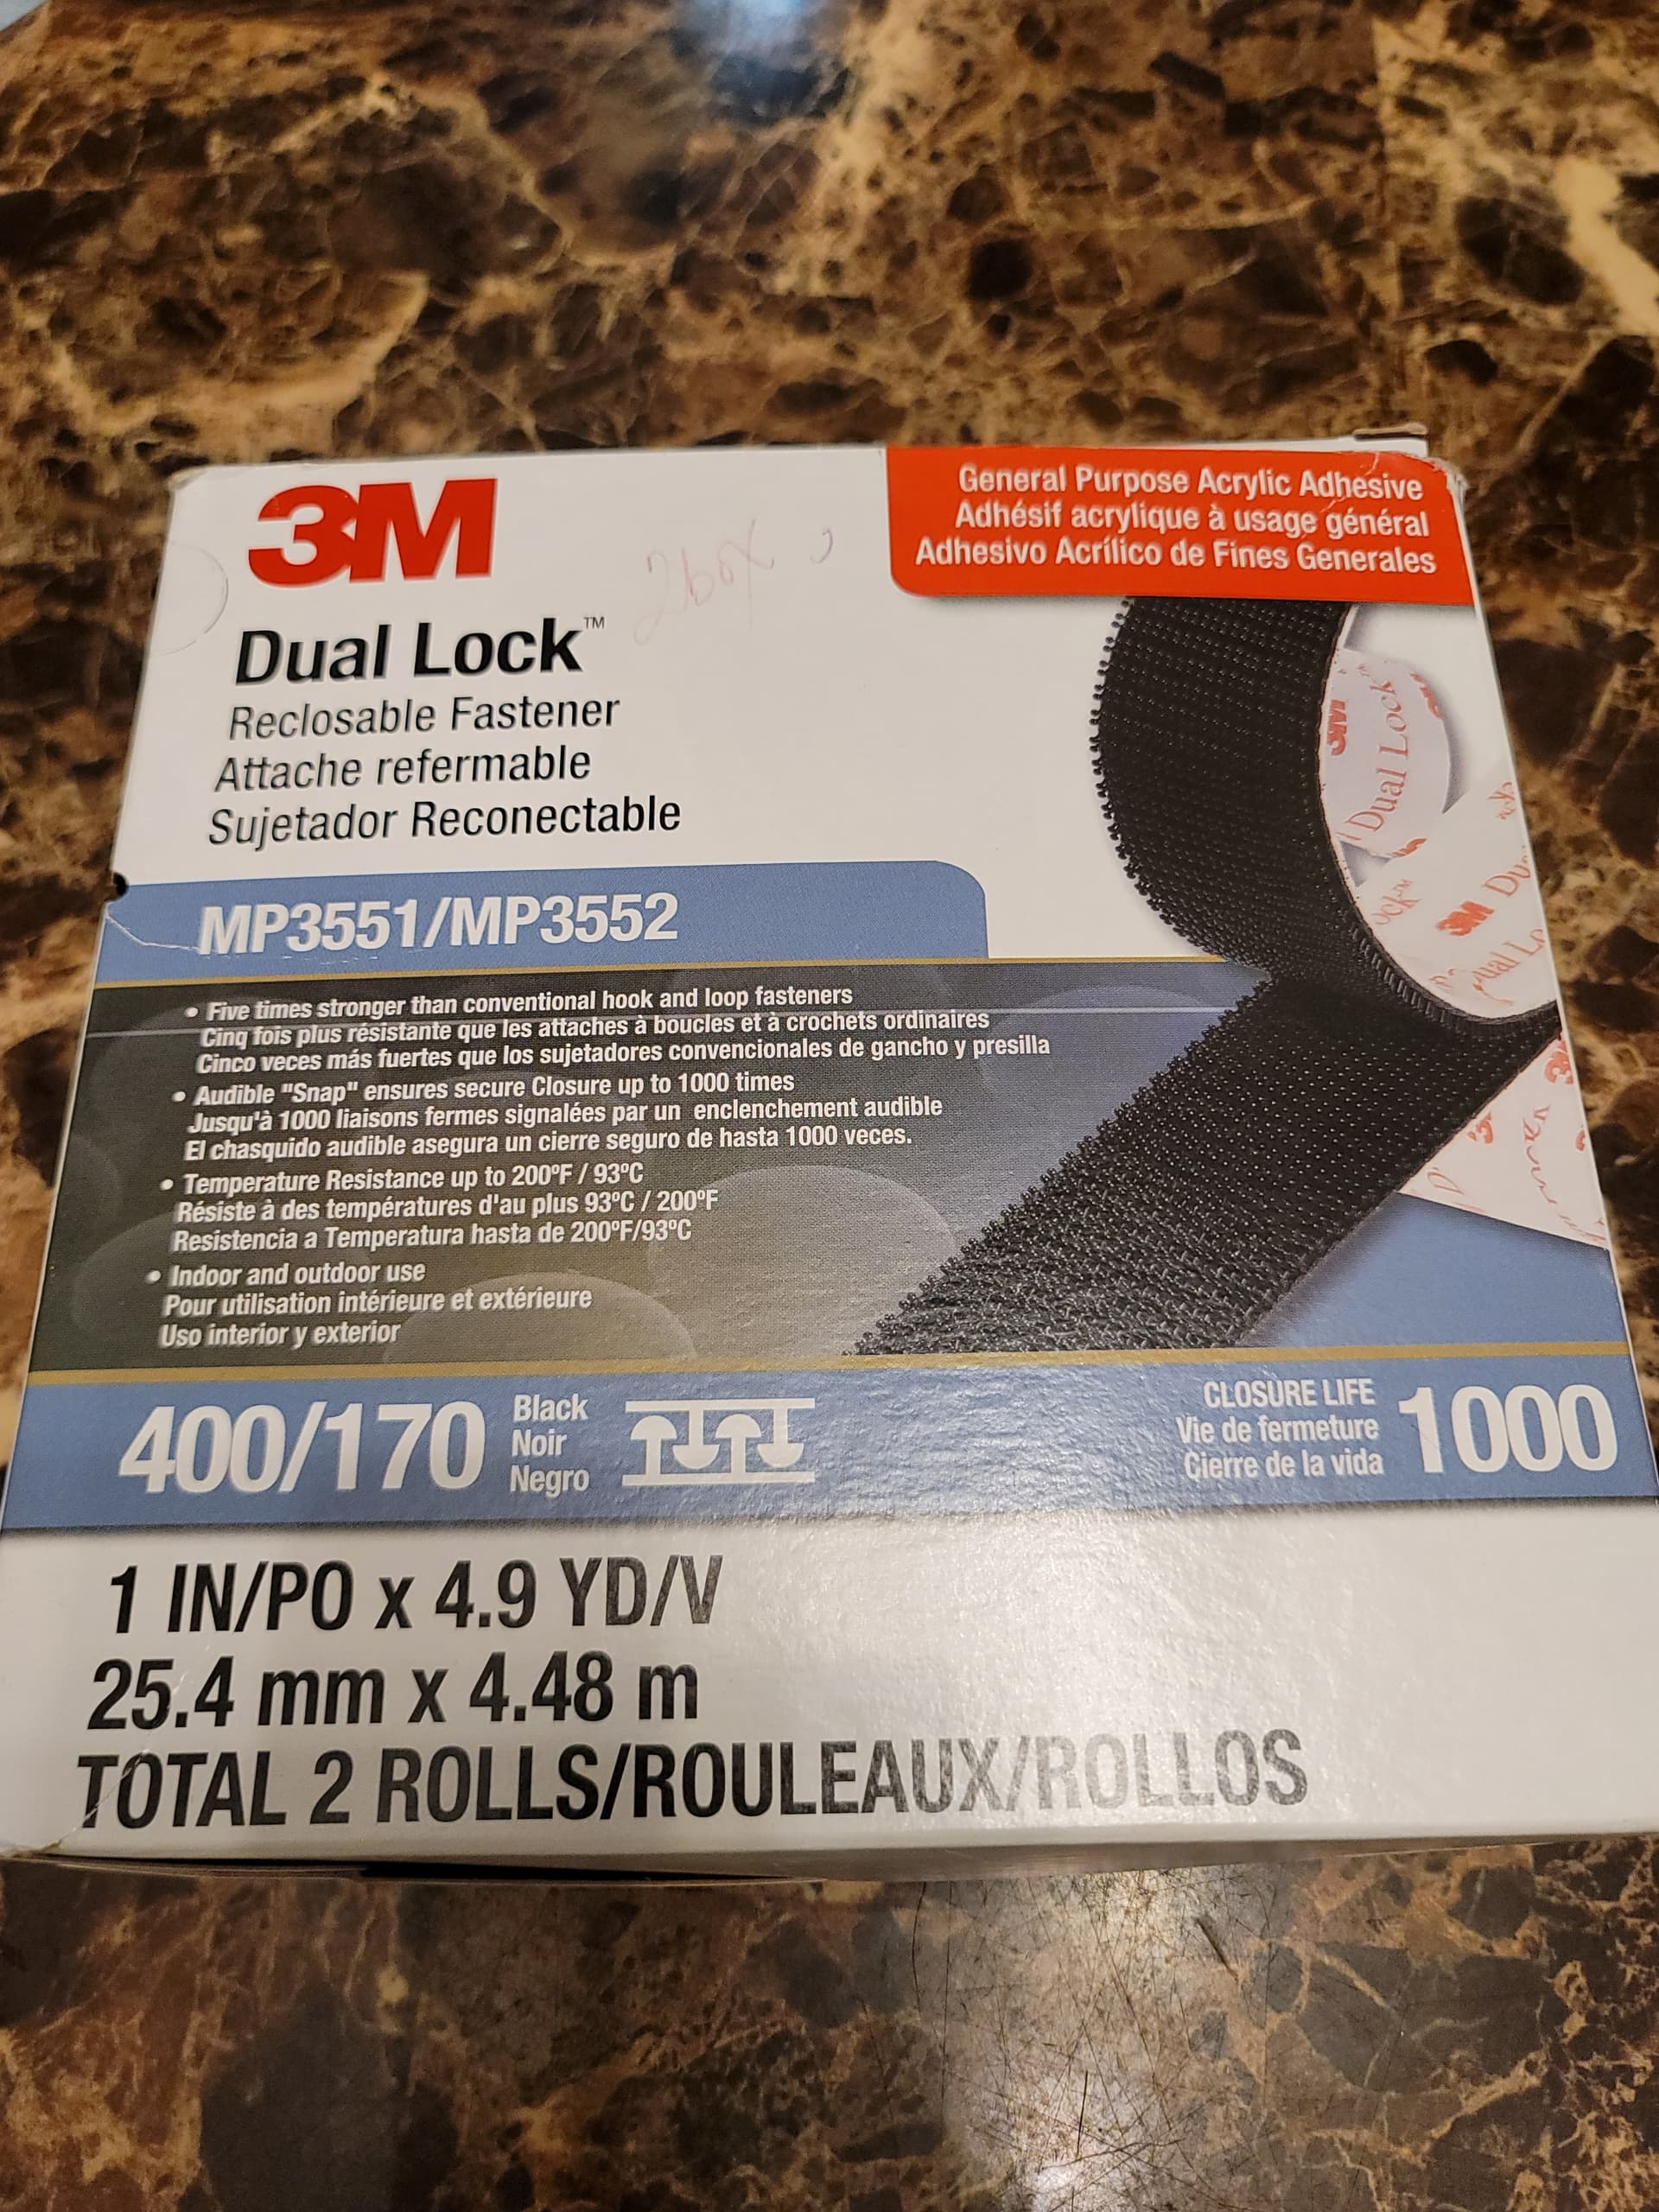
- Command Strips for wall mounting lightweight items. Velco kind.
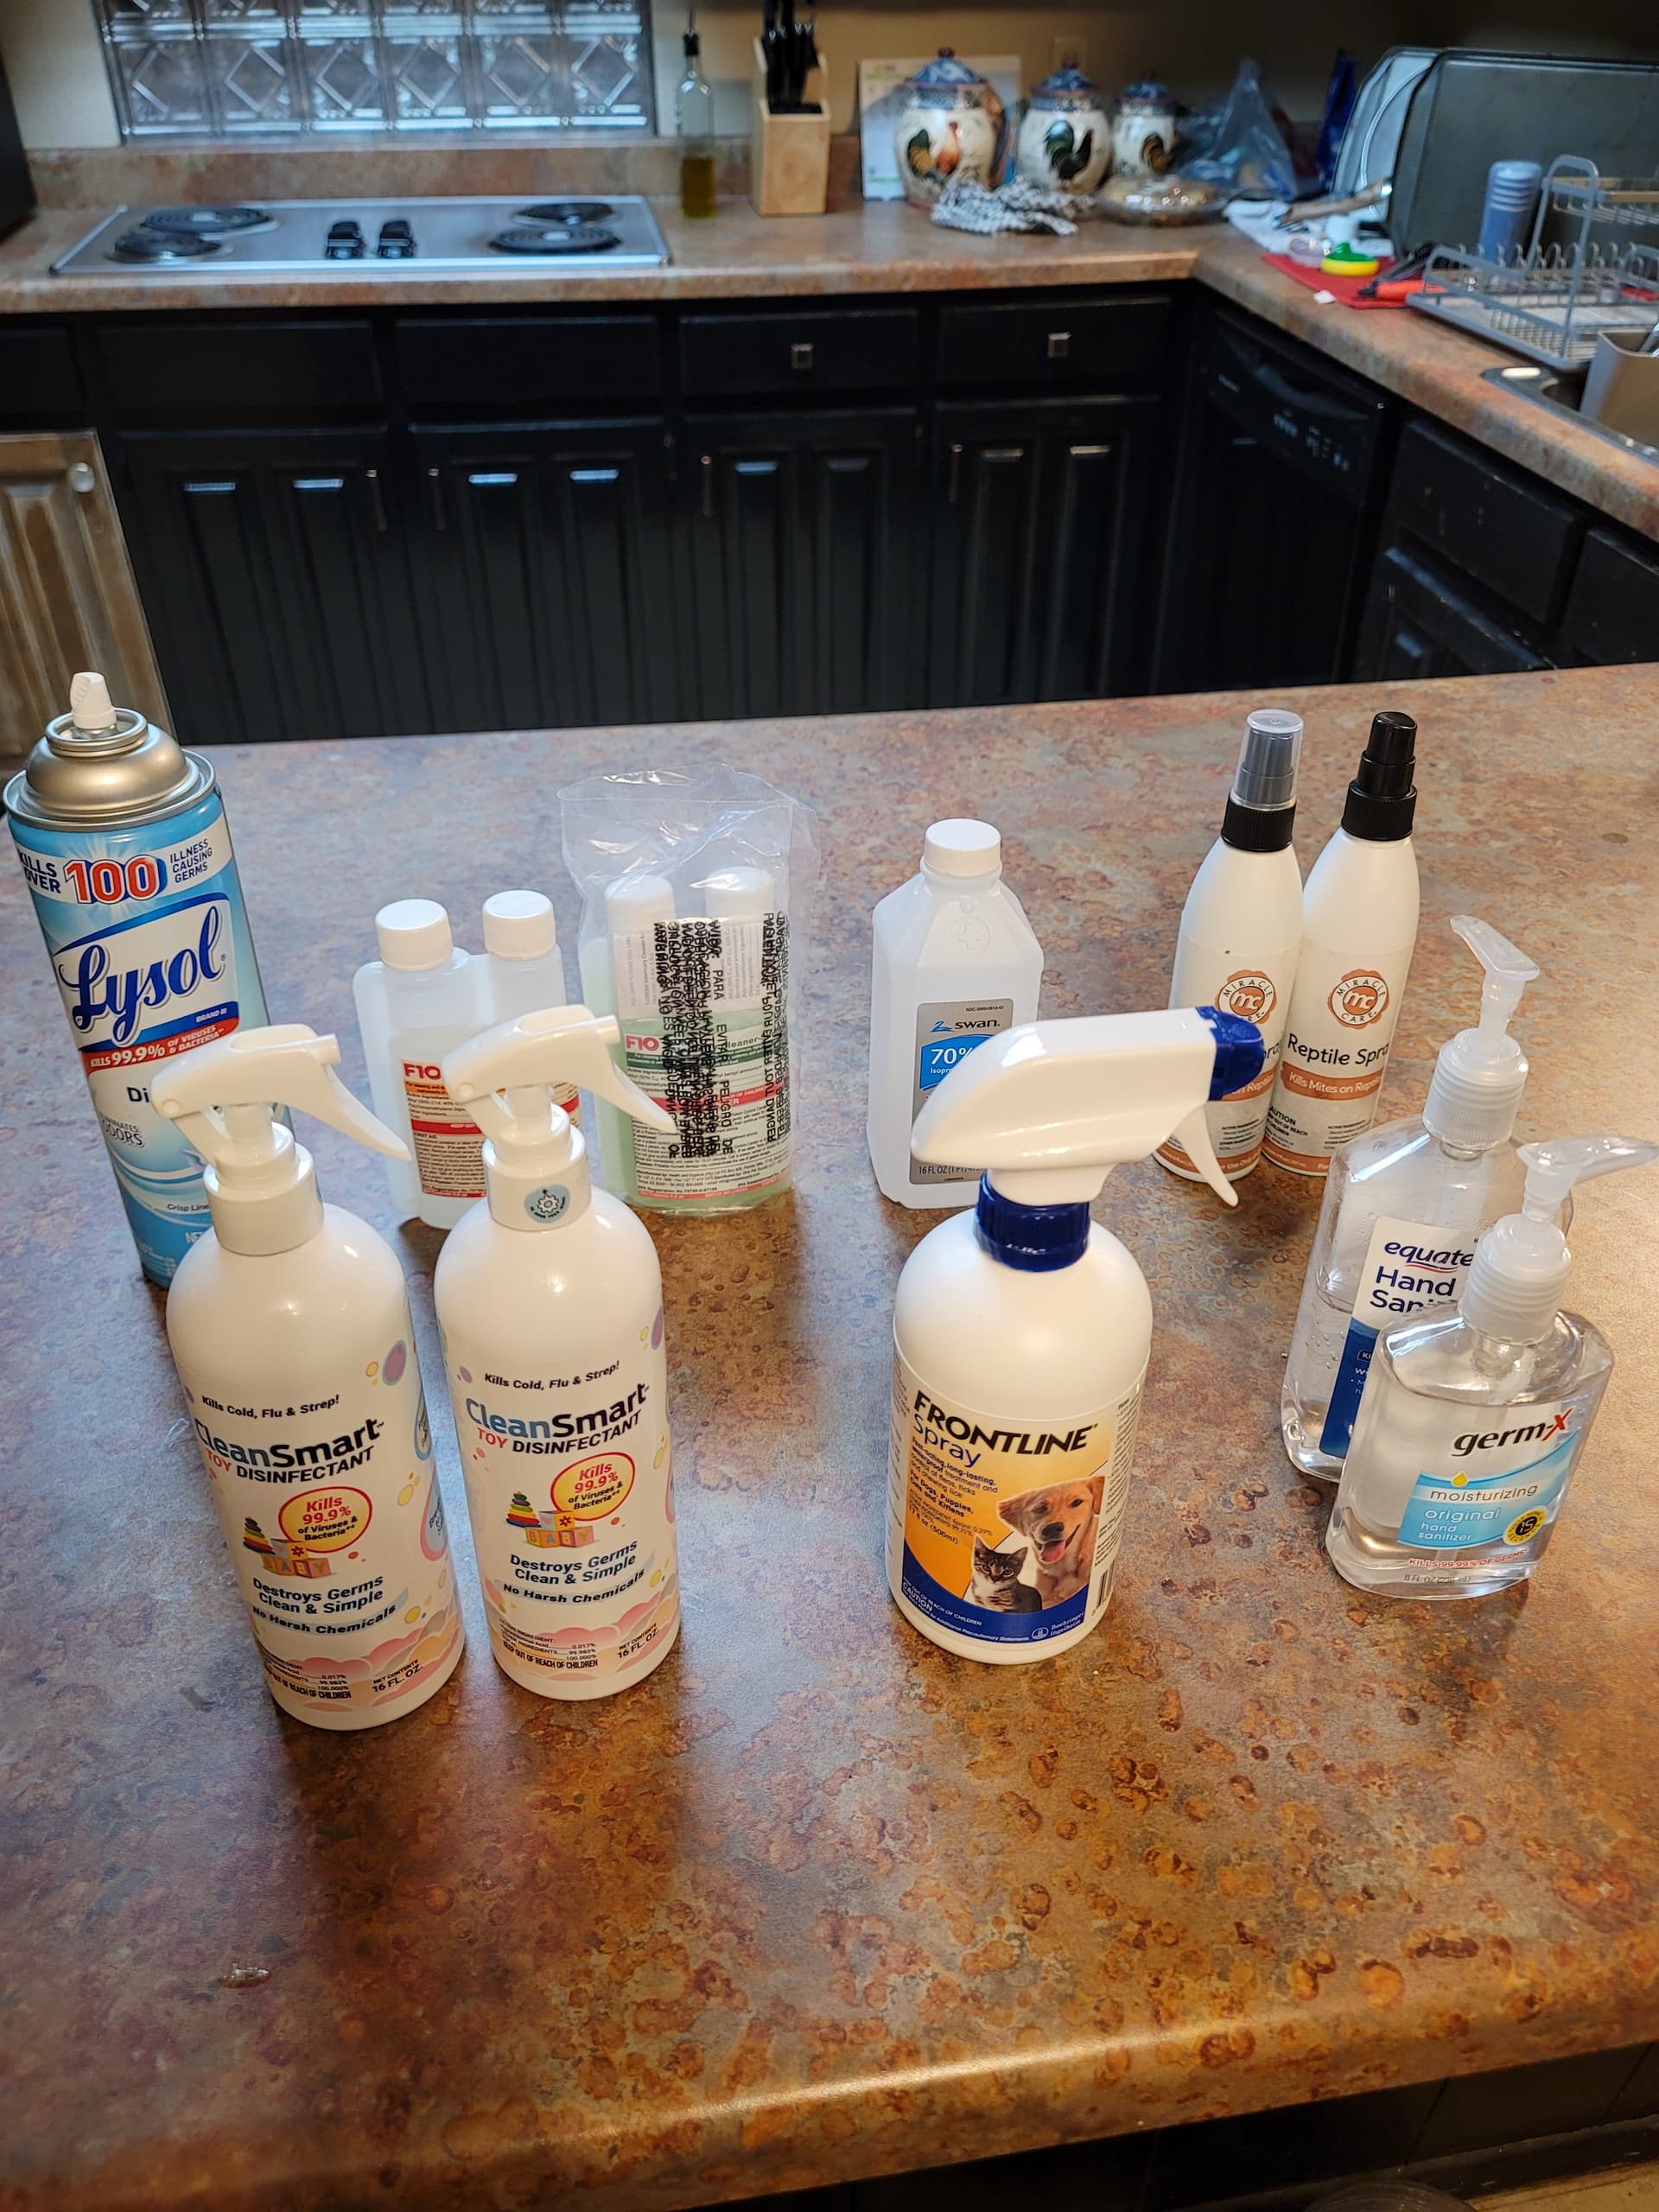
- 4 bottles of Frontline Spray!!!
- 2 bottles FC10 Disinfectant Concentrate!!!
- 4 cans of Lysol
- 1 bottle Rubbing alcohol.
- 4 bottles of Reptile Mite Spray. I went with MC and dilute later.
- 6 bottles of CleanSmart toy disinfectant spray from Amazon!!!
- 3-4 Bottles of hand sanitizers.
- 2 packs of Micro- Fiber Towels.
All the above was roughly $220.00 all together.
Day 1 and Night 1:
-
Step 1 - First Documenting Photos of Room. Or in our case, old room used and new room to be used.
-
Step 2 - Empty desired room to be reptarium room.
-
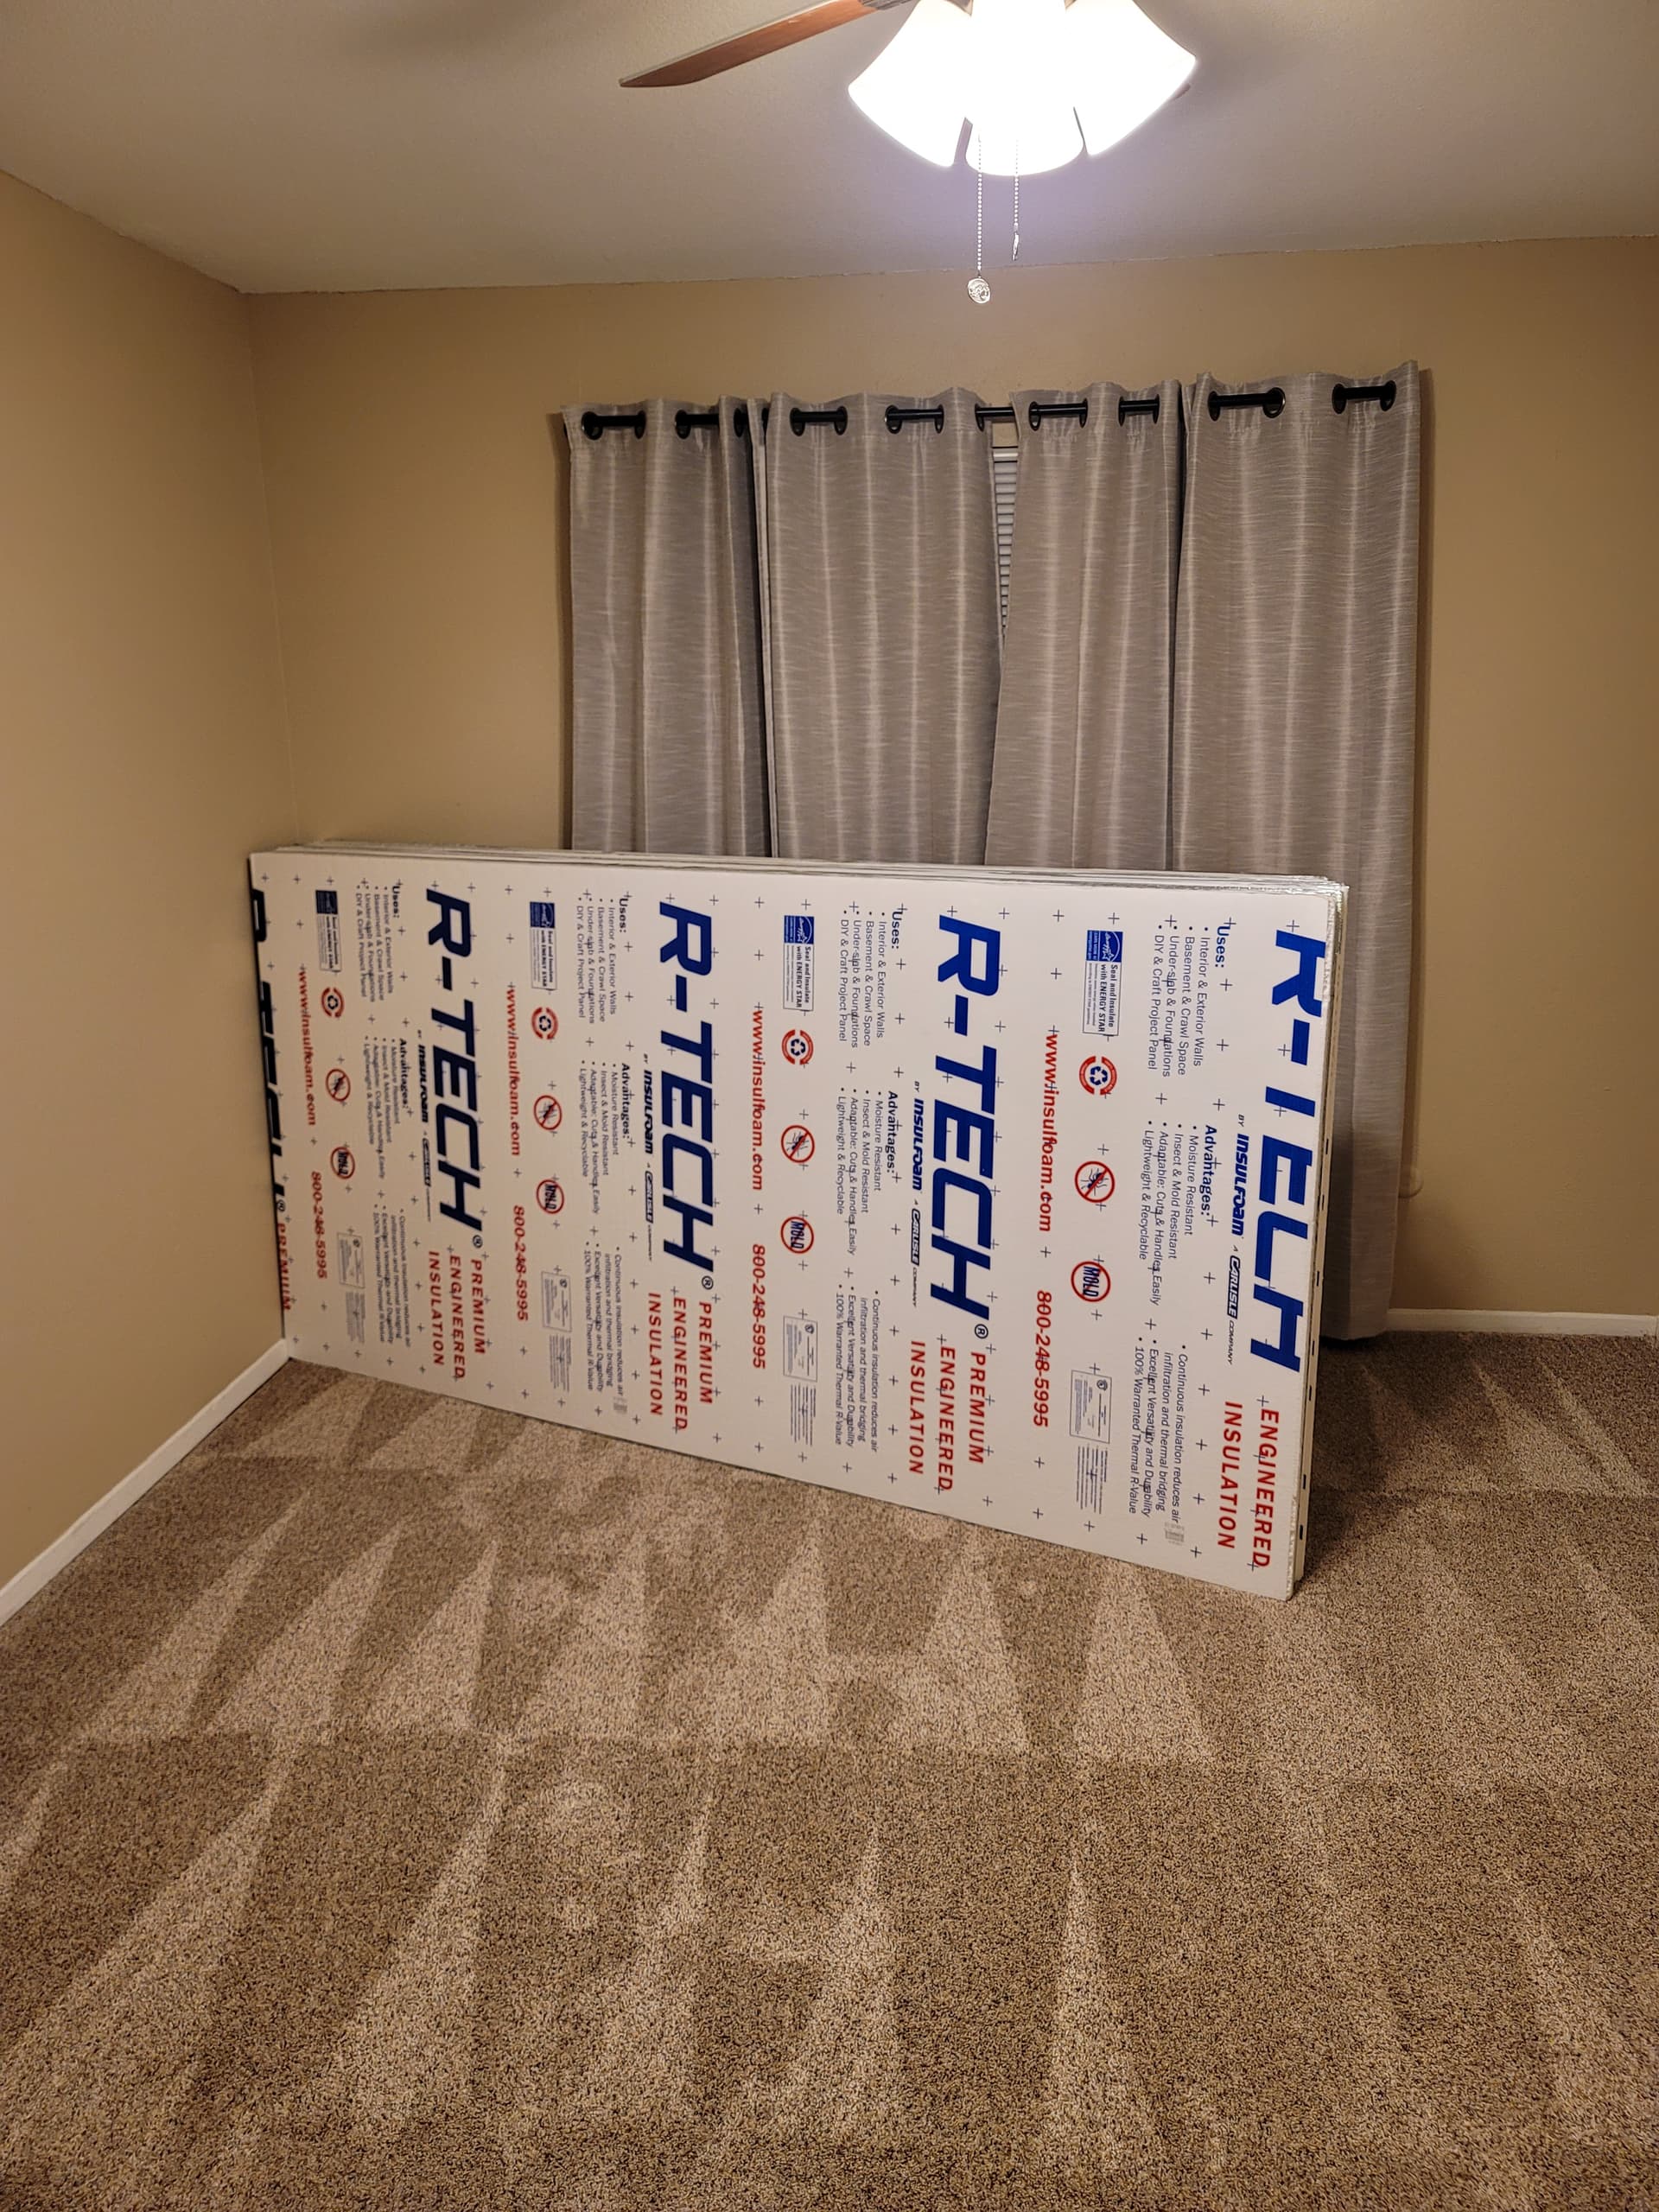
Step 3A - MEASURE!!! Measure room length, width and height. Before we even think of doing anything like moving in or setting up… let’s talk “Room Husbandry” and Temps. What drives this… what if power fails? What if you have huge temperature swings? What if you have sensitive specimens? We’ll need to insulate. And measurements help dictate how much “R-TECH” insulation to buy. 19.98 a sheet in Texas. More on this later.
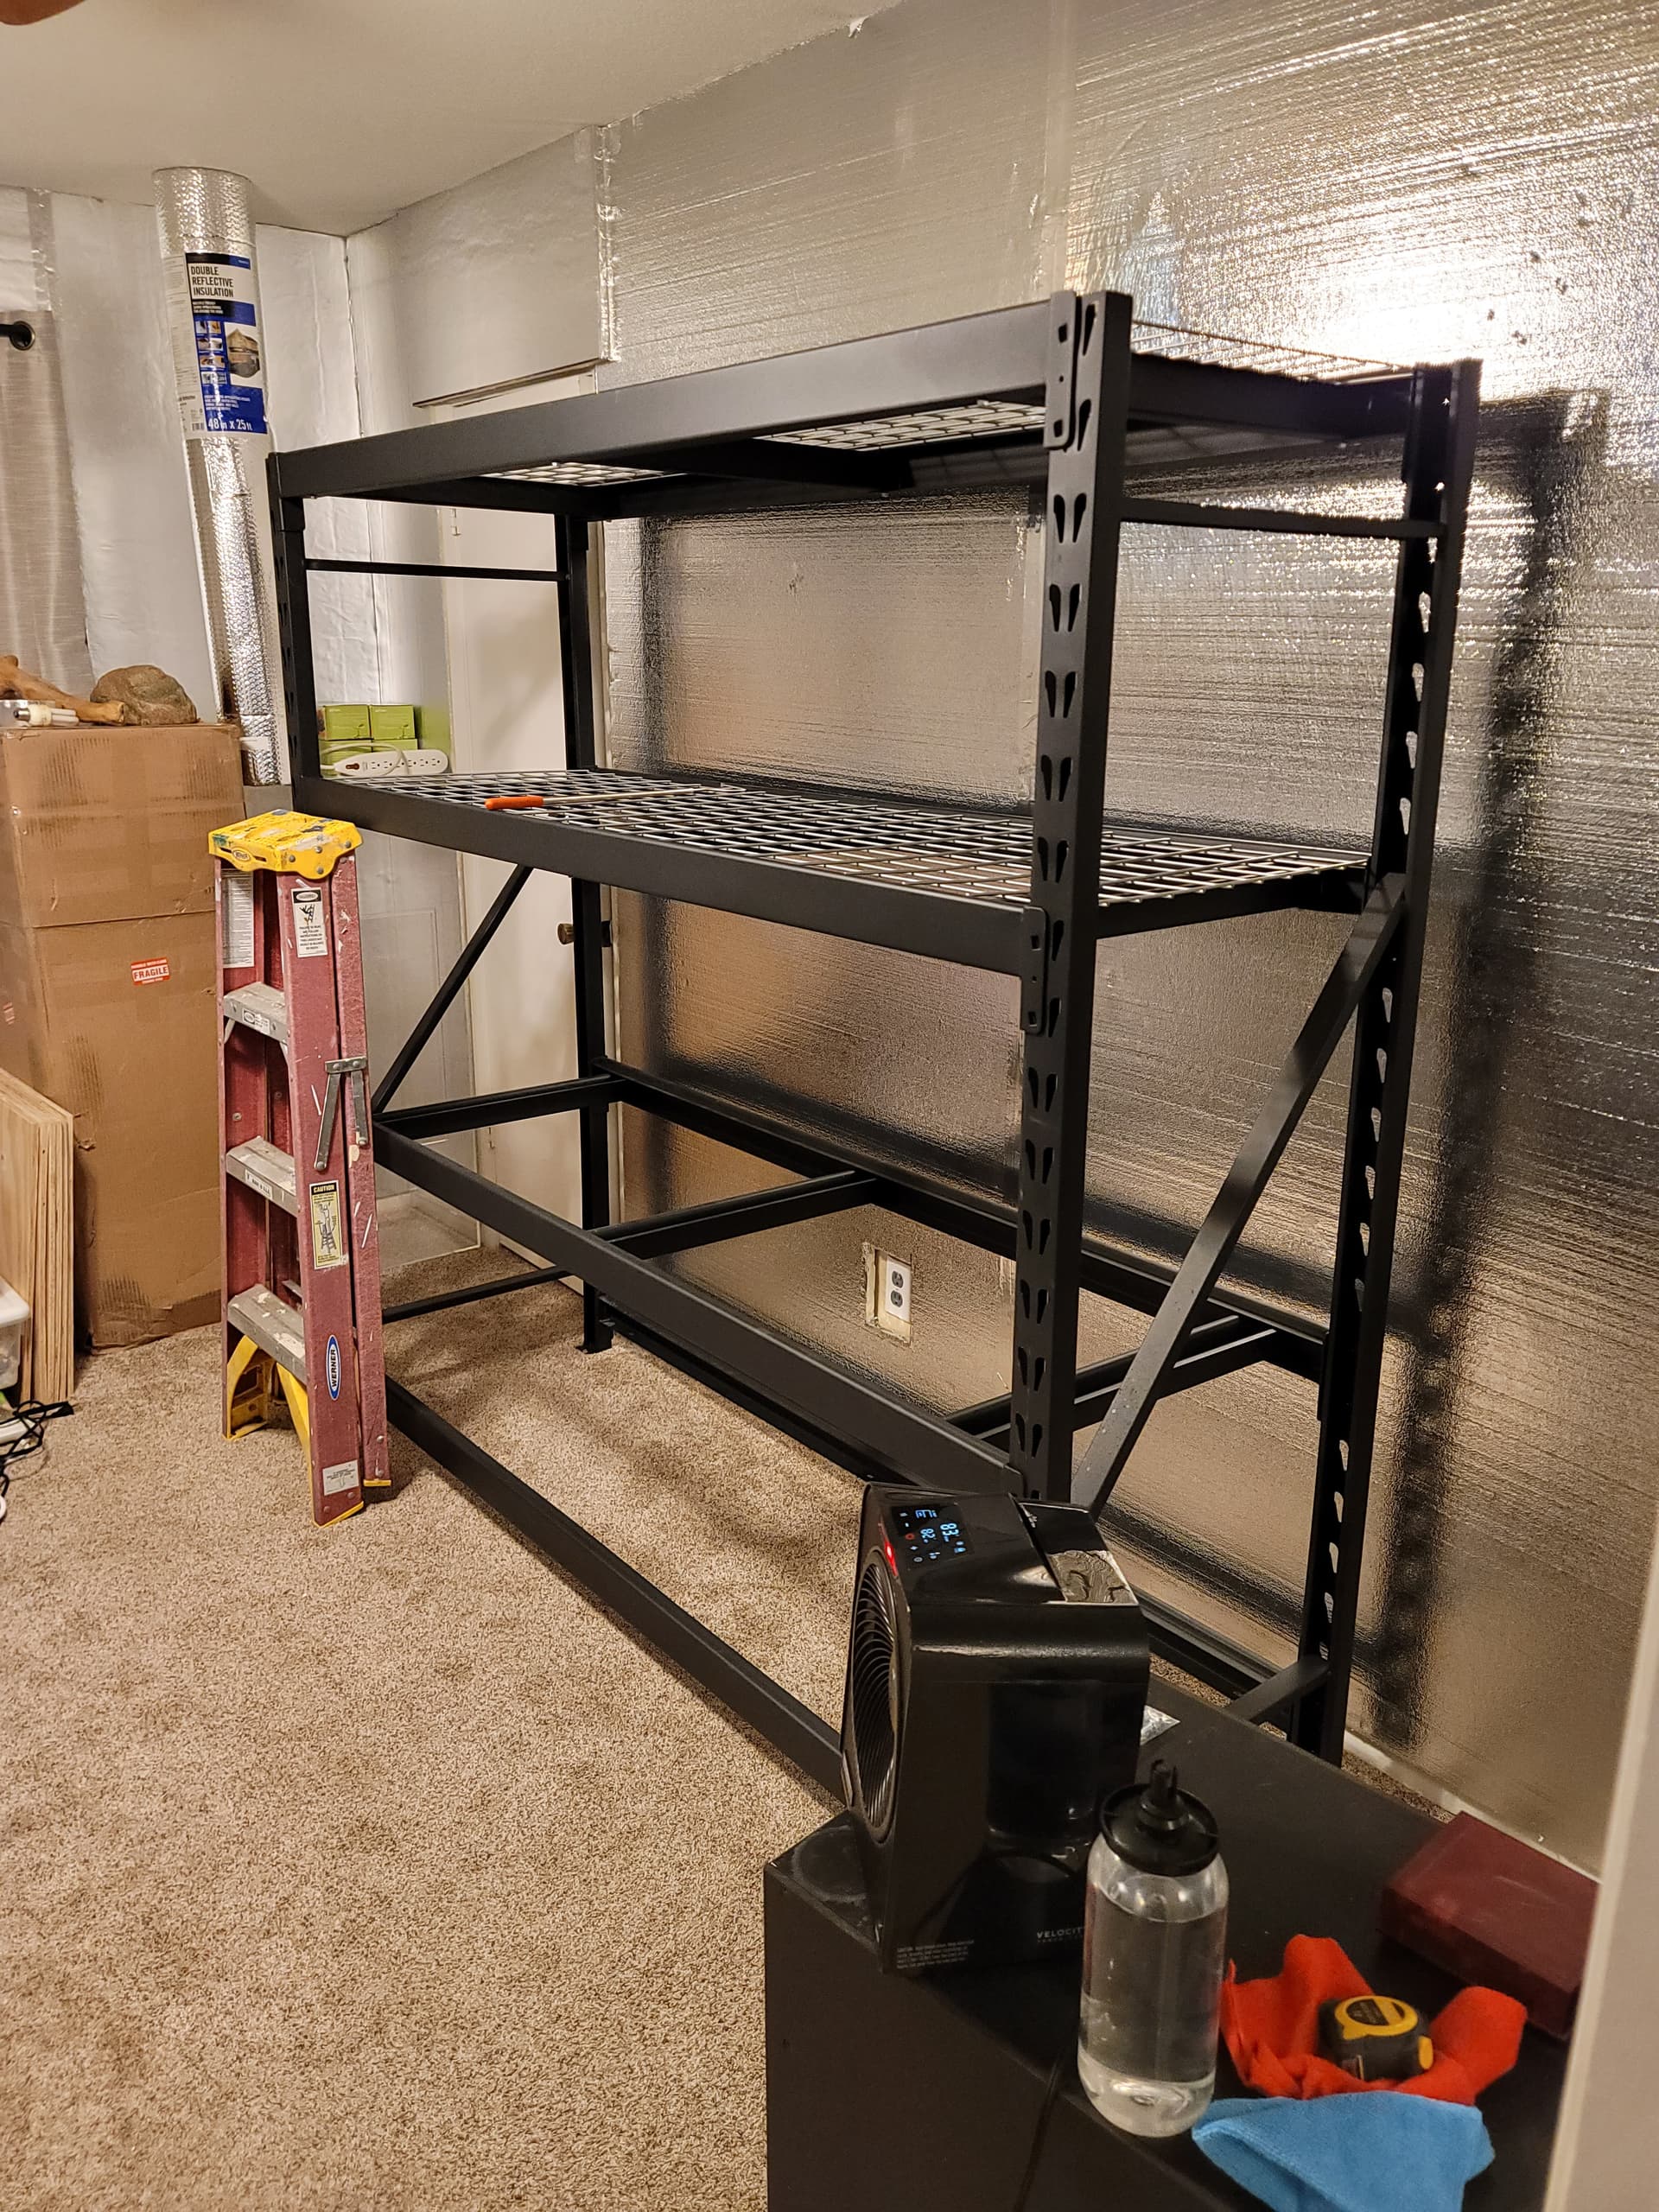
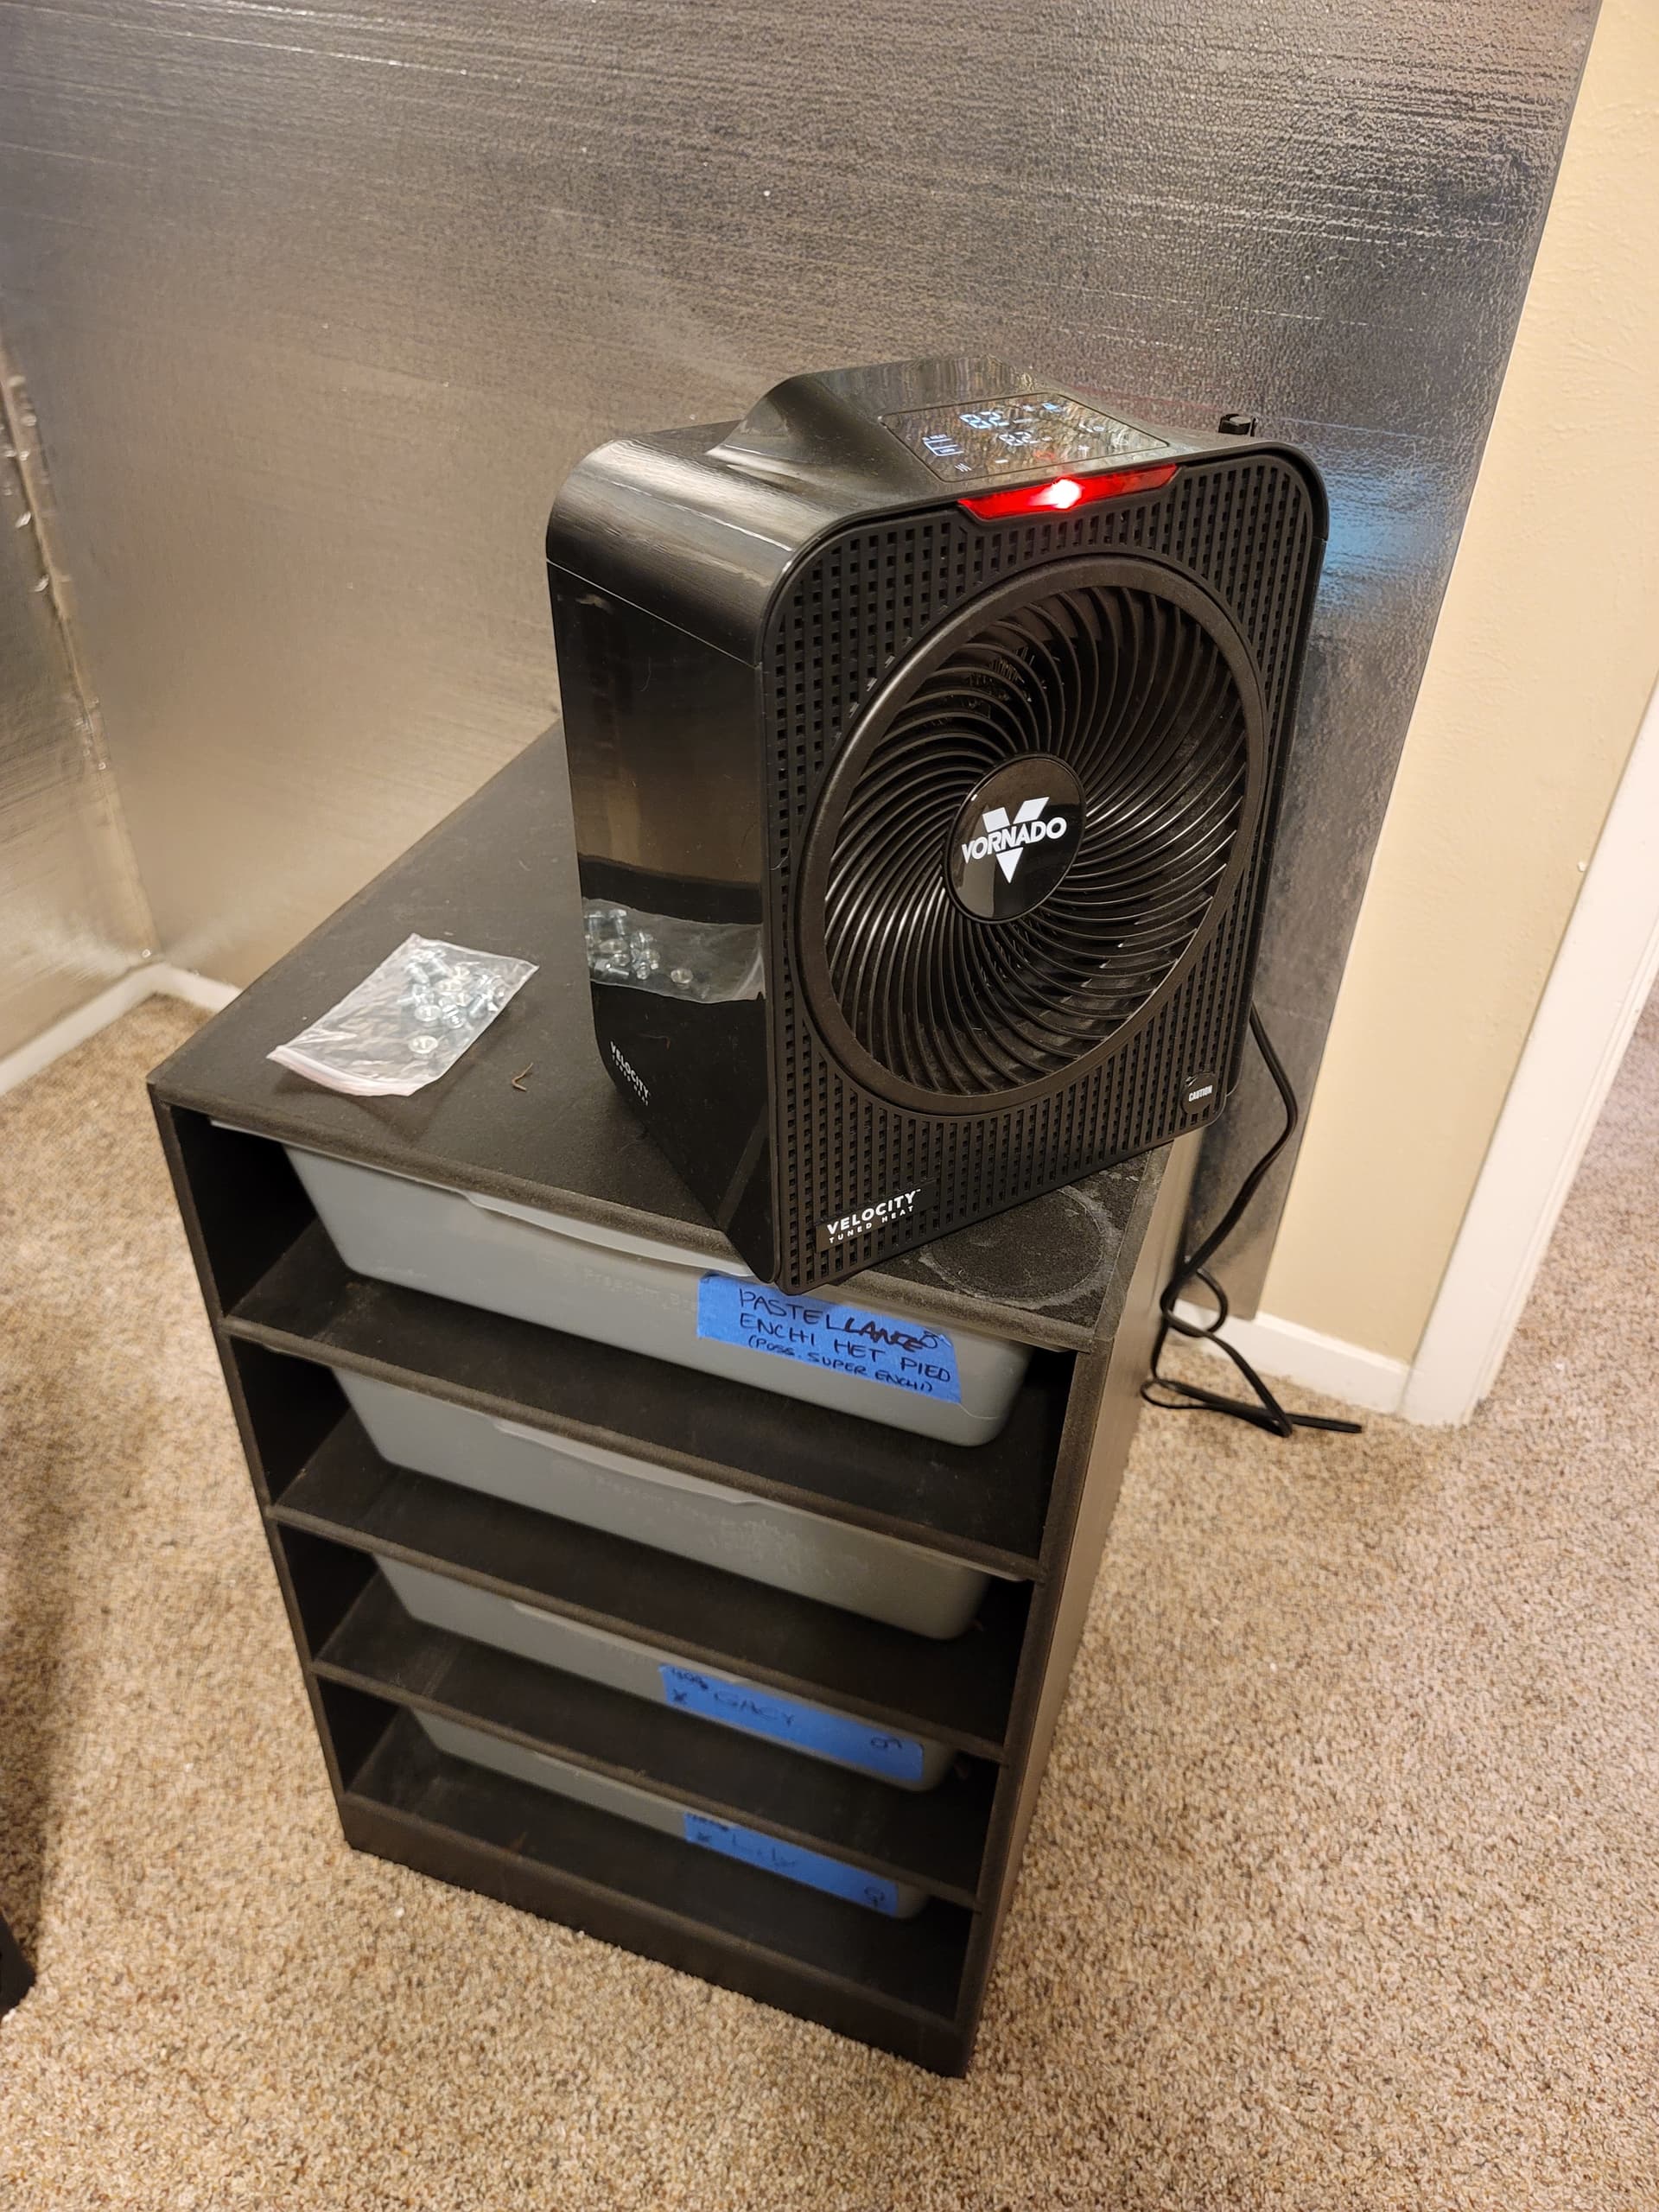
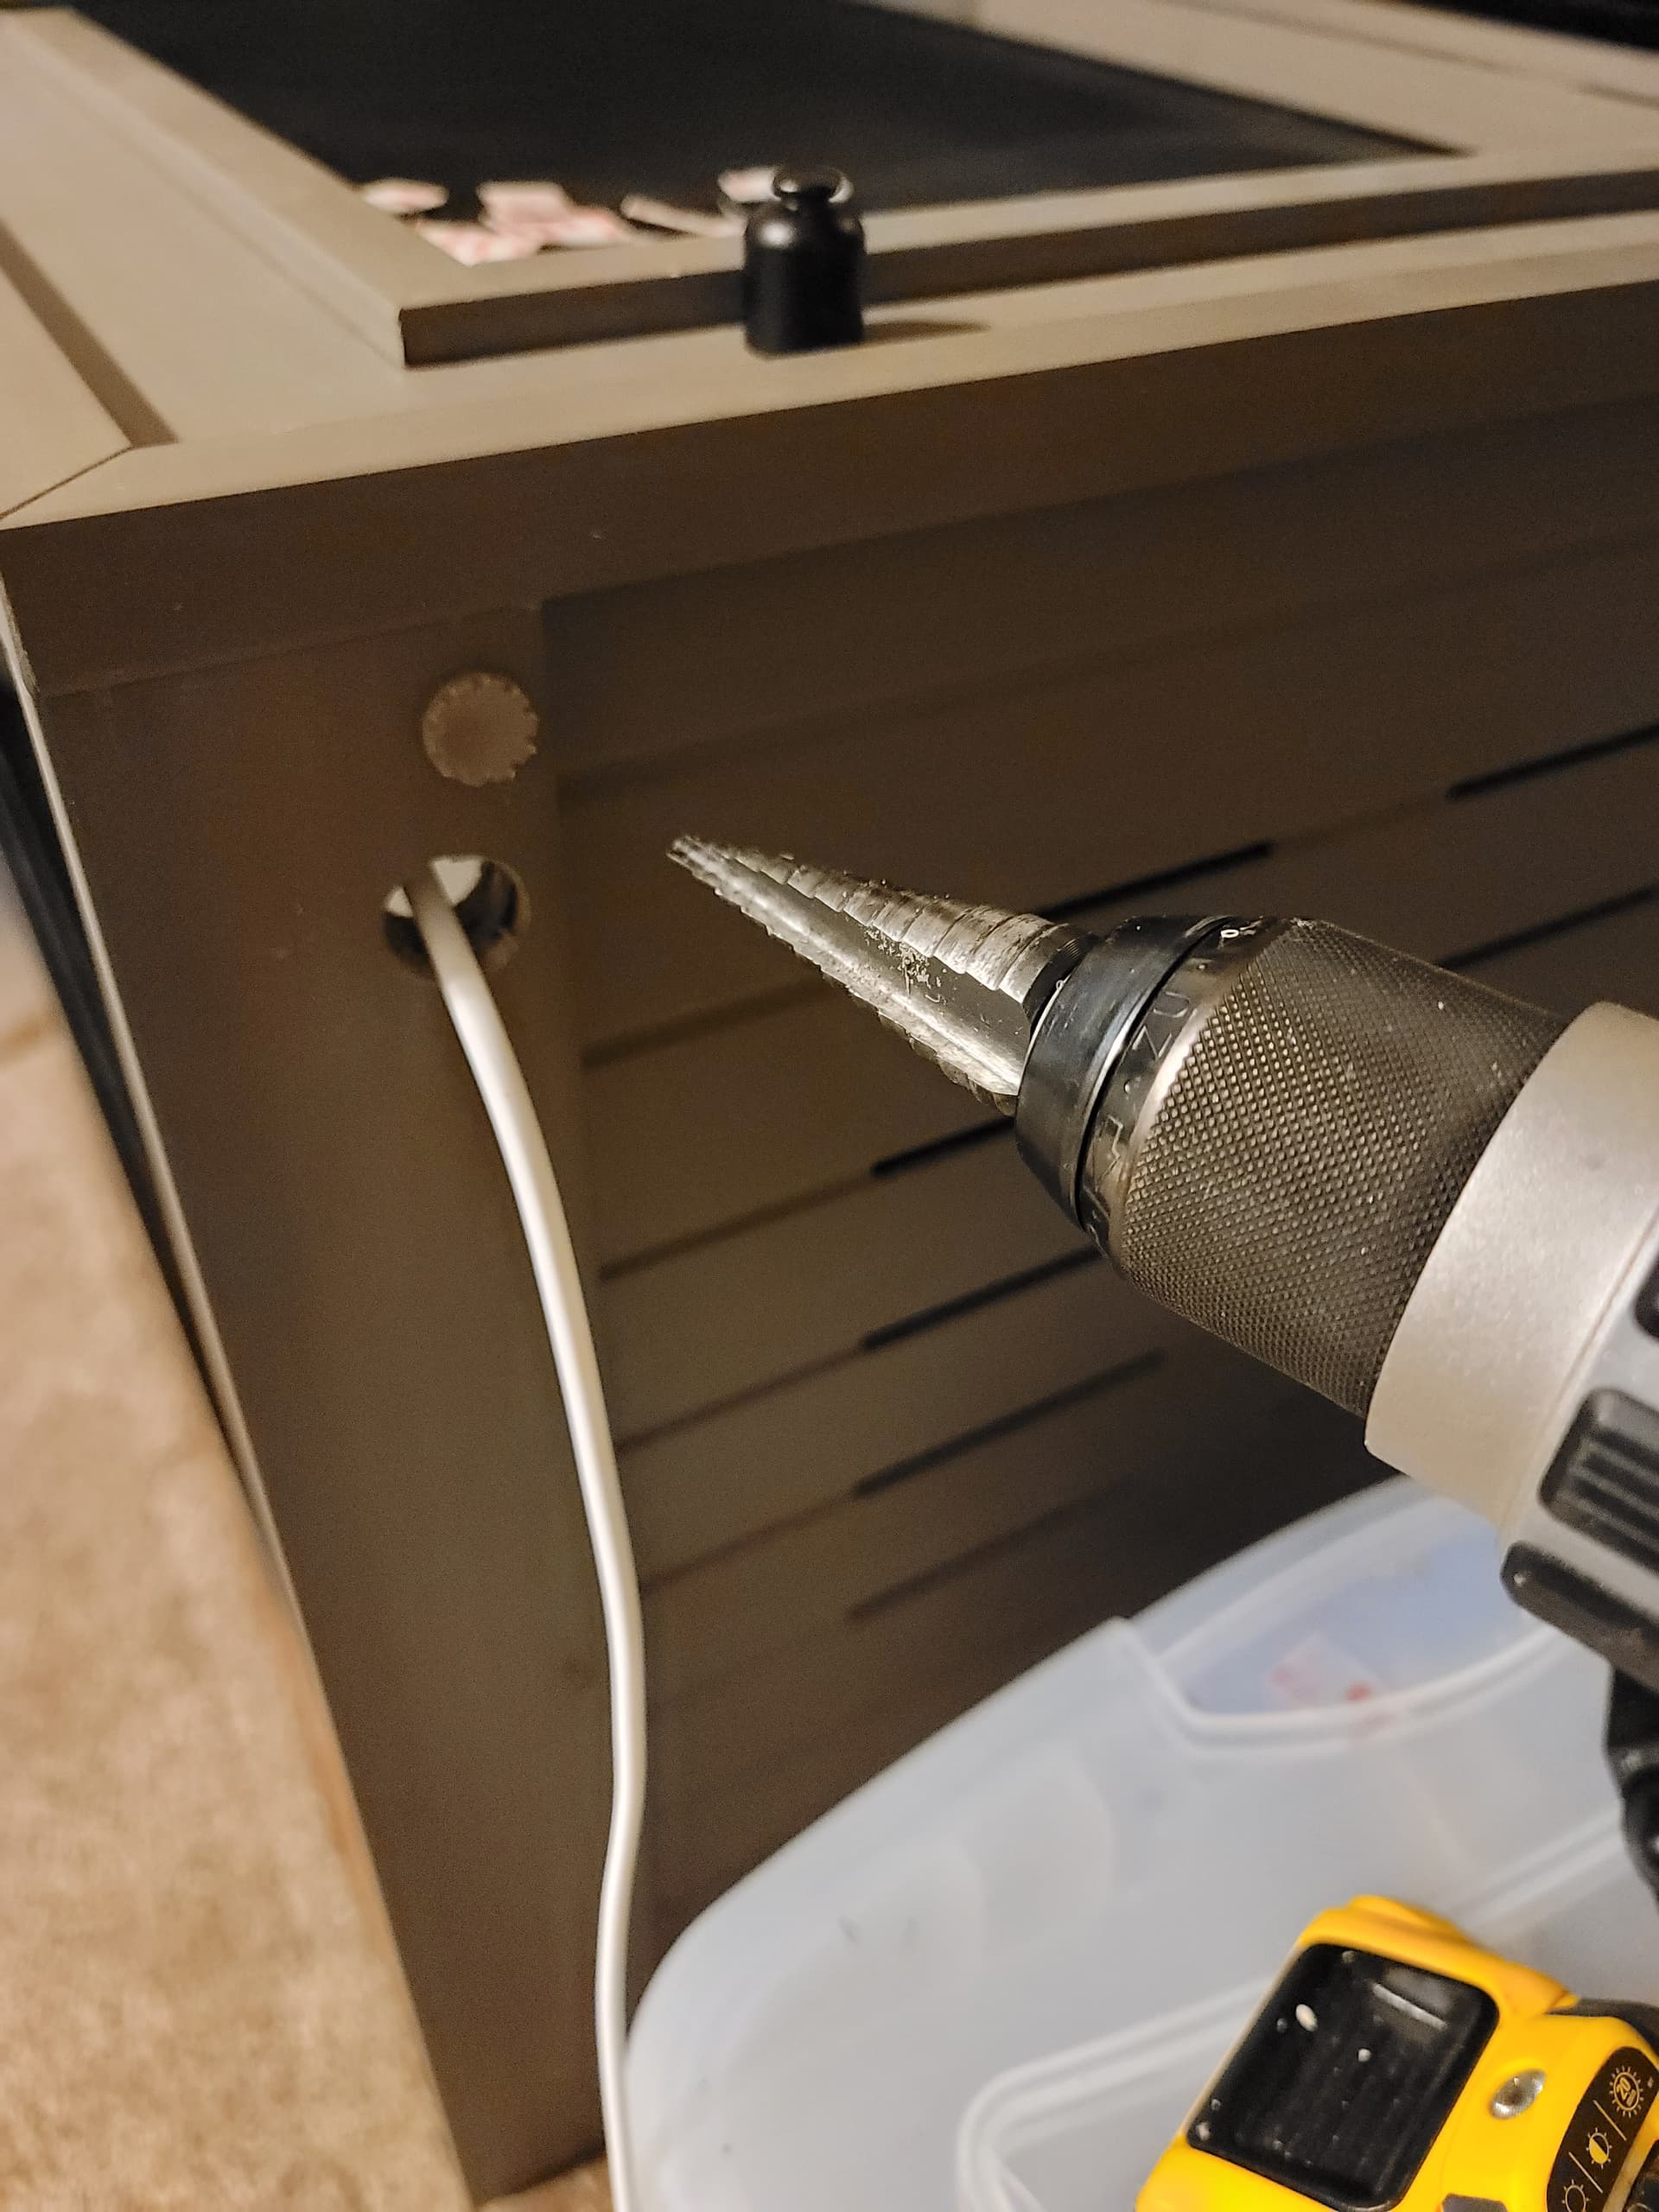
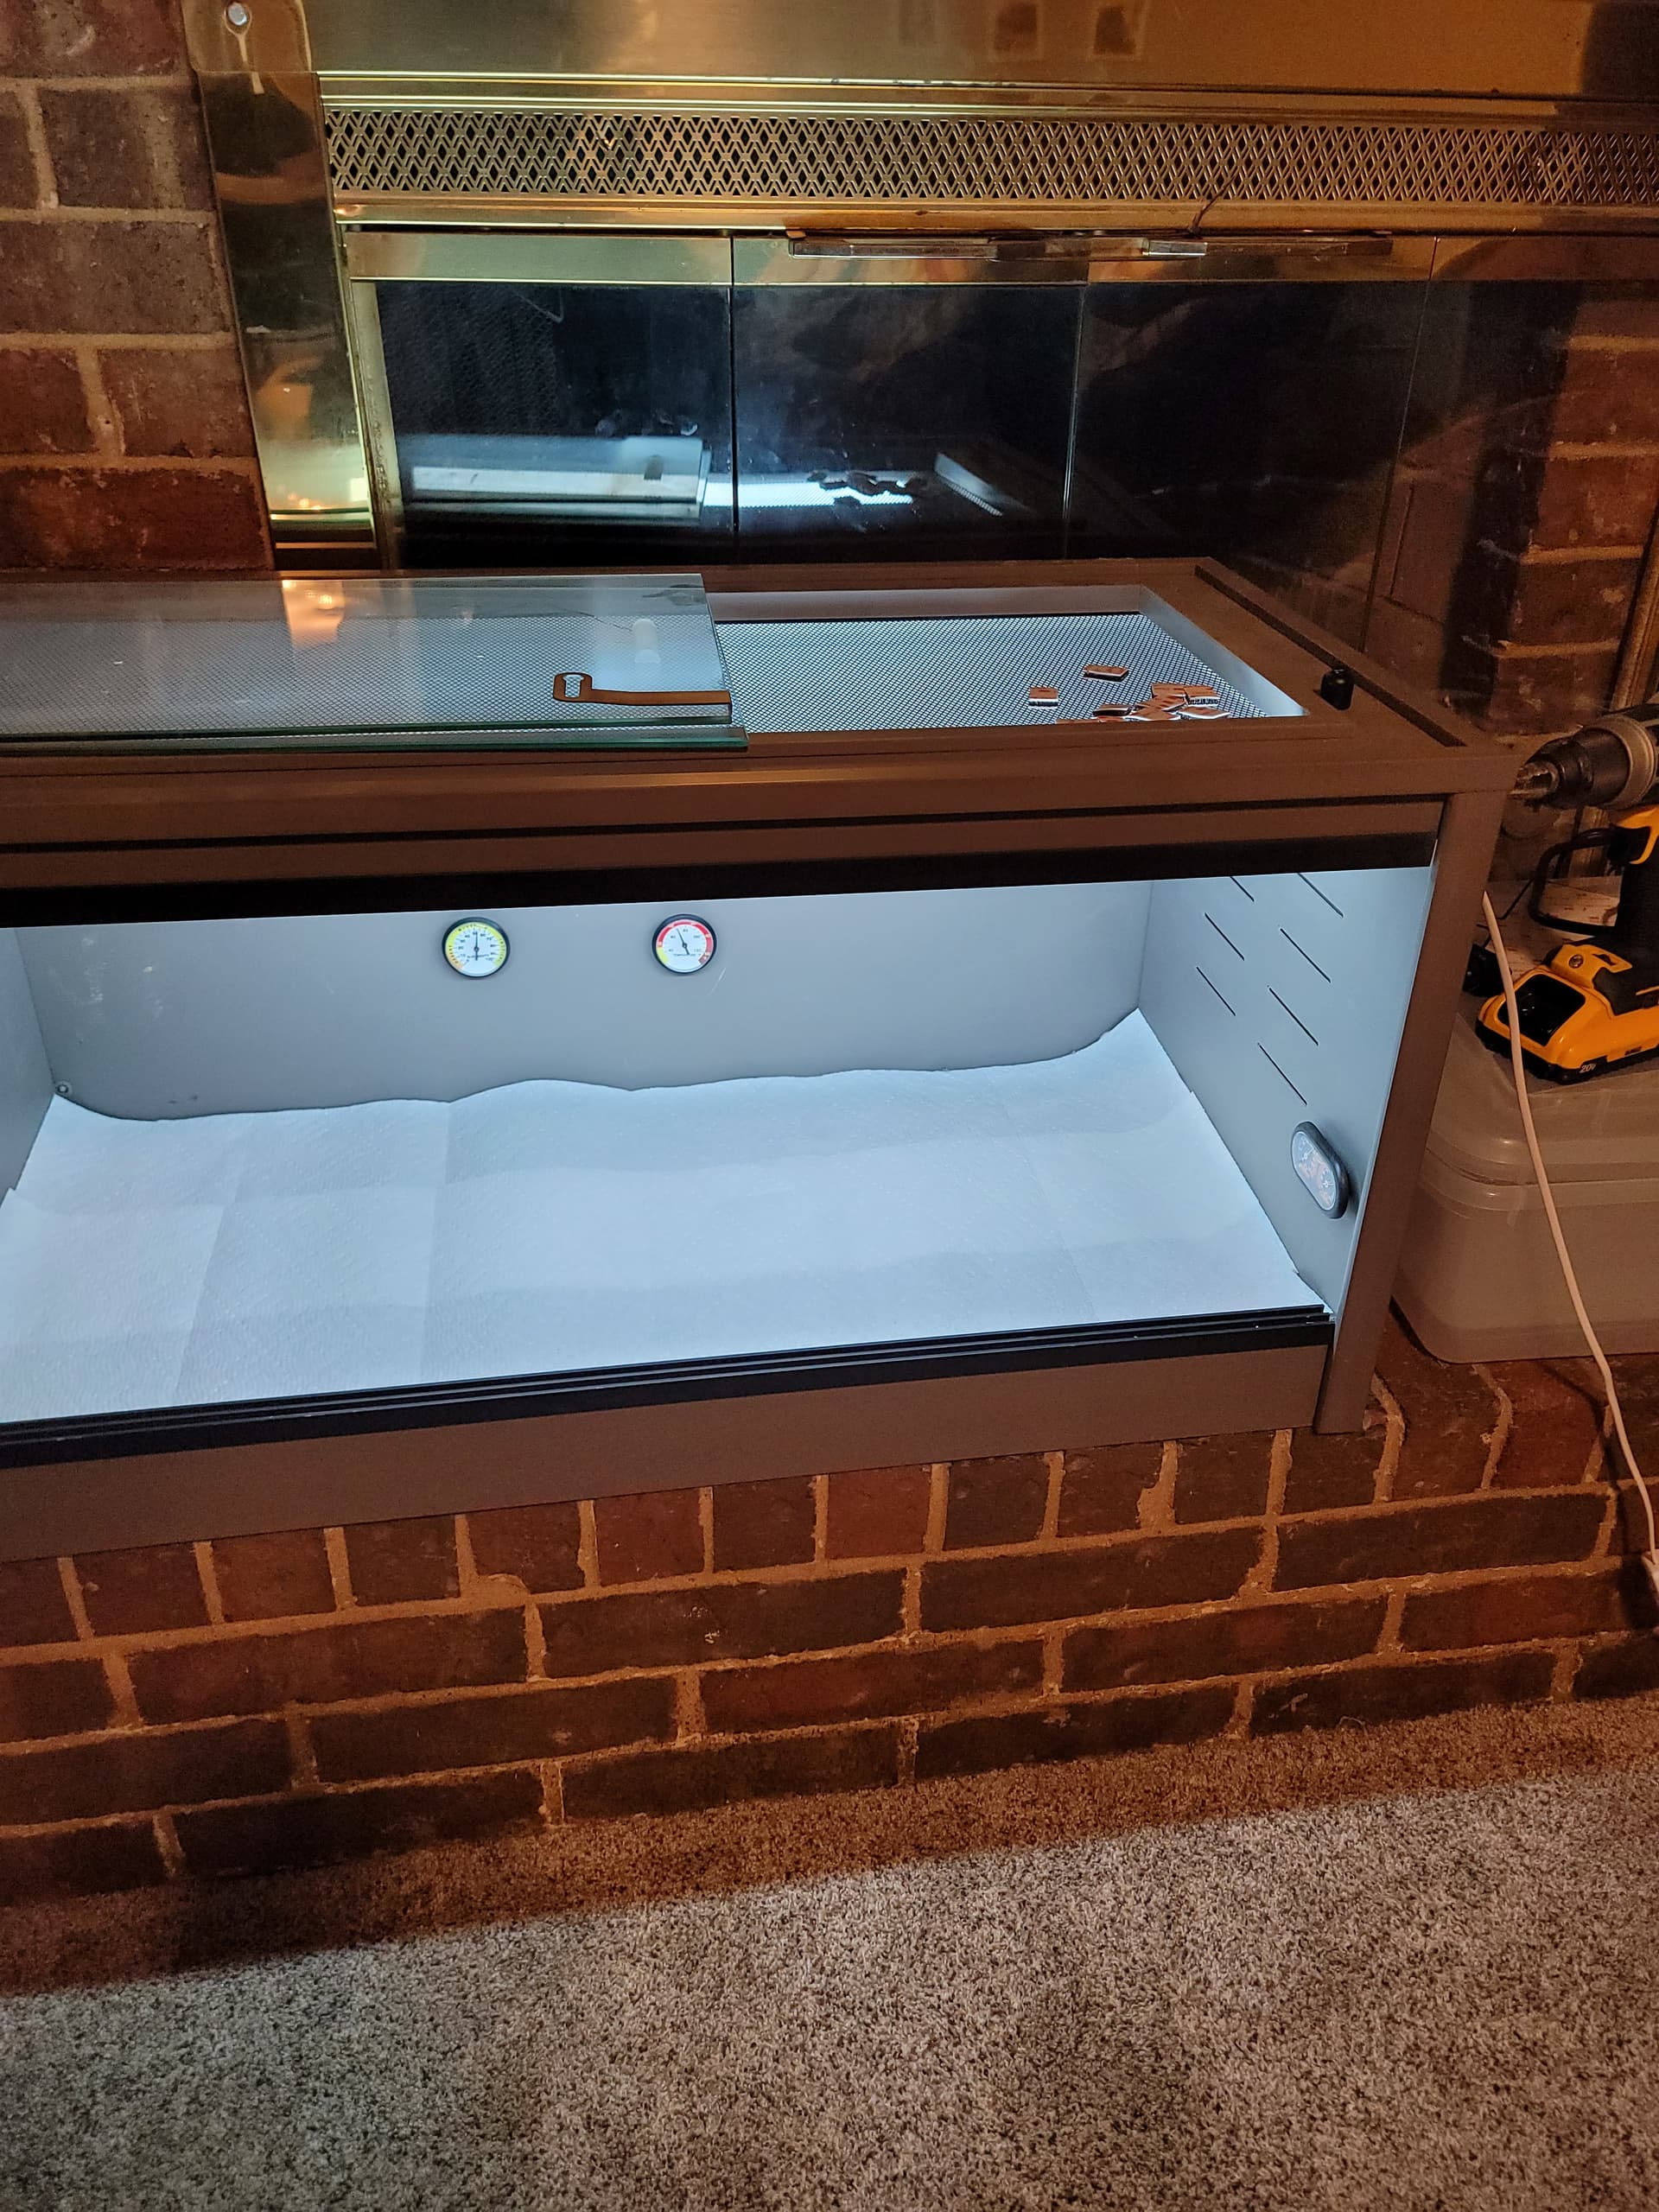
Step 3B - Based on measurements, draw up, and pre-planning and laying out of the room is essential. For our room it is 13ft x 12ft x 8ft tall. Gonna need some good ceramic vortex heaters for cold winter spells and we will want 2 humidifiers for maintaining a multiple species “meet in the middle 50%” room ambient humidity moisture. But not more due to RI prevention and shedding and structural mold - mildew. But some upcoming steps to stop that.
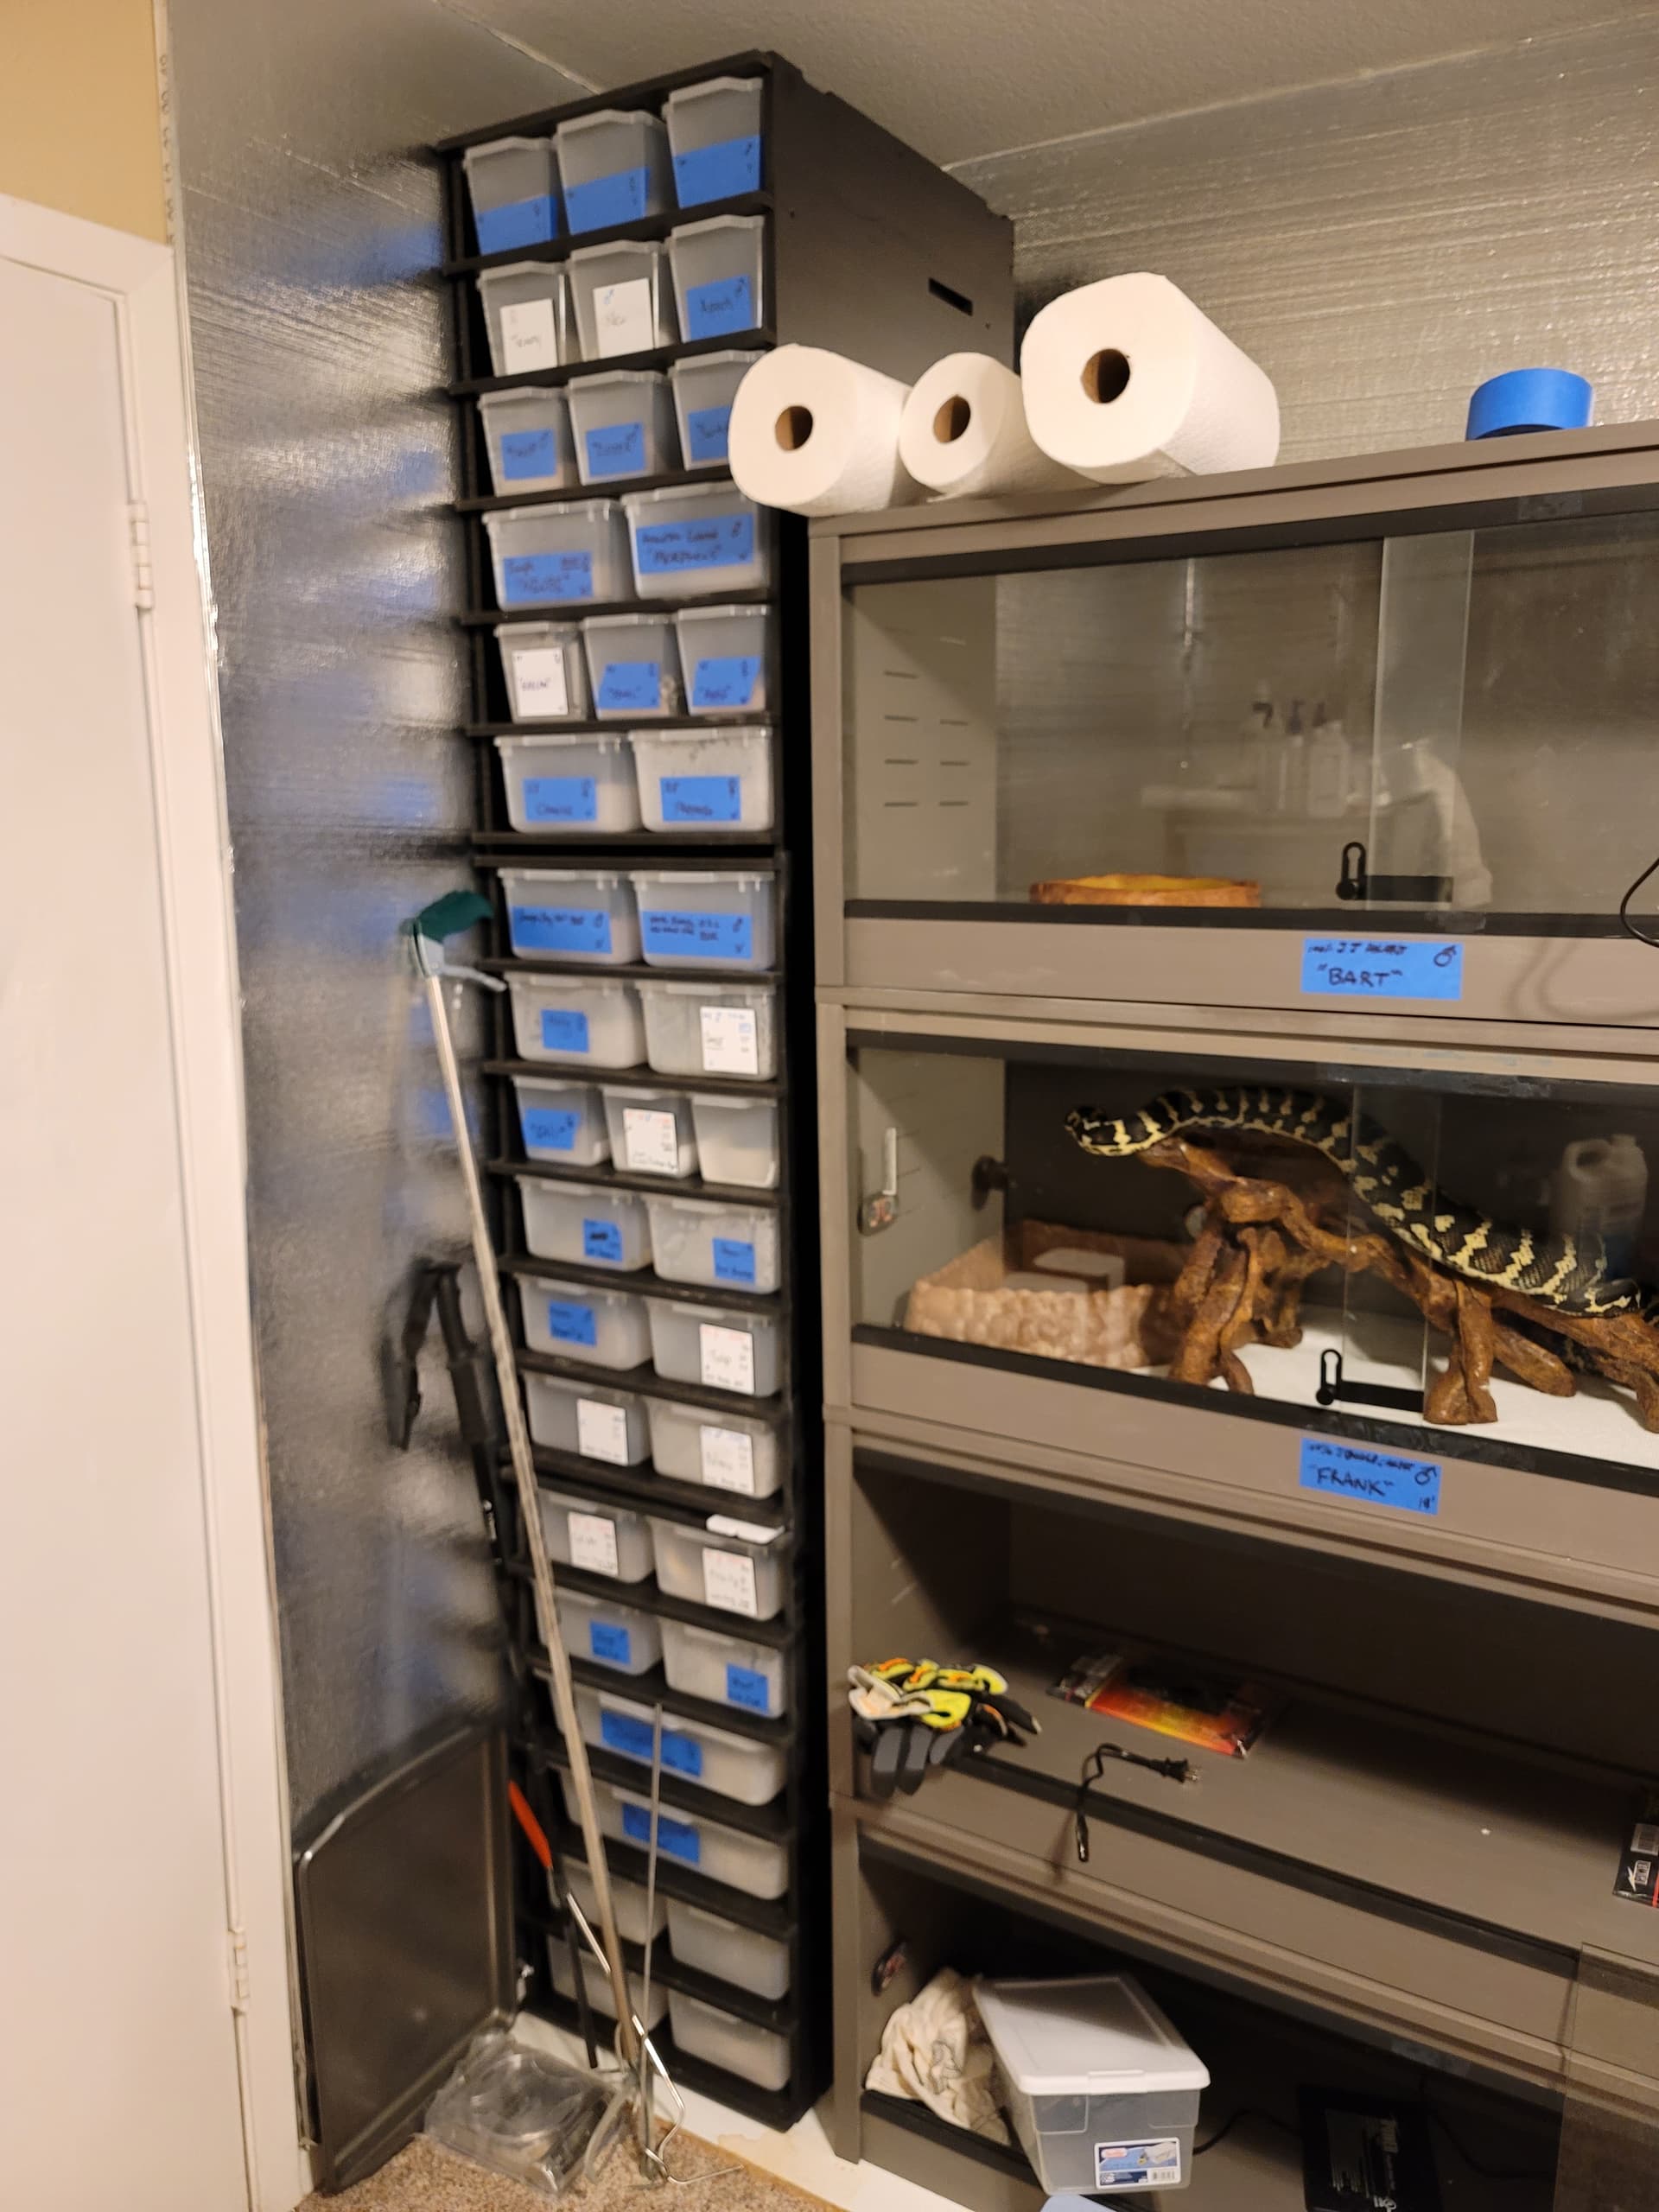
FOR OUR ROOM - WE WILL BE UTILIZING 1 LONG WALL, A SMALLER WALL WITH CLOSET DOOR AND THEN A CENTER OF ROOM RACK ISLAND. No animals near windows!!! And closet is Quarantine Room!!!
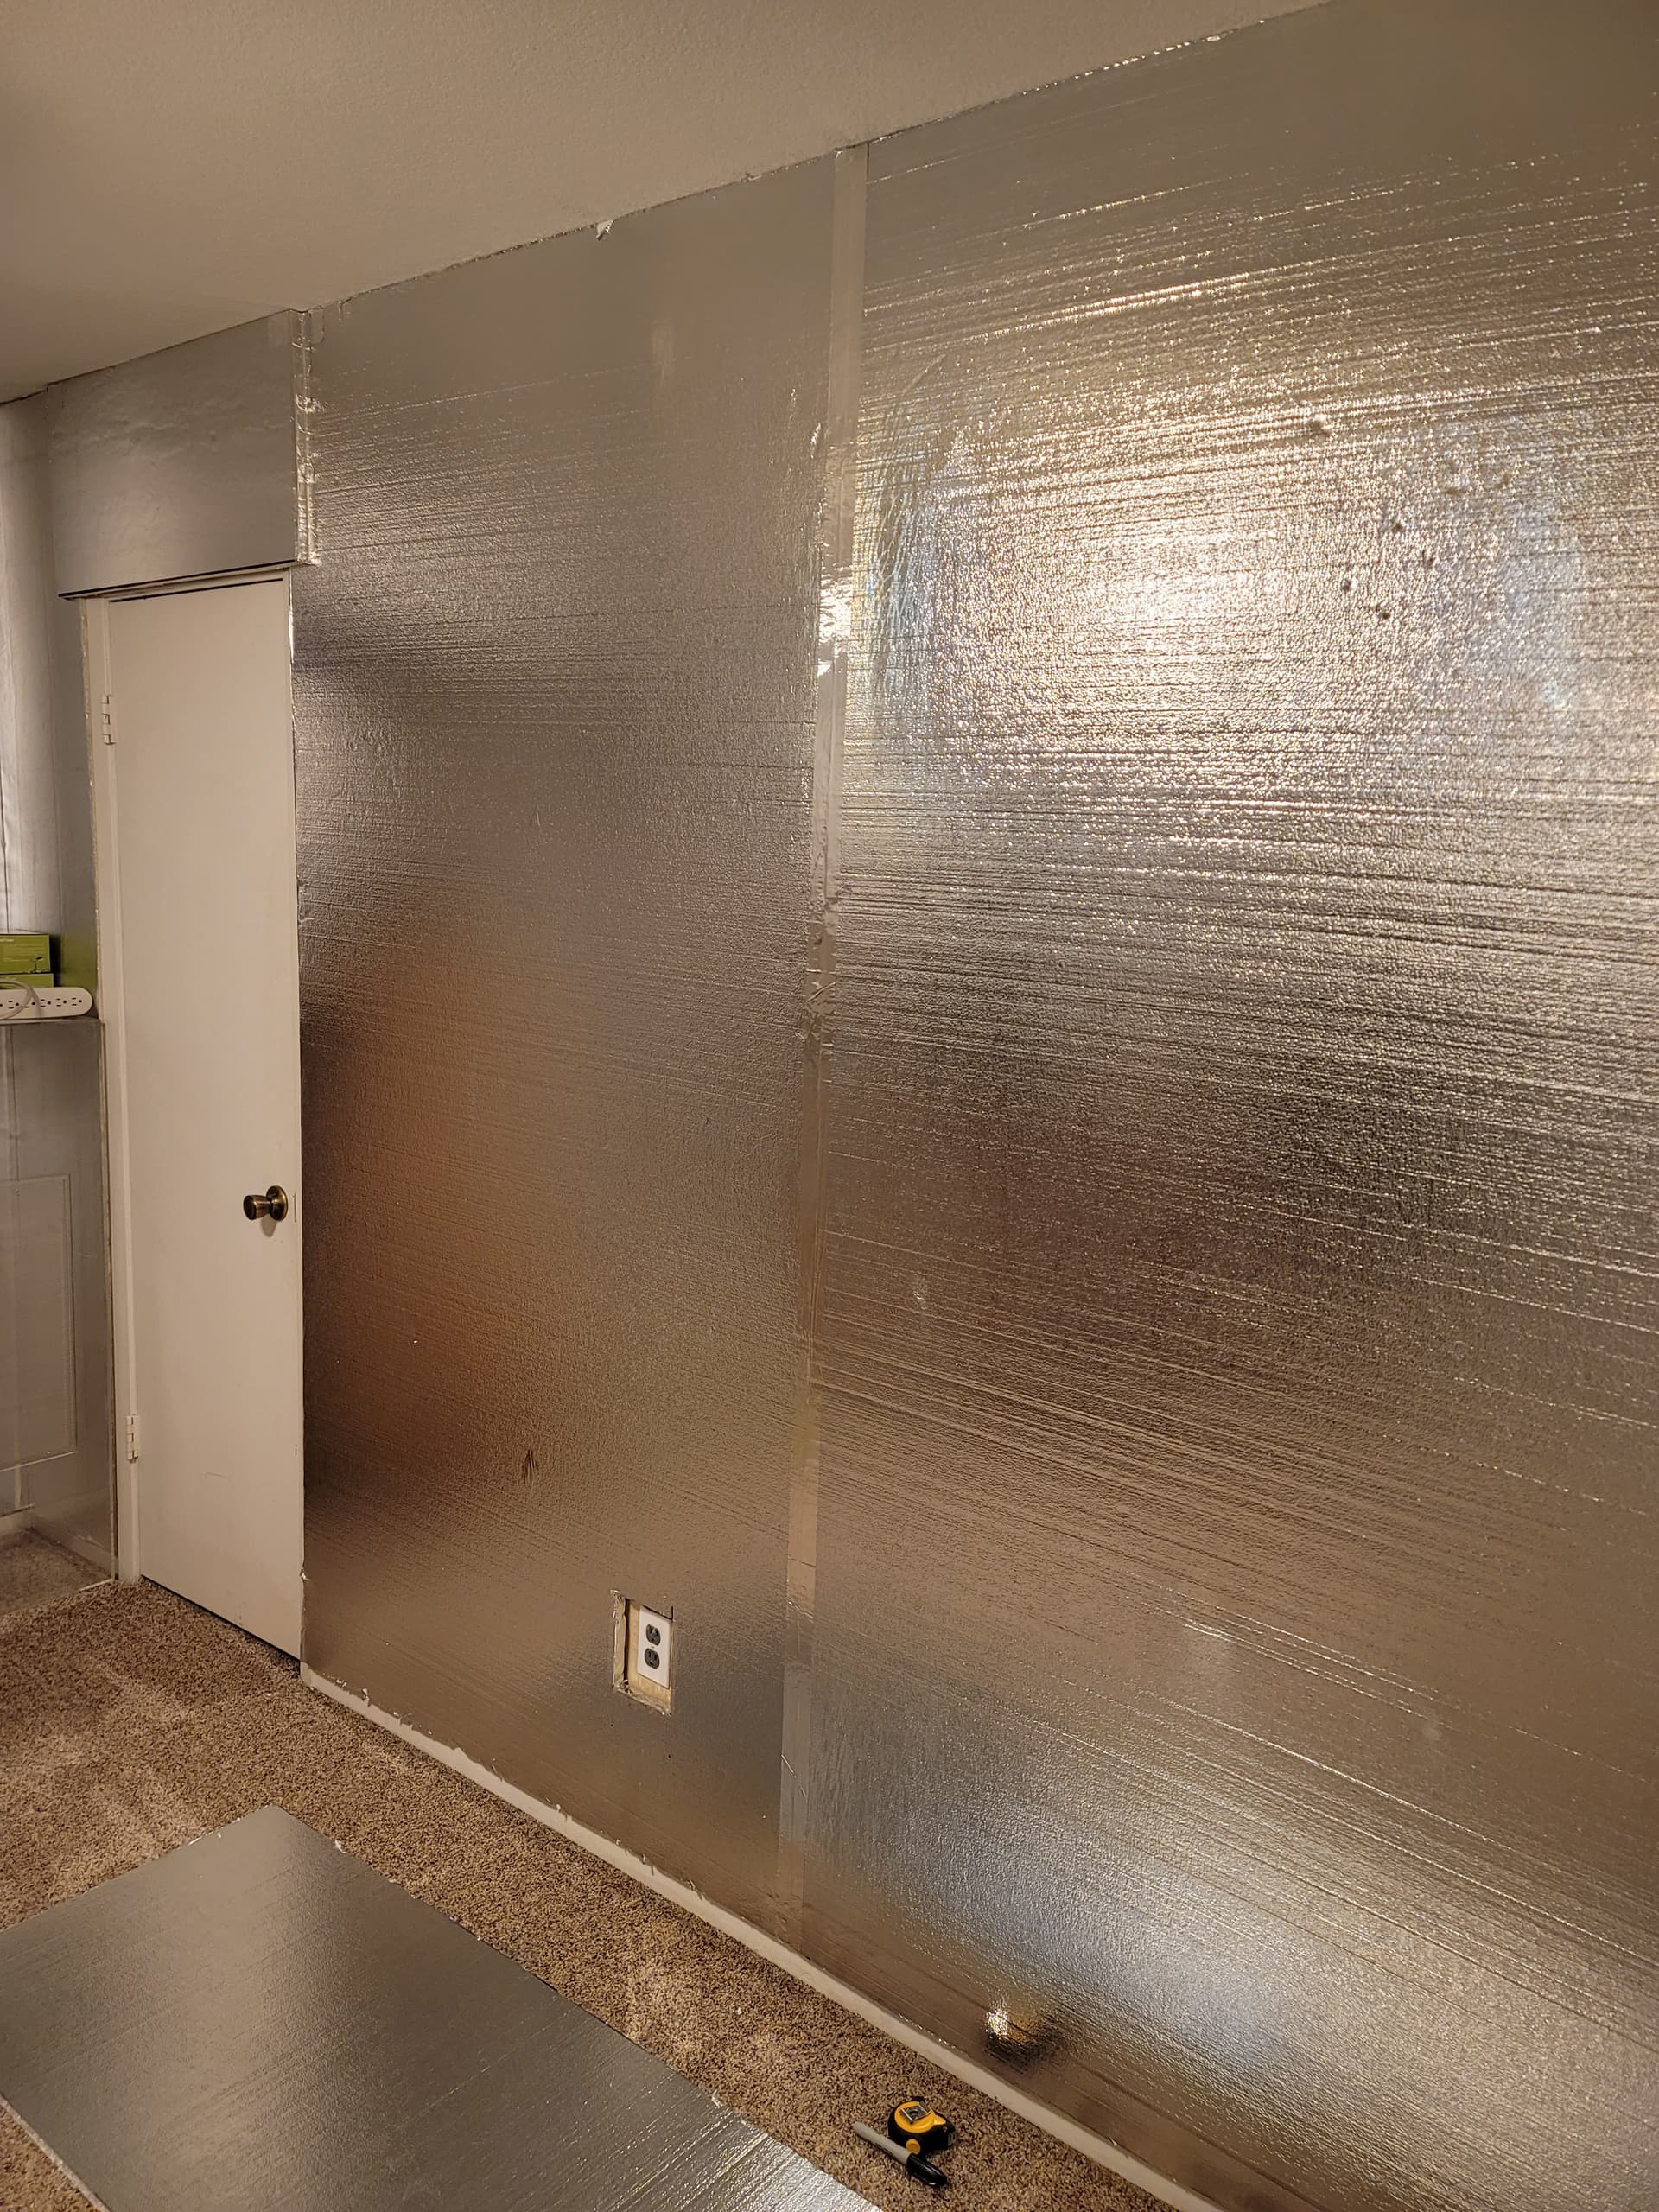
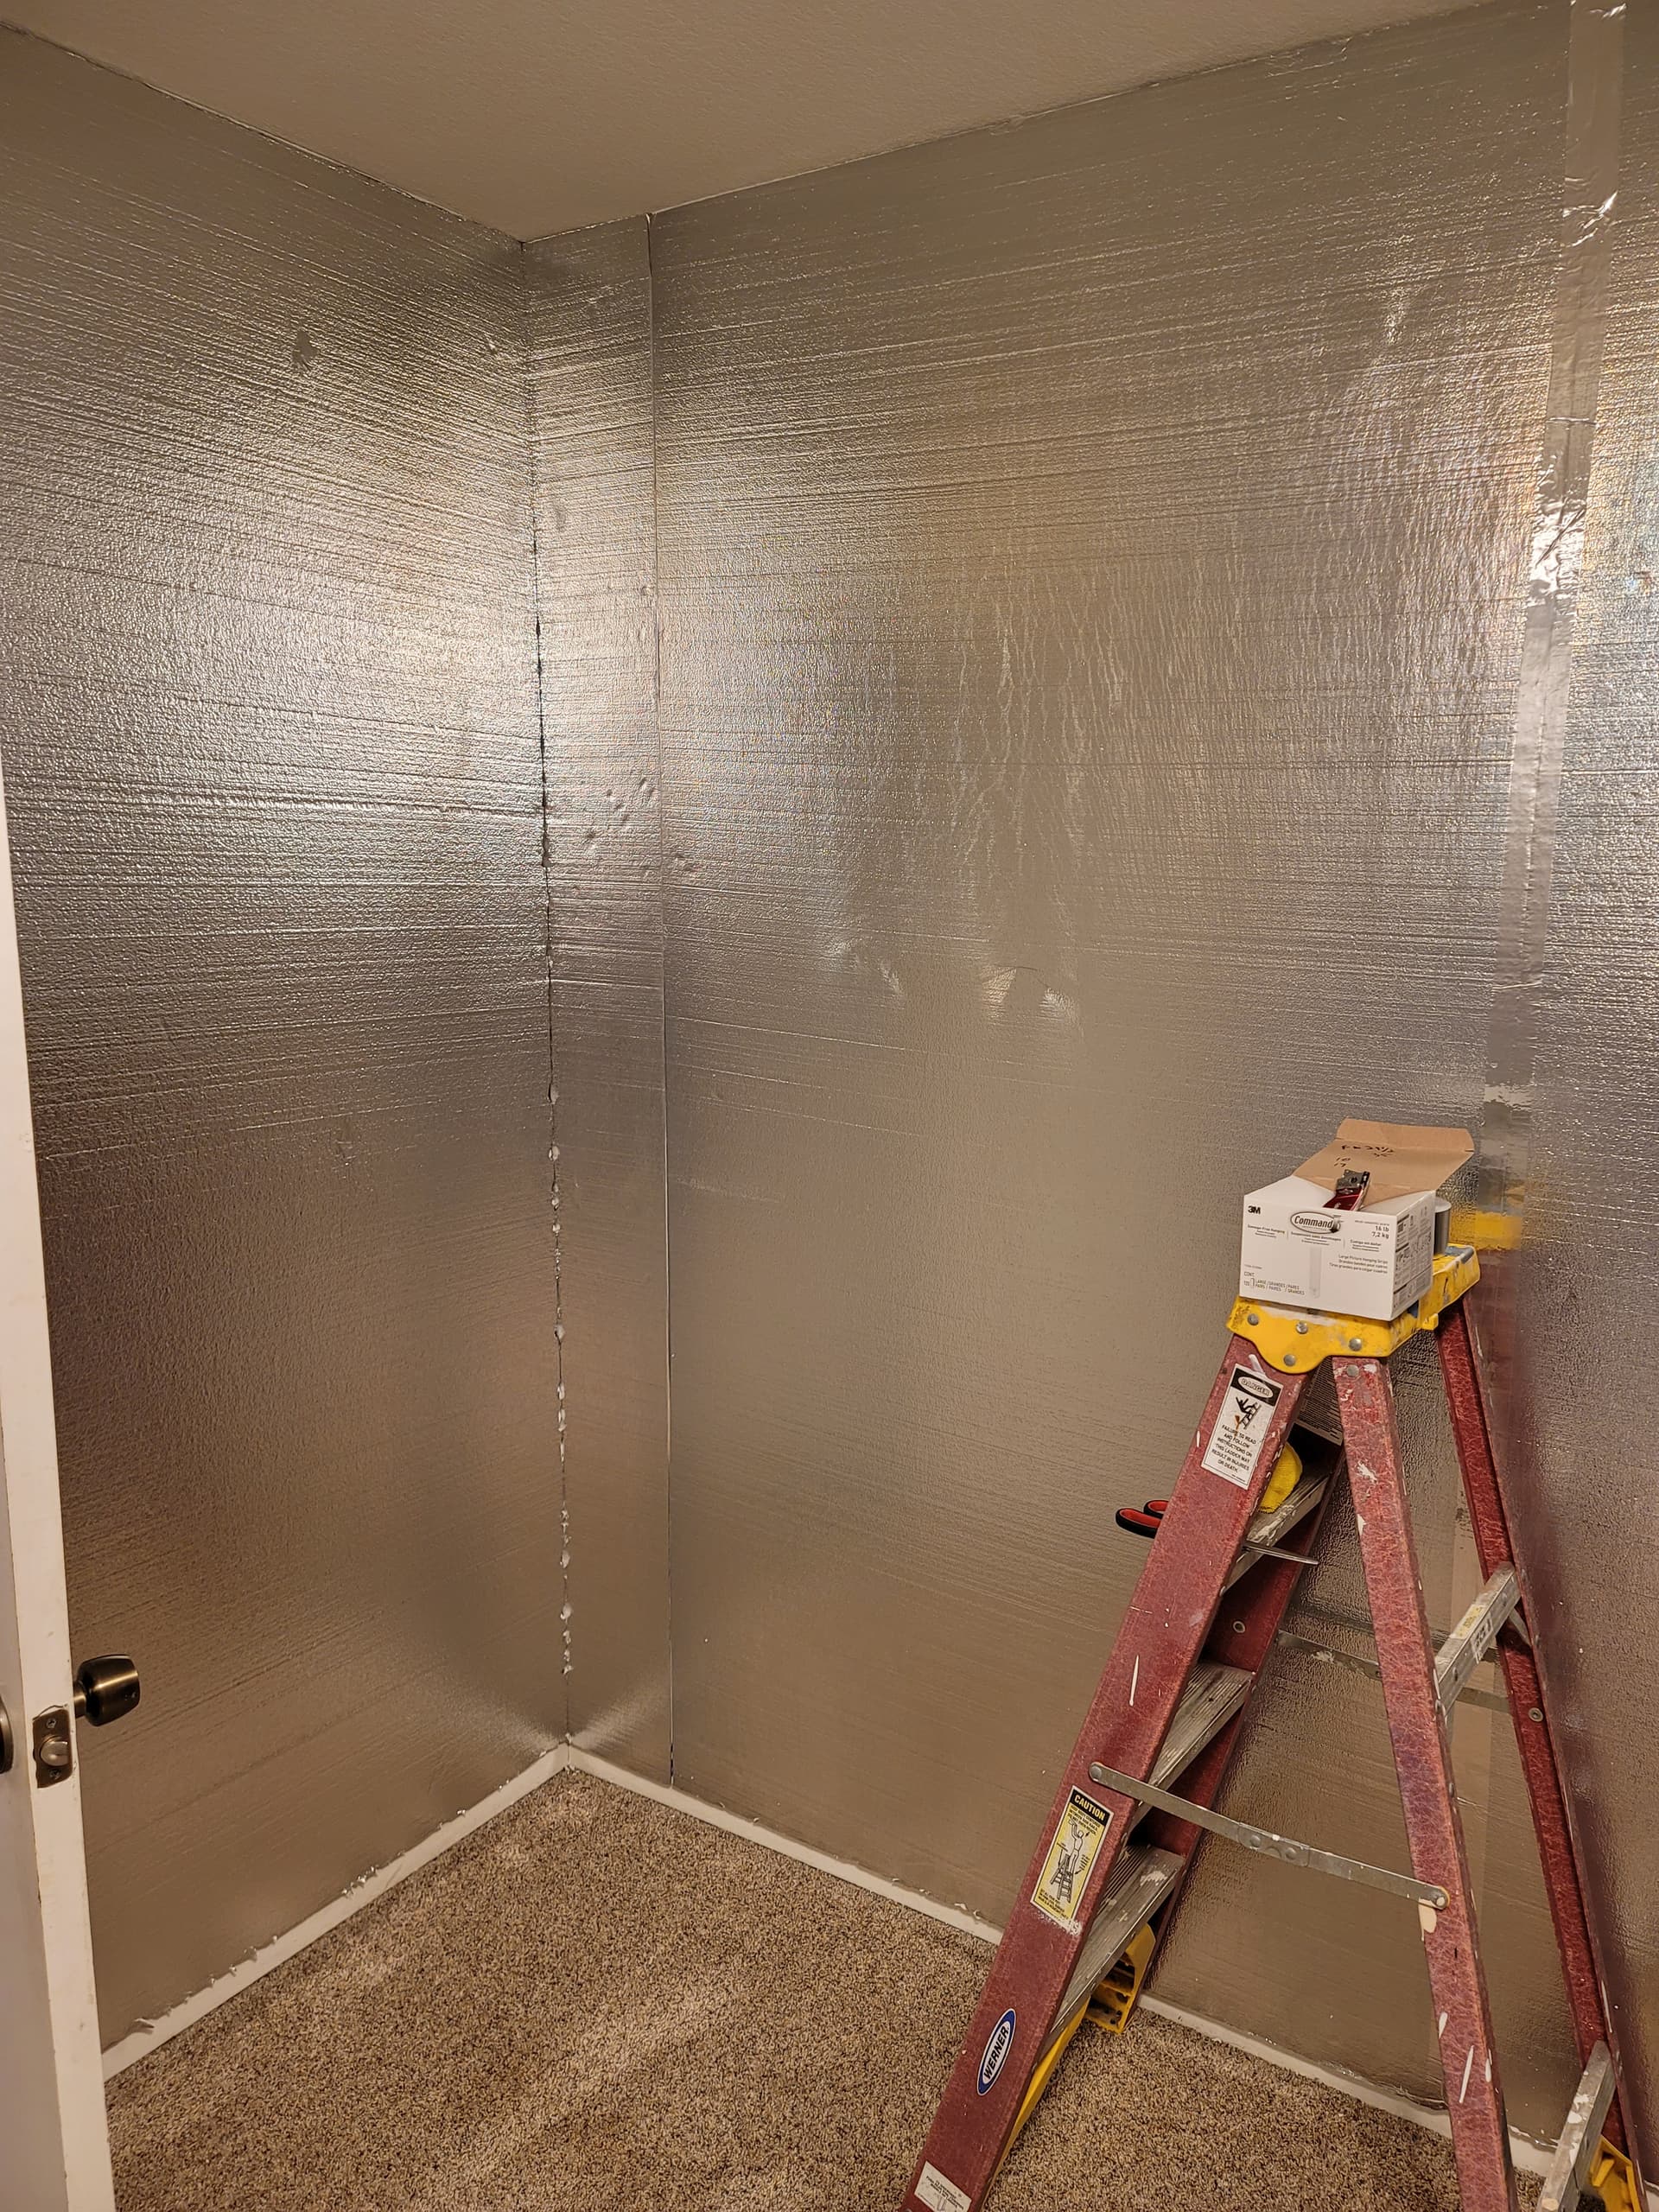
Step 4. Buy R- Tech insulating panels (how many you need based on measurements) at builders supply store. Home Depot, Lowes or whatever you have available. We bought 200.00 worth. 10 sheets.
- Step 5 - If you have Carpet, vacuum the carpet multiple times to start. This will ensure you get rid of a lot of dust and dirt and the potential larger contaminants and prevents packing them into carpet while doing a lot of next steps. (we will be doing this again soon…)
- If you have other floor type clean as required.
-
Step 6A- “FrontLine Spray” treat the Carpet/Floor!!! A good misting. Keep all animals off for 24hrs. This is a MUST!!! For carpet people - Before we “steam clean carpet”, this serves as an initial step to kill mites and anything else that could potentially be a threat. More on this in a later update post. But for now, the FrontLine spray is available on Amazon or at Pet Stores fairly inexpensively and should be allowed to dry.
STEP 6B - Next spray entire room, walls and carpet/flooring with the CleanSmart disinfectant. Allow to dry. This stuff is awesome and stops any bacterium, virus and mold mildew. Important!!!
-
Step 7 - for carpet people - Steam Clean Carpets and Thouroughly dry them. Ensure they are dry.
Day 2 and Night 2:
-
Step 8 - Re-spray entire room and floors with CleanSmart disinfectant. Let dry.
-
Step 9 - Re-spray entire room and floors with FrontLine spray. Let dry.
By now anything that was a potential parasite or insect threat is dead. But remember there could be eggs!!! More on that later. But bacteria and most virus is dead too.
-
Step 10 - Vacuum again to ensure cleanliness.
-
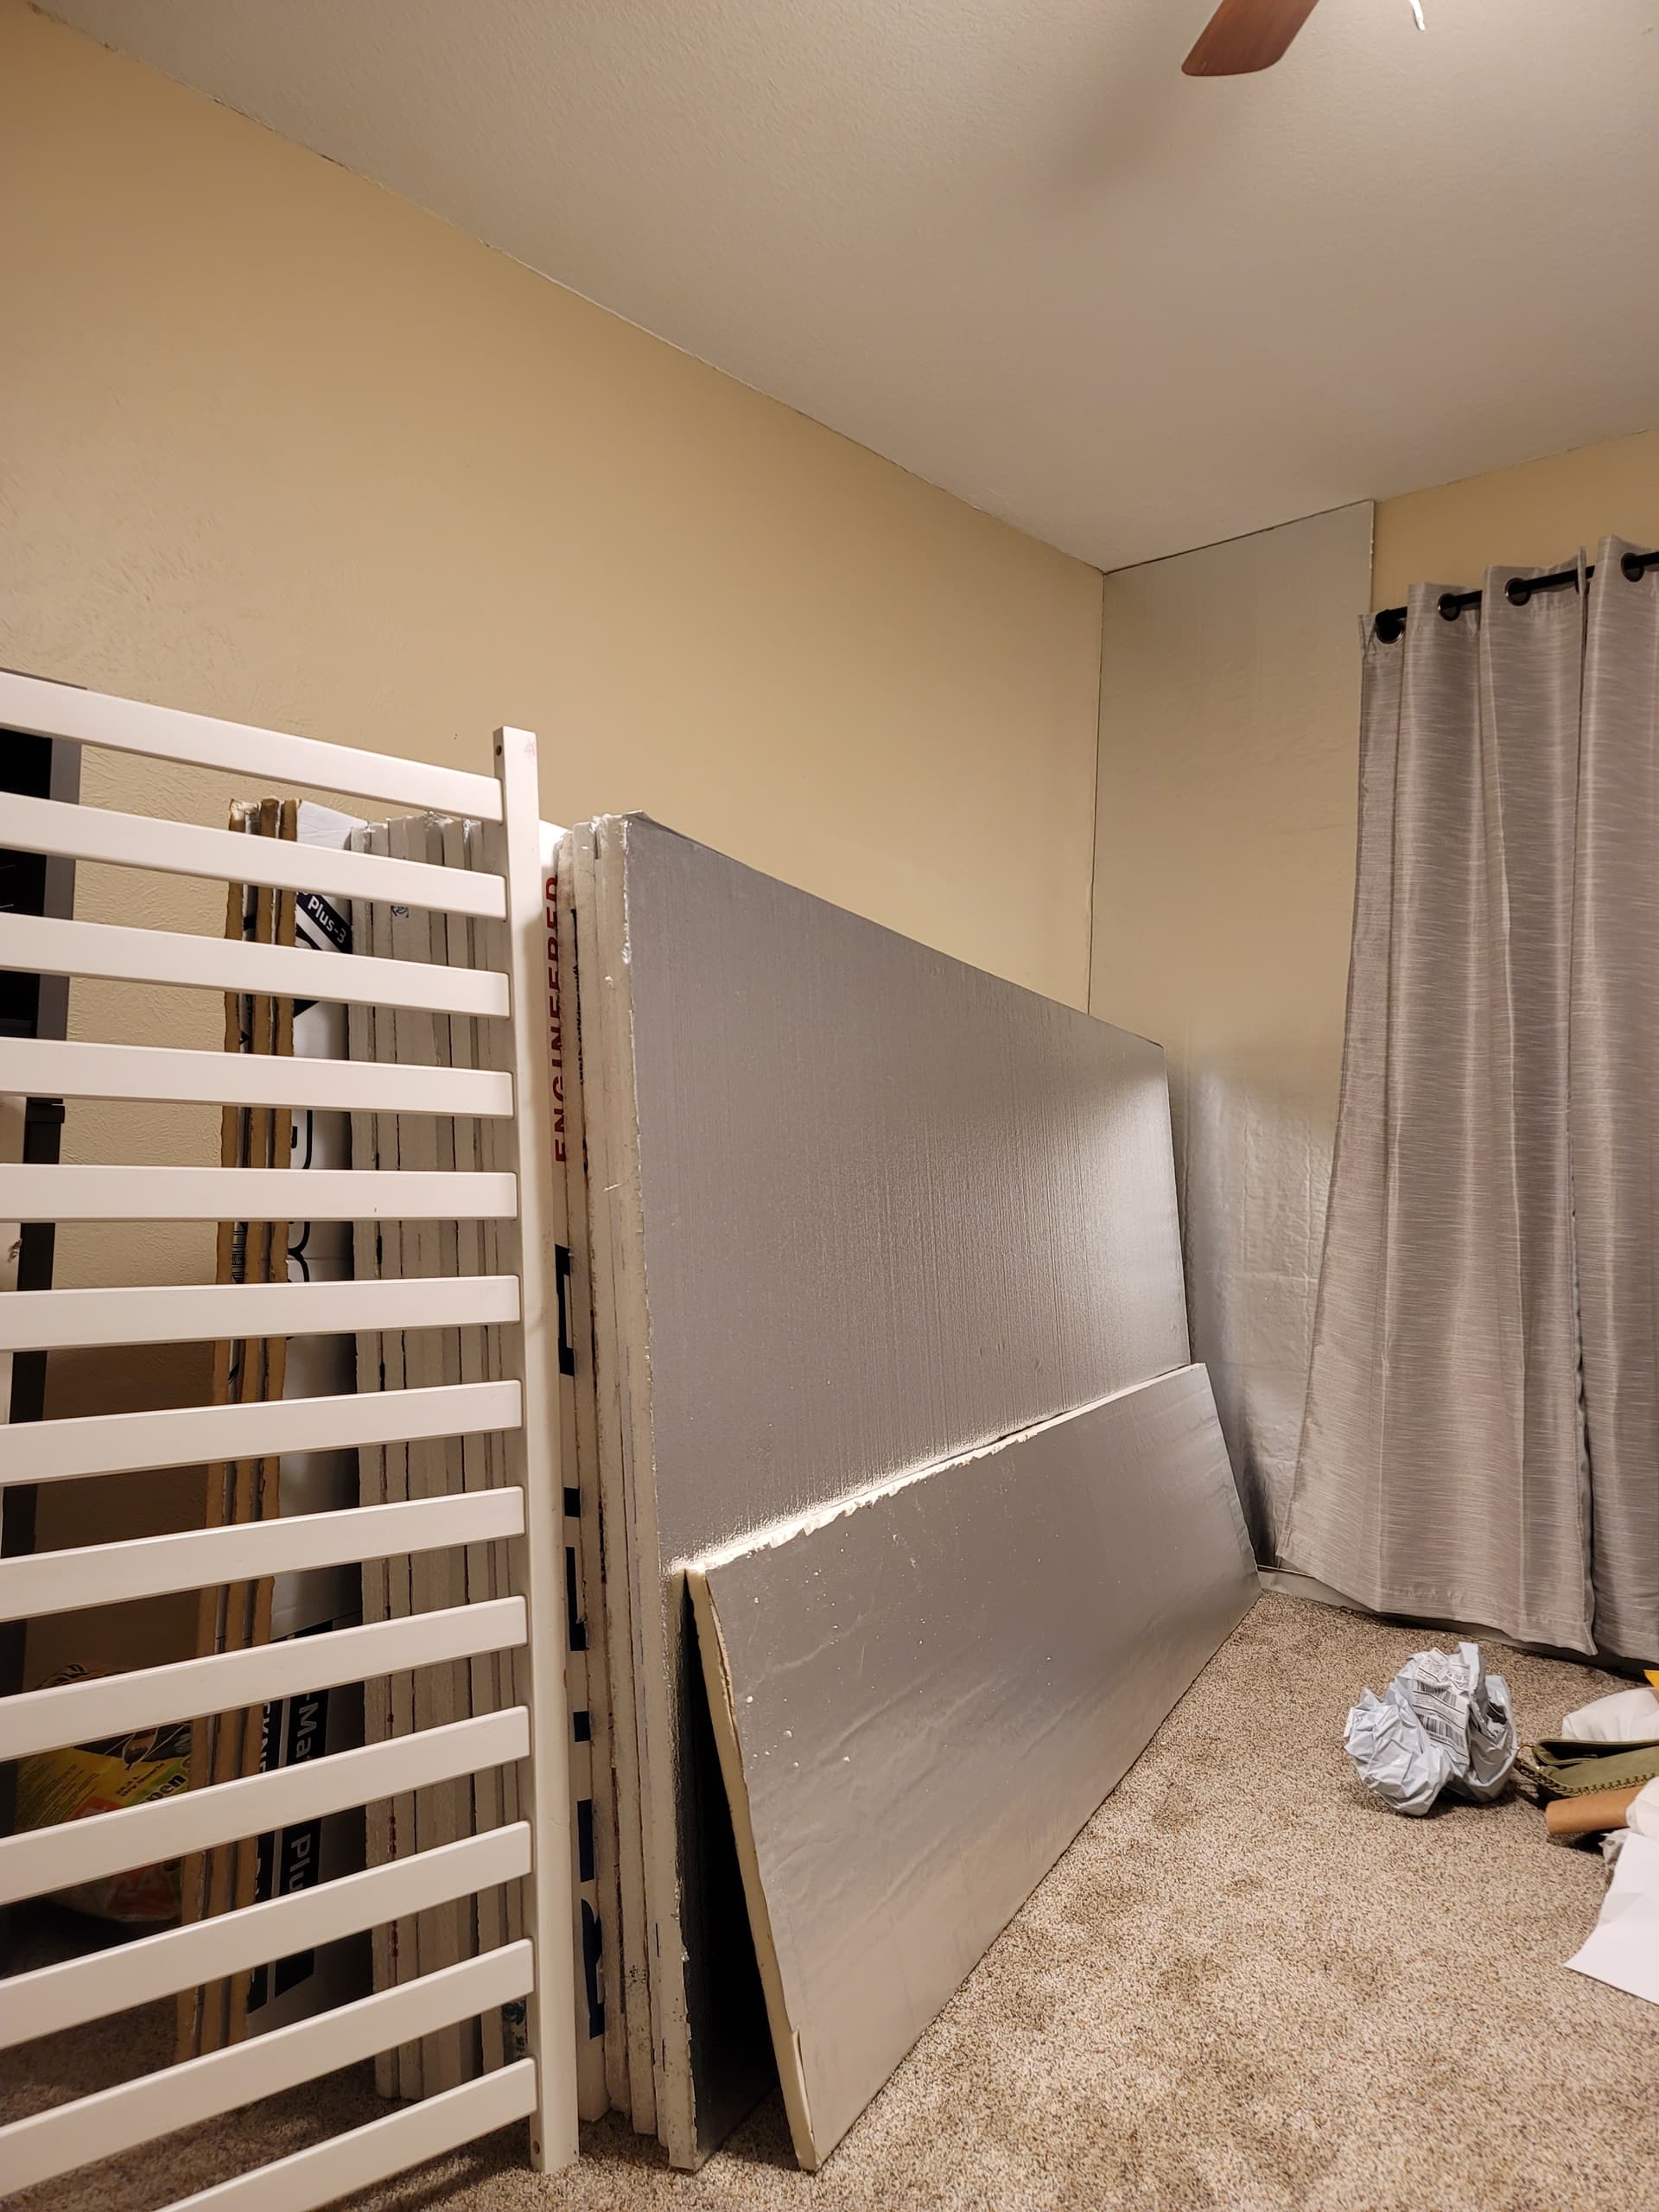
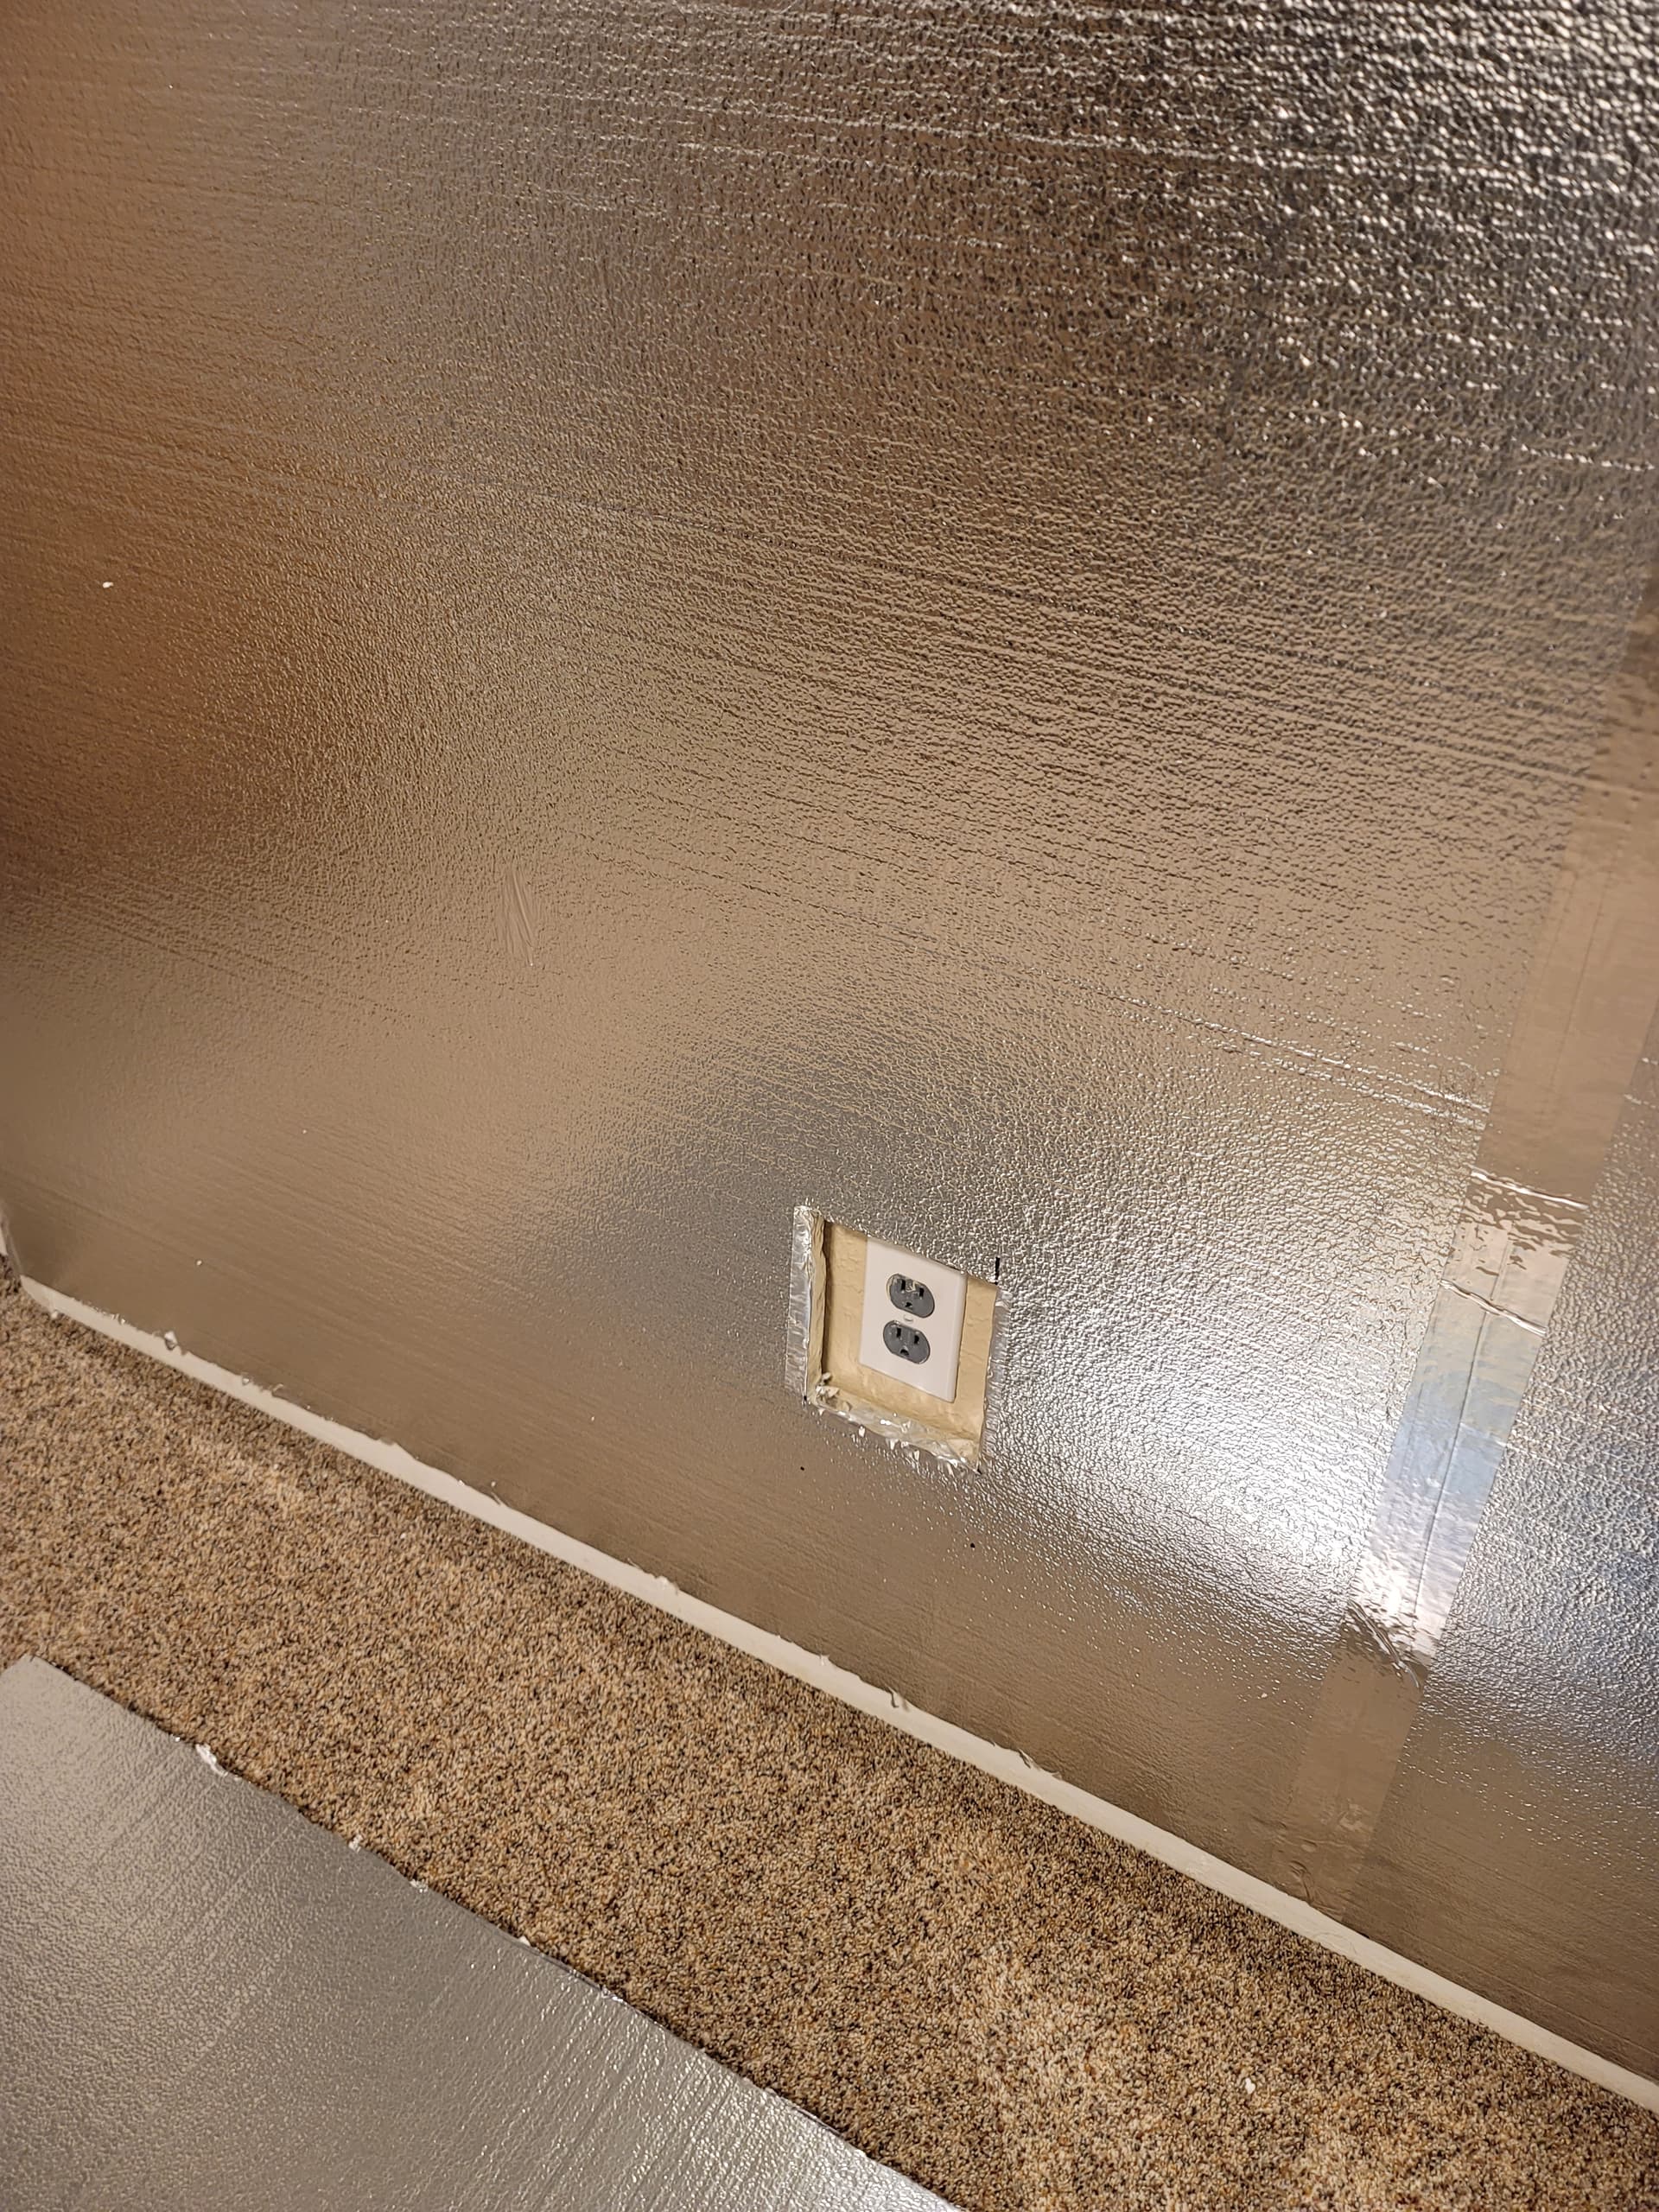
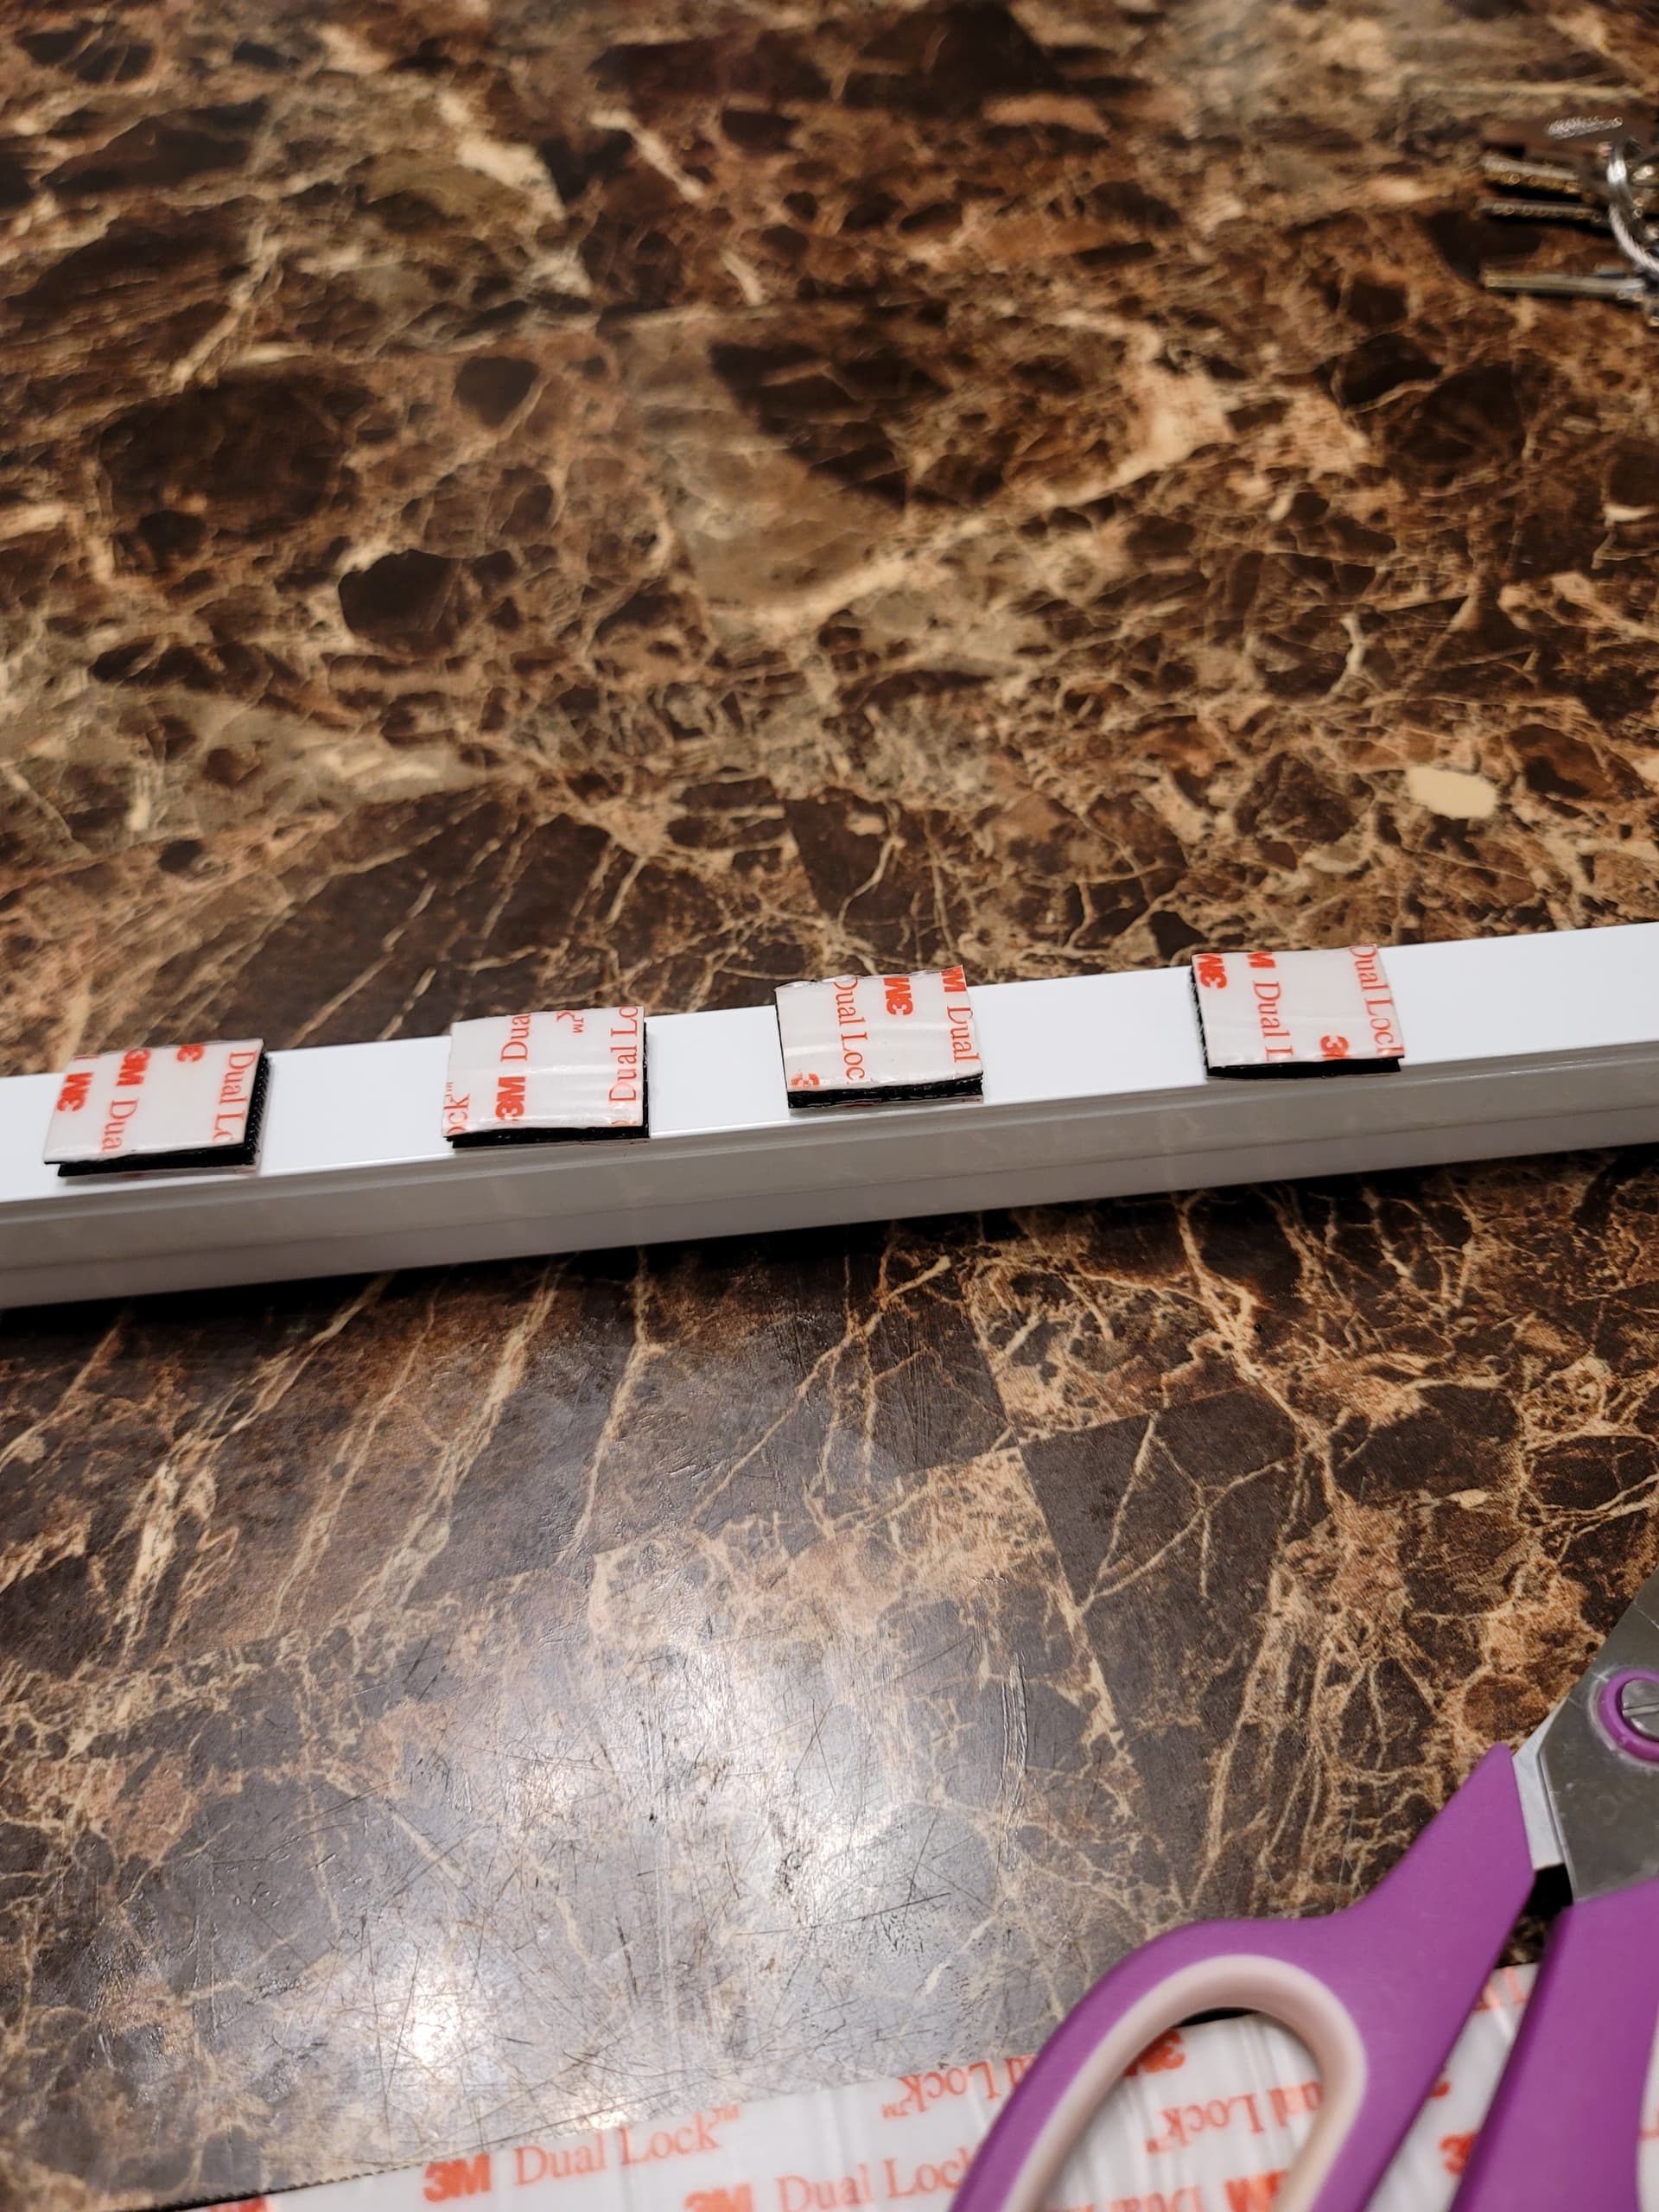
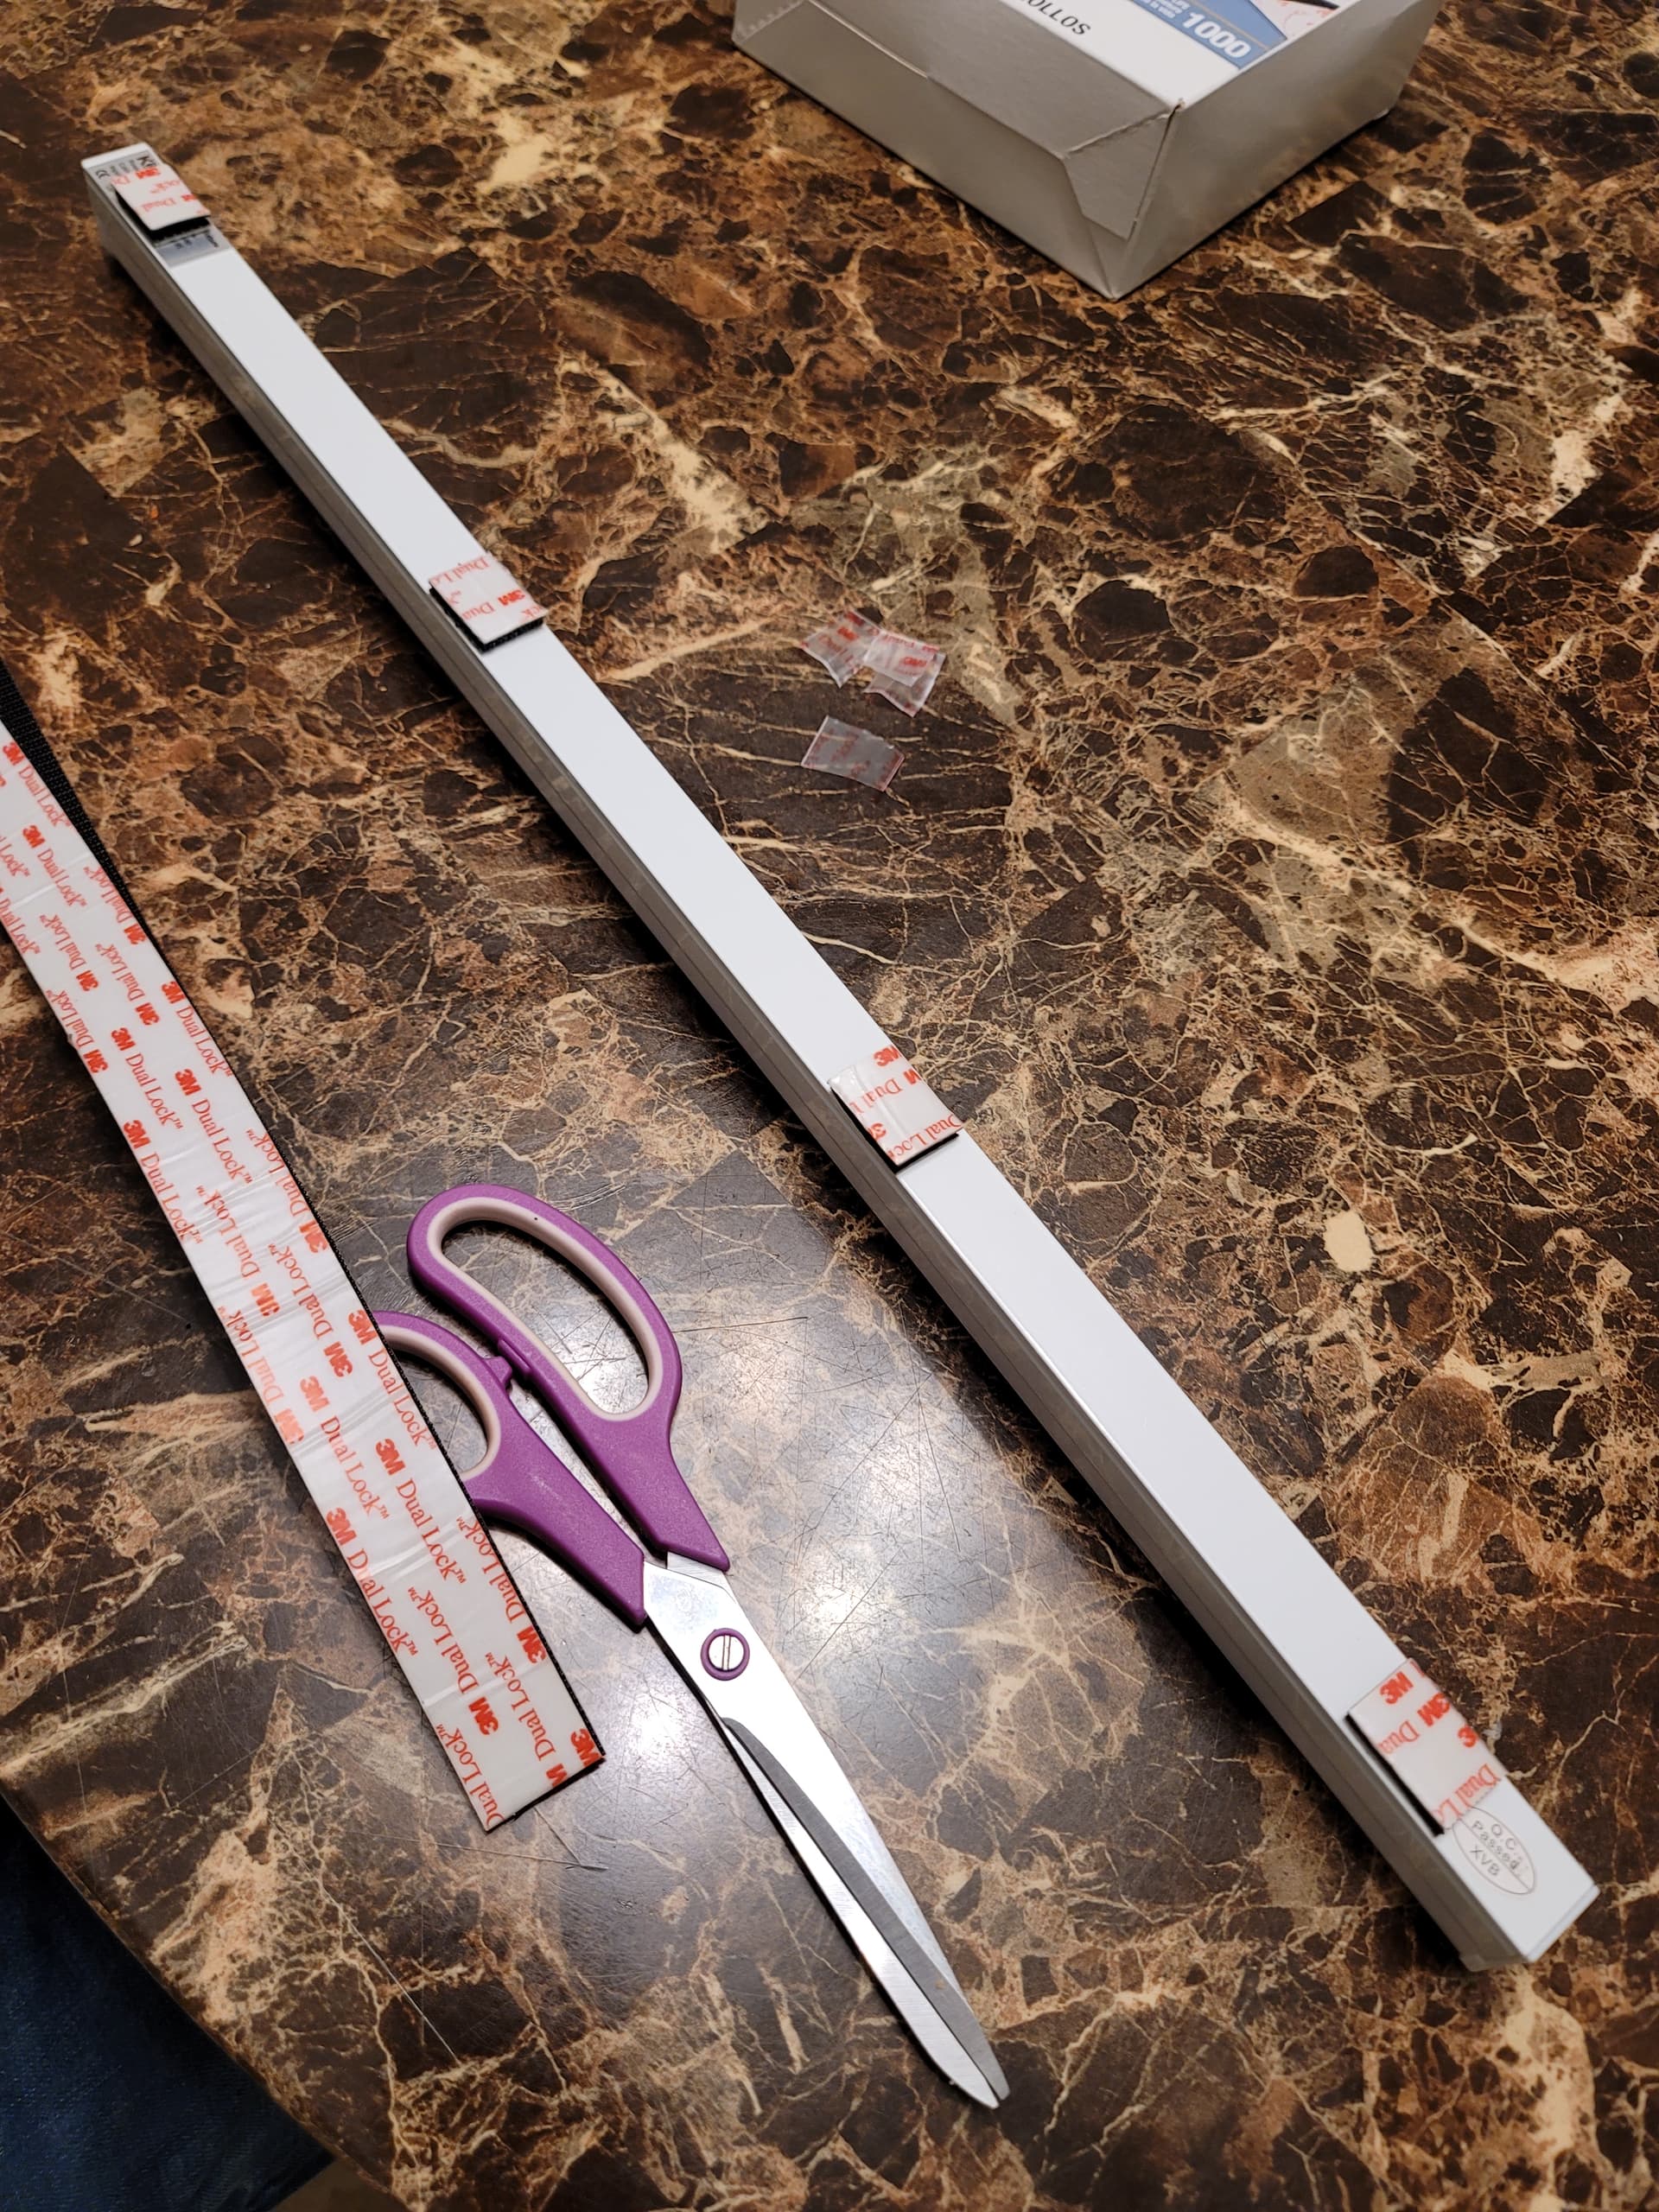
Step 11 - Let’s start the Insulation process. Our cuts are at 94 long or tall. Now we will clean with alcohol and micro fiber towels - 2 spots on top corners and 1 middle spot on bottom of each panel. Apply the command strips to the cleaned spots. Then stick the opposing side on as well.
-
Step 12 - clean the same spots on the wall where panels will hang. Then press them onto walls.
This is the point I will stop until I am done Insulating.
More to come…