My daughter was one of the main designers when it came to my reptile room now, she halted a lot. She was quite little then though, about 3. This is a pic of her when I told her we were finally finished designing and we started to build.

9 Likes
My daughters have definitely become part of it as well, twins are 4, little one is 2. Just had em spreading filler on the floor a few days ago lol.
5 Likes
Mine are 11 and 4
3 Likes
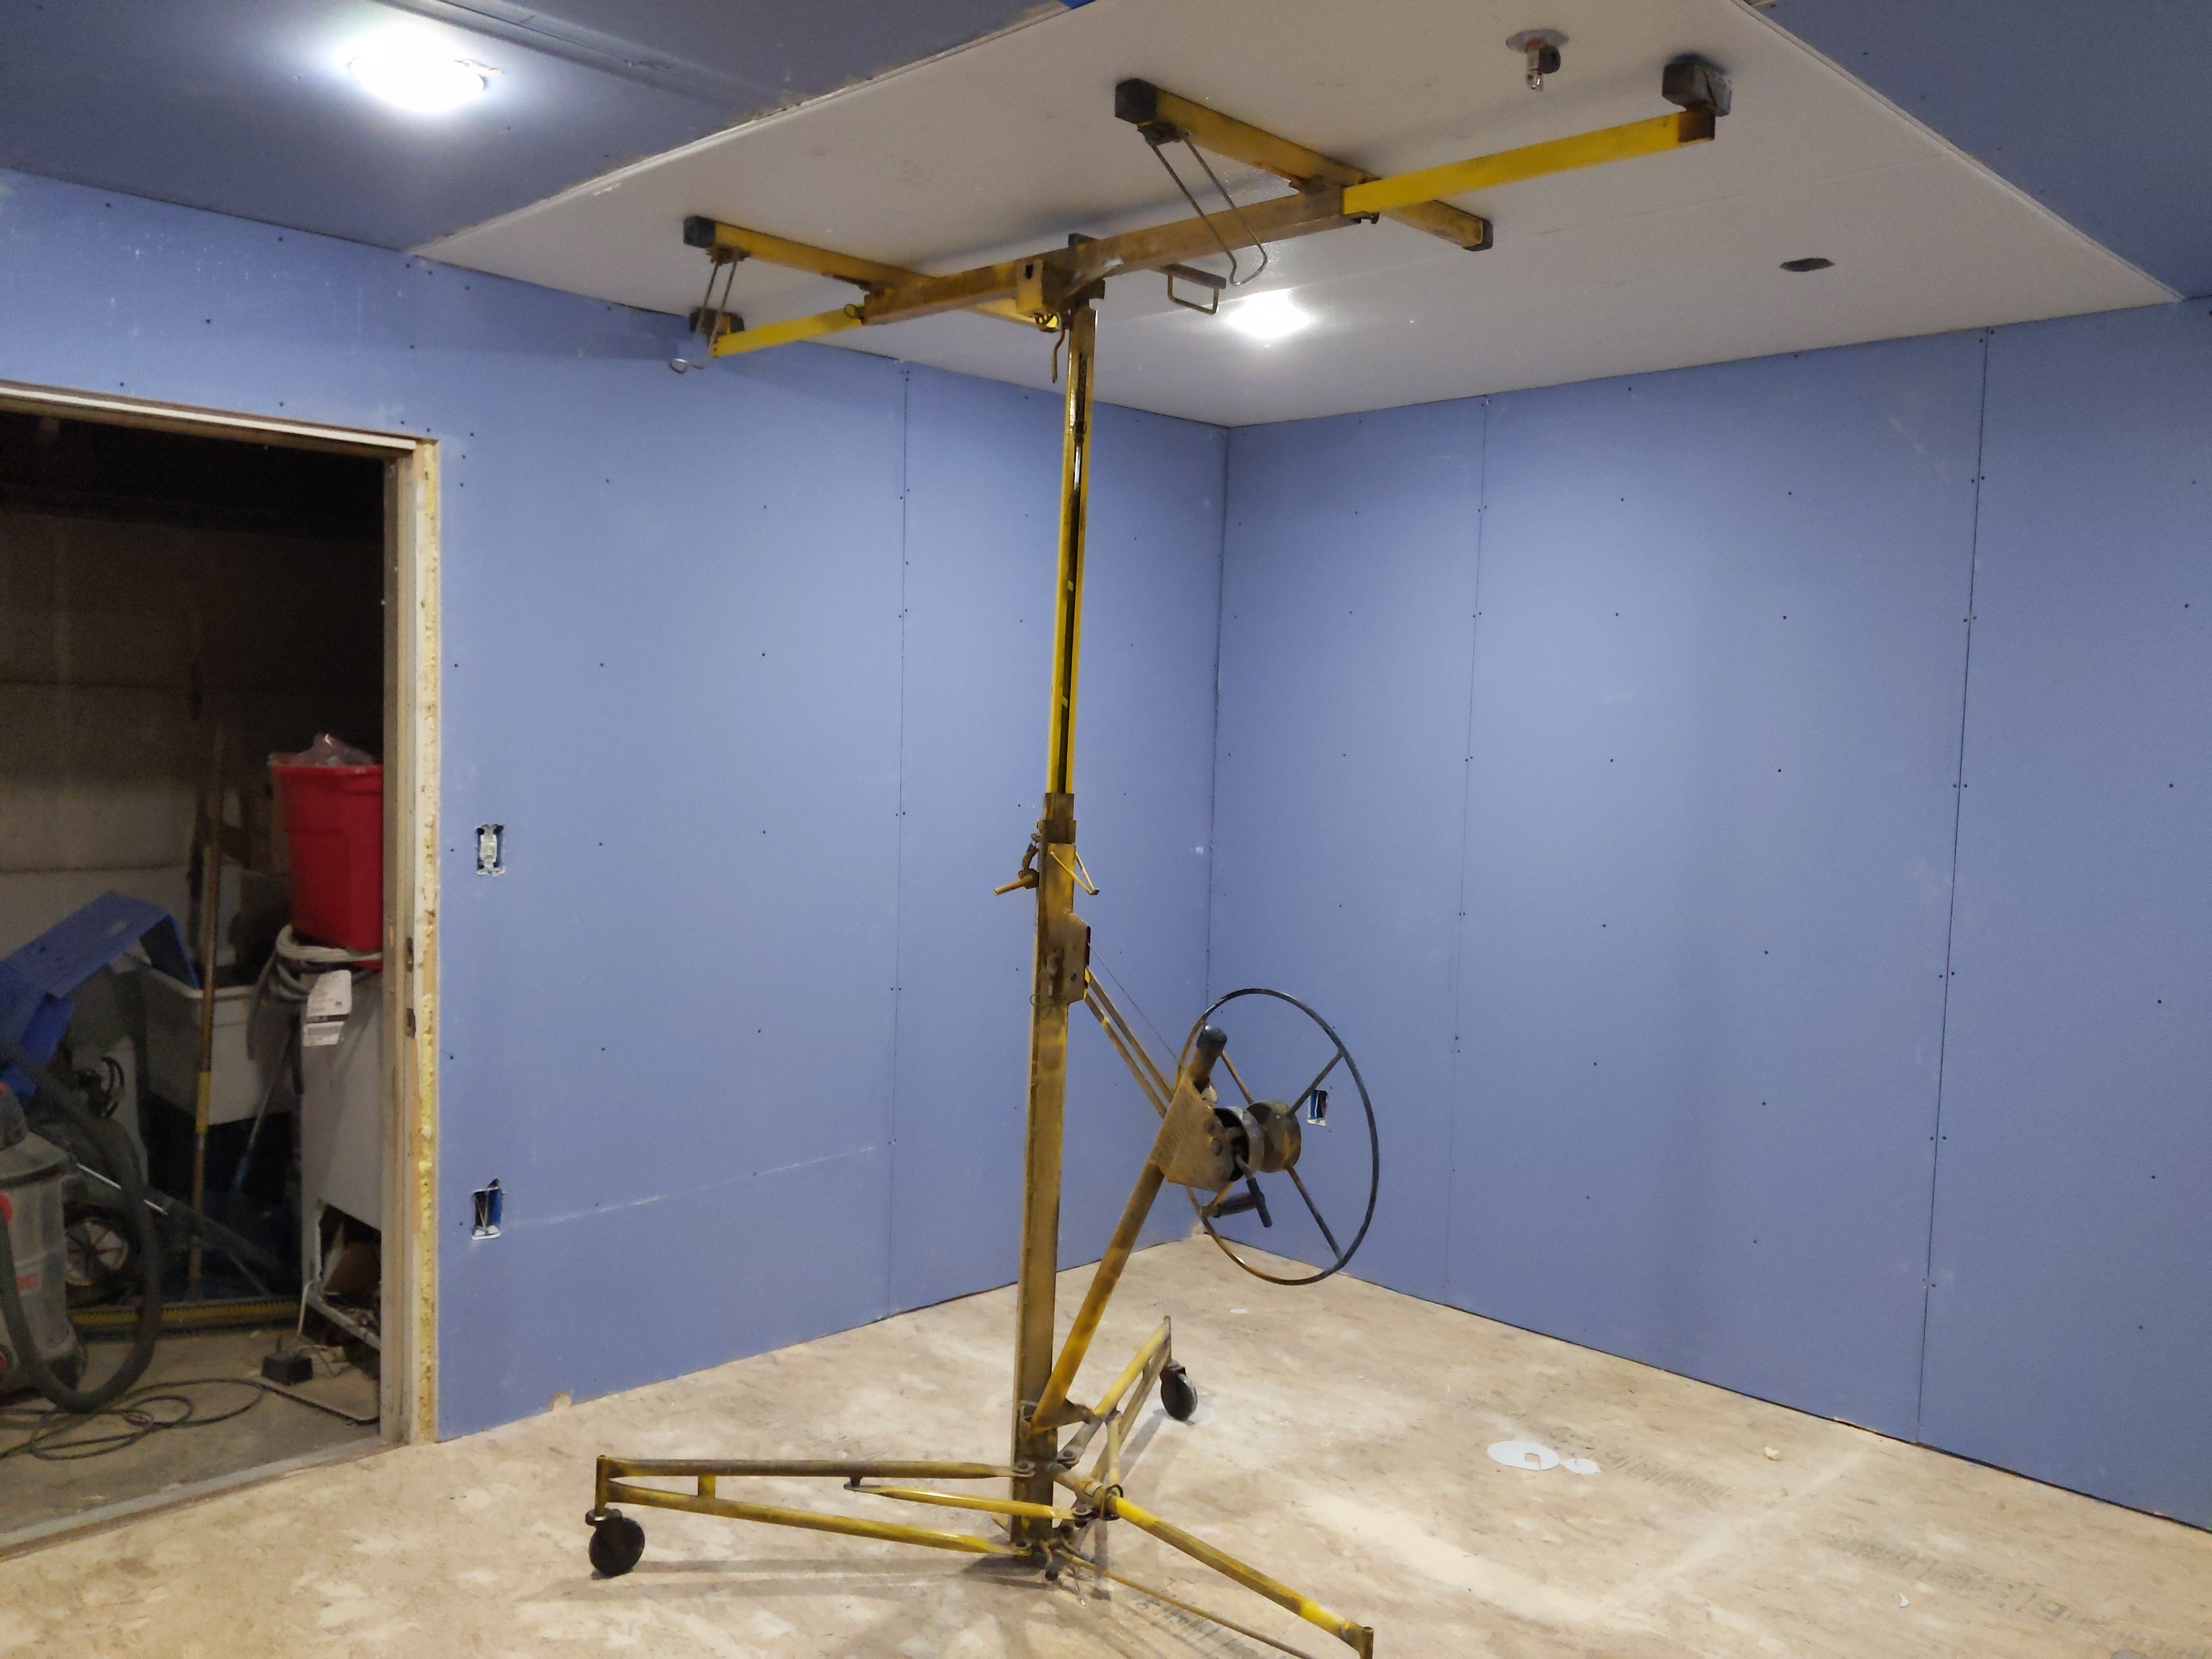
A 2x4 tee would be my go to if I didn’t have a drywall lift. definitely makes it easier.

Stopping point today, it’s looking like the ceiling panels will be 1 at a time, since the lift holds it. Keeps with the theme of this build, slow but progress.
14 Likes
Well yeah, that’s a hell of a lot easier 
4 Likes

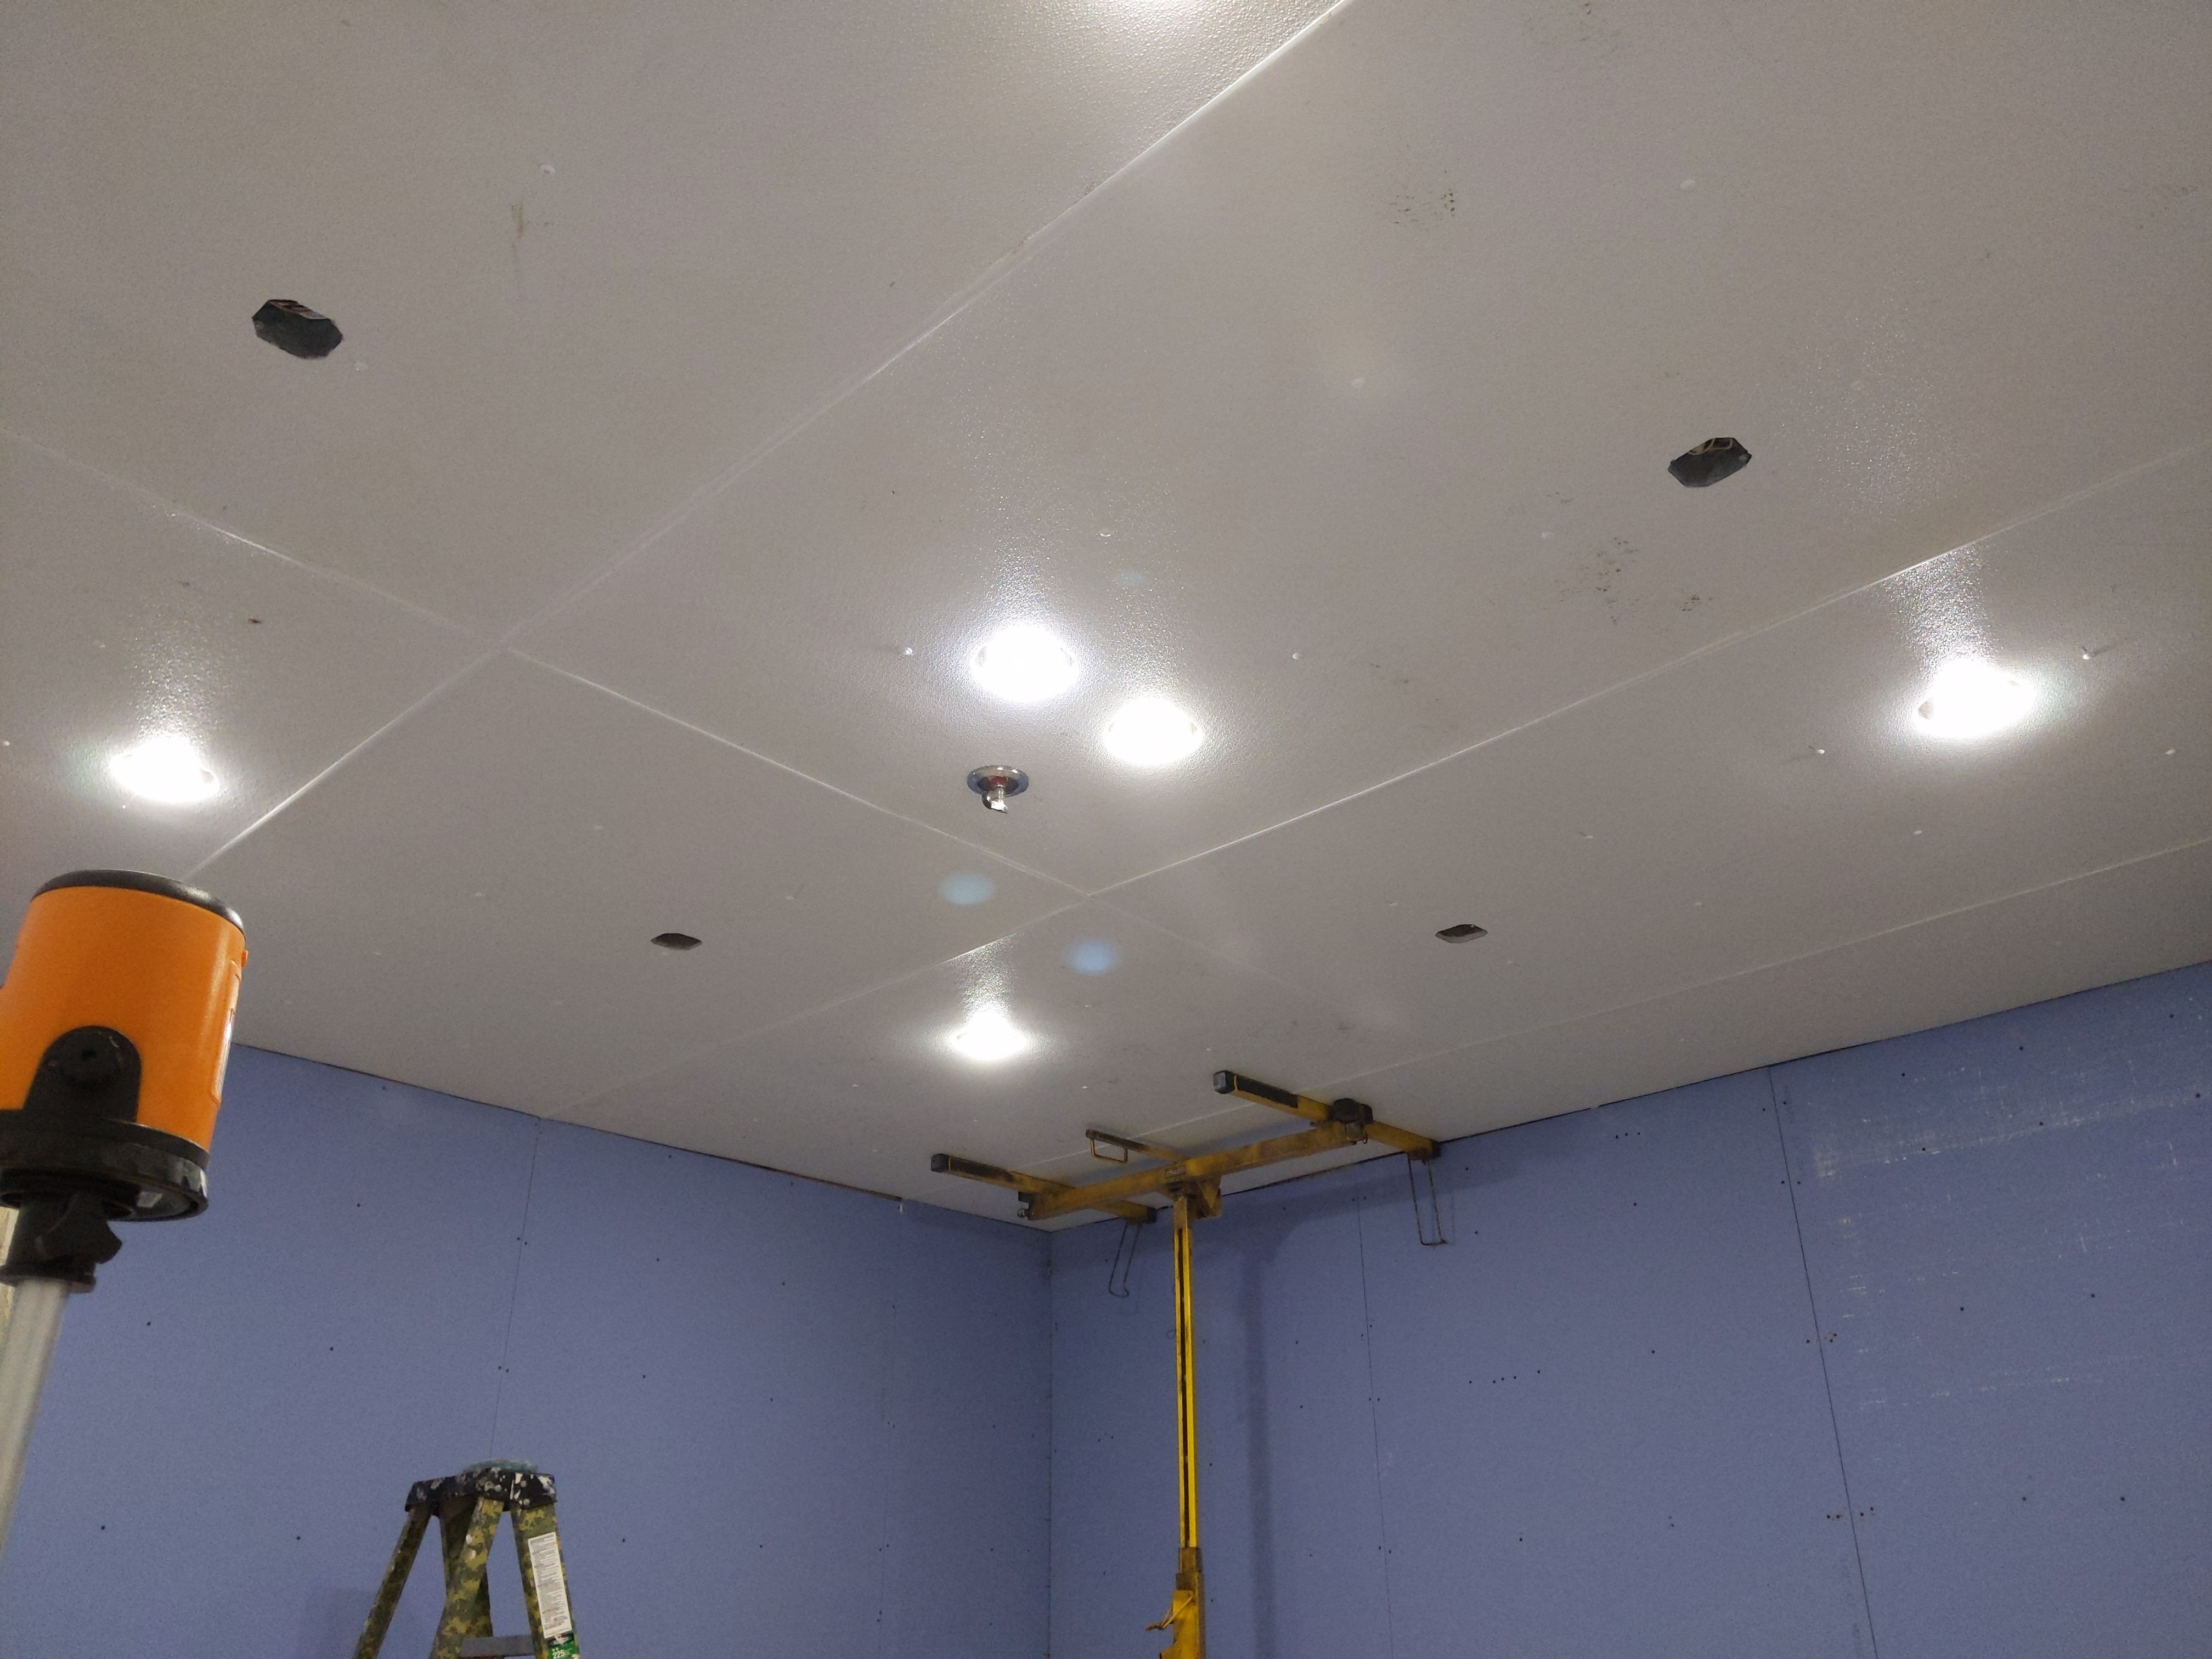
Finally got out there again, stopping point today. Half the ceiling done, quarter of the walls done.
10 Likes
Oh my gosh I cannot wait to see the finished product 
3 Likes
You’ve done really well. Good luck with the rest 
3 Likes
Looking good!
2 Likes

Wow it is coming together!!!
2 Likes
It’s looking super sterile and awesome 
3 Likes
Yeah looks like a stereotypical lab right now lol.
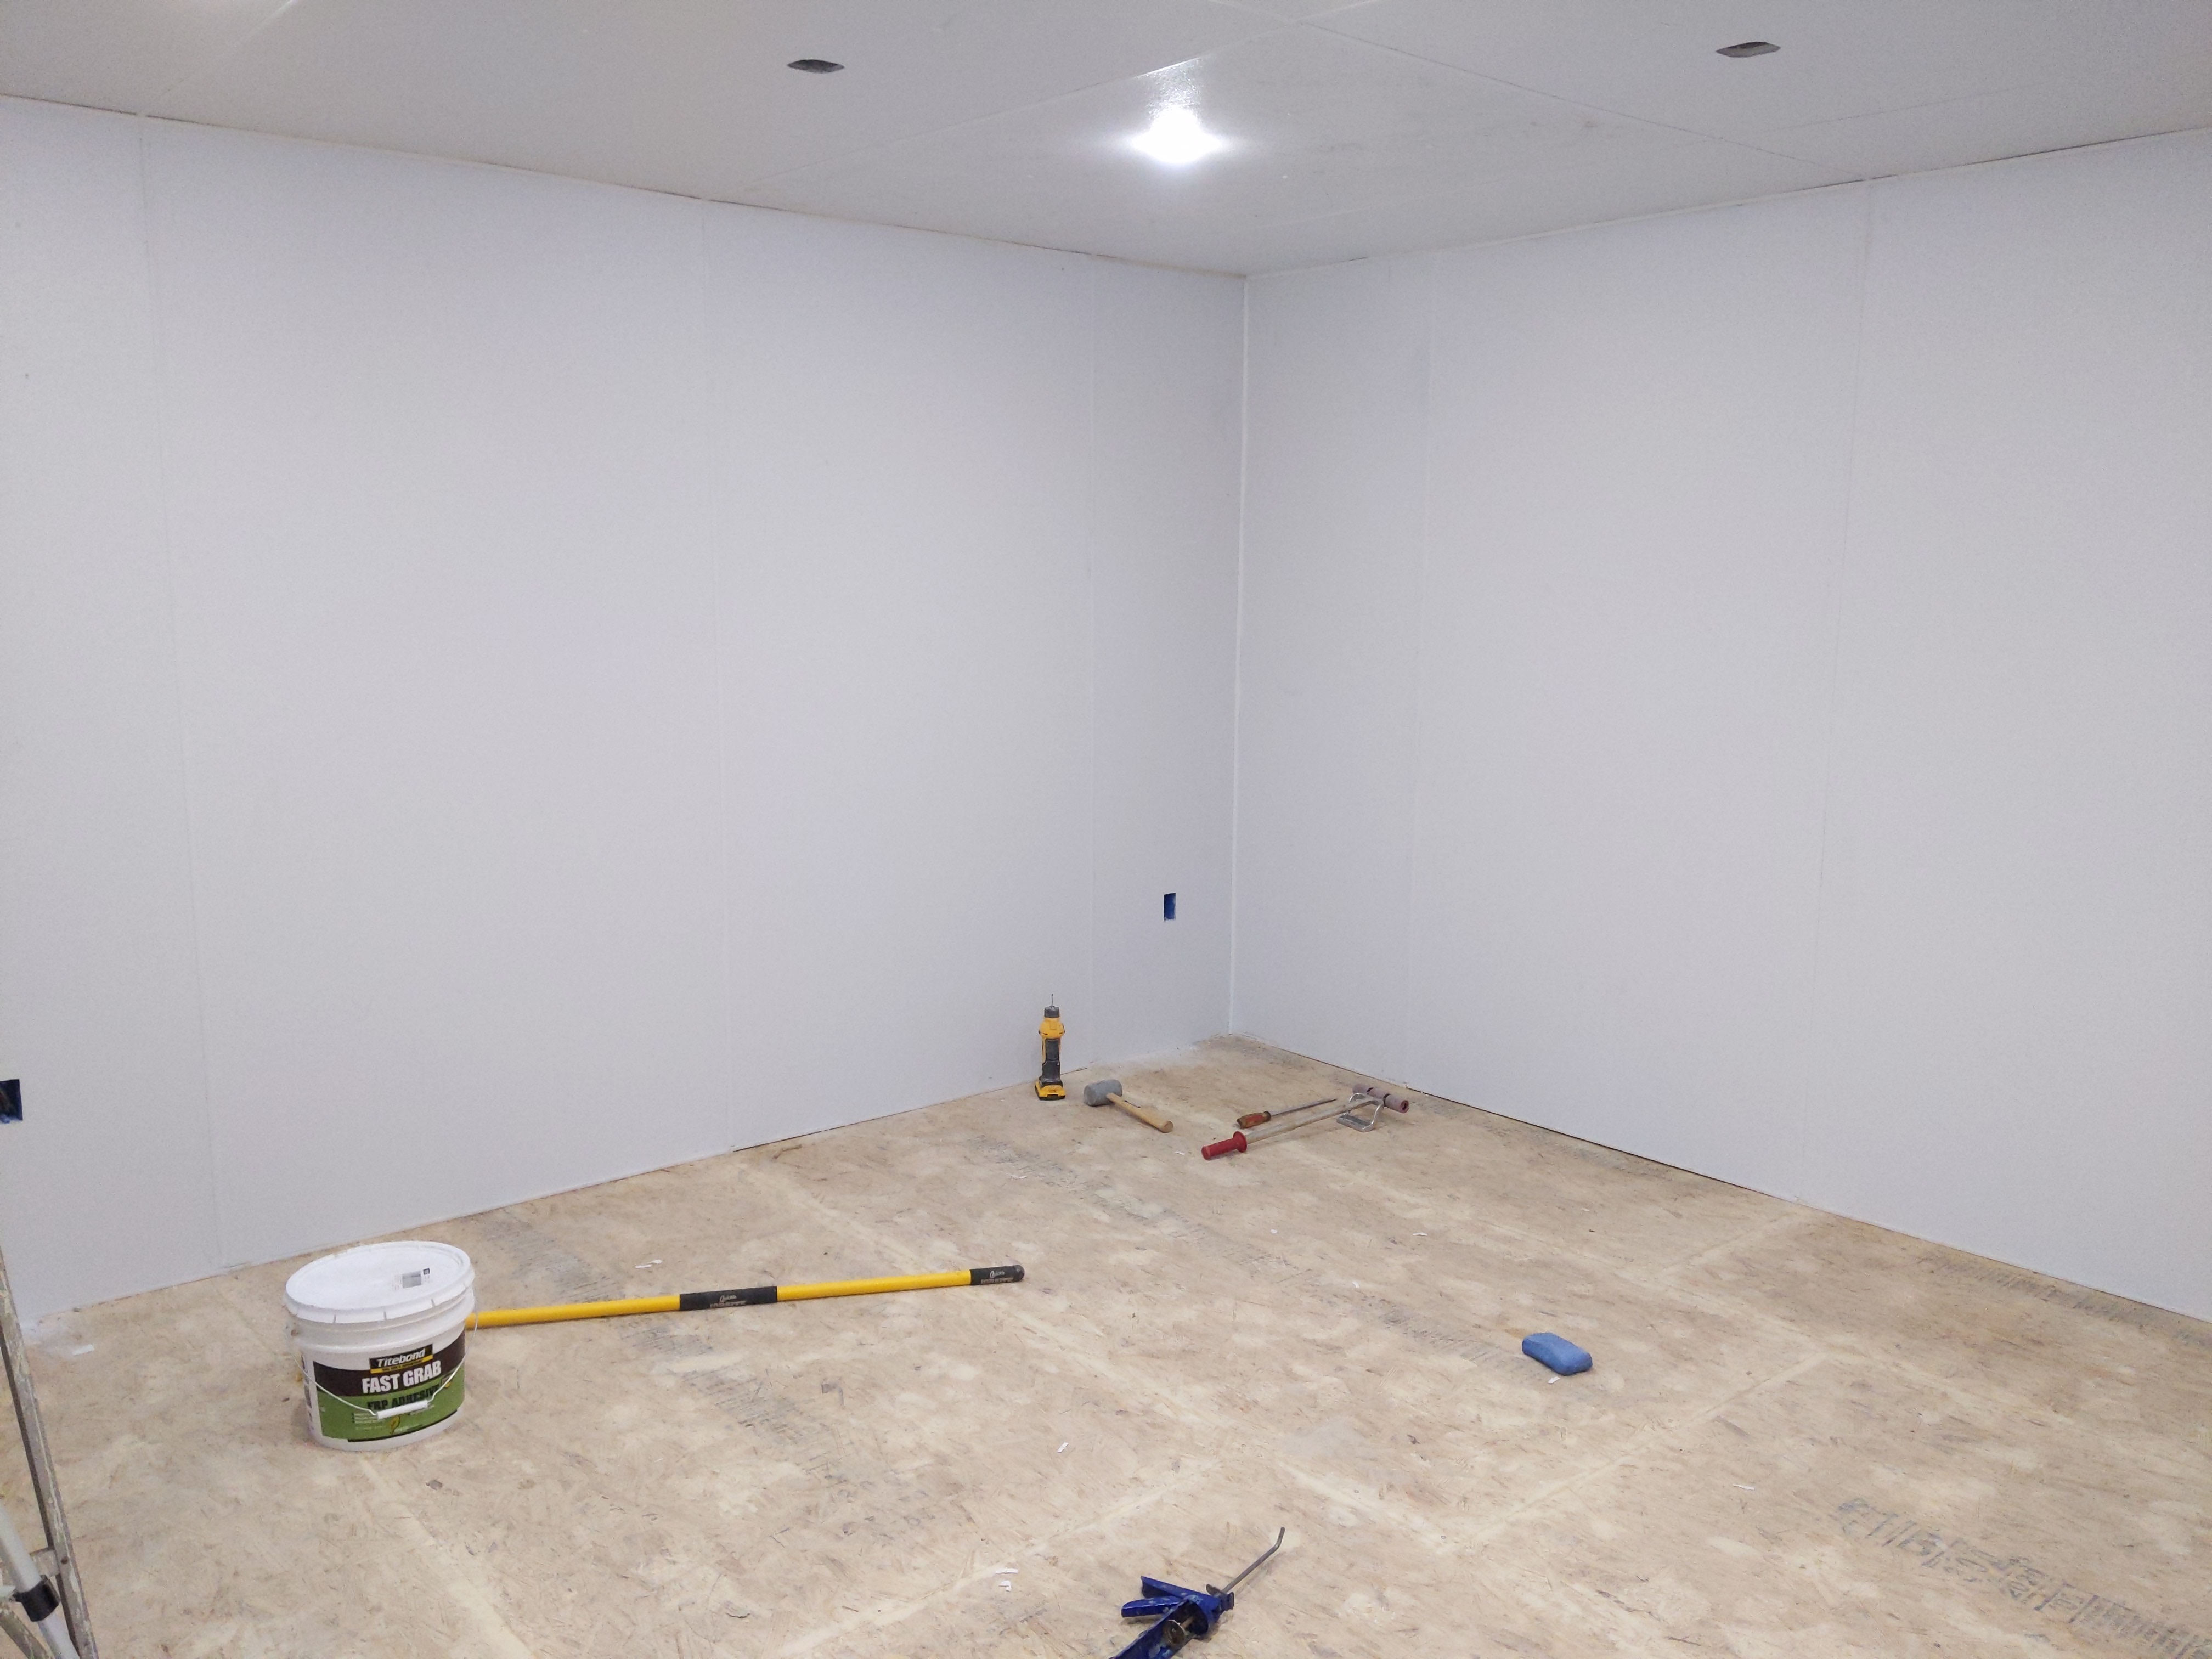
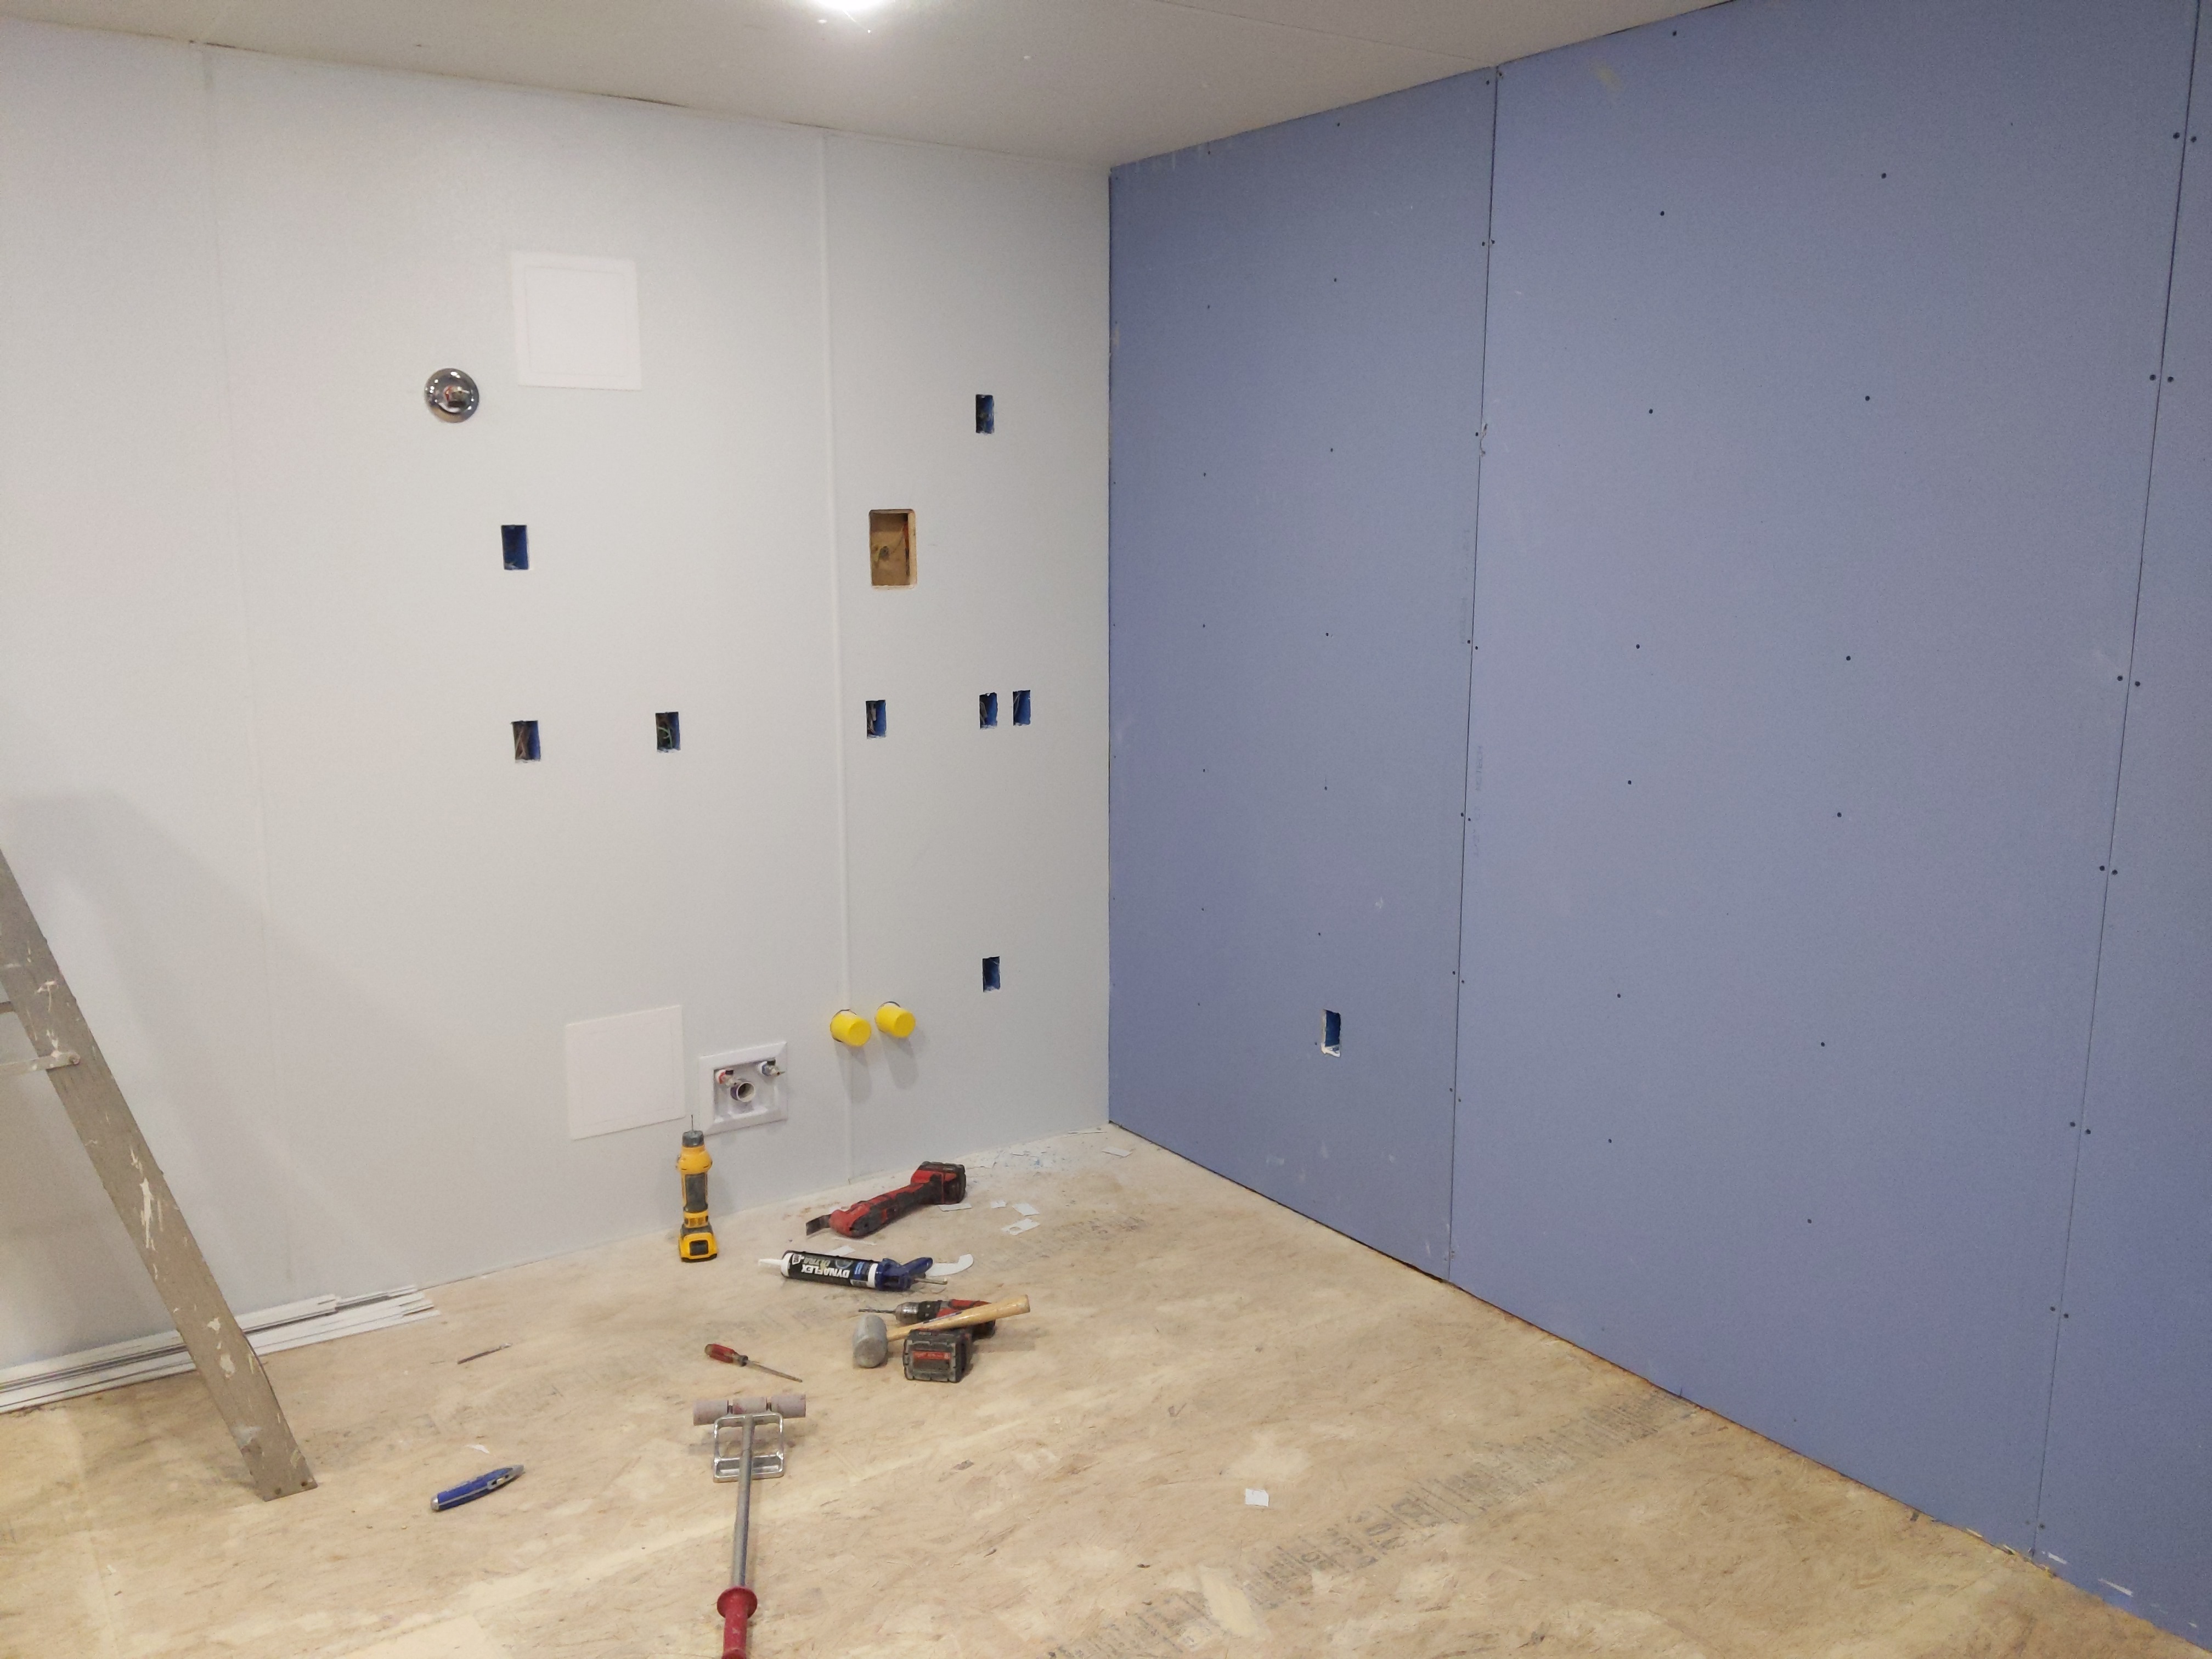
Finally have it all up. Yay! What really makes it difficult is you can’t just work on it for a half hour only, having to clean glue off the trowel and mudbox, change clothes, possibly shower after lol. Yeah need a couple hours to make it worth it.
Next step will be getting ready for epoxy. That’s going to require me to build the toe kicks for the sink and center island, make moulding for the door, clean the fiberglass and caulk it all one more time, put the fans up, and clean up the floor. So little bit of work before I play with epoxy.
12 Likes
Oh my gosh, it look beautiful 
3 Likes
This thread was so awesome to read- seeing the progress is incredible! What an awesome job you’ve done!
8 Likes
Man 2 and a half months later… Well I had a priority change and had to get another project done. Turned a dead space behind a closet into a bedroom extension, yay.
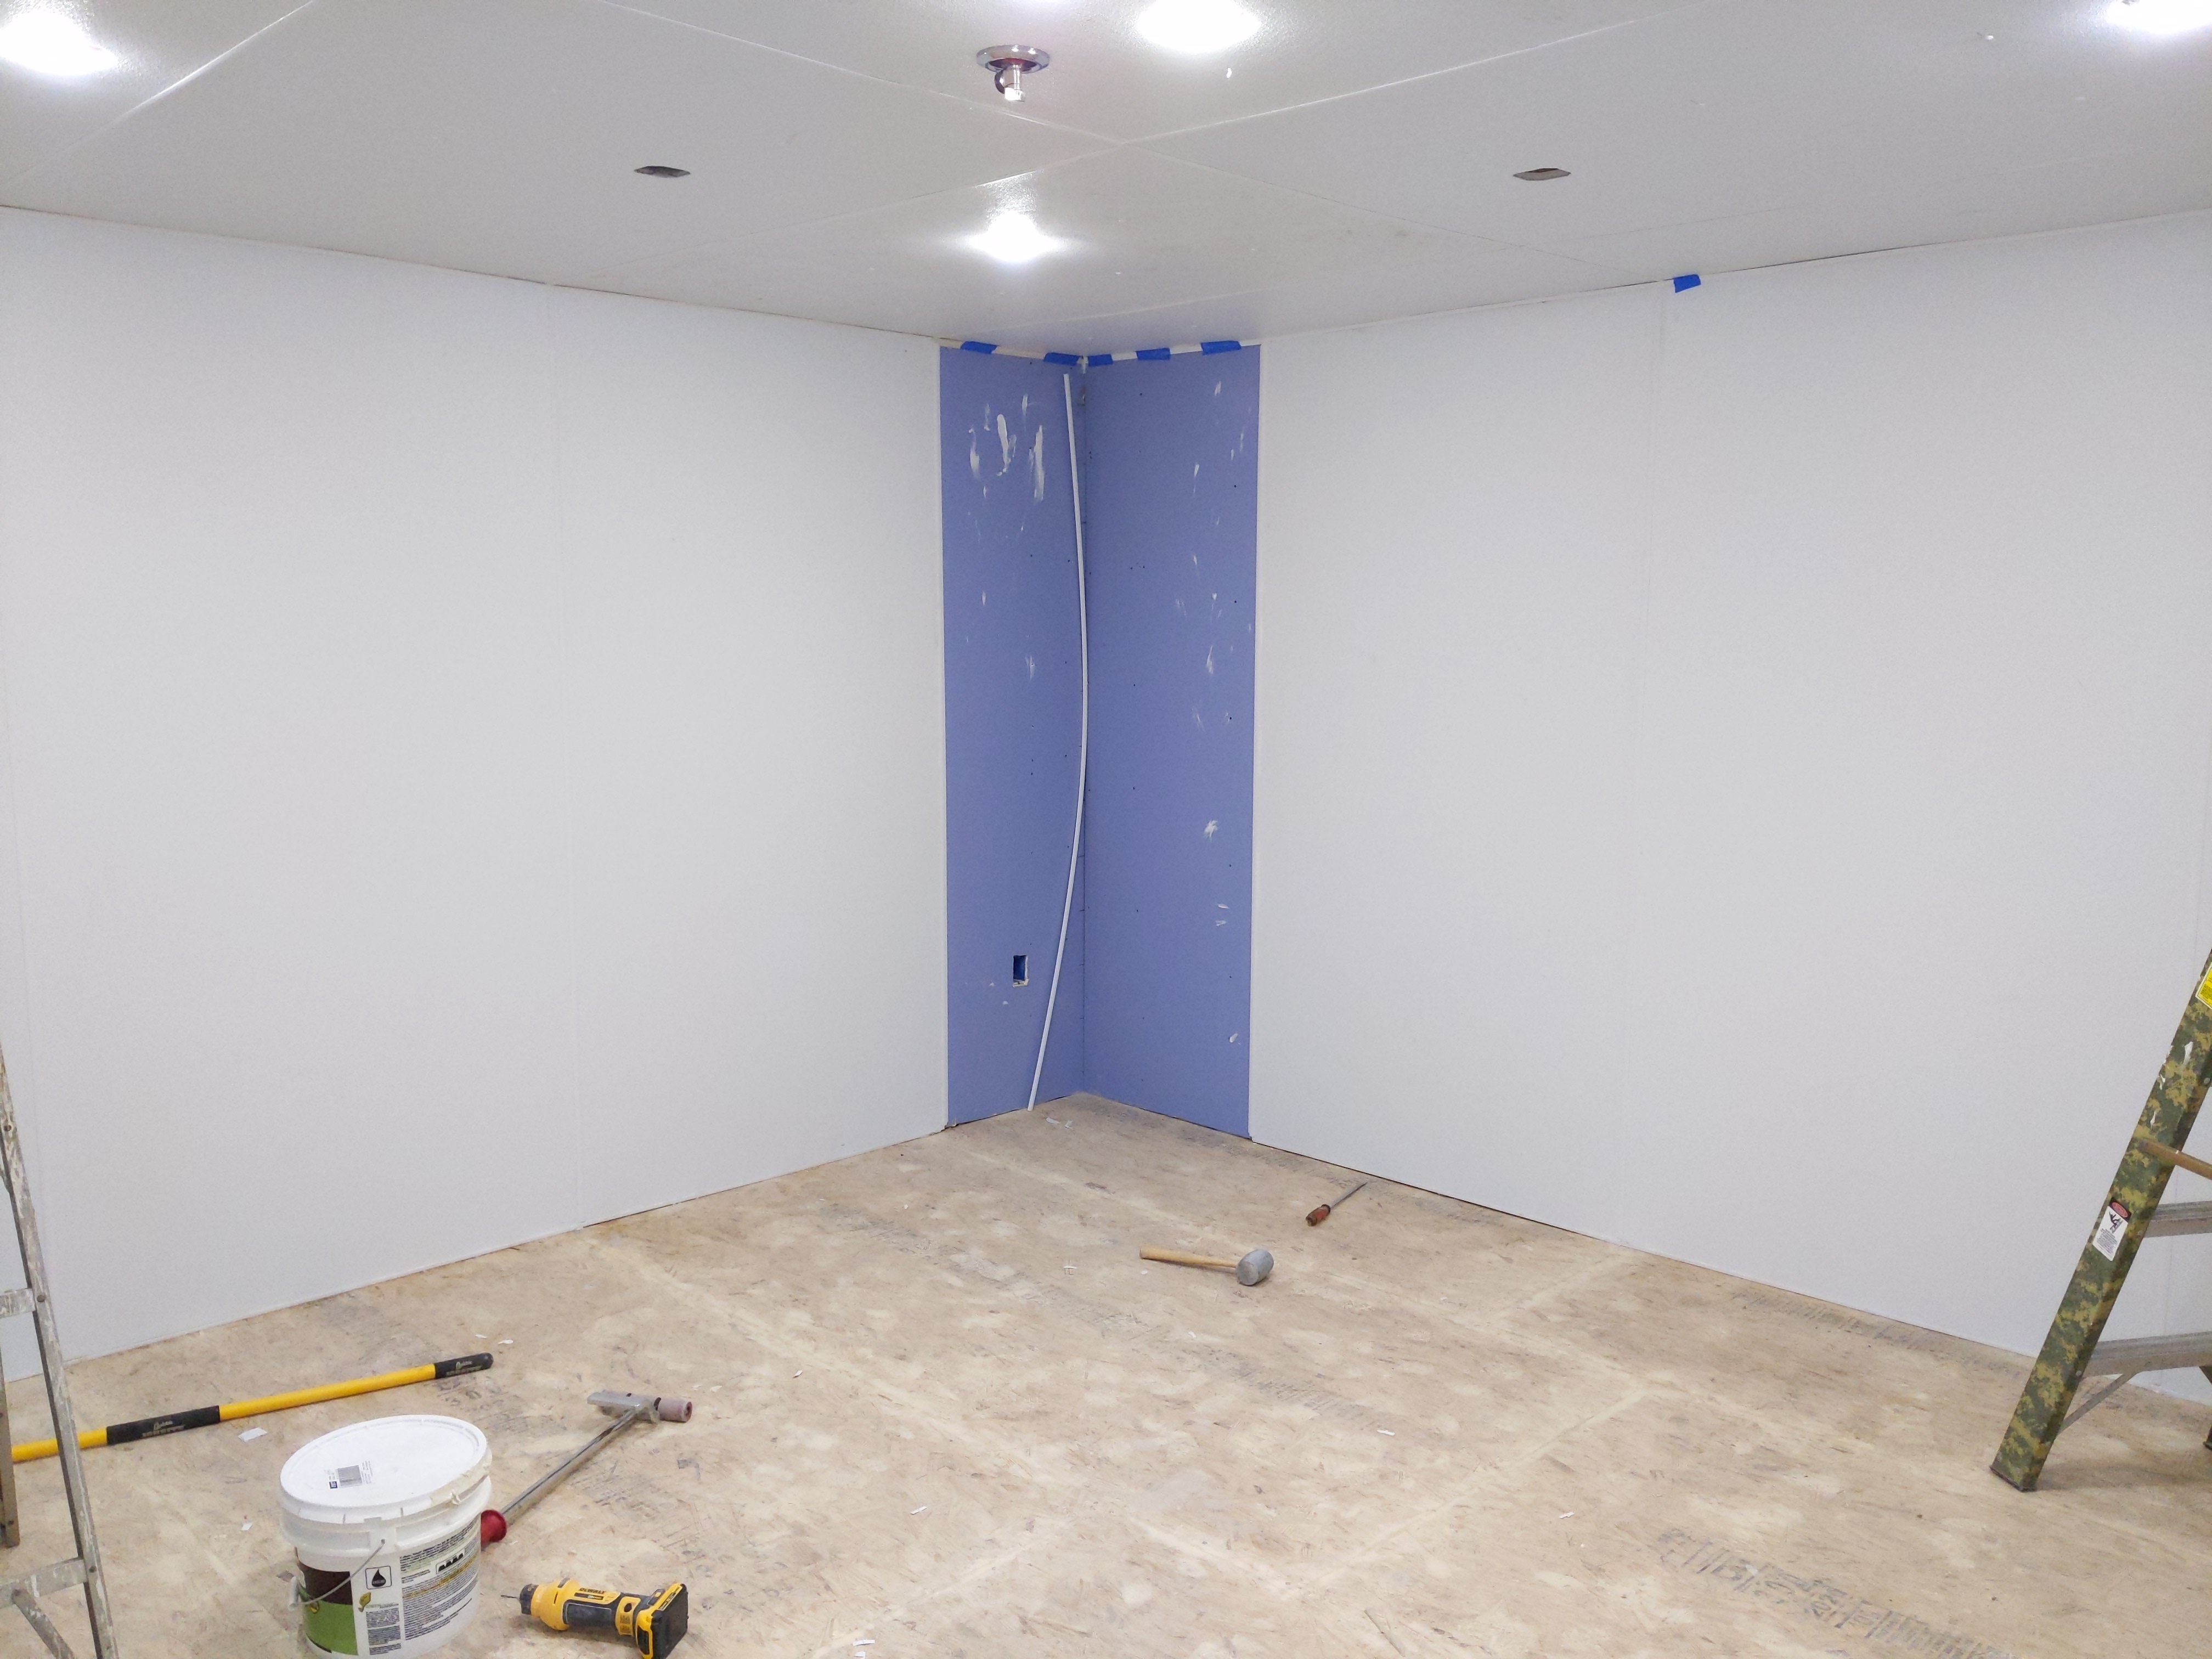
If there’s one good thing, the temps have been swinging quite a bit giving a heck of a test for movement. There are a few screw holes where the filling cracked on the floor, all the fiber glass still looks great, I notice little gap changes, but very minimal, caulking shouldn’t have an issue moving with it. So little floor repair, rather do it now than after epoxy. Once the room is up and running there should be way less movement.
Finally back to this, build some toe kicks so I can epoxy up them with the floor. Still need to clean all the fiberglass and do a final caulking on everything. It might be overkill but I want to have as little chance of humid air getting behind stuff and the epoxy will be going over the caulk near the floor. Also want to get the fans in as it will help move air when I do the epoxy. Oh yeah moulding for the door also.

11 Likes
This whole thread gives me inspiration to build! Awesome job @owalreptiles
2 Likes
So here was some of the thoughts in part of the design process. A dilemma I created was a combination of the recessed lighting, wanting to use as much wall space as possible and still have a lot of air flow. When it comes to the fans, I restricted myself to ceiling only, but with the recessed lighting, the fan blades can create a strobe effect and I know from experience I am sensitive to it as I have that issue in my living room, I can’t use the lights and fan at the same time.
Well that’s just not an option with how I keep my animals in the reptile room. Nor would I want to find out that causes issue with the animals. I don’t know if it does, but I don’t want to find out. The solution to that is to not have the fan blades and light path cross. Which means small blade fans and directional lighting. My light and fan layout on the first post of this thread accounted for all that.
Recessed lighting with the right bulb makes directional lighting part easy. Just set the light to it’s deepest height and pick a bulb physically shorter than that depth. What I was surprised about was how limited your options are for small blade fans. Anytime you buy a fan, there’s a balance between size, airflow, and how much you want to spend. Sure there was nice 28-30in fans with high CFM, but I draw a line when they are $550 a piece and I need 4 of them. Buying a bigger fan and putting smaller blades on it or cutting the blades, may or may not cause issues depending on the design and motor. So I wanted to avoid that route from experience. I settled on a 30in model from Lowes on sale, for $40 piece. Nice score for me.
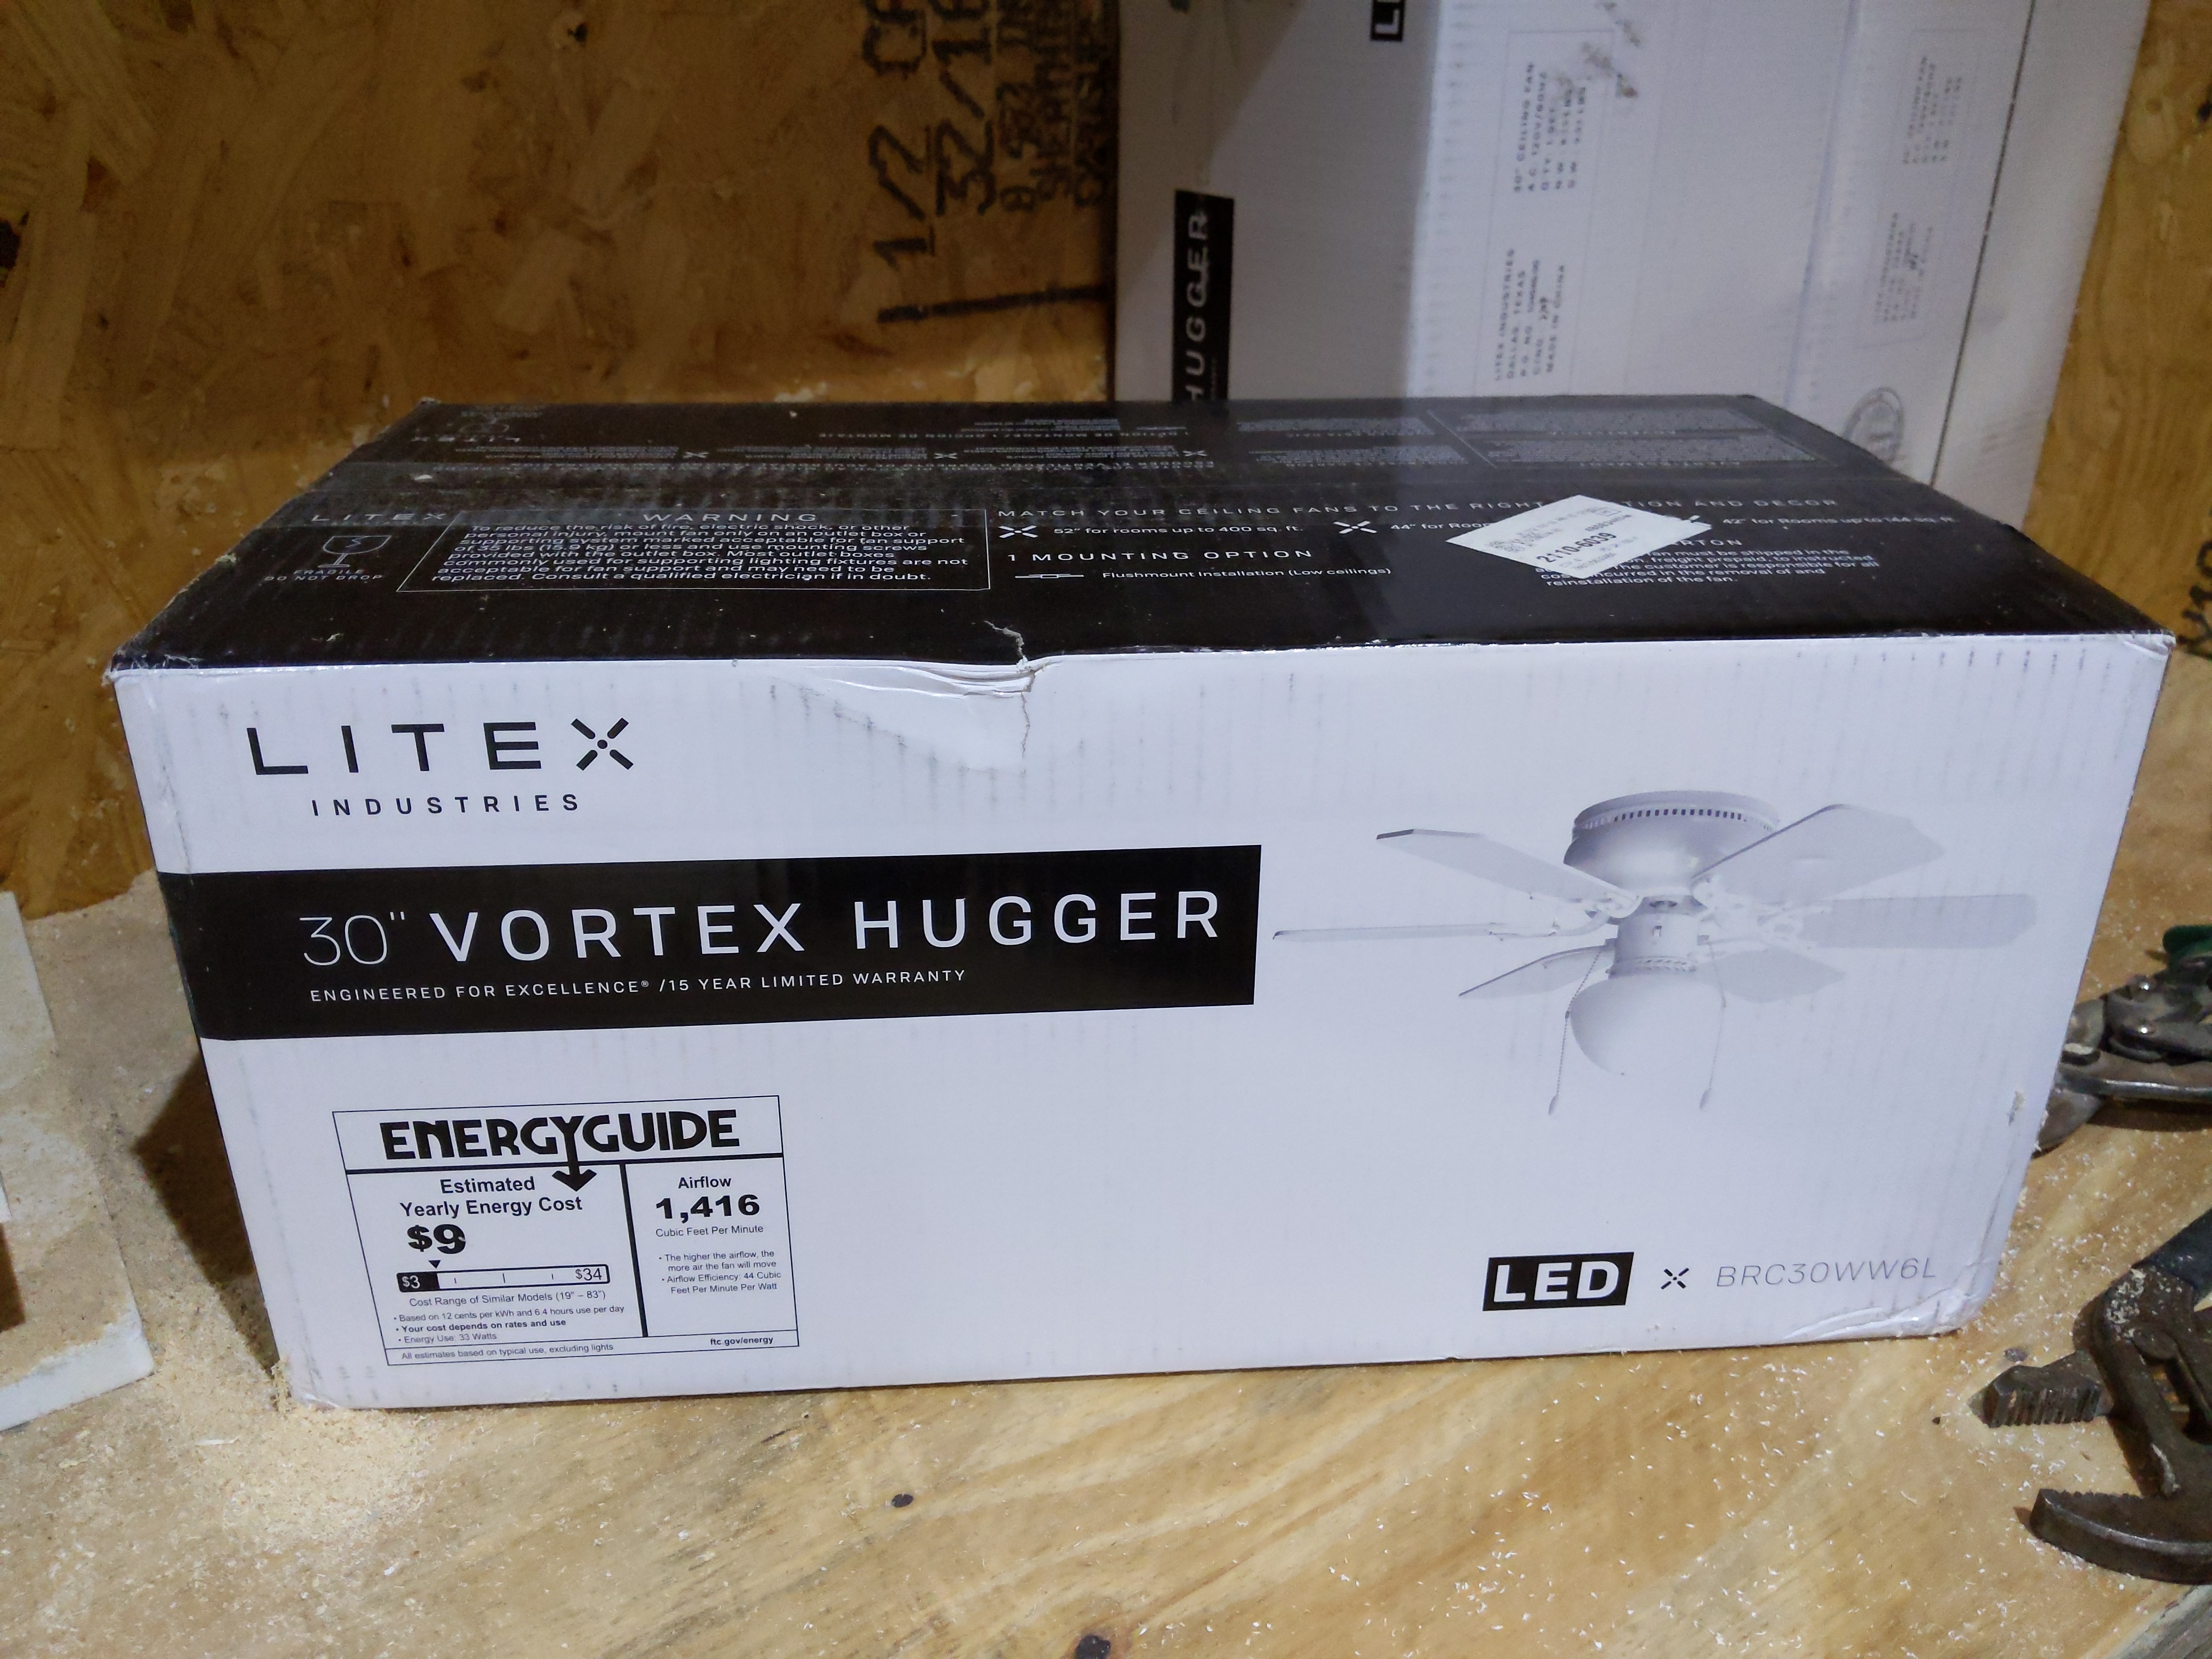
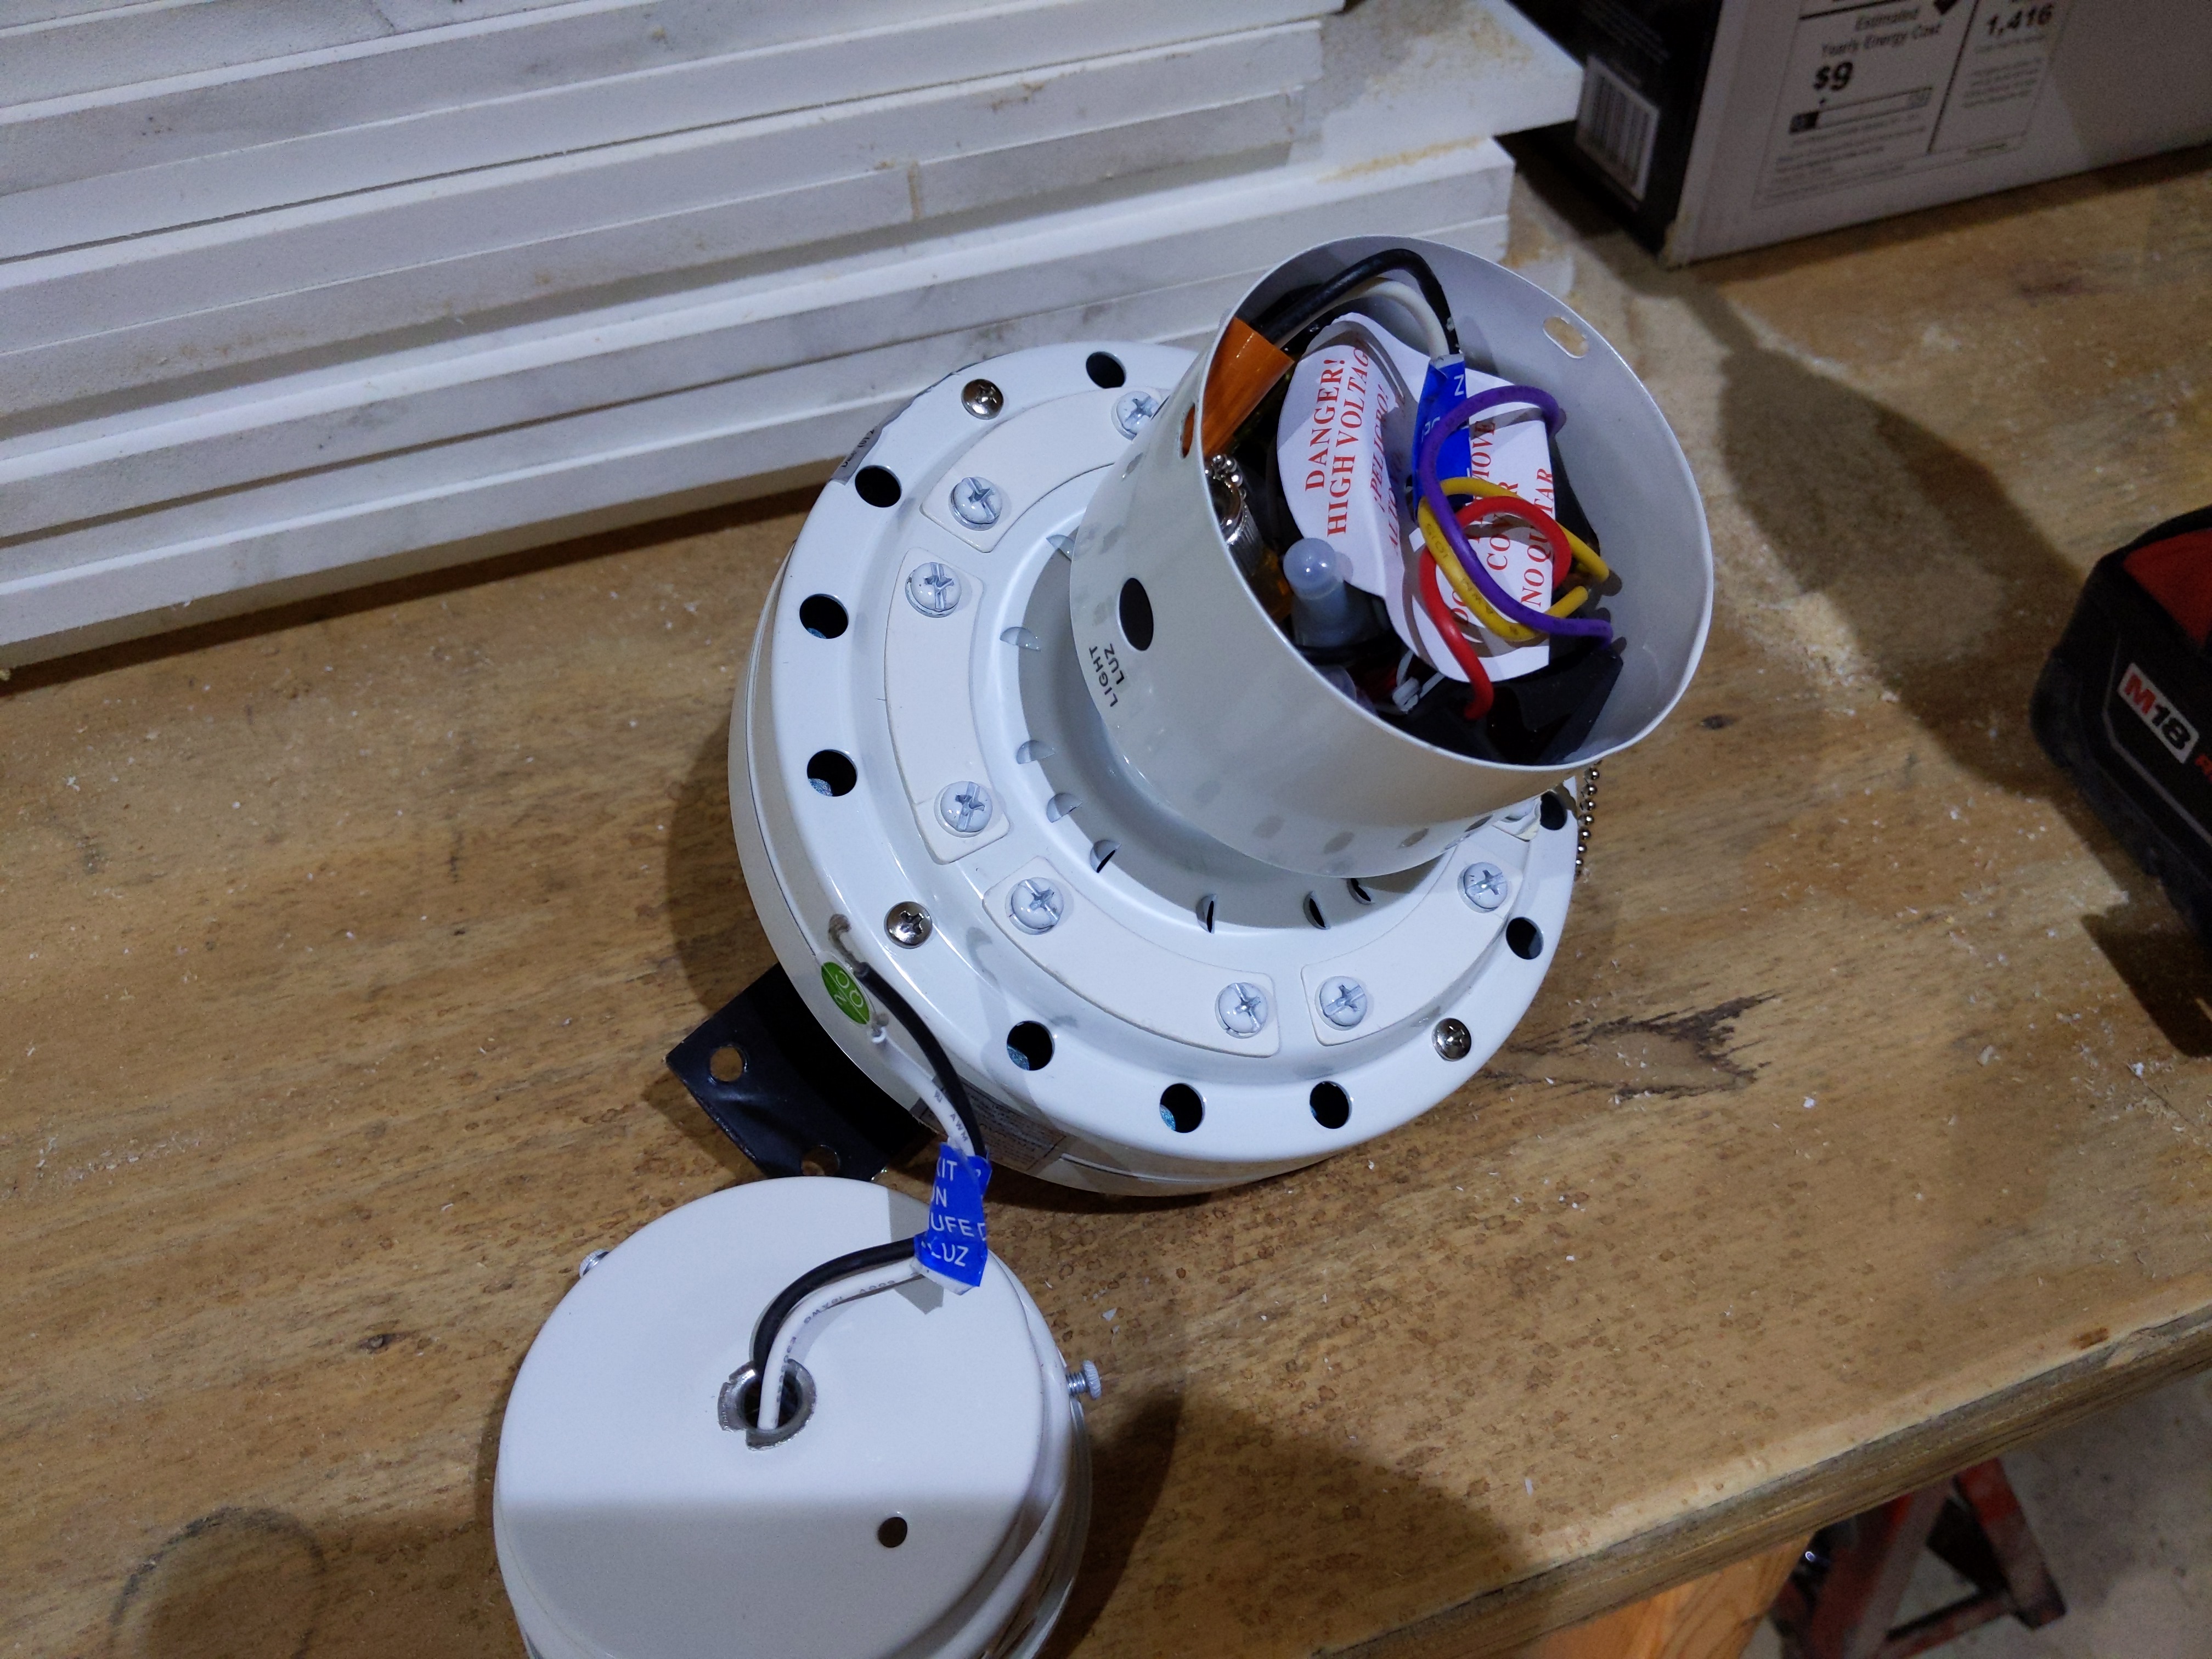
However this fan brings its own issue, the light on it, I don’t need the light, I don’t want to lose the head room. So I spent this morning figuring out what to do about it. Turns out it had a quick and easy solution. So here’s some pictures of something other than walls and floors.
Unpacked, I could just leave it as is and not put the glass globe or light bulb on, but it looks even too unfinished for me.
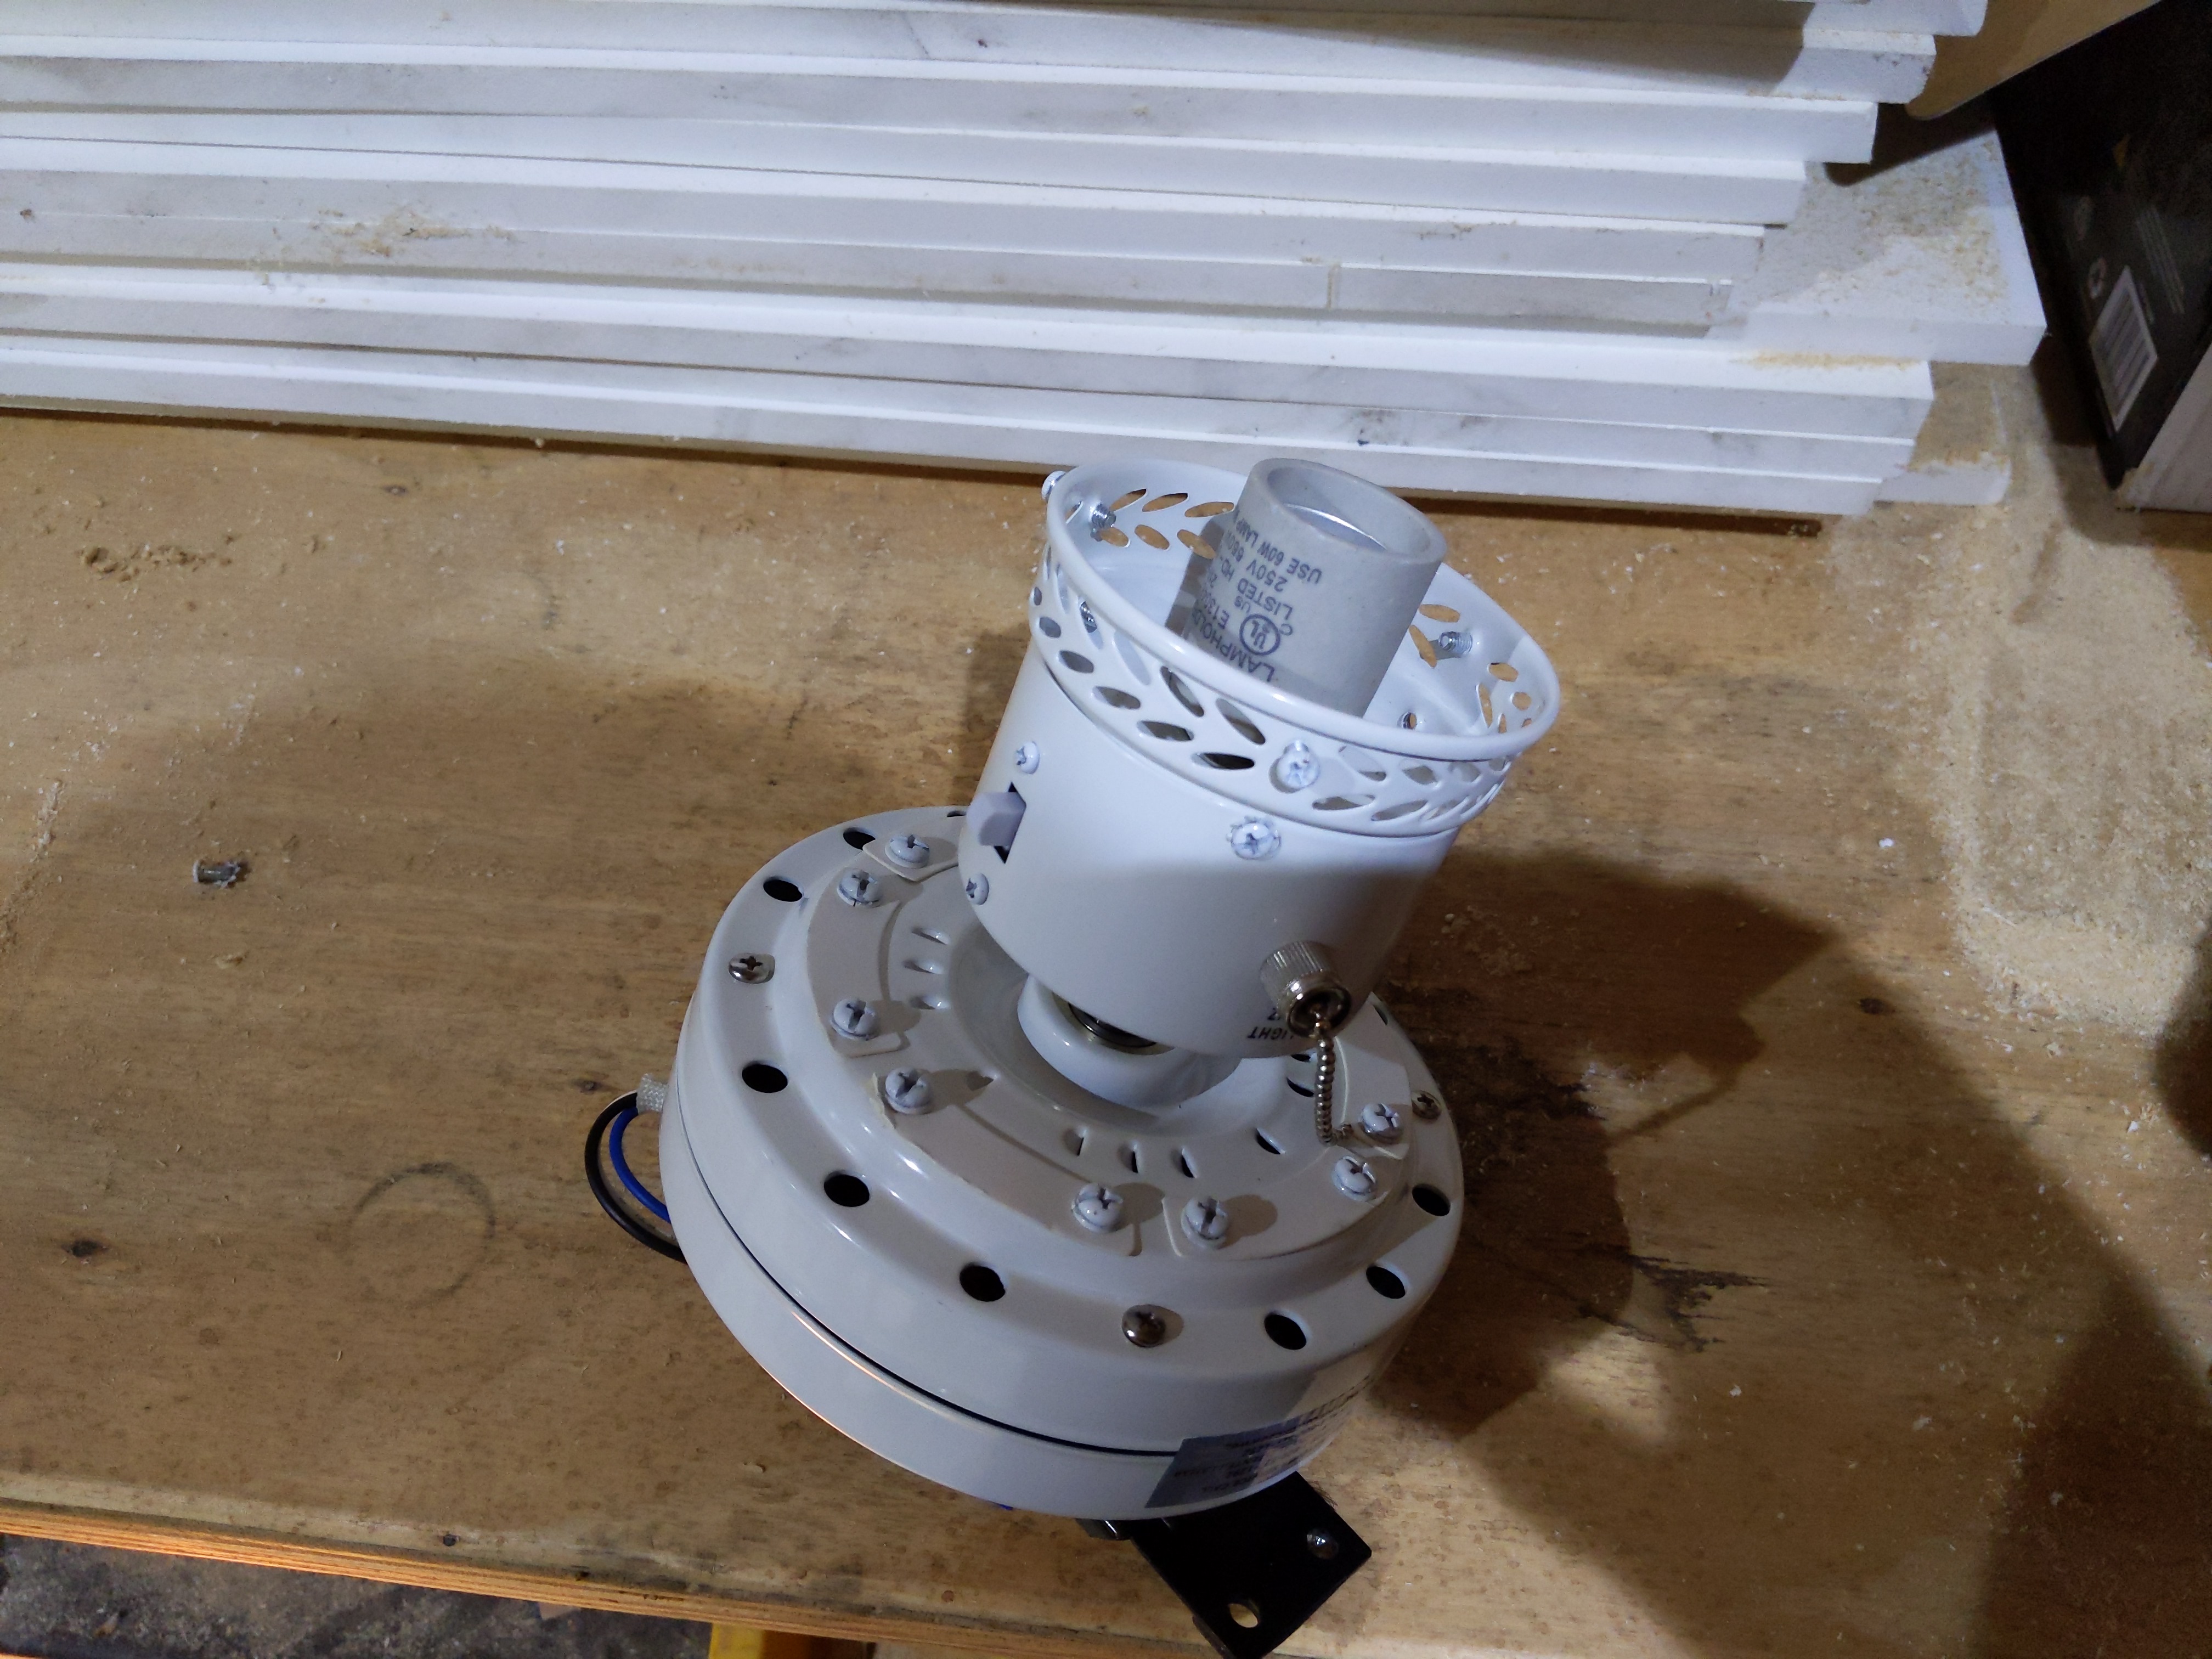
normally we call them light kits, but it’s not really a kit, I don’t know really. So 3 screws takes the light part off. This actually looks pretty easy now.
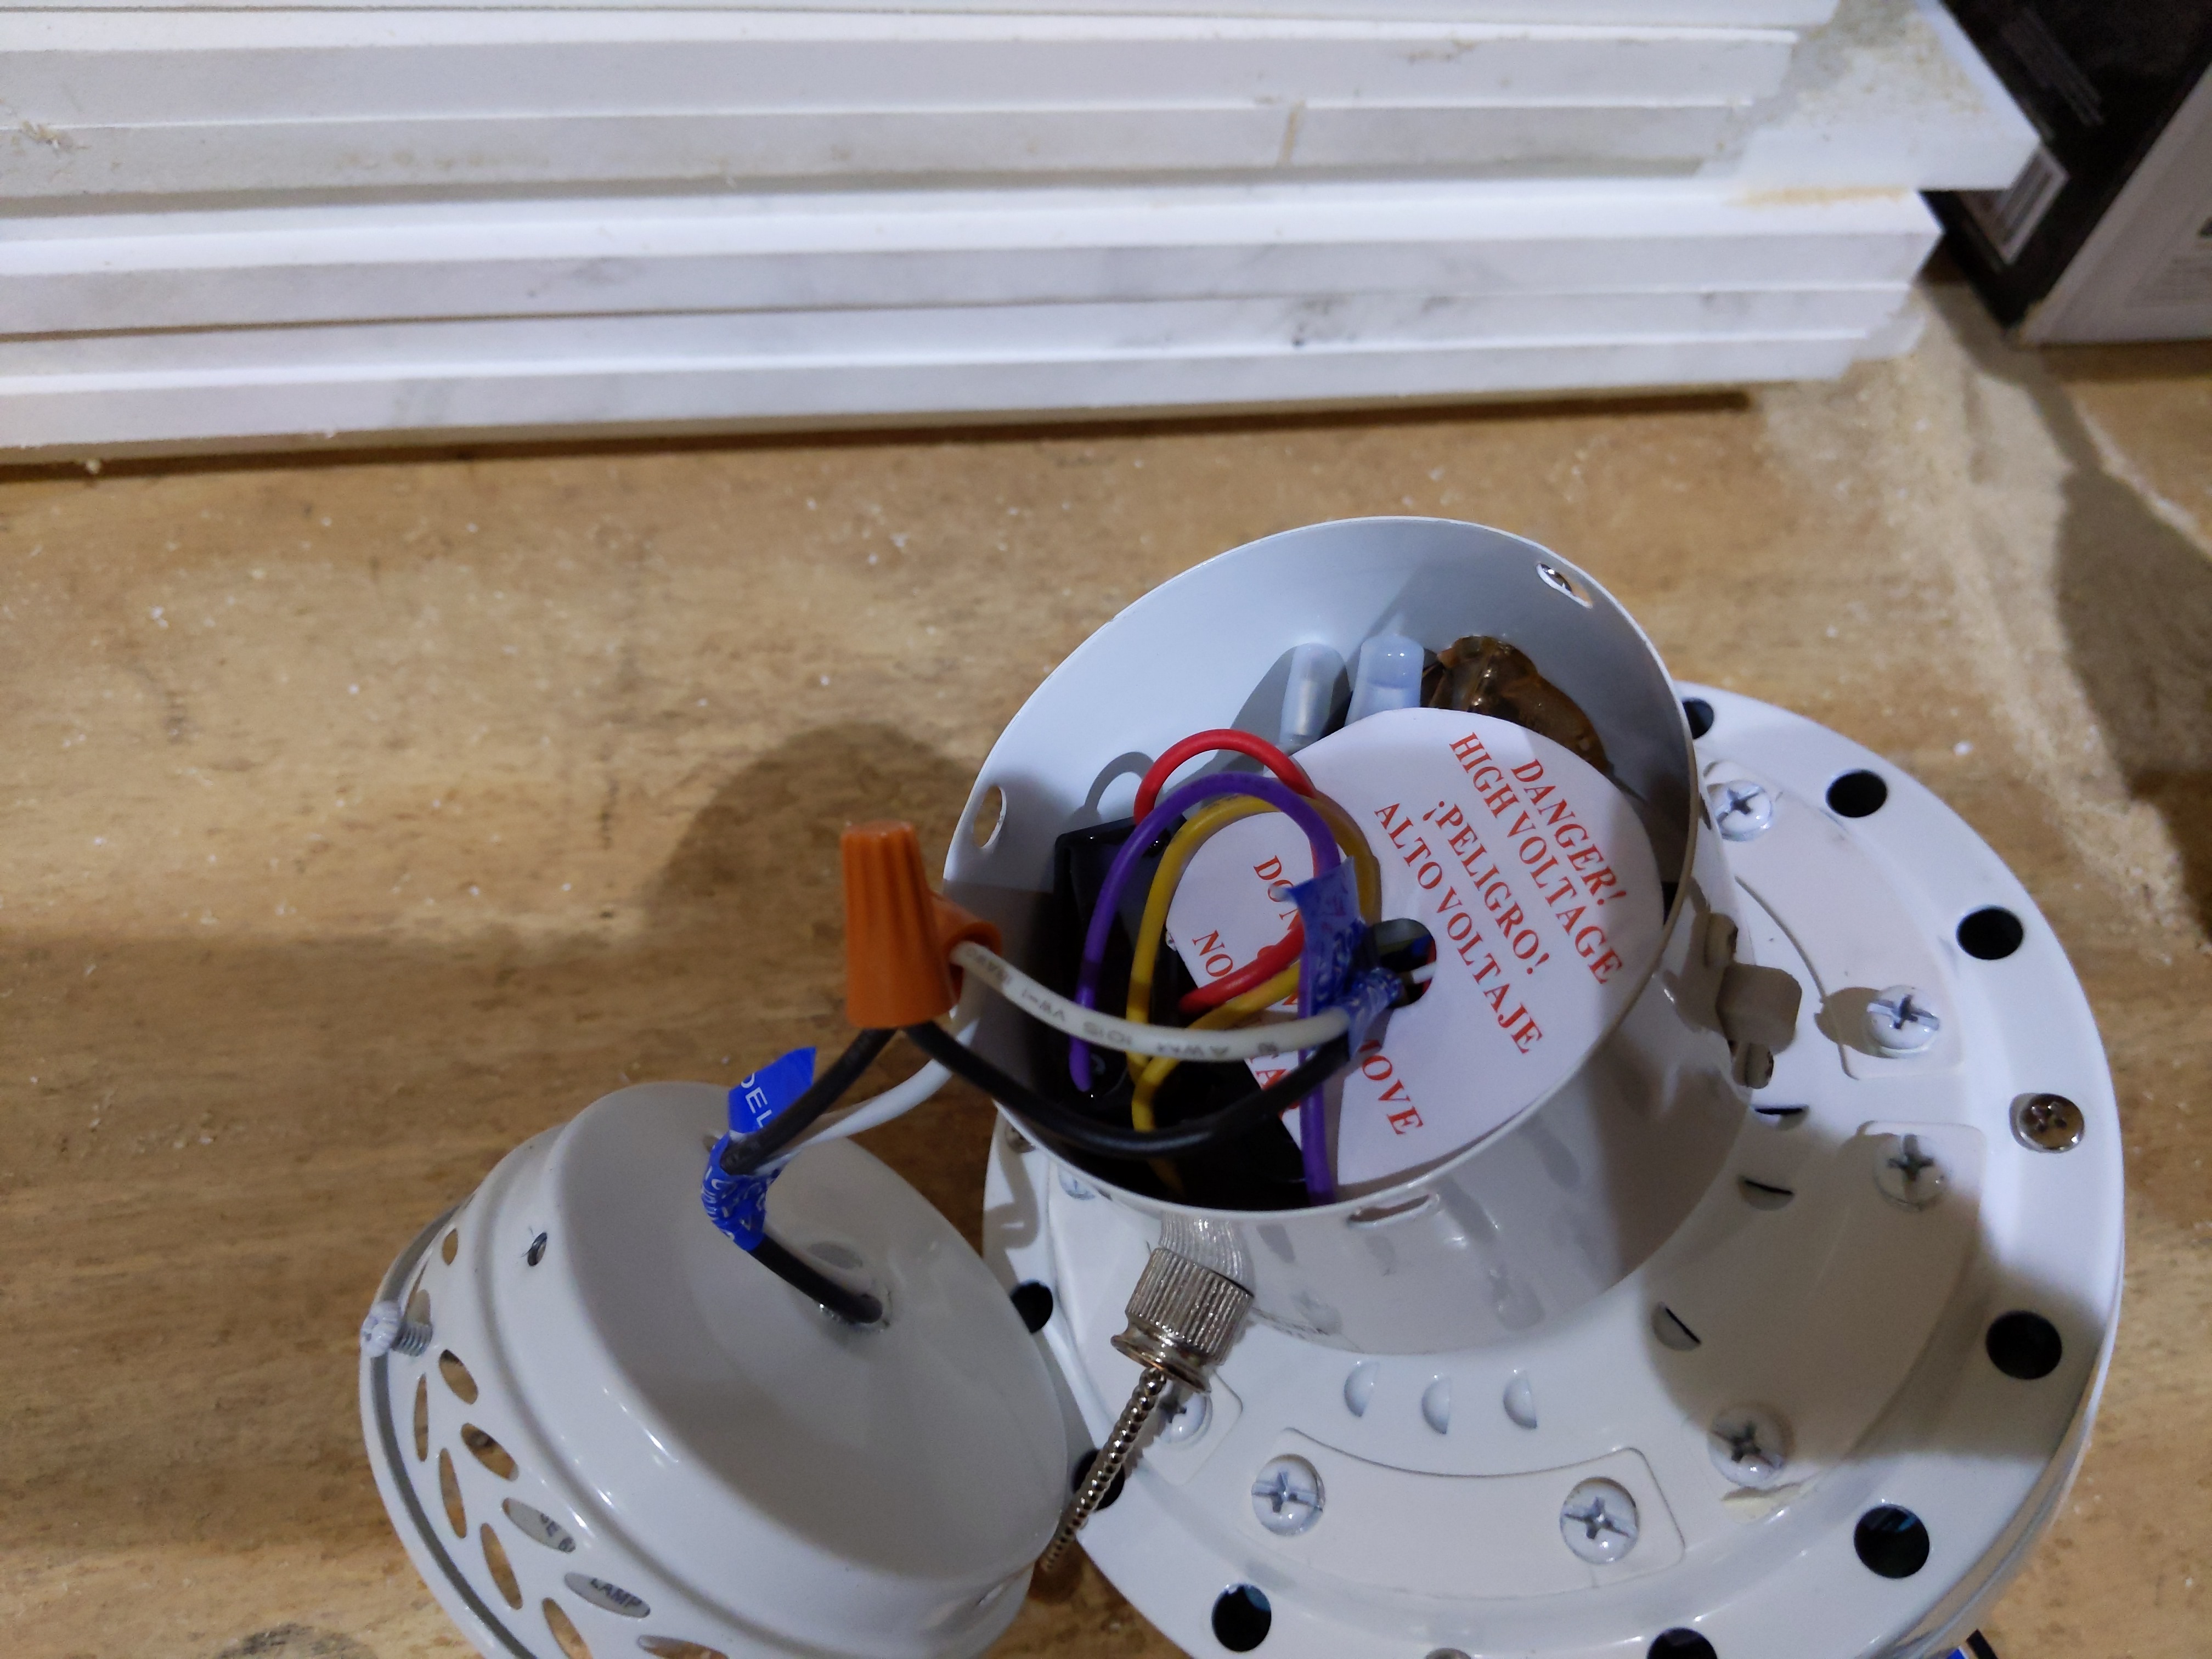
Unwire the light part and cap the wires off. I also undo the light switch and just tuck it back in also, now only chain hanging will be the fan switch. Ok now I need a cover, I start looking at my options to fabricate one, then an easier solution was sitting in front of me.
1 screw holds the socket on and now we can repurpose it.
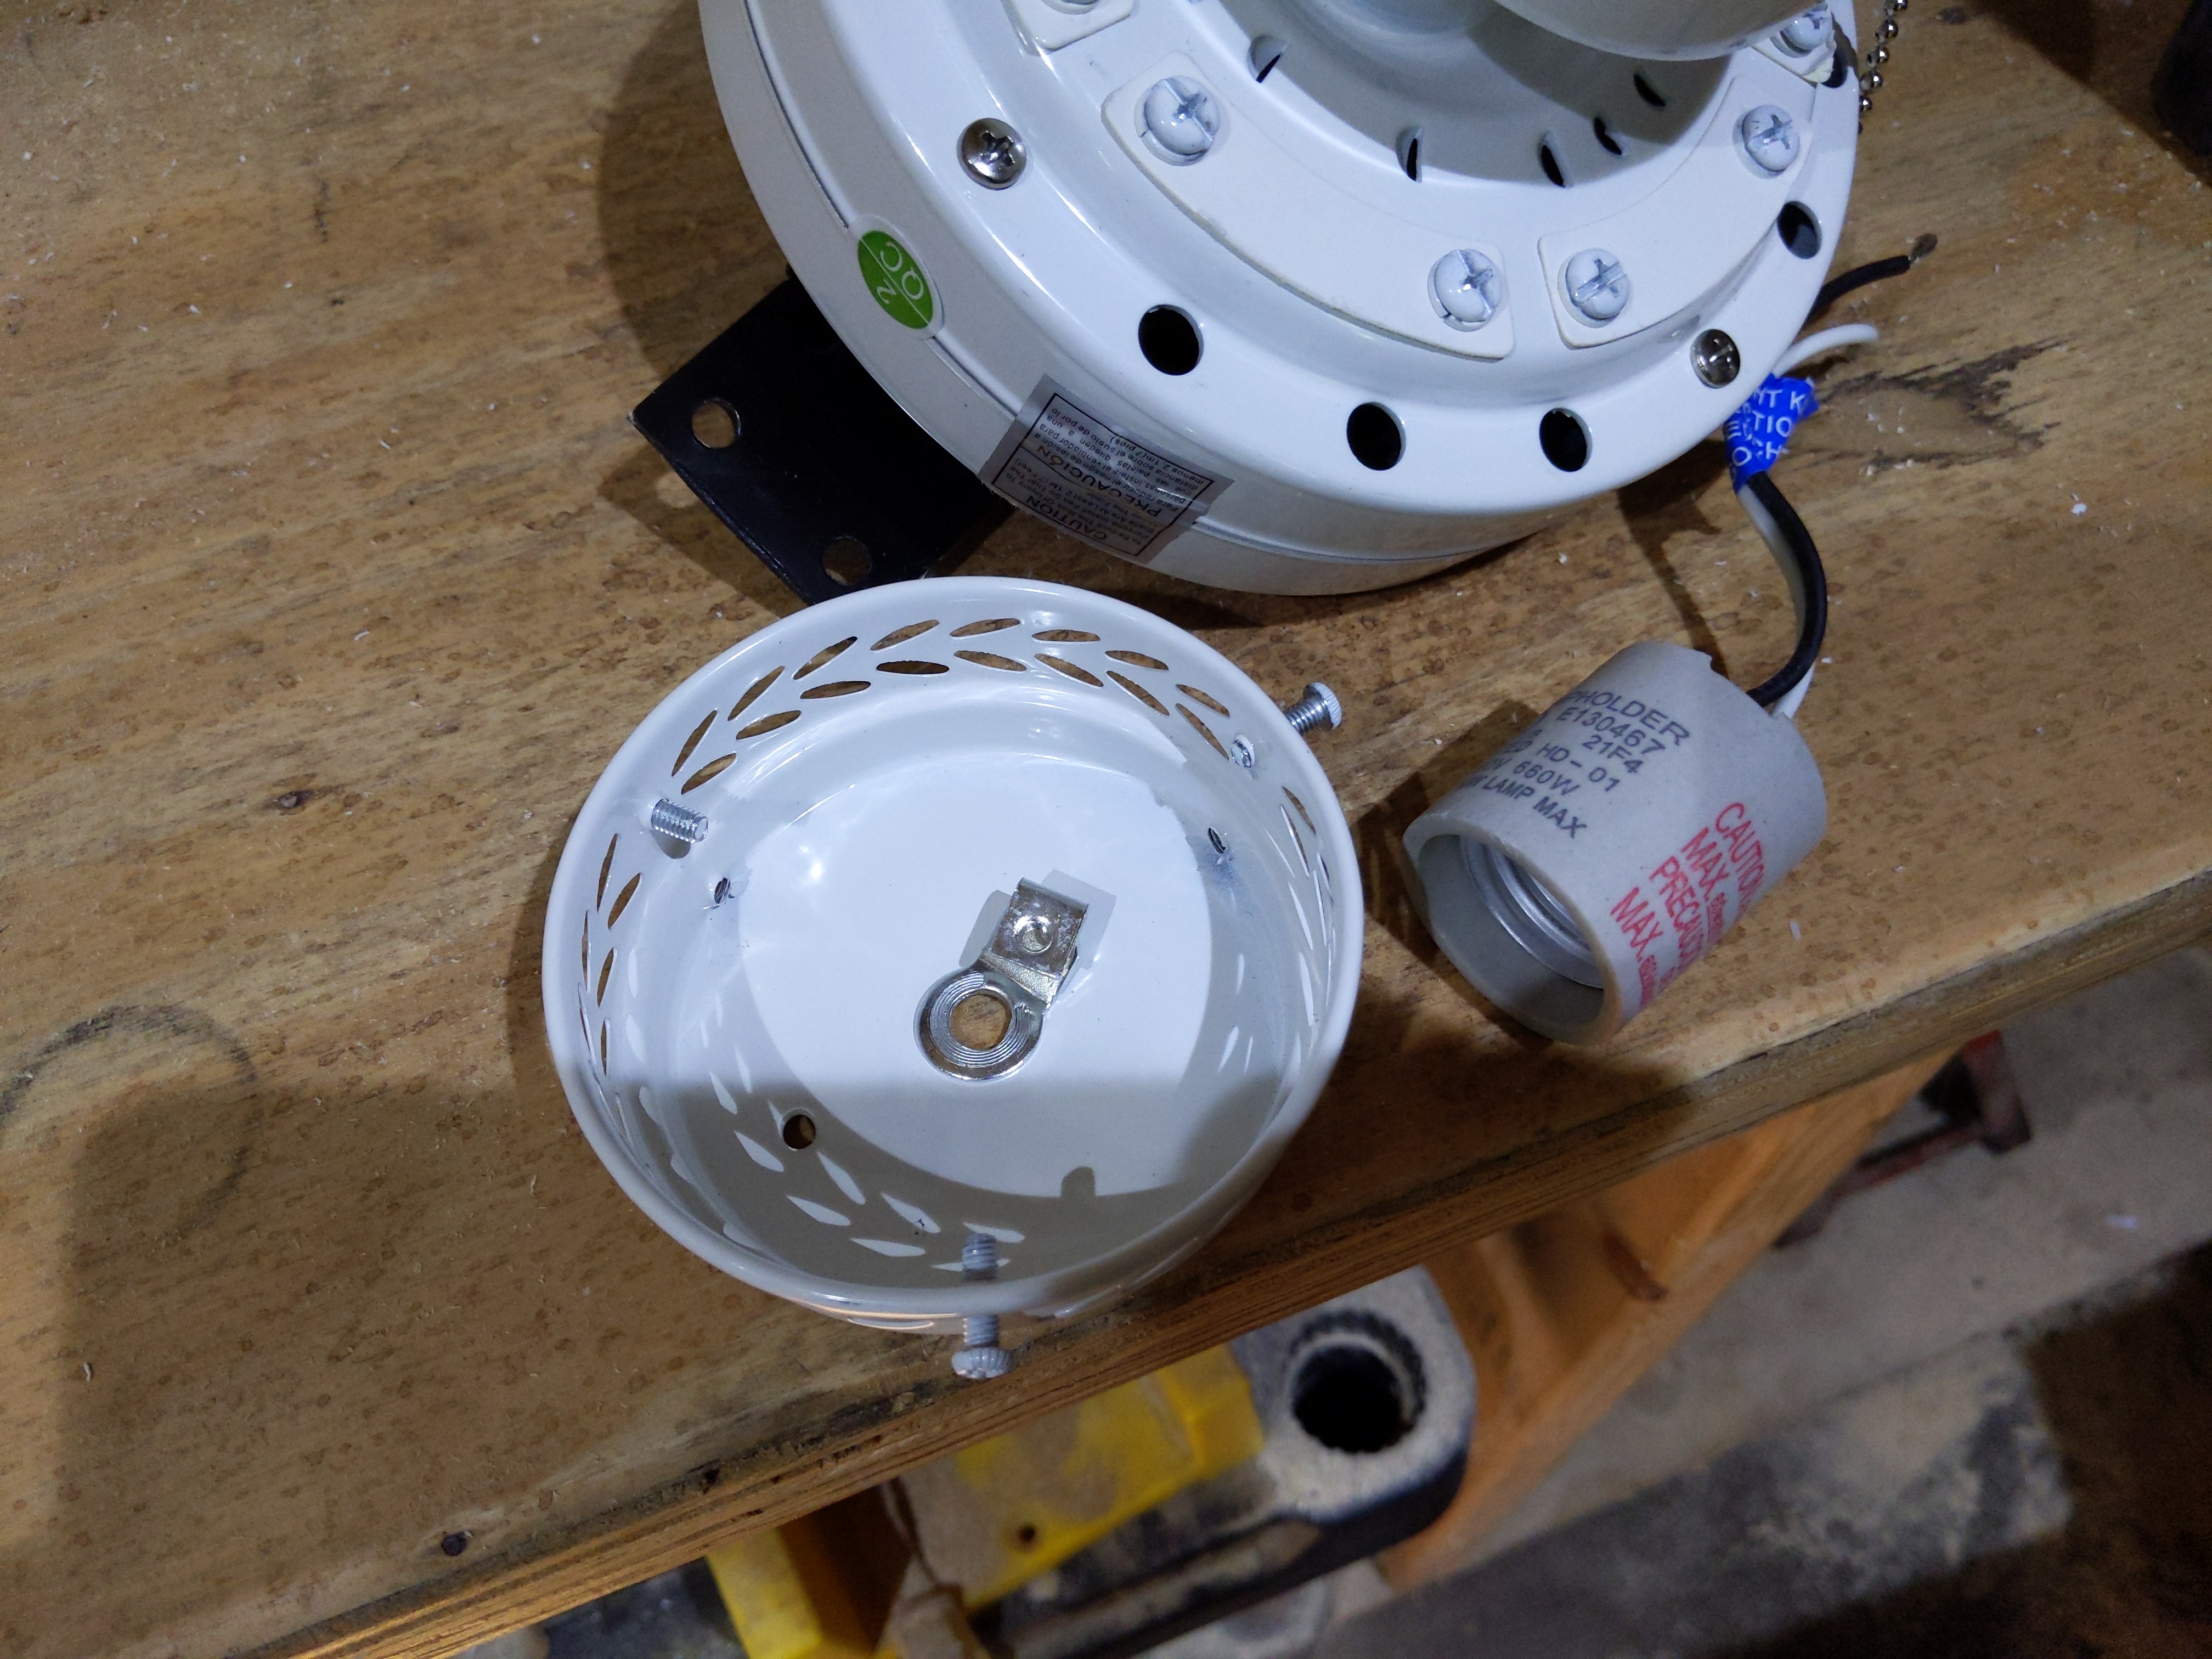
Turning the light part upside down, it’s a perfect fit, 3 screws hold it on no problem.
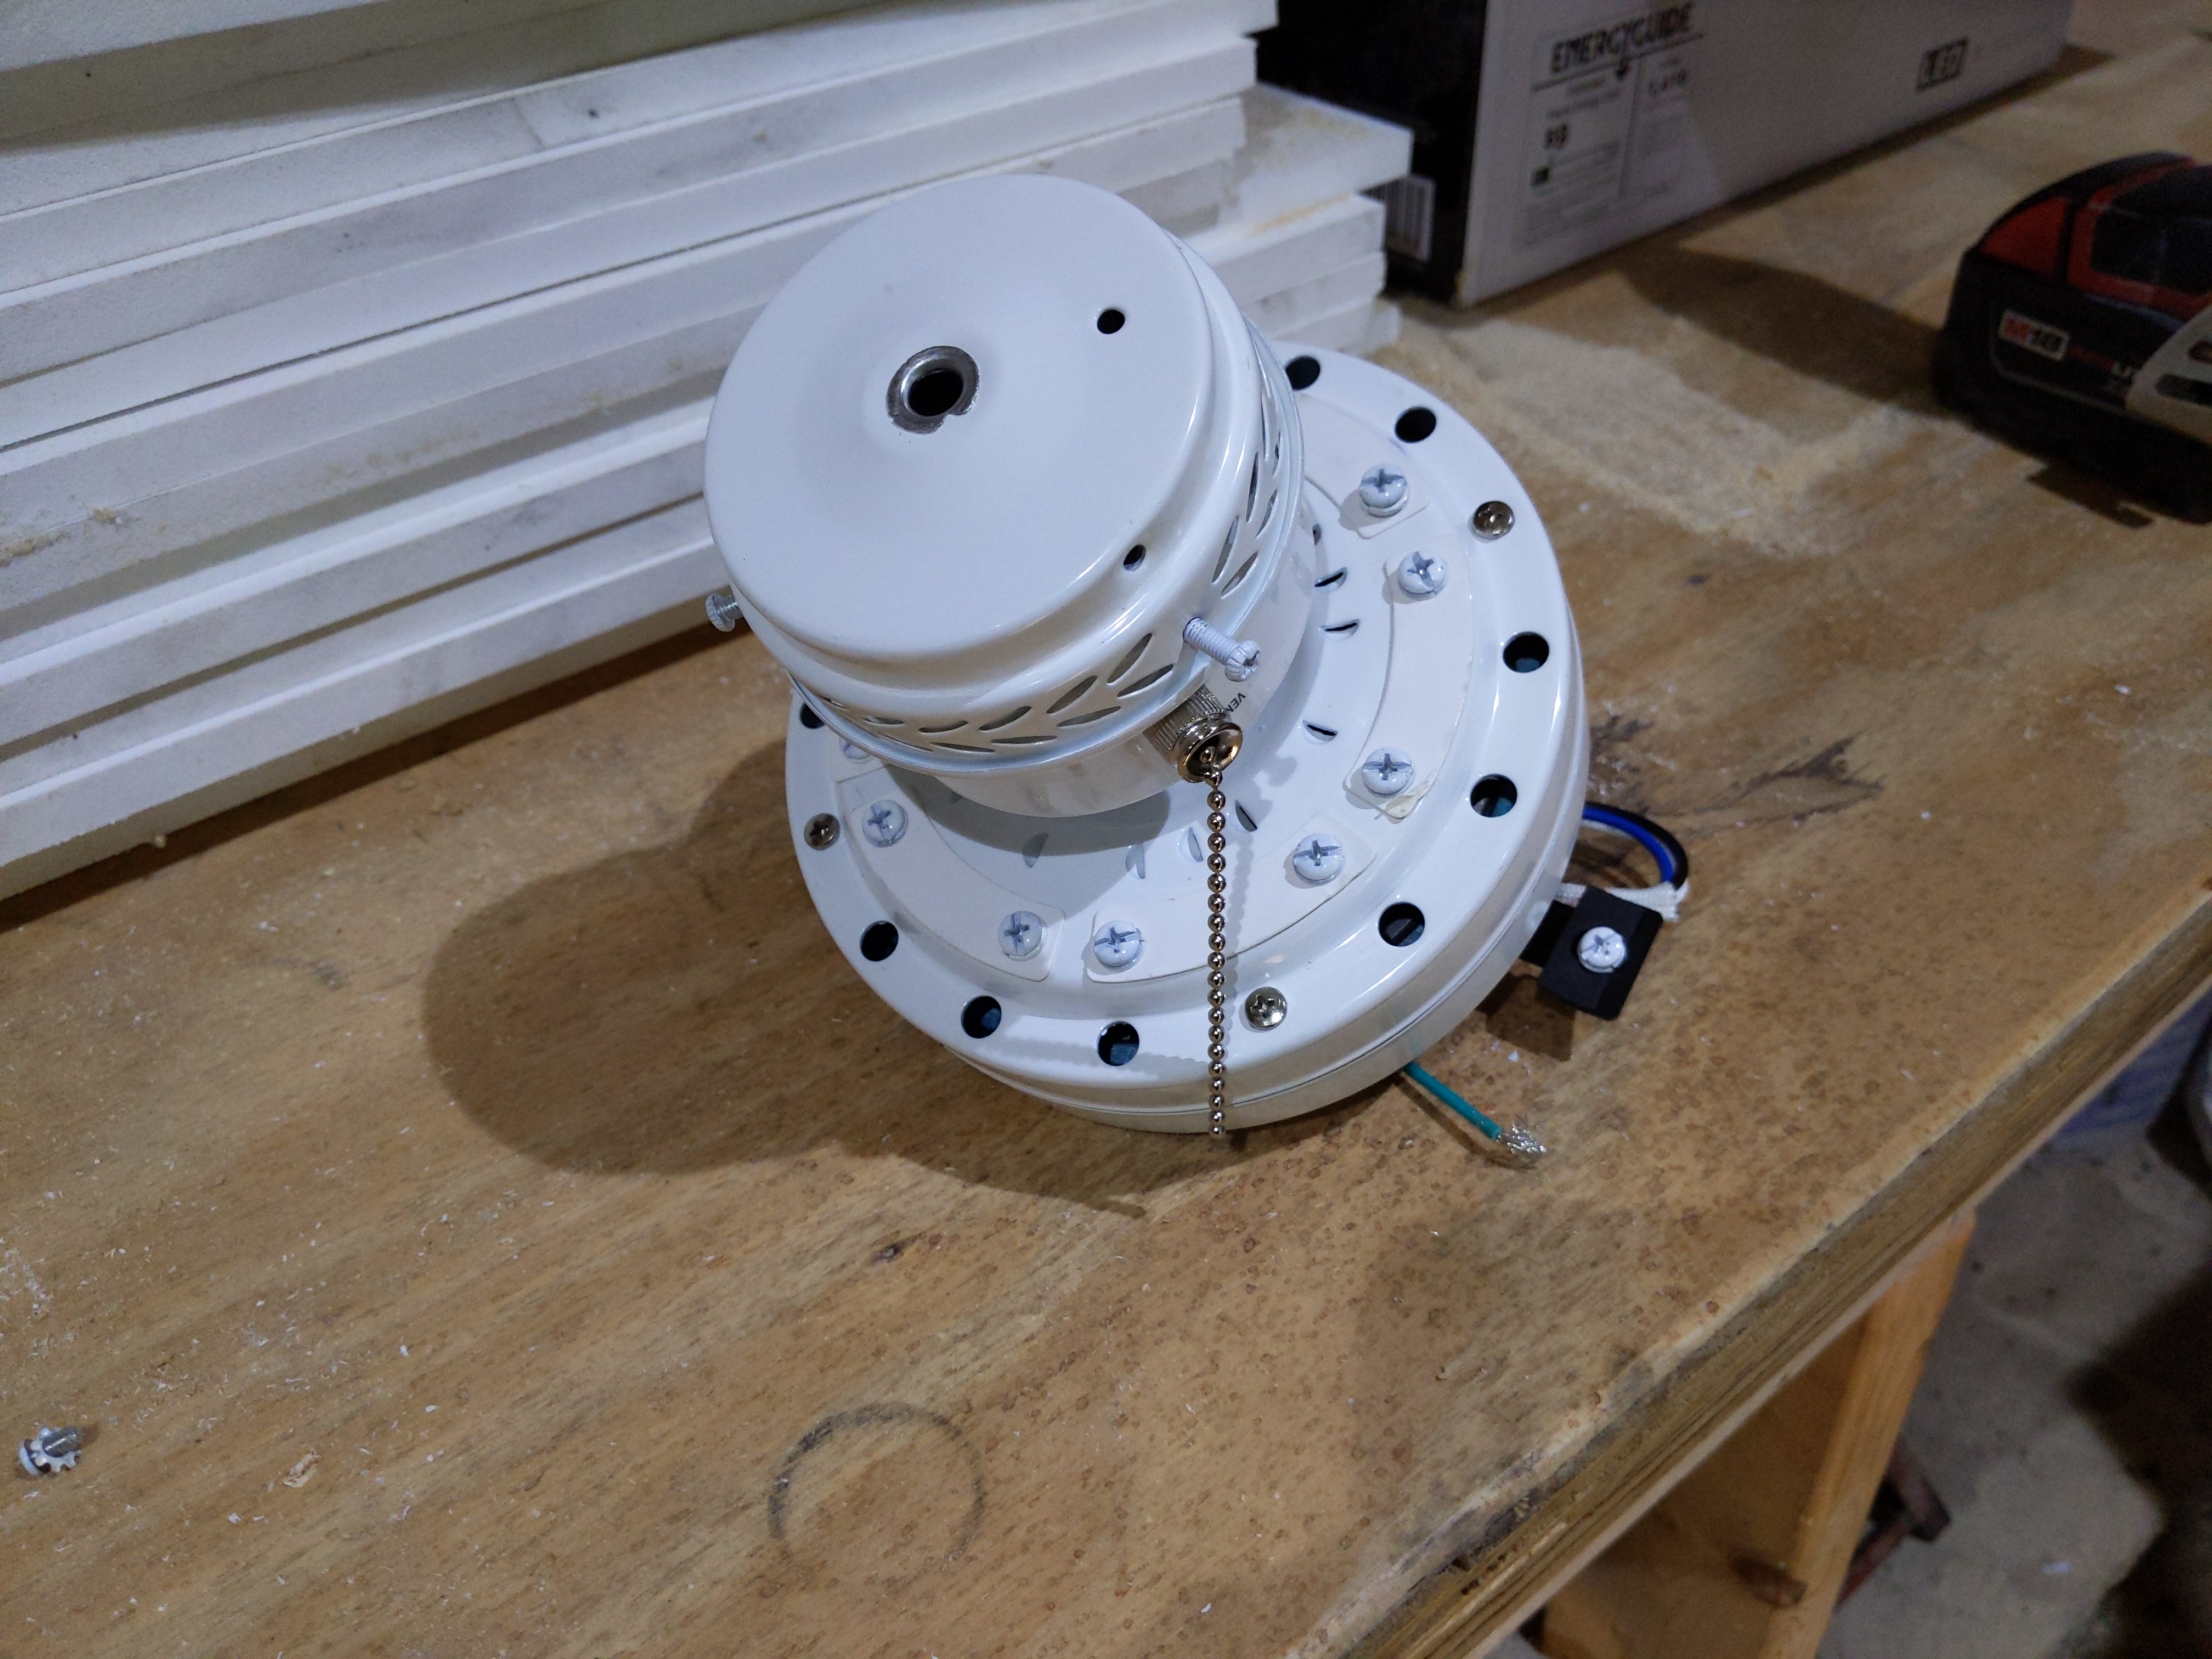
Not a trend setting style but looks better than a empty light socket and when it comes to a 40 dollar fan I think it will work just fine. Most importantly it does everything I needed out of the fan and I think the only thing I compromised on was style, just not too badly lol.
7 Likes
Sometimes the non-reptile related content is the best stuff on the forum. Can’t wait to hear how this room works for you once the animals are moved in
3 Likes