This is awesome man. Wish I had such room building skills! Can’t wait to see it when you’re all finished.
3 Likes
Looks really good. Would love to have your building skills!
3 Likes
The building skills come from practice and sometimes YouTube videos lol. Nothing you can’t learn trust me.
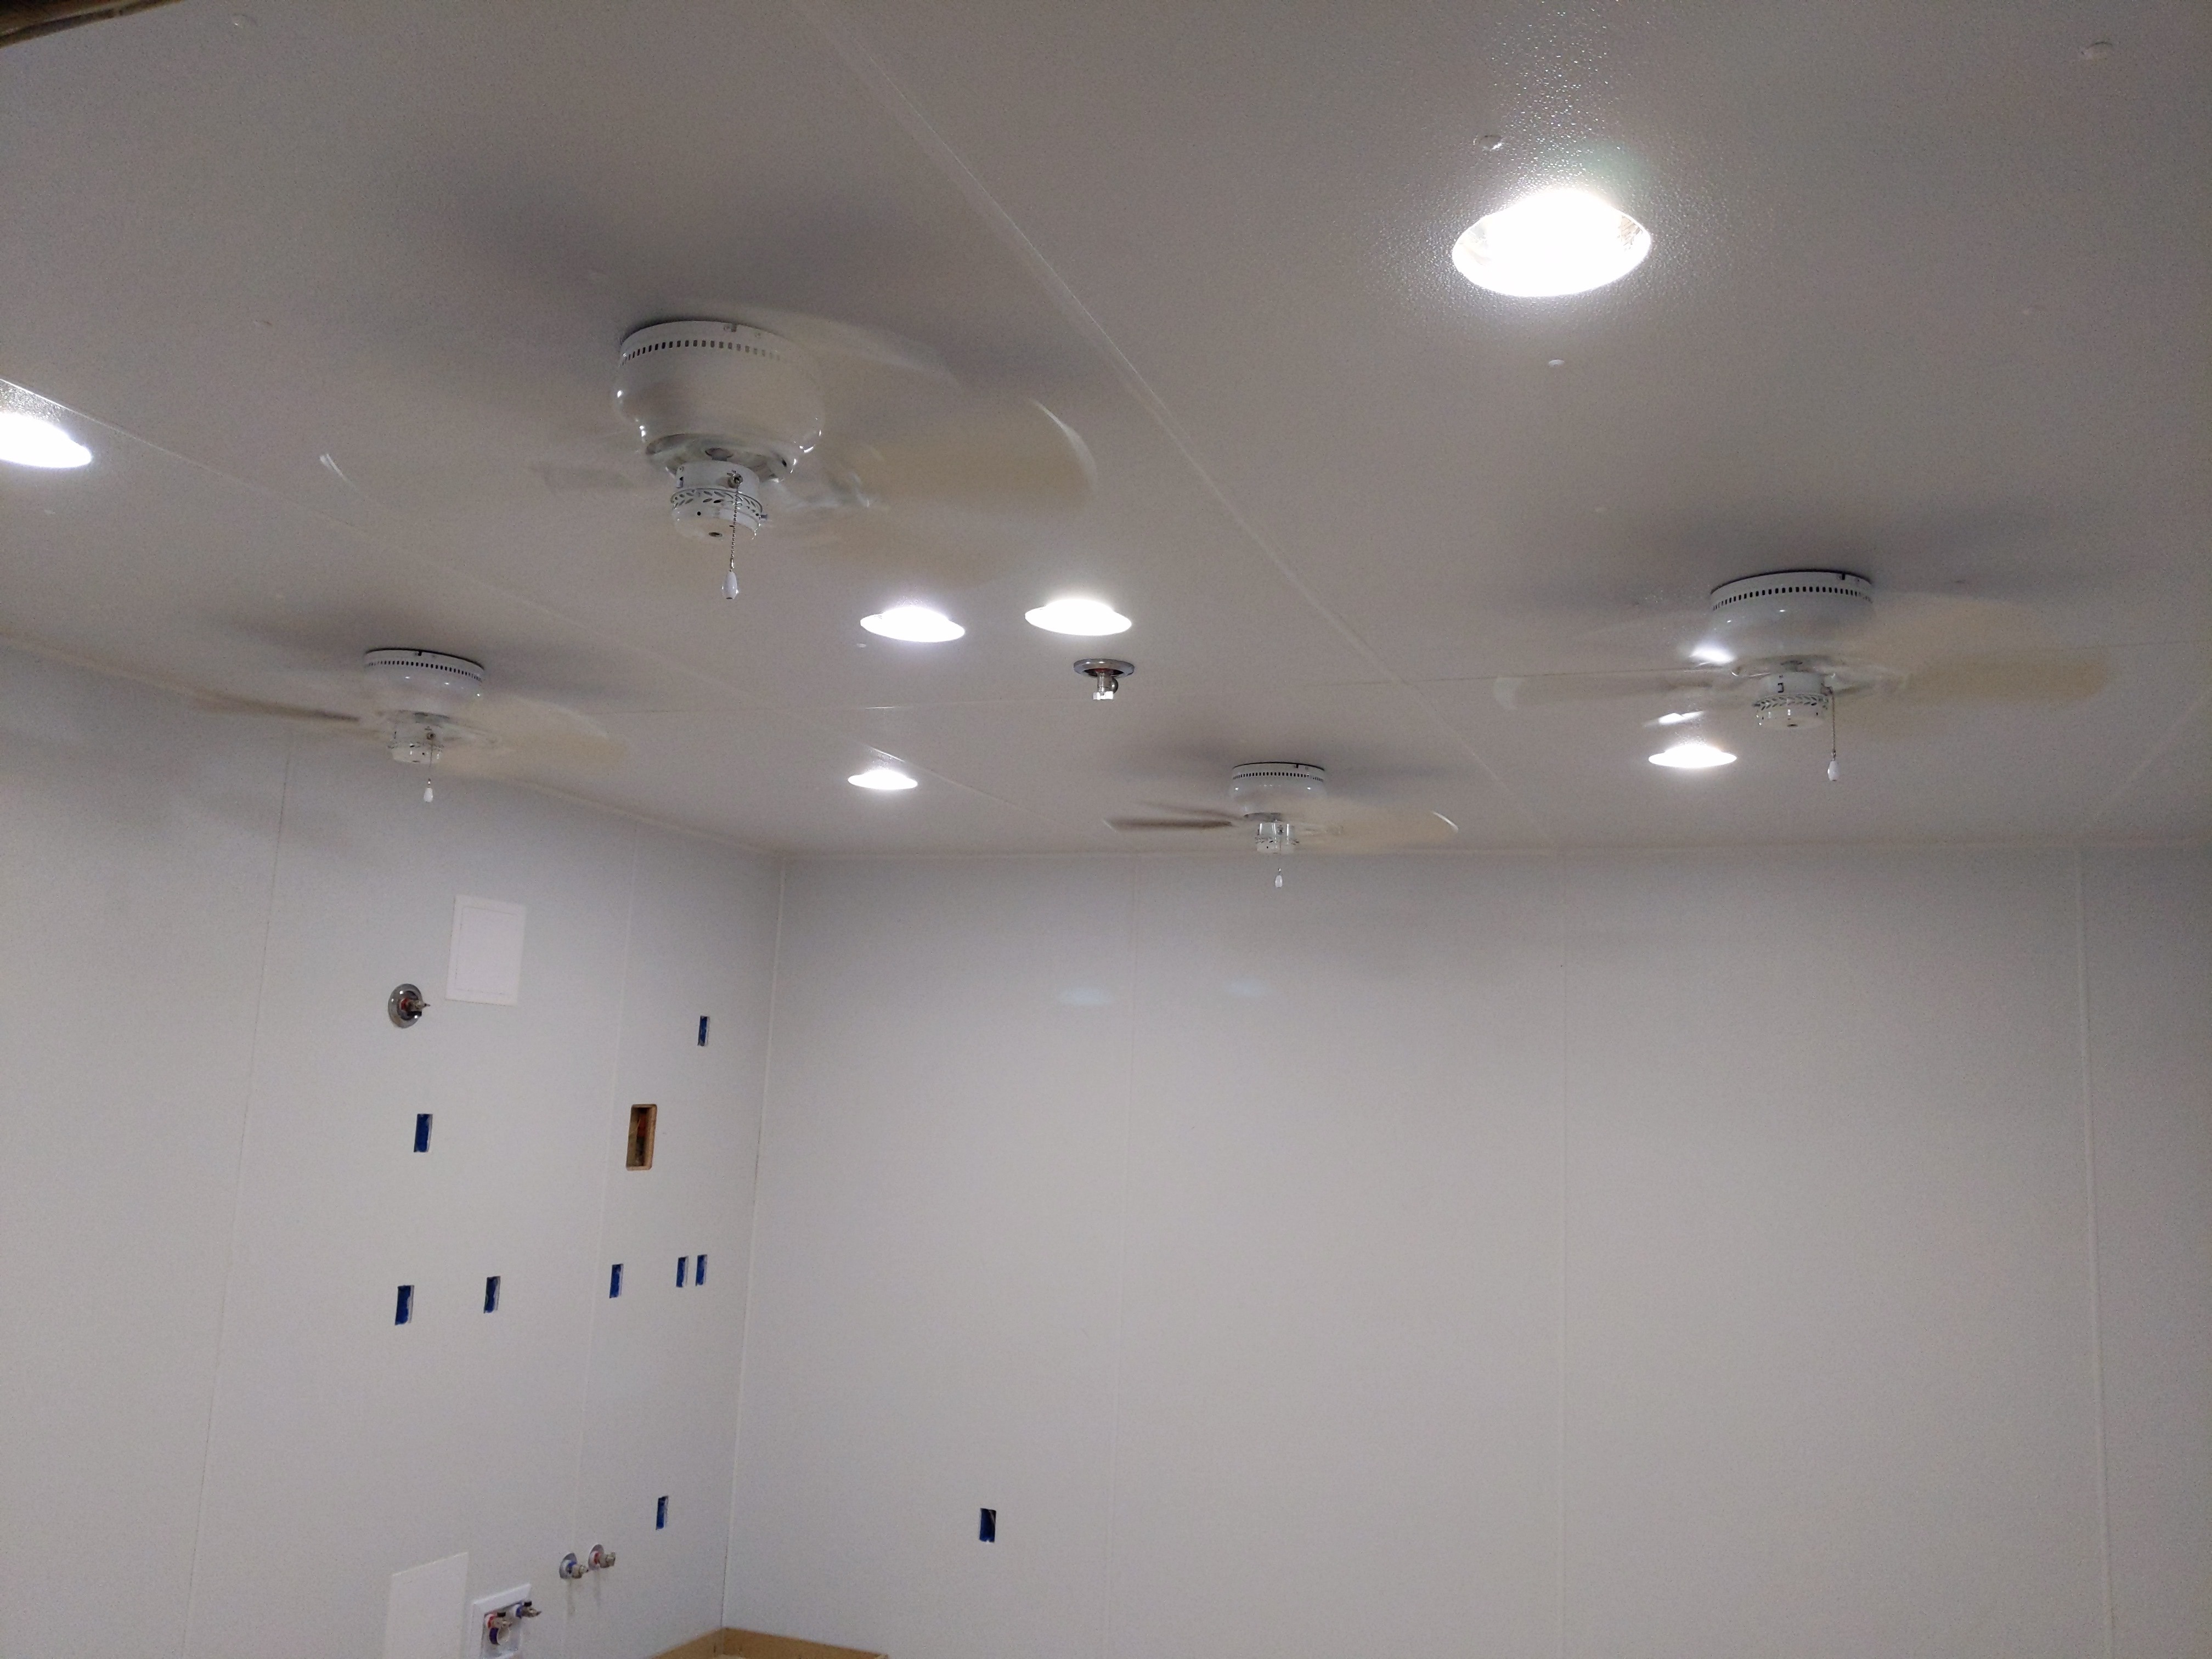
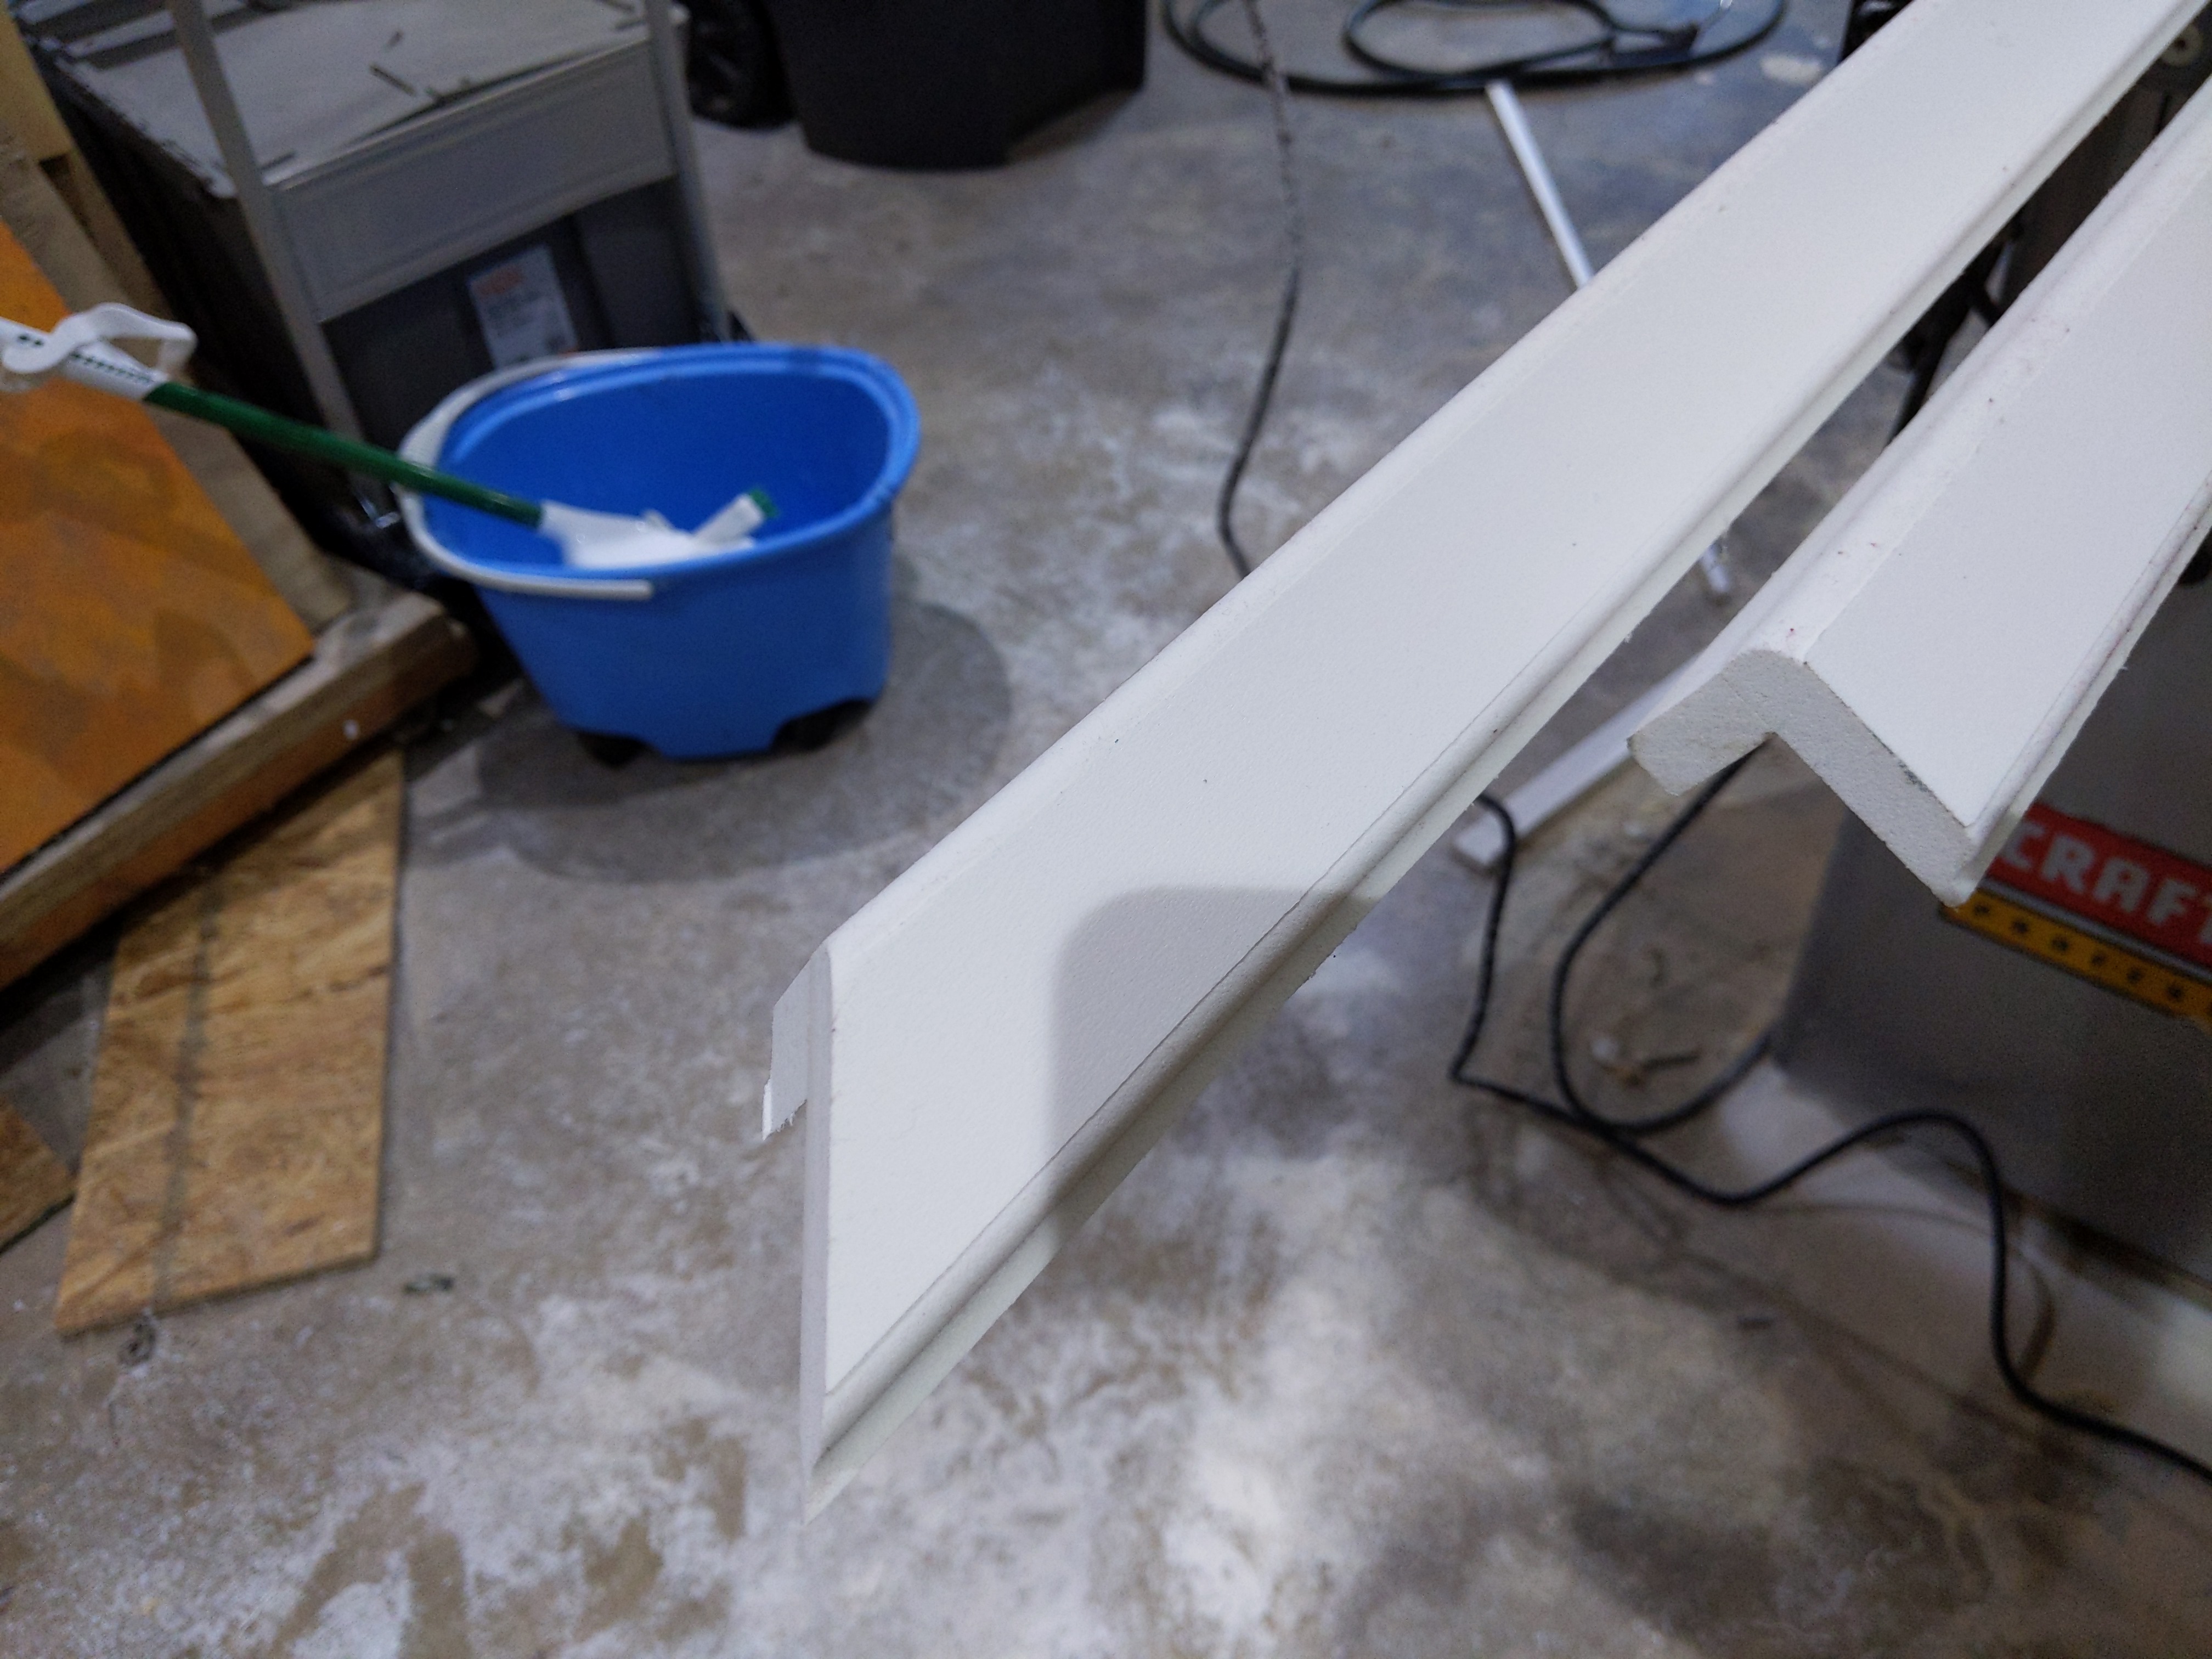
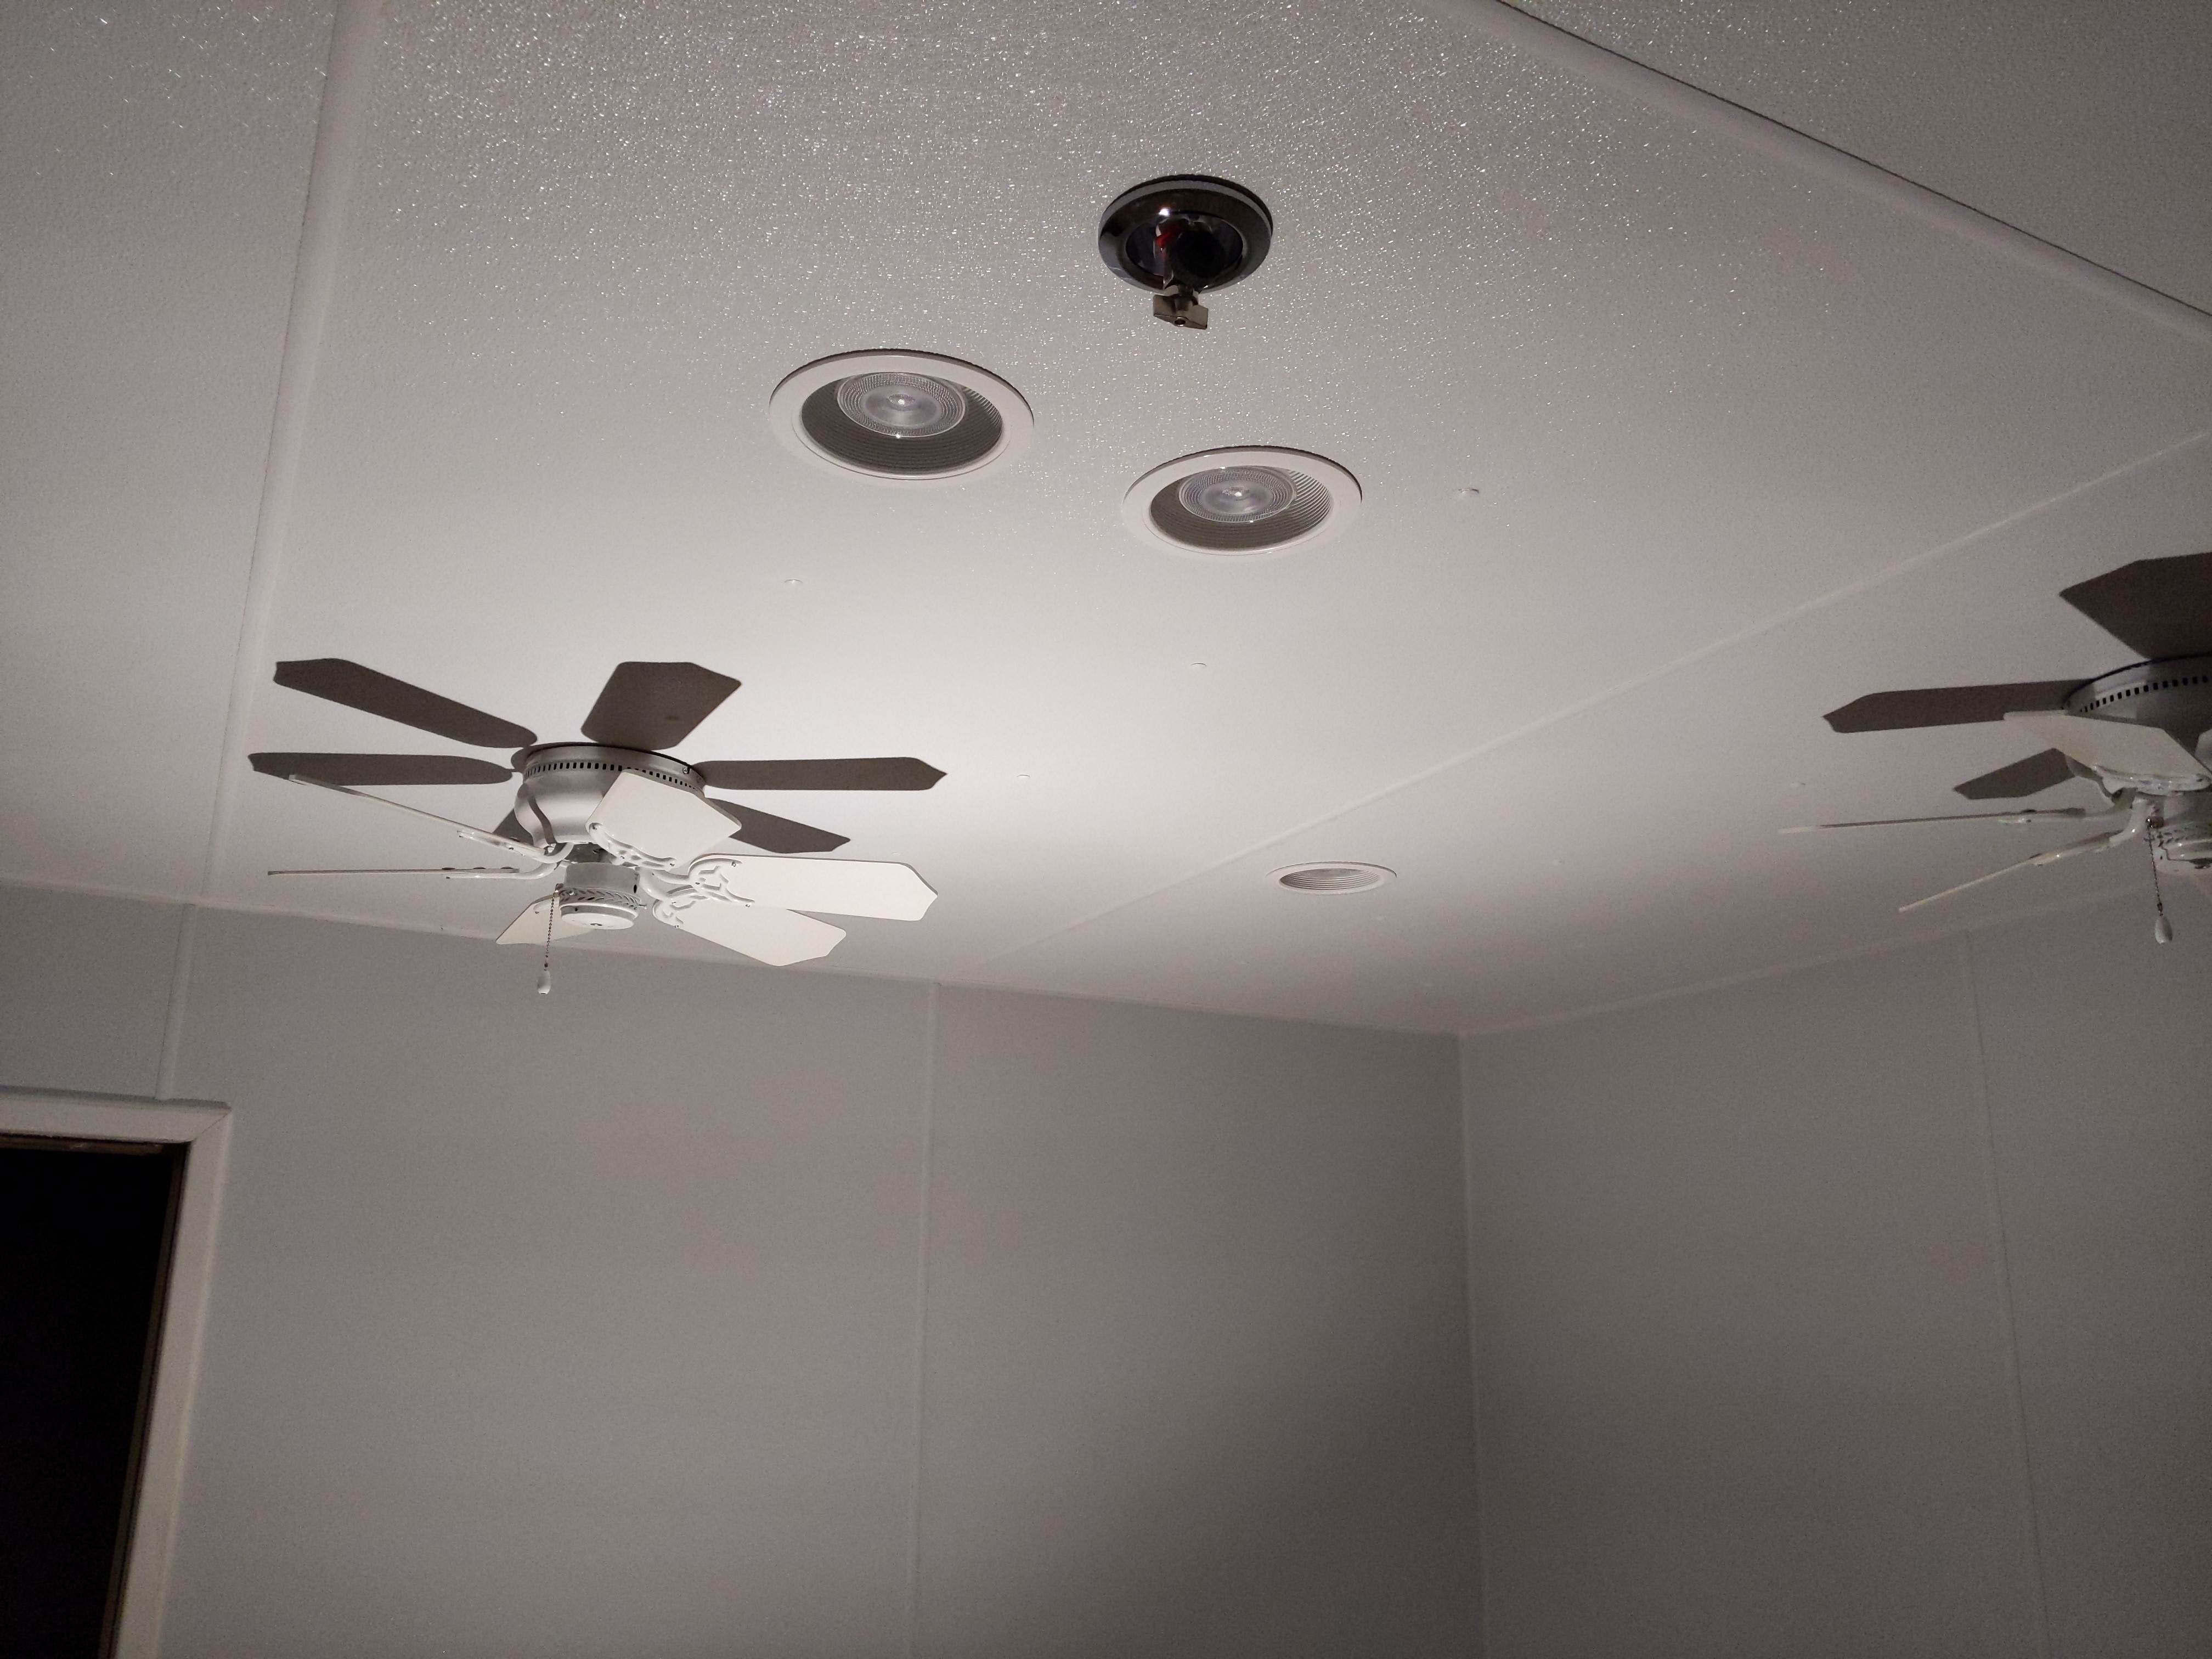
Finished sealing the ceiling. Got the fans up. I officially hate building fan blades now, 24 of them. Have pieces getting glued together to make door moulding. Not bad for the weekend. The strobe effect I mentioned before is very Minimal even with these lights, once I get some trim and new bulbs it will probably be non existent. Nice when planning works out lol.
12 Likes
Oh man I think this just became my top most favoritest post to follow. I’m loving the start to now progress. It’s going to be sick when it’s finished! 
4 Likes
That’s amazing🤩! I one day hope to have something like this. Keep up the good work!
2 Likes
You are so right! This thread is so addicting to read. Hopefully after it is done, @owalreptiles will keep building 
1 Like
More 41qt racks are on my to-do list as well. I just wanna get this room finished first lol.
Got the door frame finished, just gotta put it up. First time I’ve ever made trim out of plastic, was an interesting experience. Sooo many plastic chips around the garage now. Overall I’d say not bad for left over rack pieces.
10 Likes
Reason why I love the watch and continually read through your building thread is because I’m not really in the position to build myself a reptile room or a boa hatchling rack. But I do have a solution get more high-end boas, lol
Edited because I had to add the S to boas 
6 Likes
Looks like everything is coming together nicely Matt! For sure doing excellent work!
4 Likes
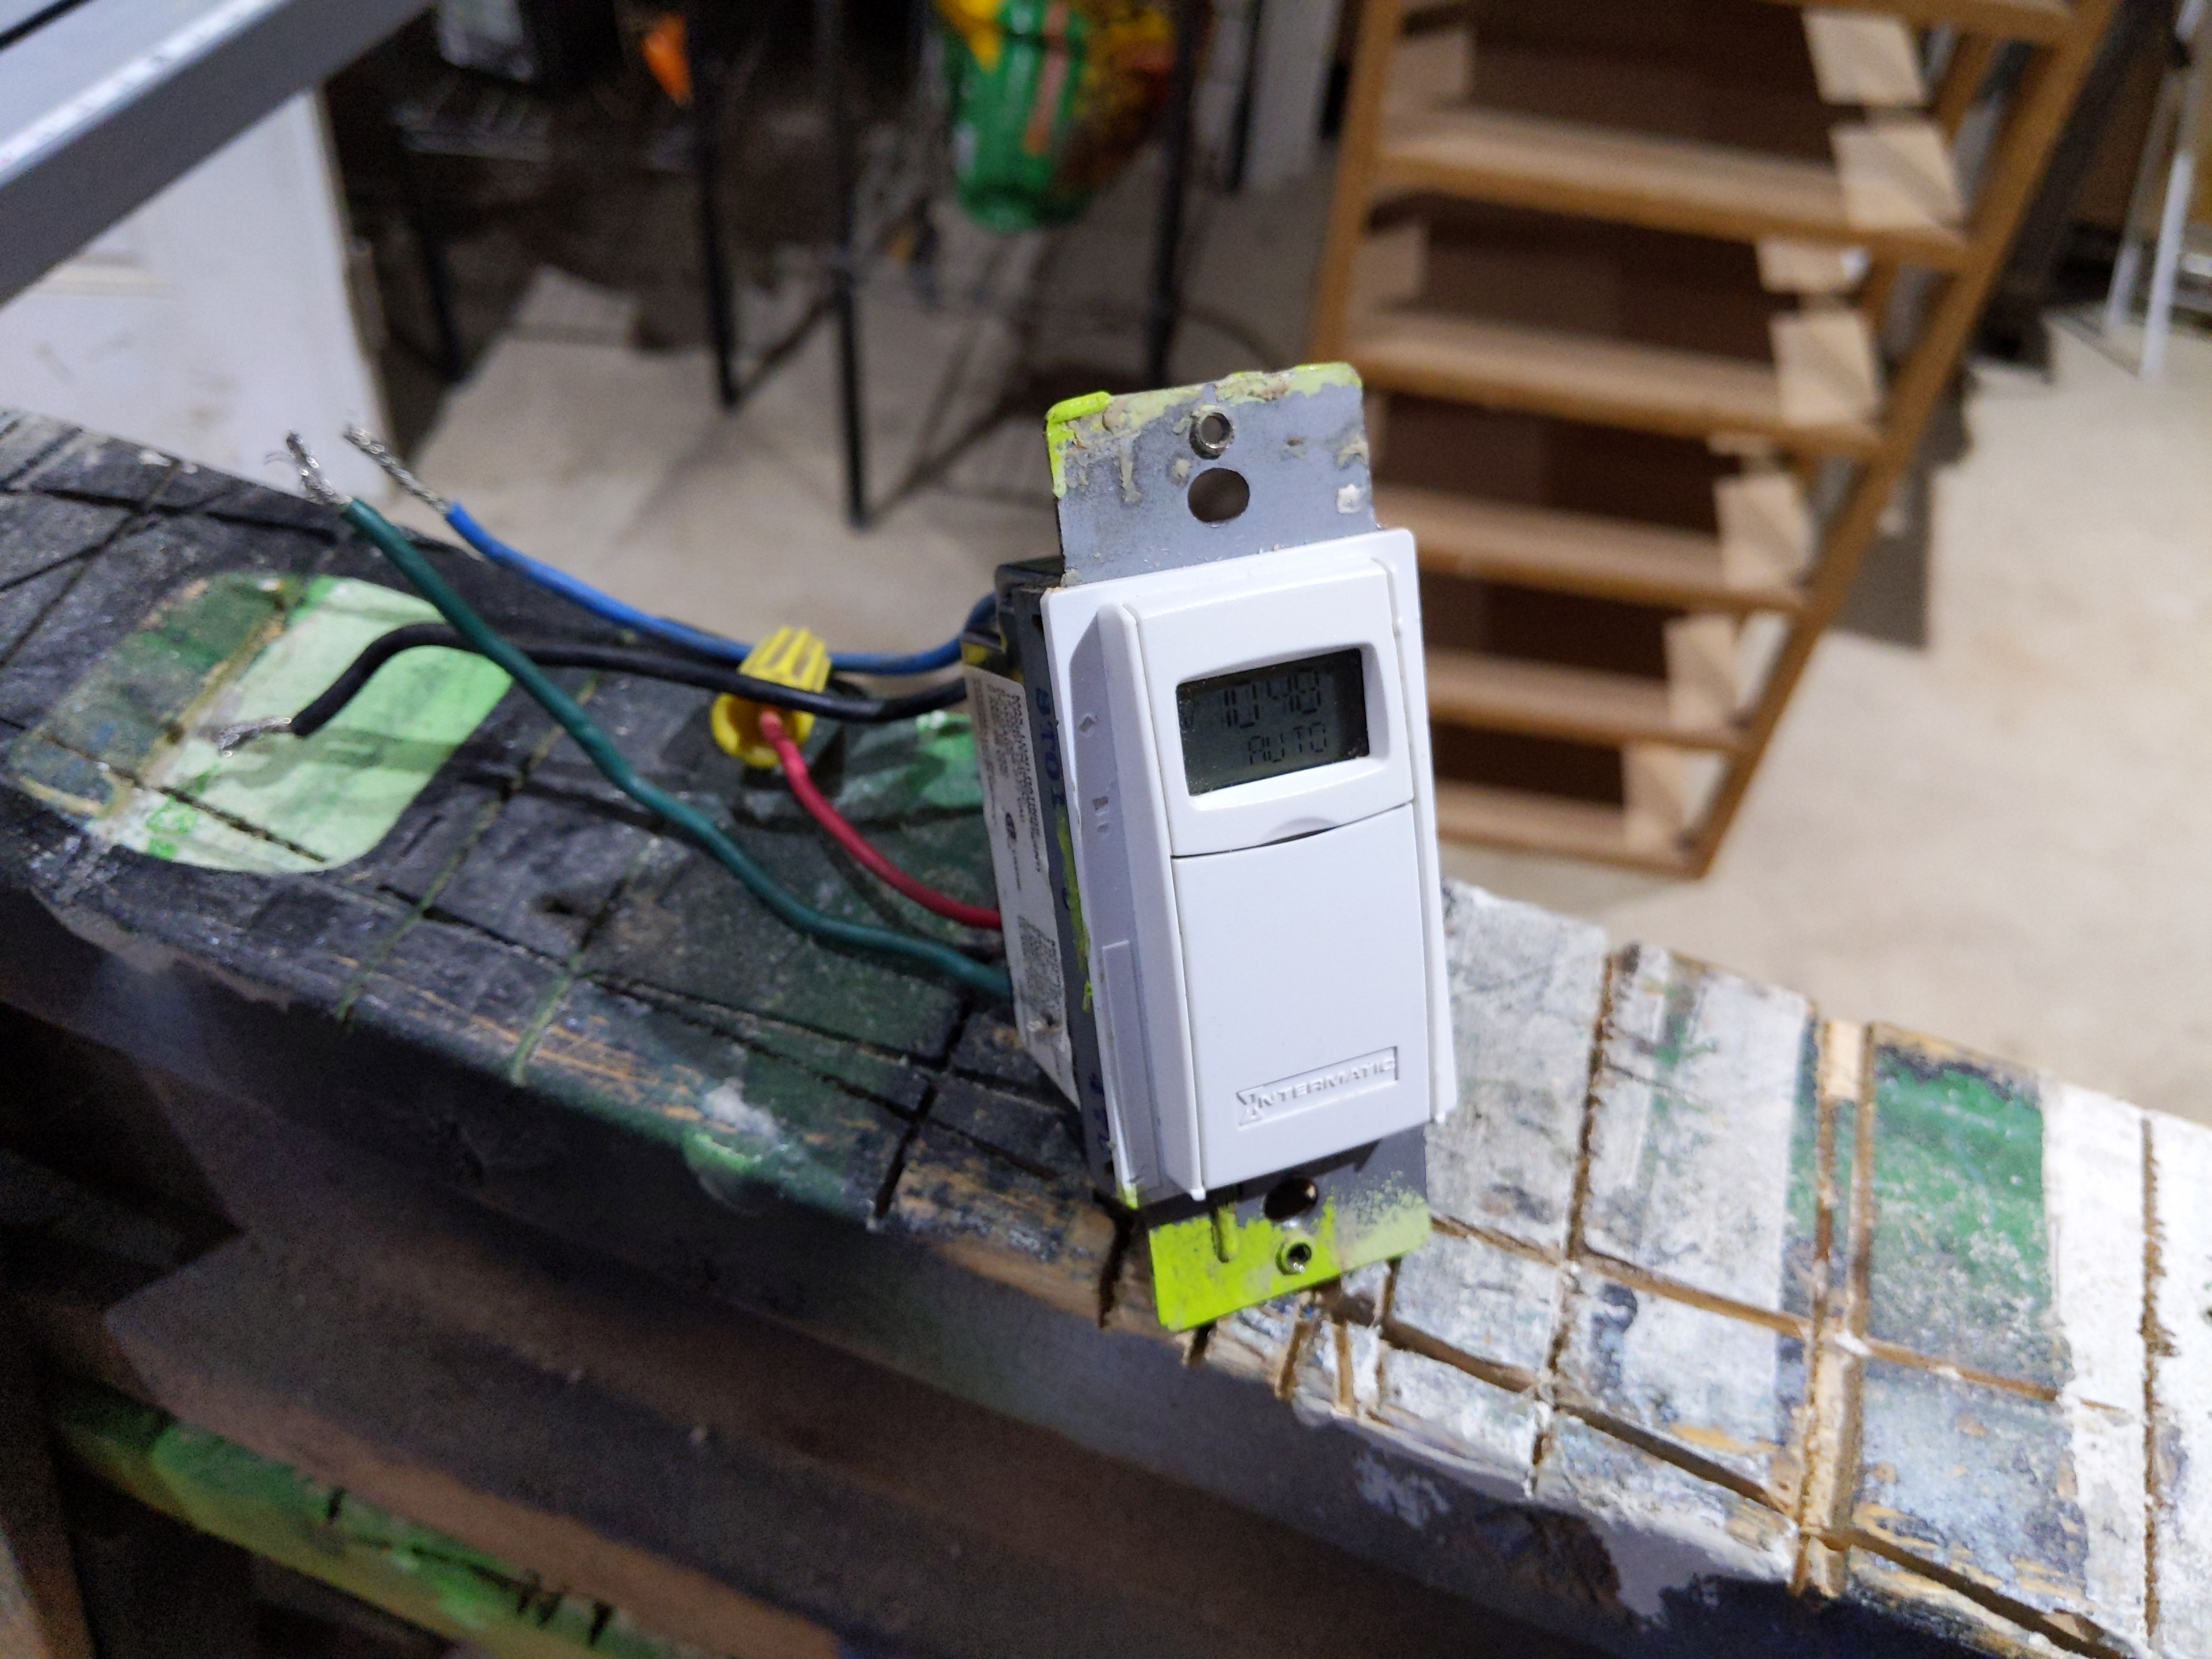
Finally 100% sealed the fiberglass. Started the electrical finish, had to order some things on Amazon, I was amazed by the amount of stuff that was out of stock. Did decide to use my old faithful light timer. It’s been around since my first reptile room, rodent room, been through my garage fire, just never stops working and I don’t see a need for any new smart features. Might as well stick with what works. Little tooth brush cleaning and it’s ready.
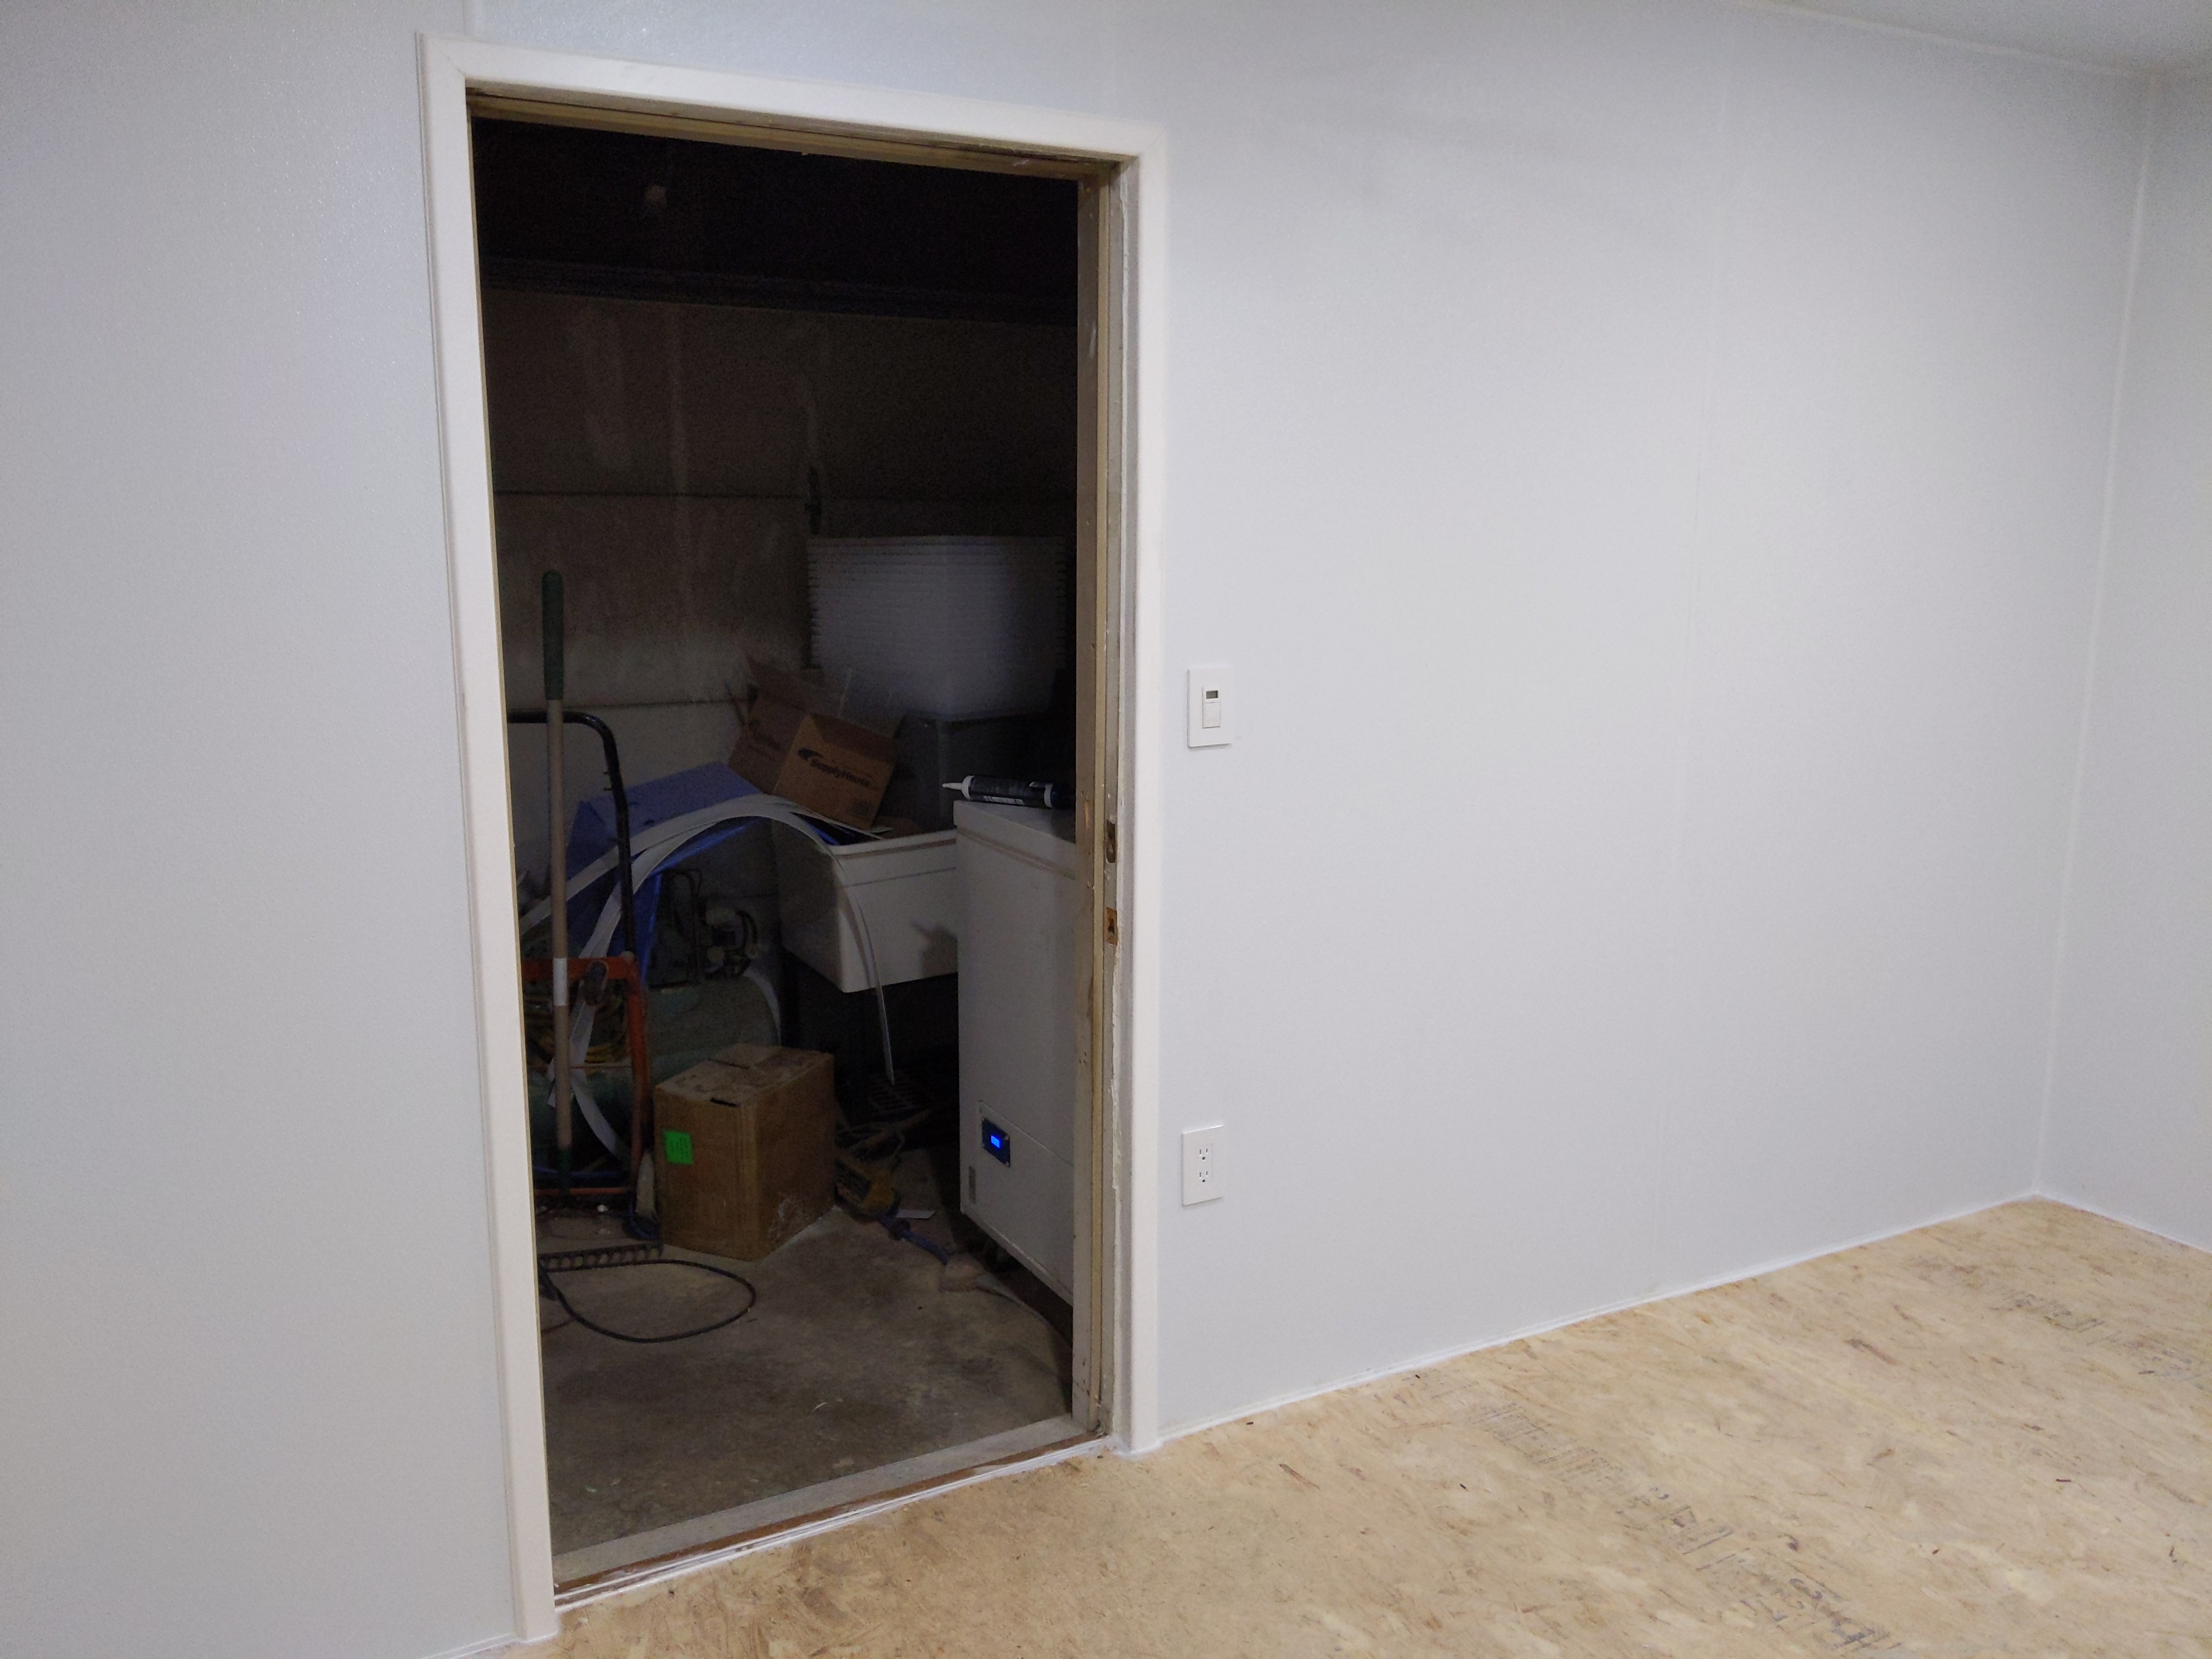
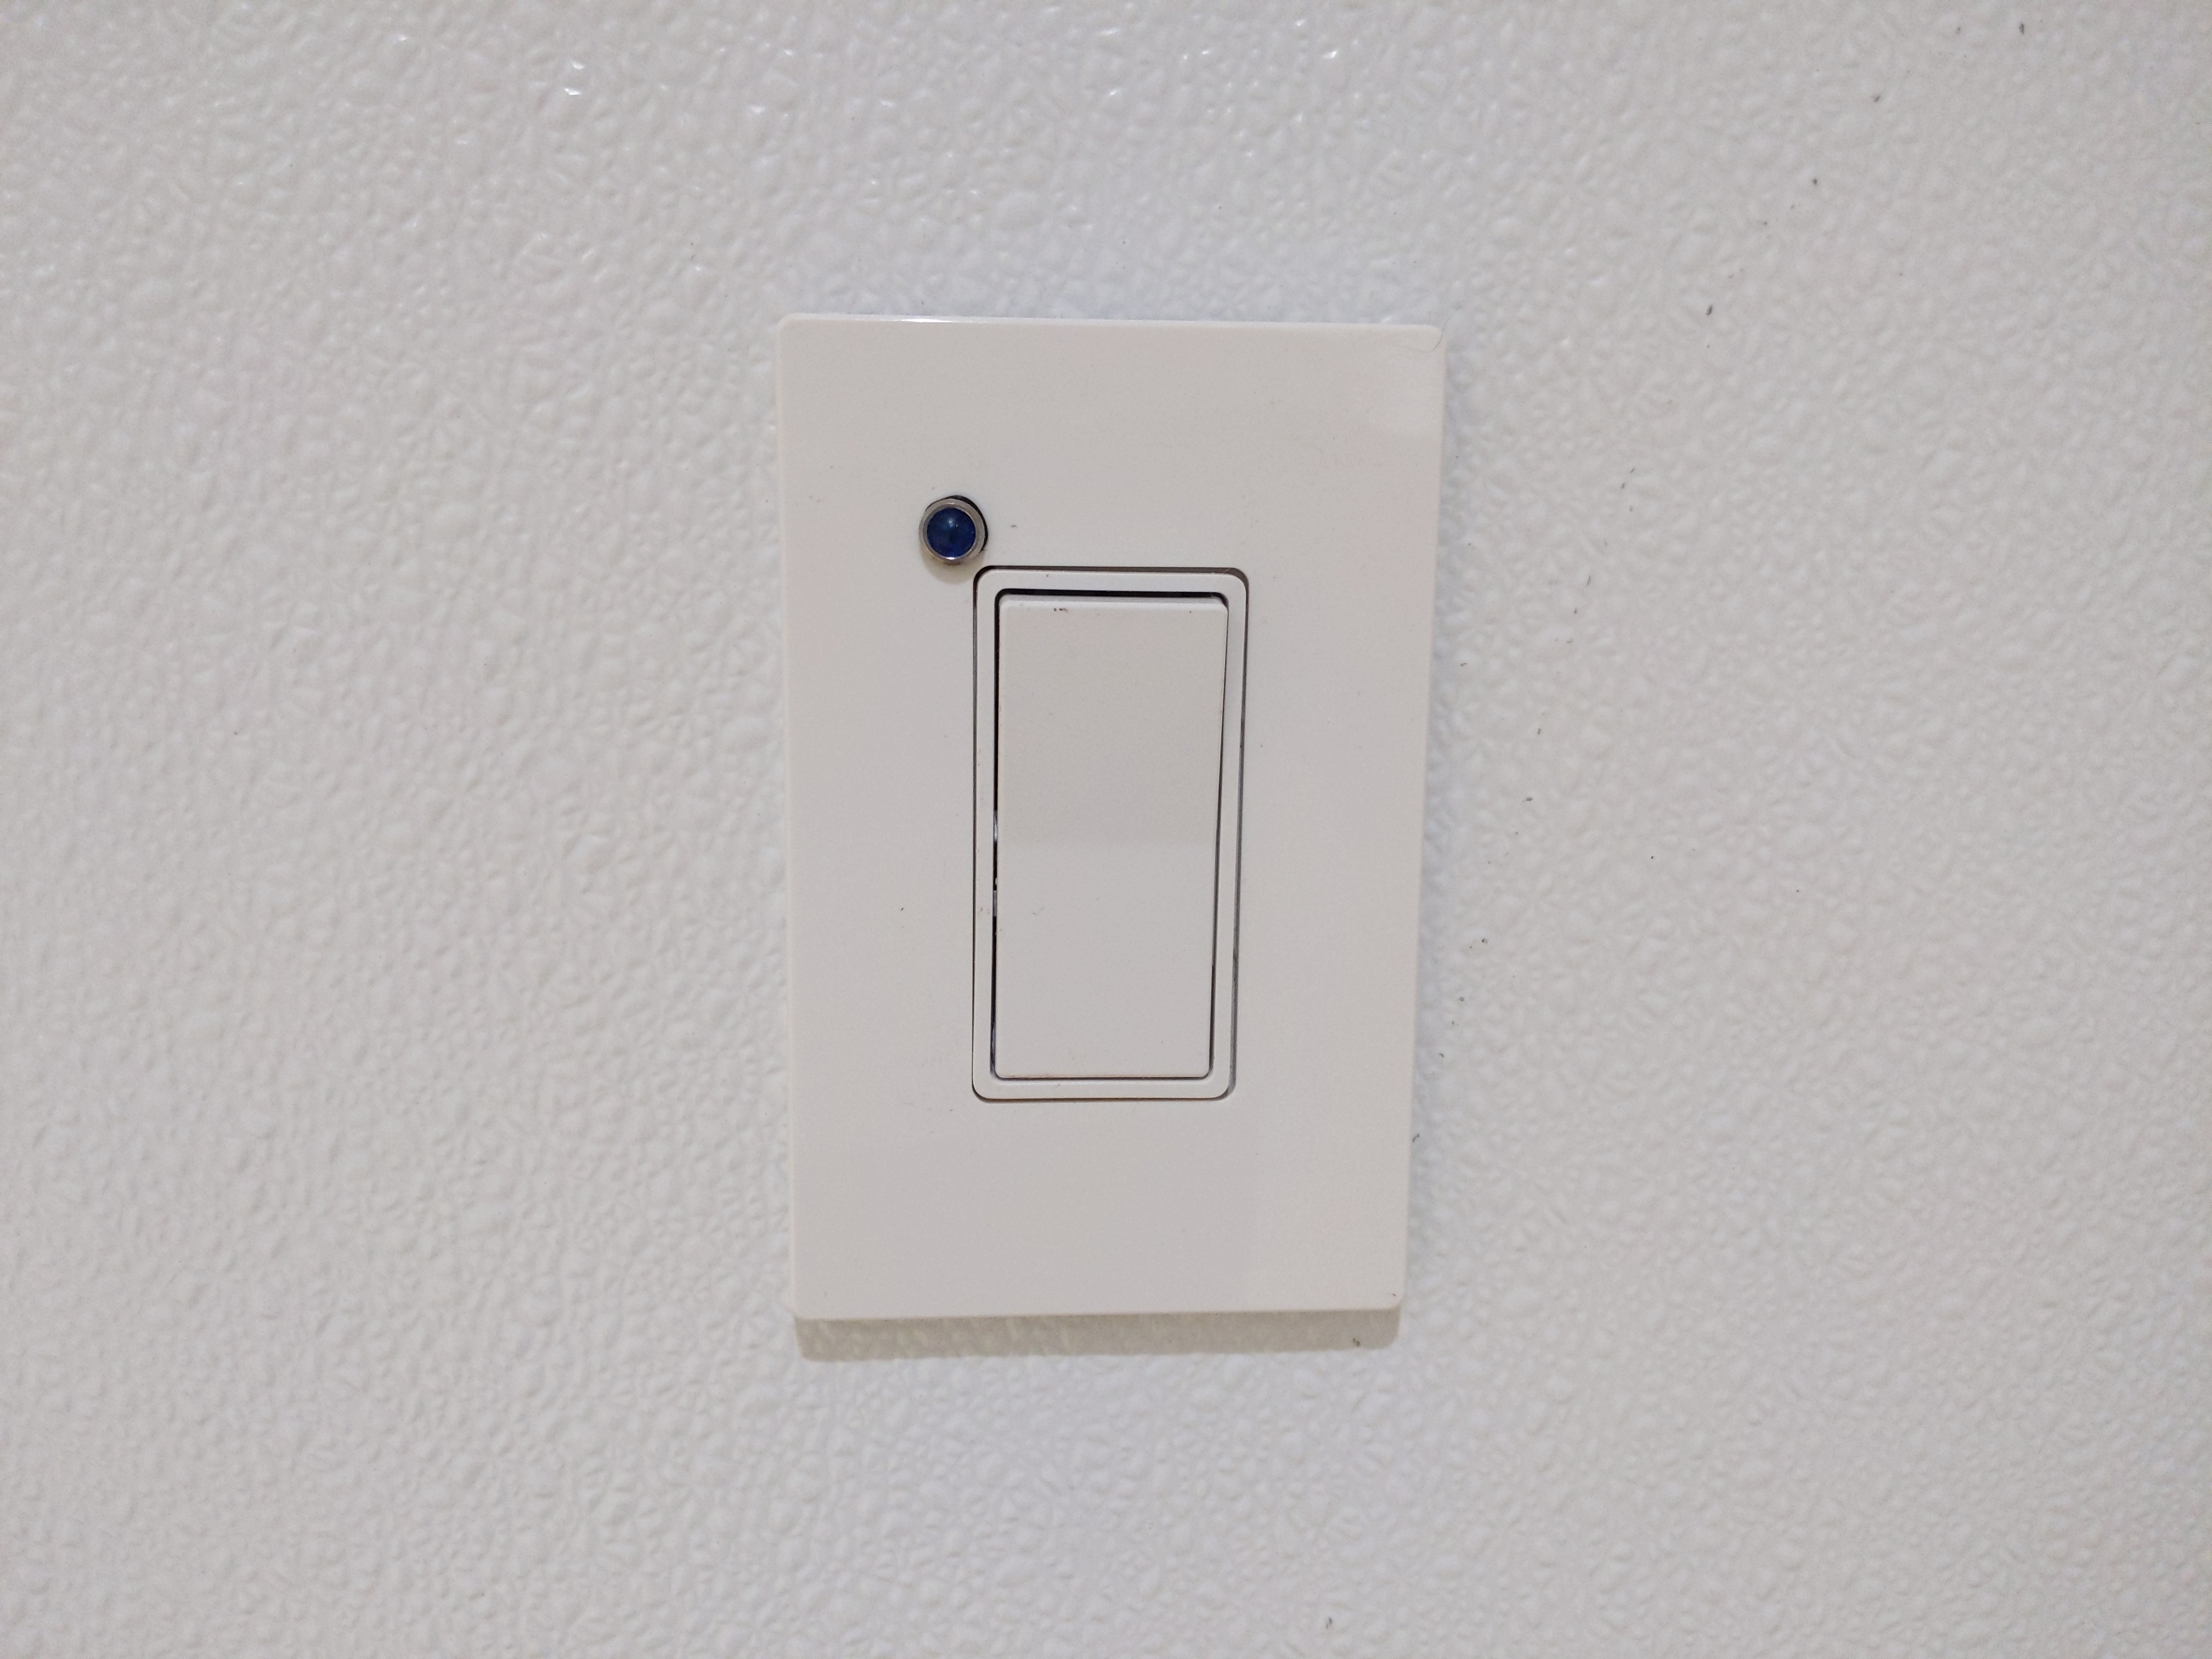
Moulding up, couple of openings done. I love the screwless cover plates. Maybe it something only electricians notice but I think it looks clean.
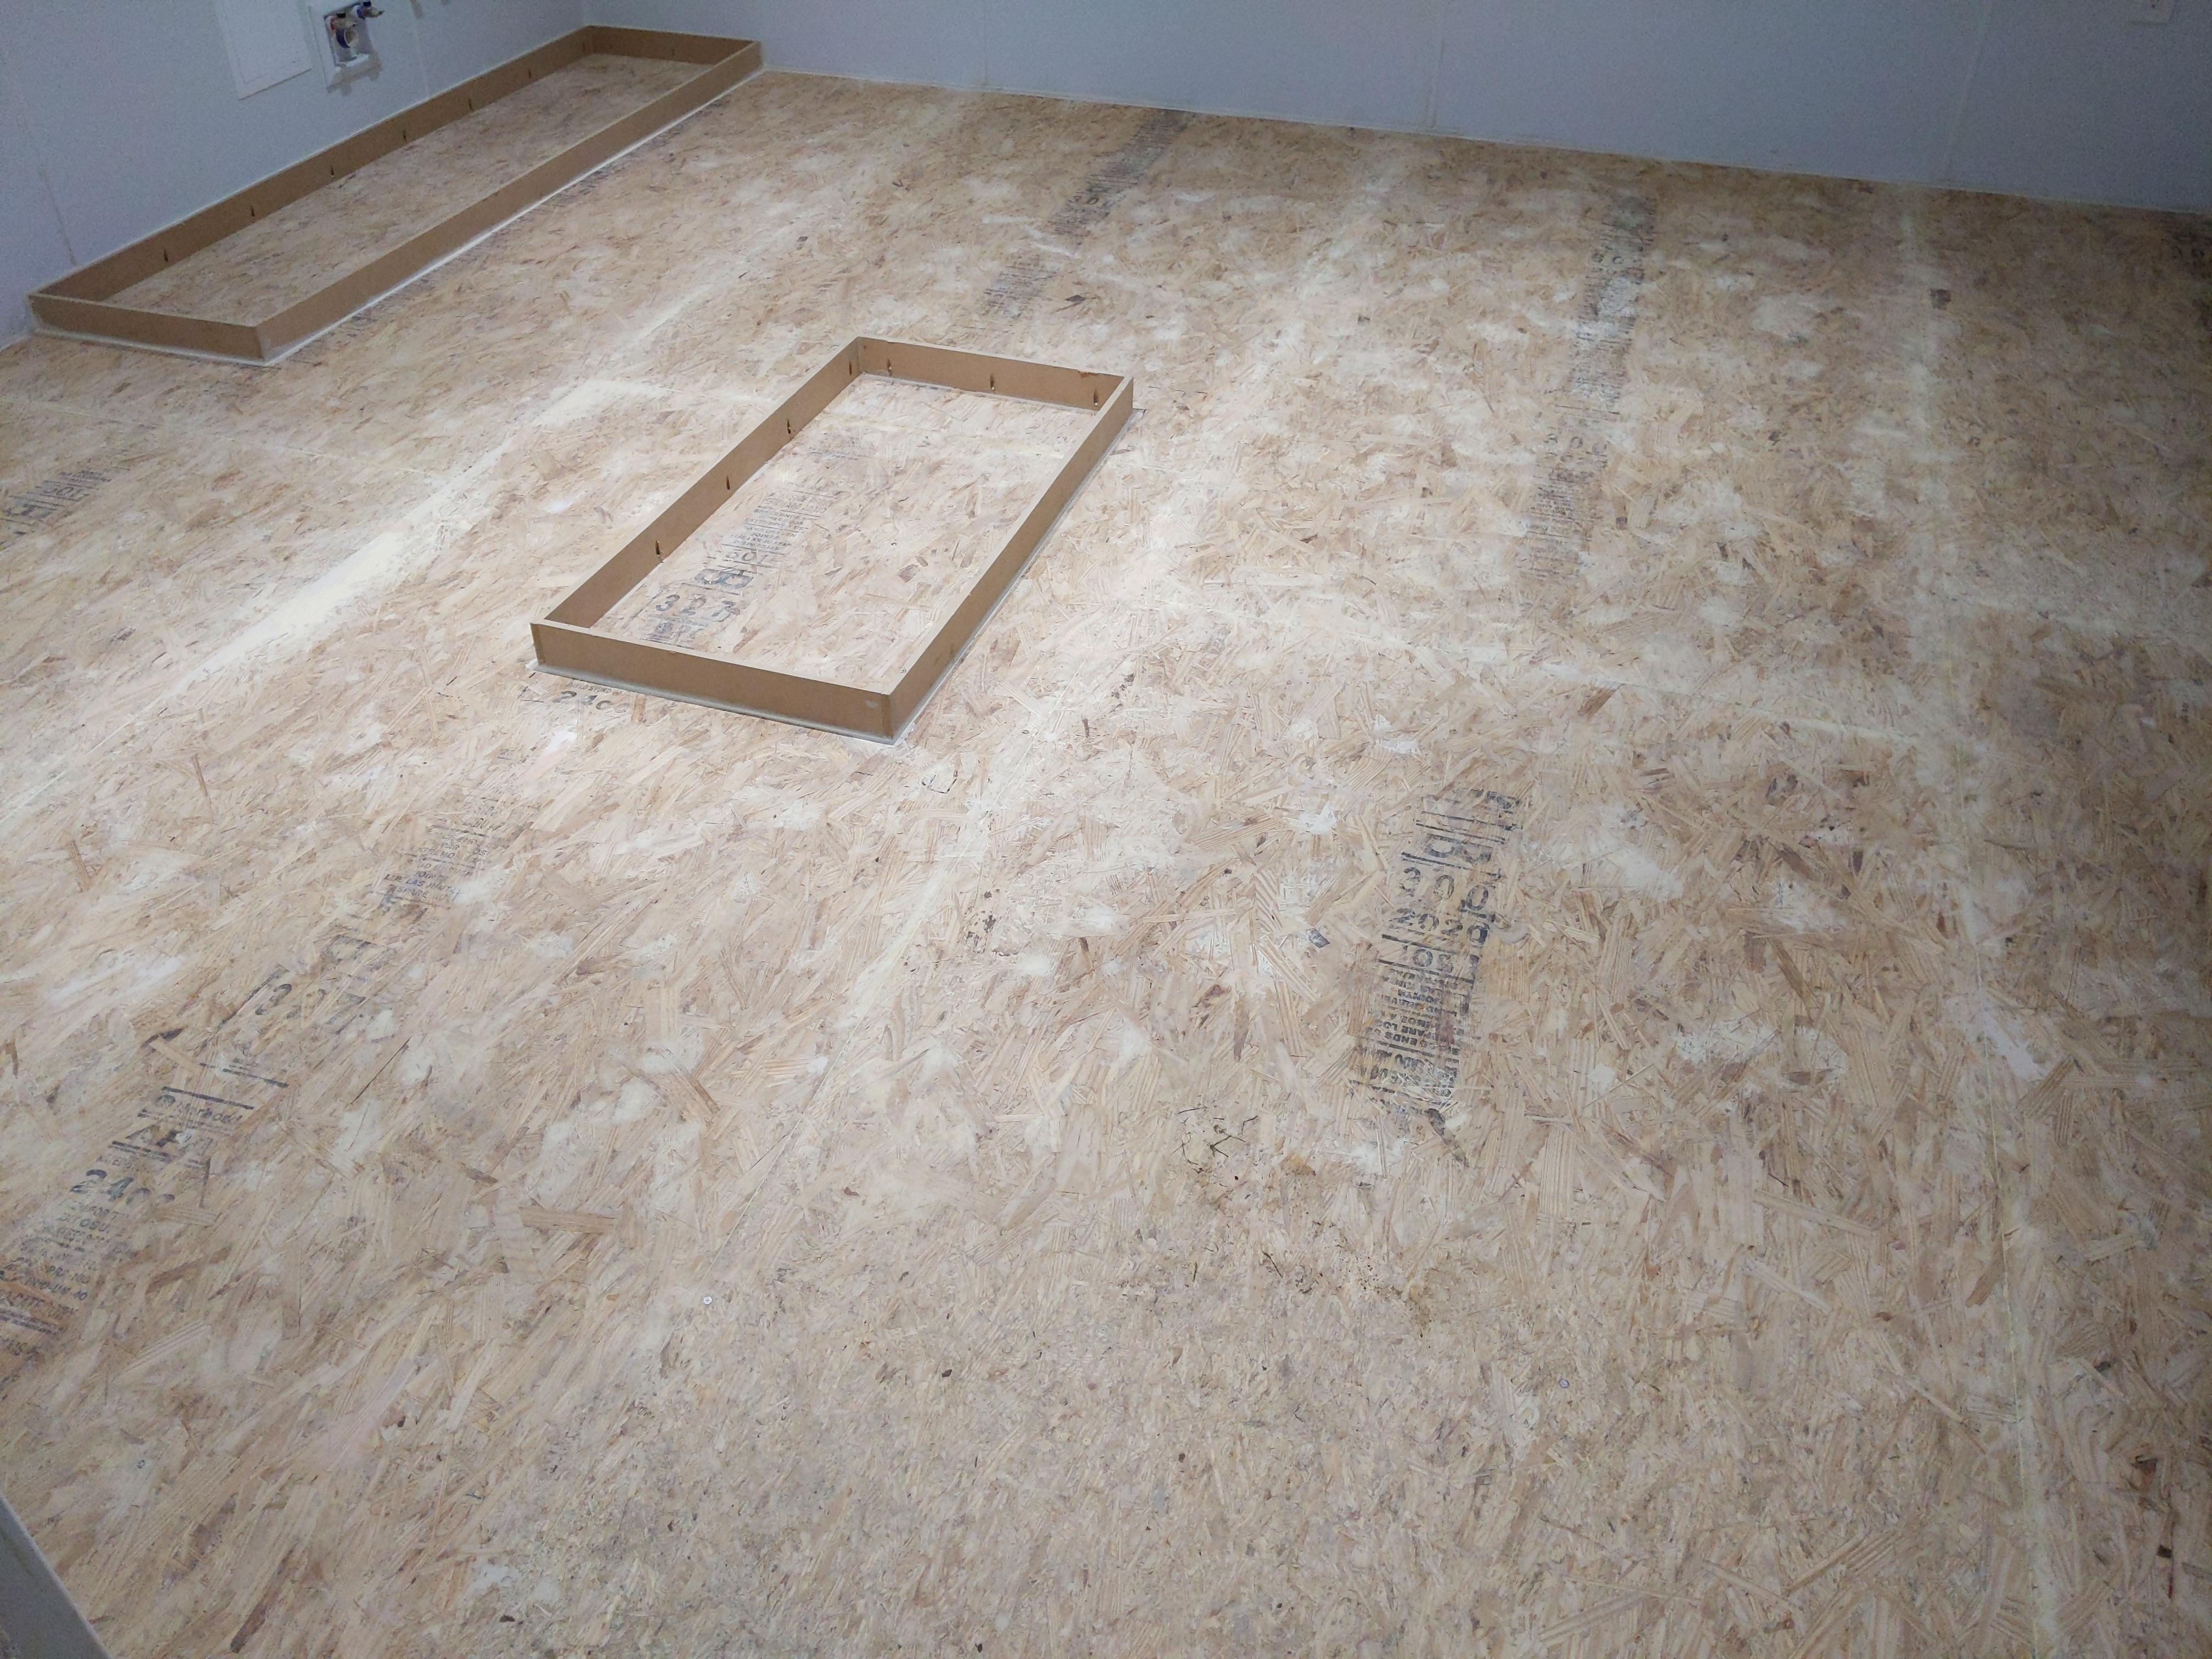
So I need to do a little floor prep and should be ready for epoxy. Then need to find the time to pour it when help is available, I don’t think I wanna be trying to beat then epoxy drying clock on my own.
9 Likes
Wow! It is getting there!
1 Like
Looks amazing as always! You’re almost there, keep up the good work 
Edited because of autocorrect
2 Likes
Last week the power was out for 5 days. In that time still got the electrical finish done (besides the thermostat related stuff) Just like working in the dark at work lol. The heat trace switch (runs between the house and garage) I put a light on so it very obvious it’s on, hate for it to accidentally turn on and pay for all the heating.

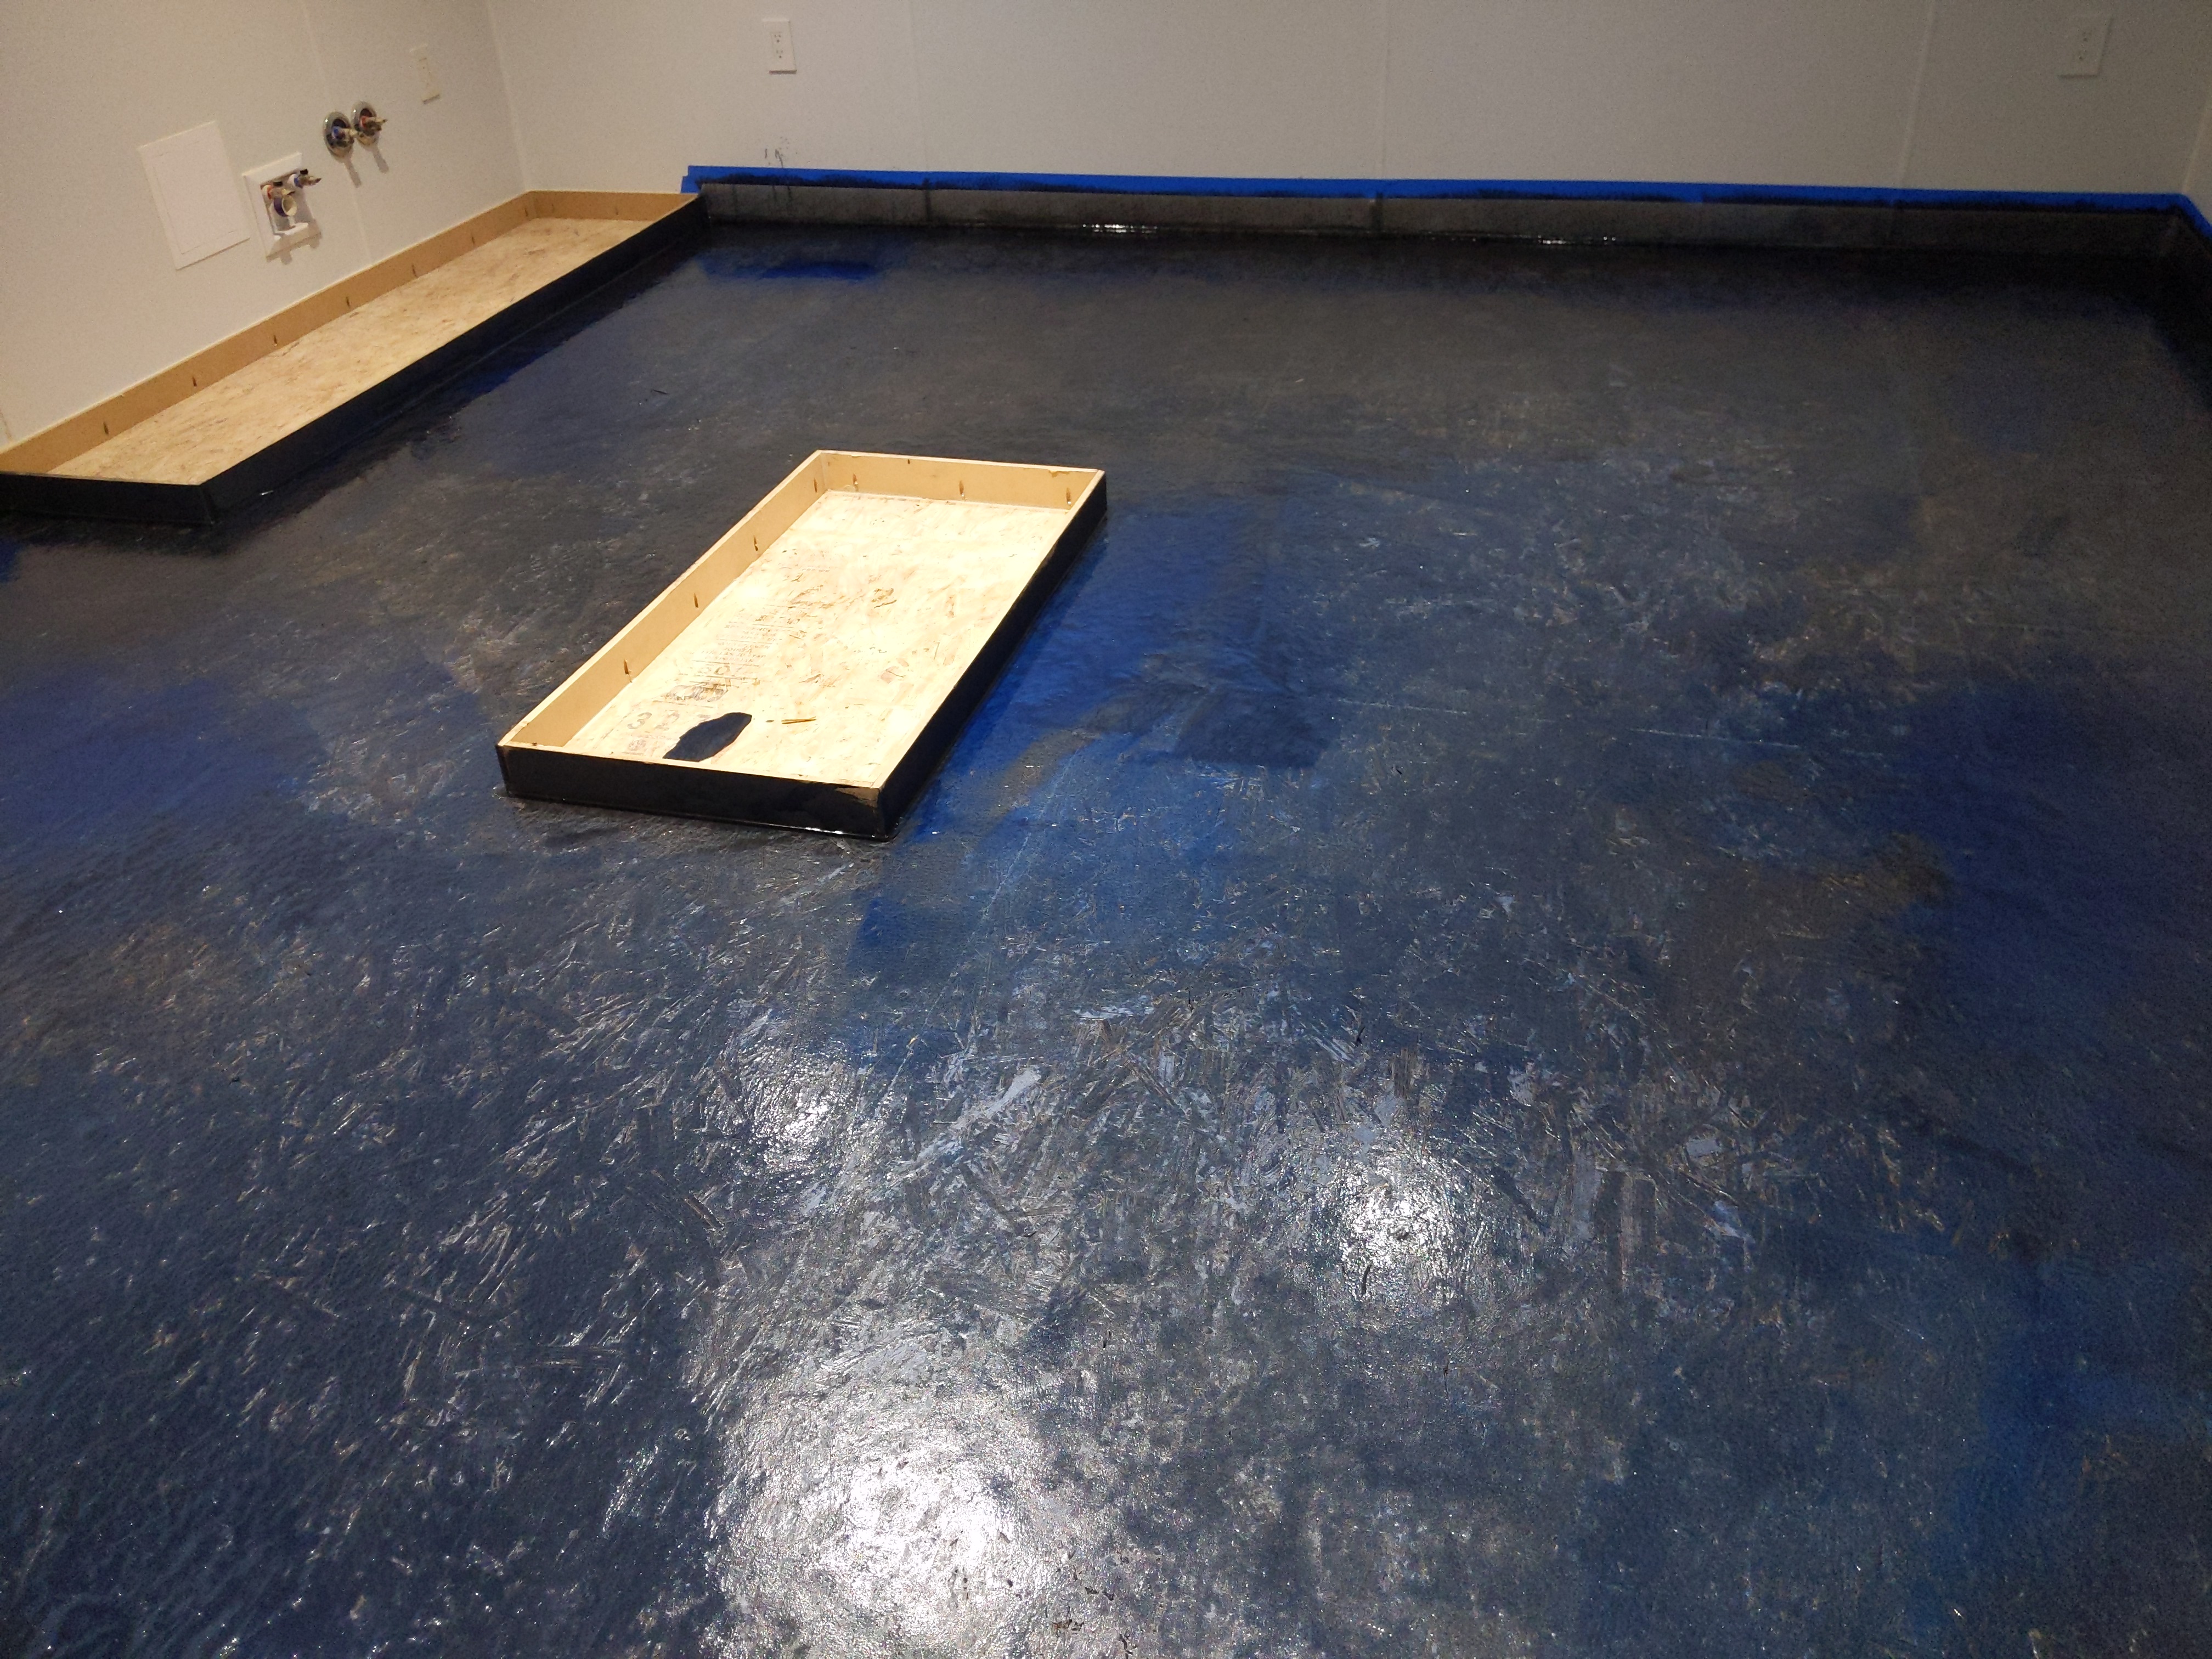
Today was disappointing tho. Got all set up for the epoxy pour. Was going to blend 3 different colors, gray silver and blue. Well it turns out the silver was defective and already hardened in the bag. Naturally I found this out after mixing the other two colors so I only had 45 minutes to use that product. So I was forced to spread the gray and blue extremely thin to get full coverage. Already trying to get this issue rectified now with the seller. Imo they owe me all 3 kits as it’s not like you can just add another on top and everything looks fine. I need to pour it all at once. But yeah it looks pretty bad currently, had no build at all. Hopefully it acts as a good primer for the next pour.
11 Likes
Sorry to hear about the epoxy mishap. Hopefully you get that settled quickly and easily with the seller. Everything else looks great, I can’t wait to see your finished product!
3 Likes
Well good news despite what happened, I’m getting replacements for all the epoxy. So at least im not out cash, just time of redoing it and repreping the floor, oh well. While I wait for that to be shipped, started working on cabinets.
Since a few here enjoy the design process, biggest thing running through my head with the design was making the cabinet have as much airflow as possible, high humidity room makes water pool up in places with no air movement, which leads to mold. I’m going minimalist on the supports and making “panels” with mesh.
Stainless steel would probably be the top of the line way to go, but prefab ones make a poor use of space imo, many would cause a mold issue with their design. I don’t have the welder to fab one and custom made will most likely sticker shock me. Haven’t sourced stainless in a long time, material might sticker shock me lol. So my next best option, pressure treated lumber. since lumber prices are back to earth, seemed like the way to go.
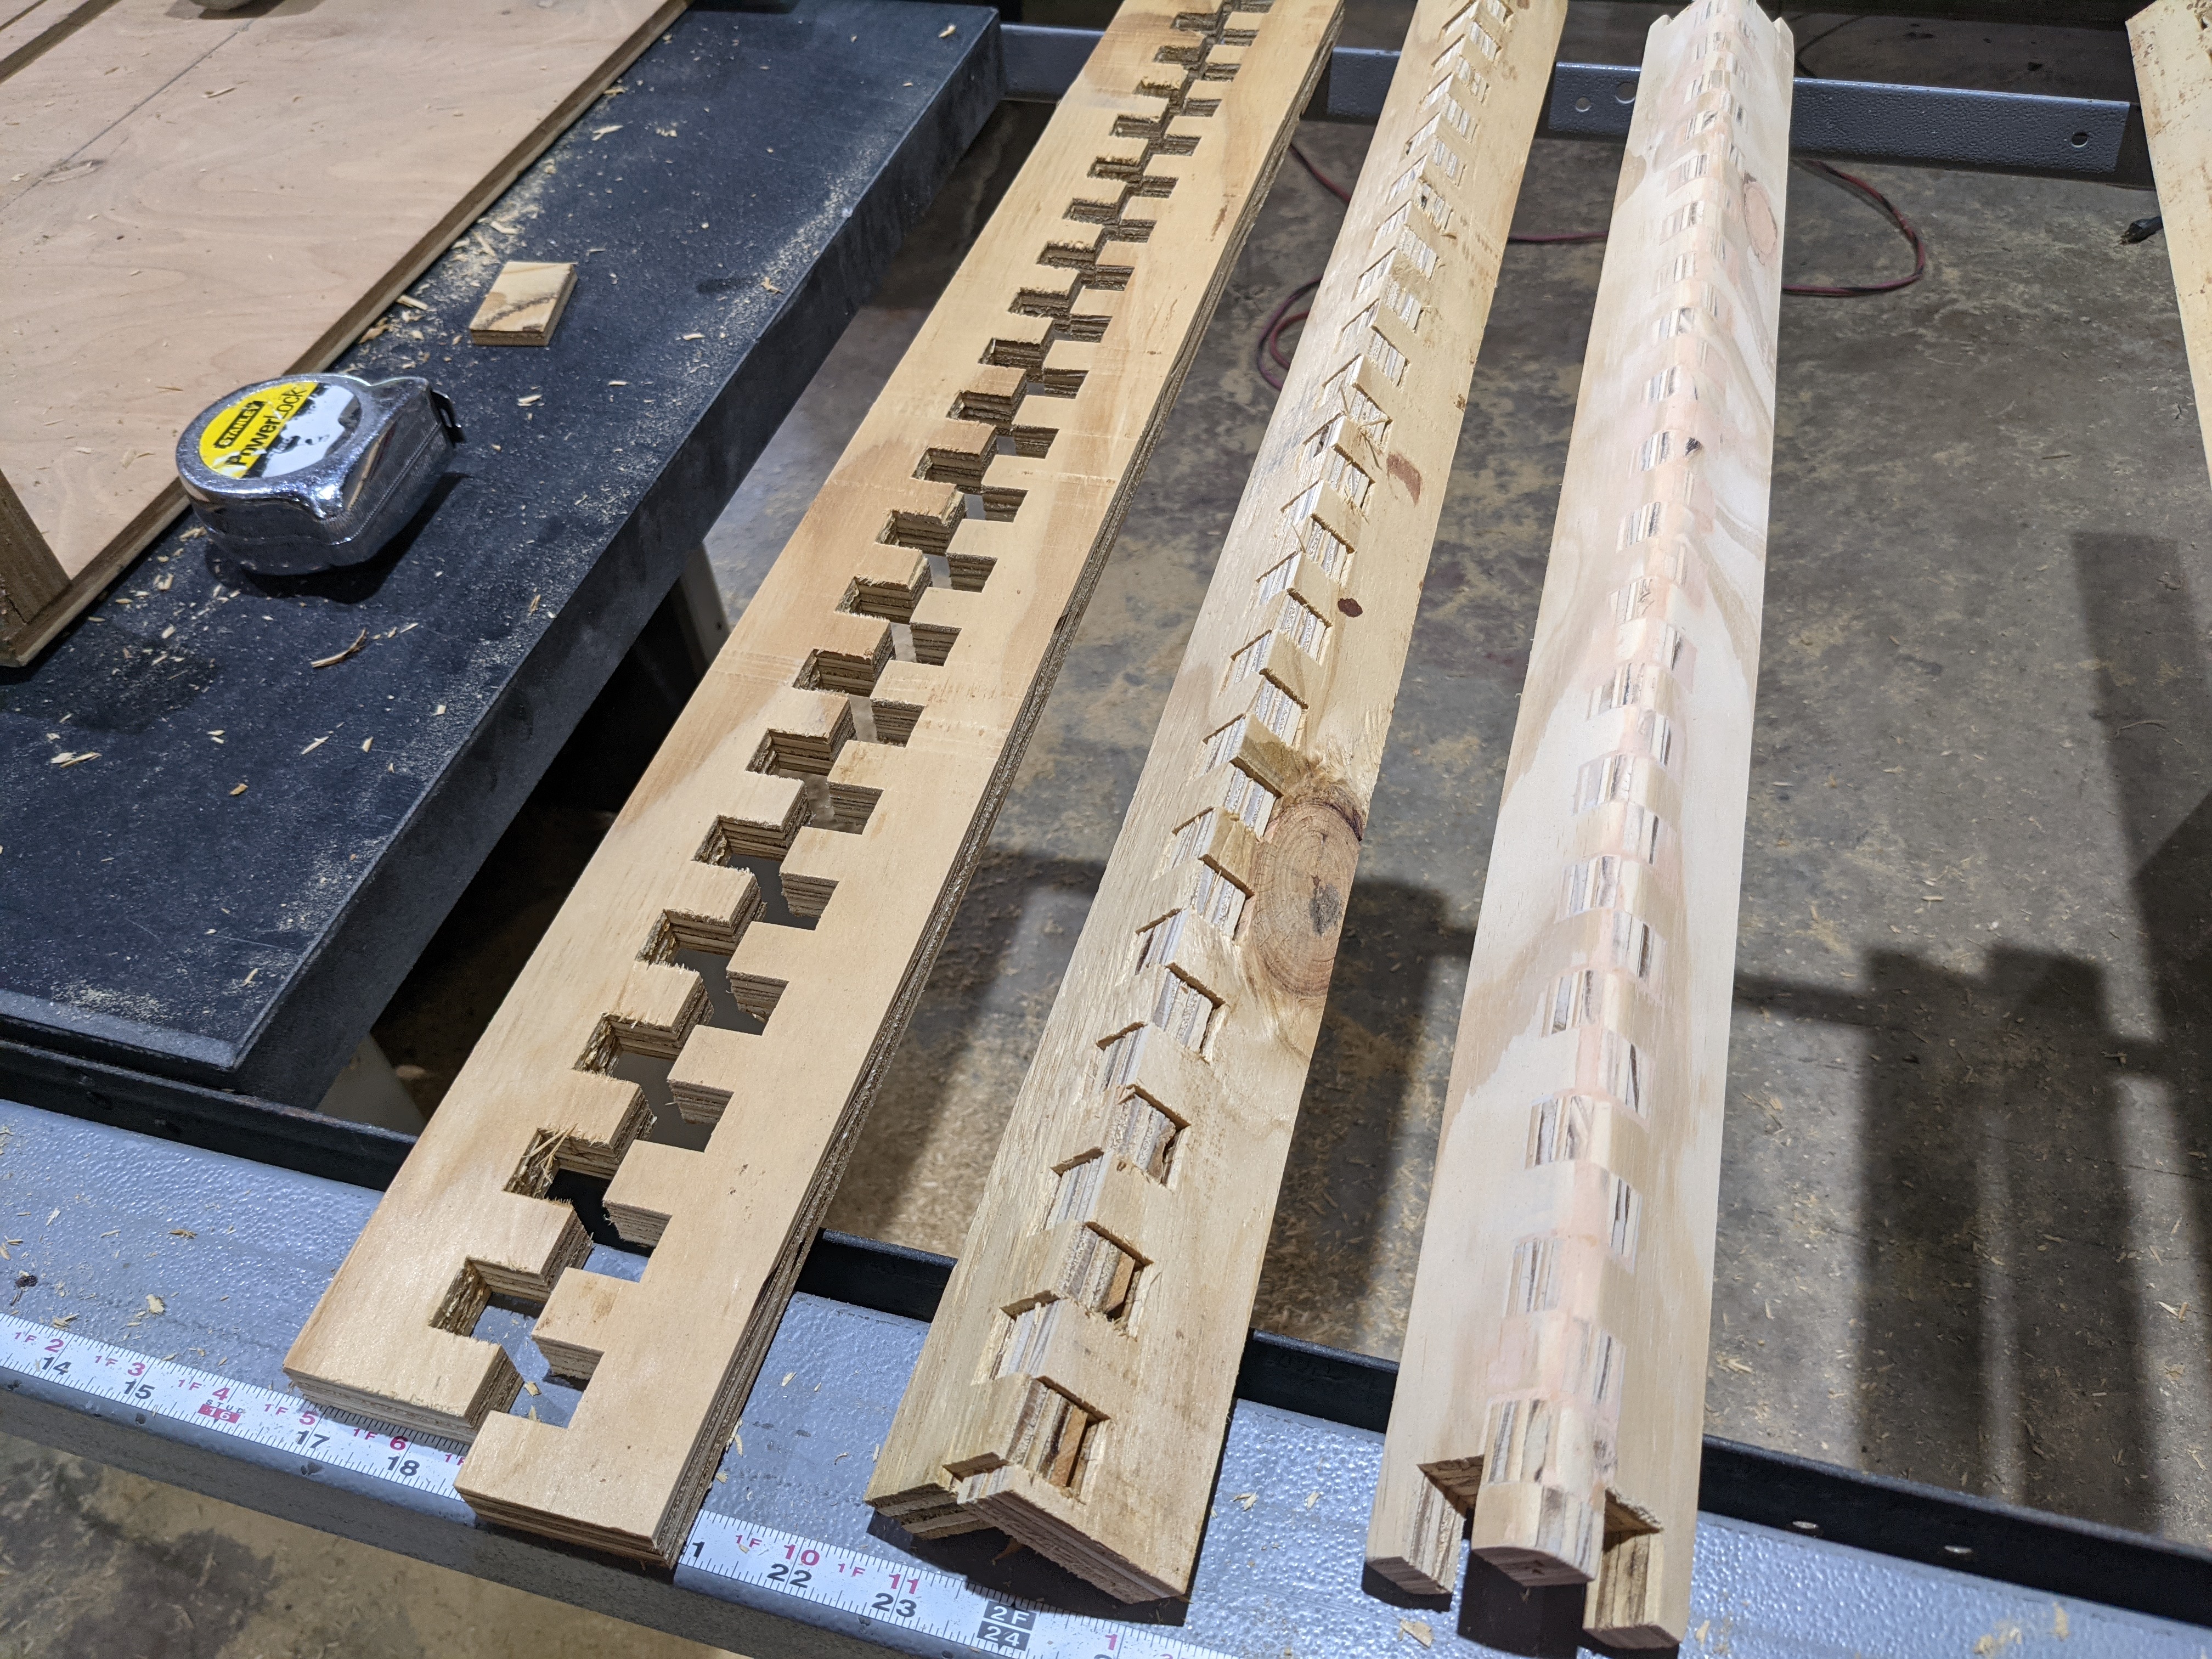
With the minimalist supports in mind I’m using all box joints on anything that supports something else. I know everyone loves their dovetail joints, but they take so much longer to do. Box joints are quick and forgiving which is also nice with pressure treated wood because the process warps the wood anyways. I know from previous experience, once glued together they are stronger than the wood itself. So theres no sacrifice in strength.
I planned on just painting the cabinets, Then I tried something for the first time and I think it turned out cool enough where I think I’m going to stain it now. made my corner pieces, glued one up. After sanding both faces I wondered maybe throwing a quarter round on it would make it look fancy, check out how that plywood pattern looks. I love it. Should look even better with stain. Probably go with a cedar stain as that’s my go-to.
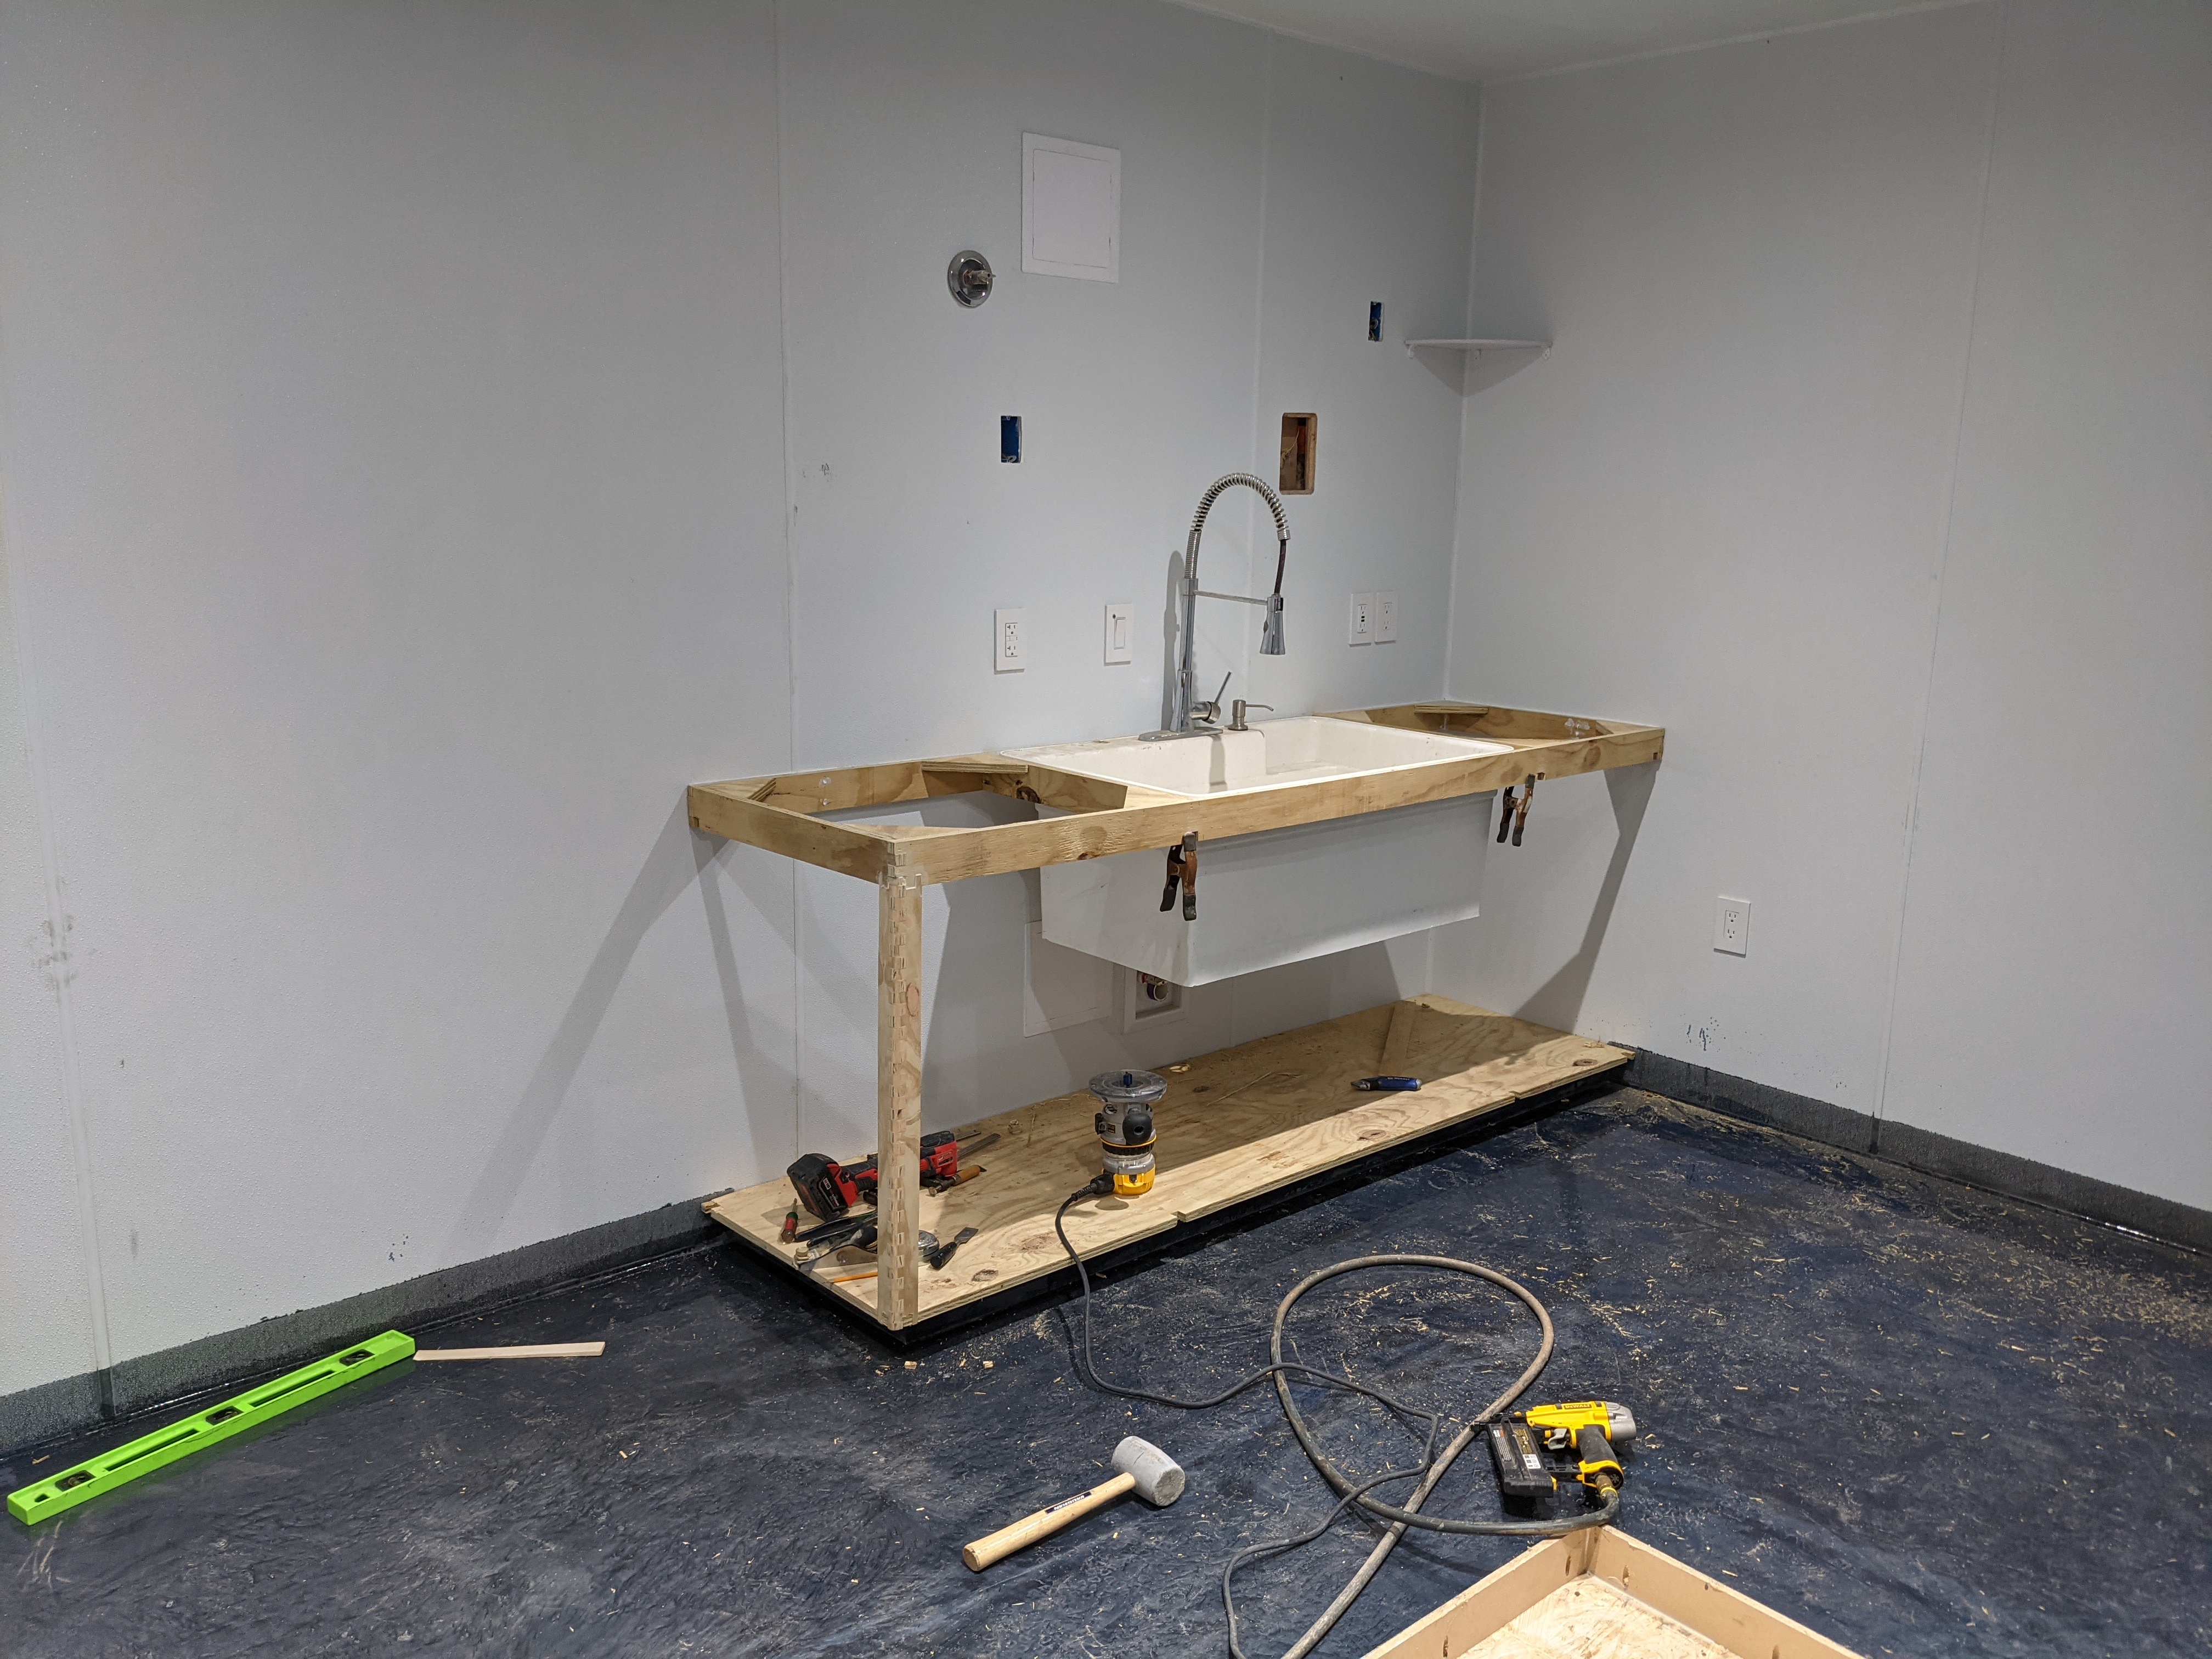
So once I’m done fooling around with the router. I want to finish the sink to the point of having counter top guy come out and measure for it, as I’m definitely subbing that out. So then they can start working on the counter tops while I finish the sink and build the center island. Center island I can just give them a length and width for the countertop.
Also going to refrain from glueing some pieces together as I would like to remove the cabinets to redo the floor lol.
9 Likes
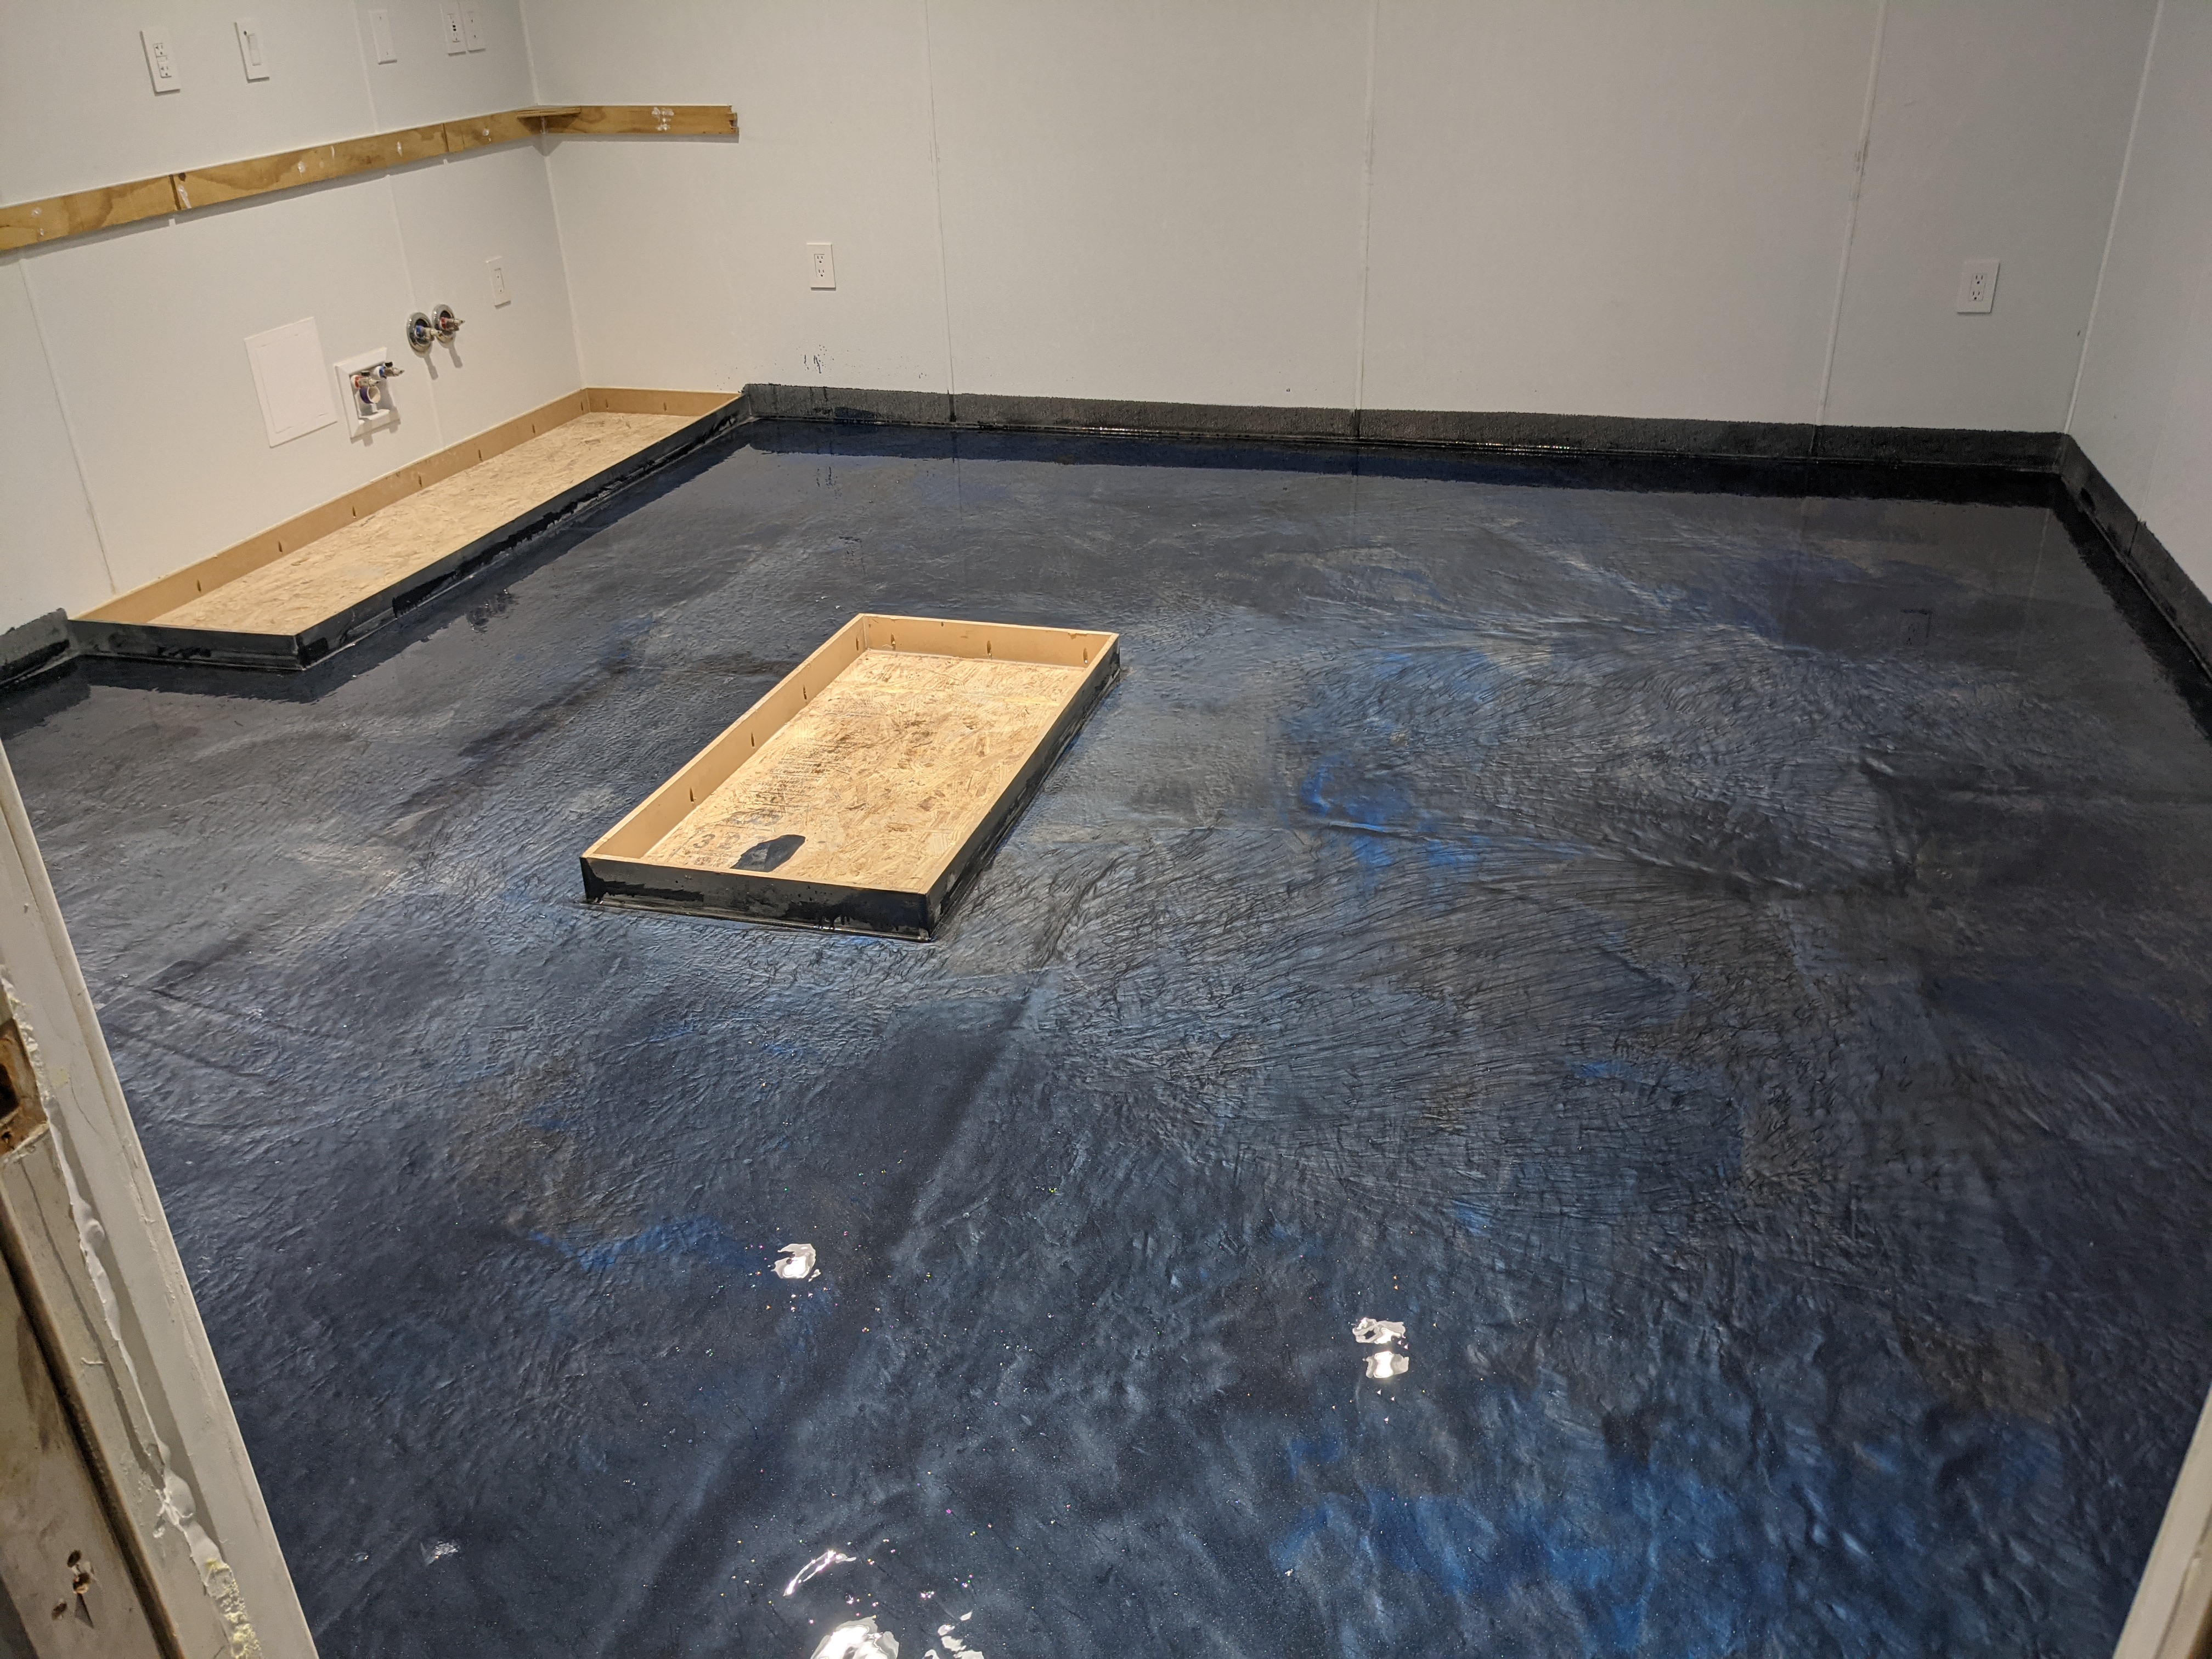
Still drying but finally got a floor. it was quite the learning experience seeing how the metallic epoxy moves. Lot of things I’d do different next time in the prep work, mainly doing a better job filling low spots, it gets noticably darker, no matter what color, in low spots, which also tends to be the edges of the osb lol. it’s still pretty neat looking imo.
Now back to the sink when I get a chance.
12 Likes
I like it! The floor looks much better with the other color added 
3 Likes
I’m a master sheet metal fabricator/welder and can tell you first hand steel prices are crazy high right now. Lol
It’s all coming together nicely excellent work Matt!
3 Likes
Good to know. Yeah I don’t even want to know what it would of cost me then lol. PT plywood and reusing my old sink is definitely the way to go. Which I just got the sink far enough along for countertop measurements. So I’ll call on Tuesday and get that going. Still need to finish the sink cabinet and build the island cabinet. Feeling like I can see the light at the end of the tunnel, even if there is still some time to put in.
Don’t mind the sink hardware, I got new hardware on the way
6 Likes