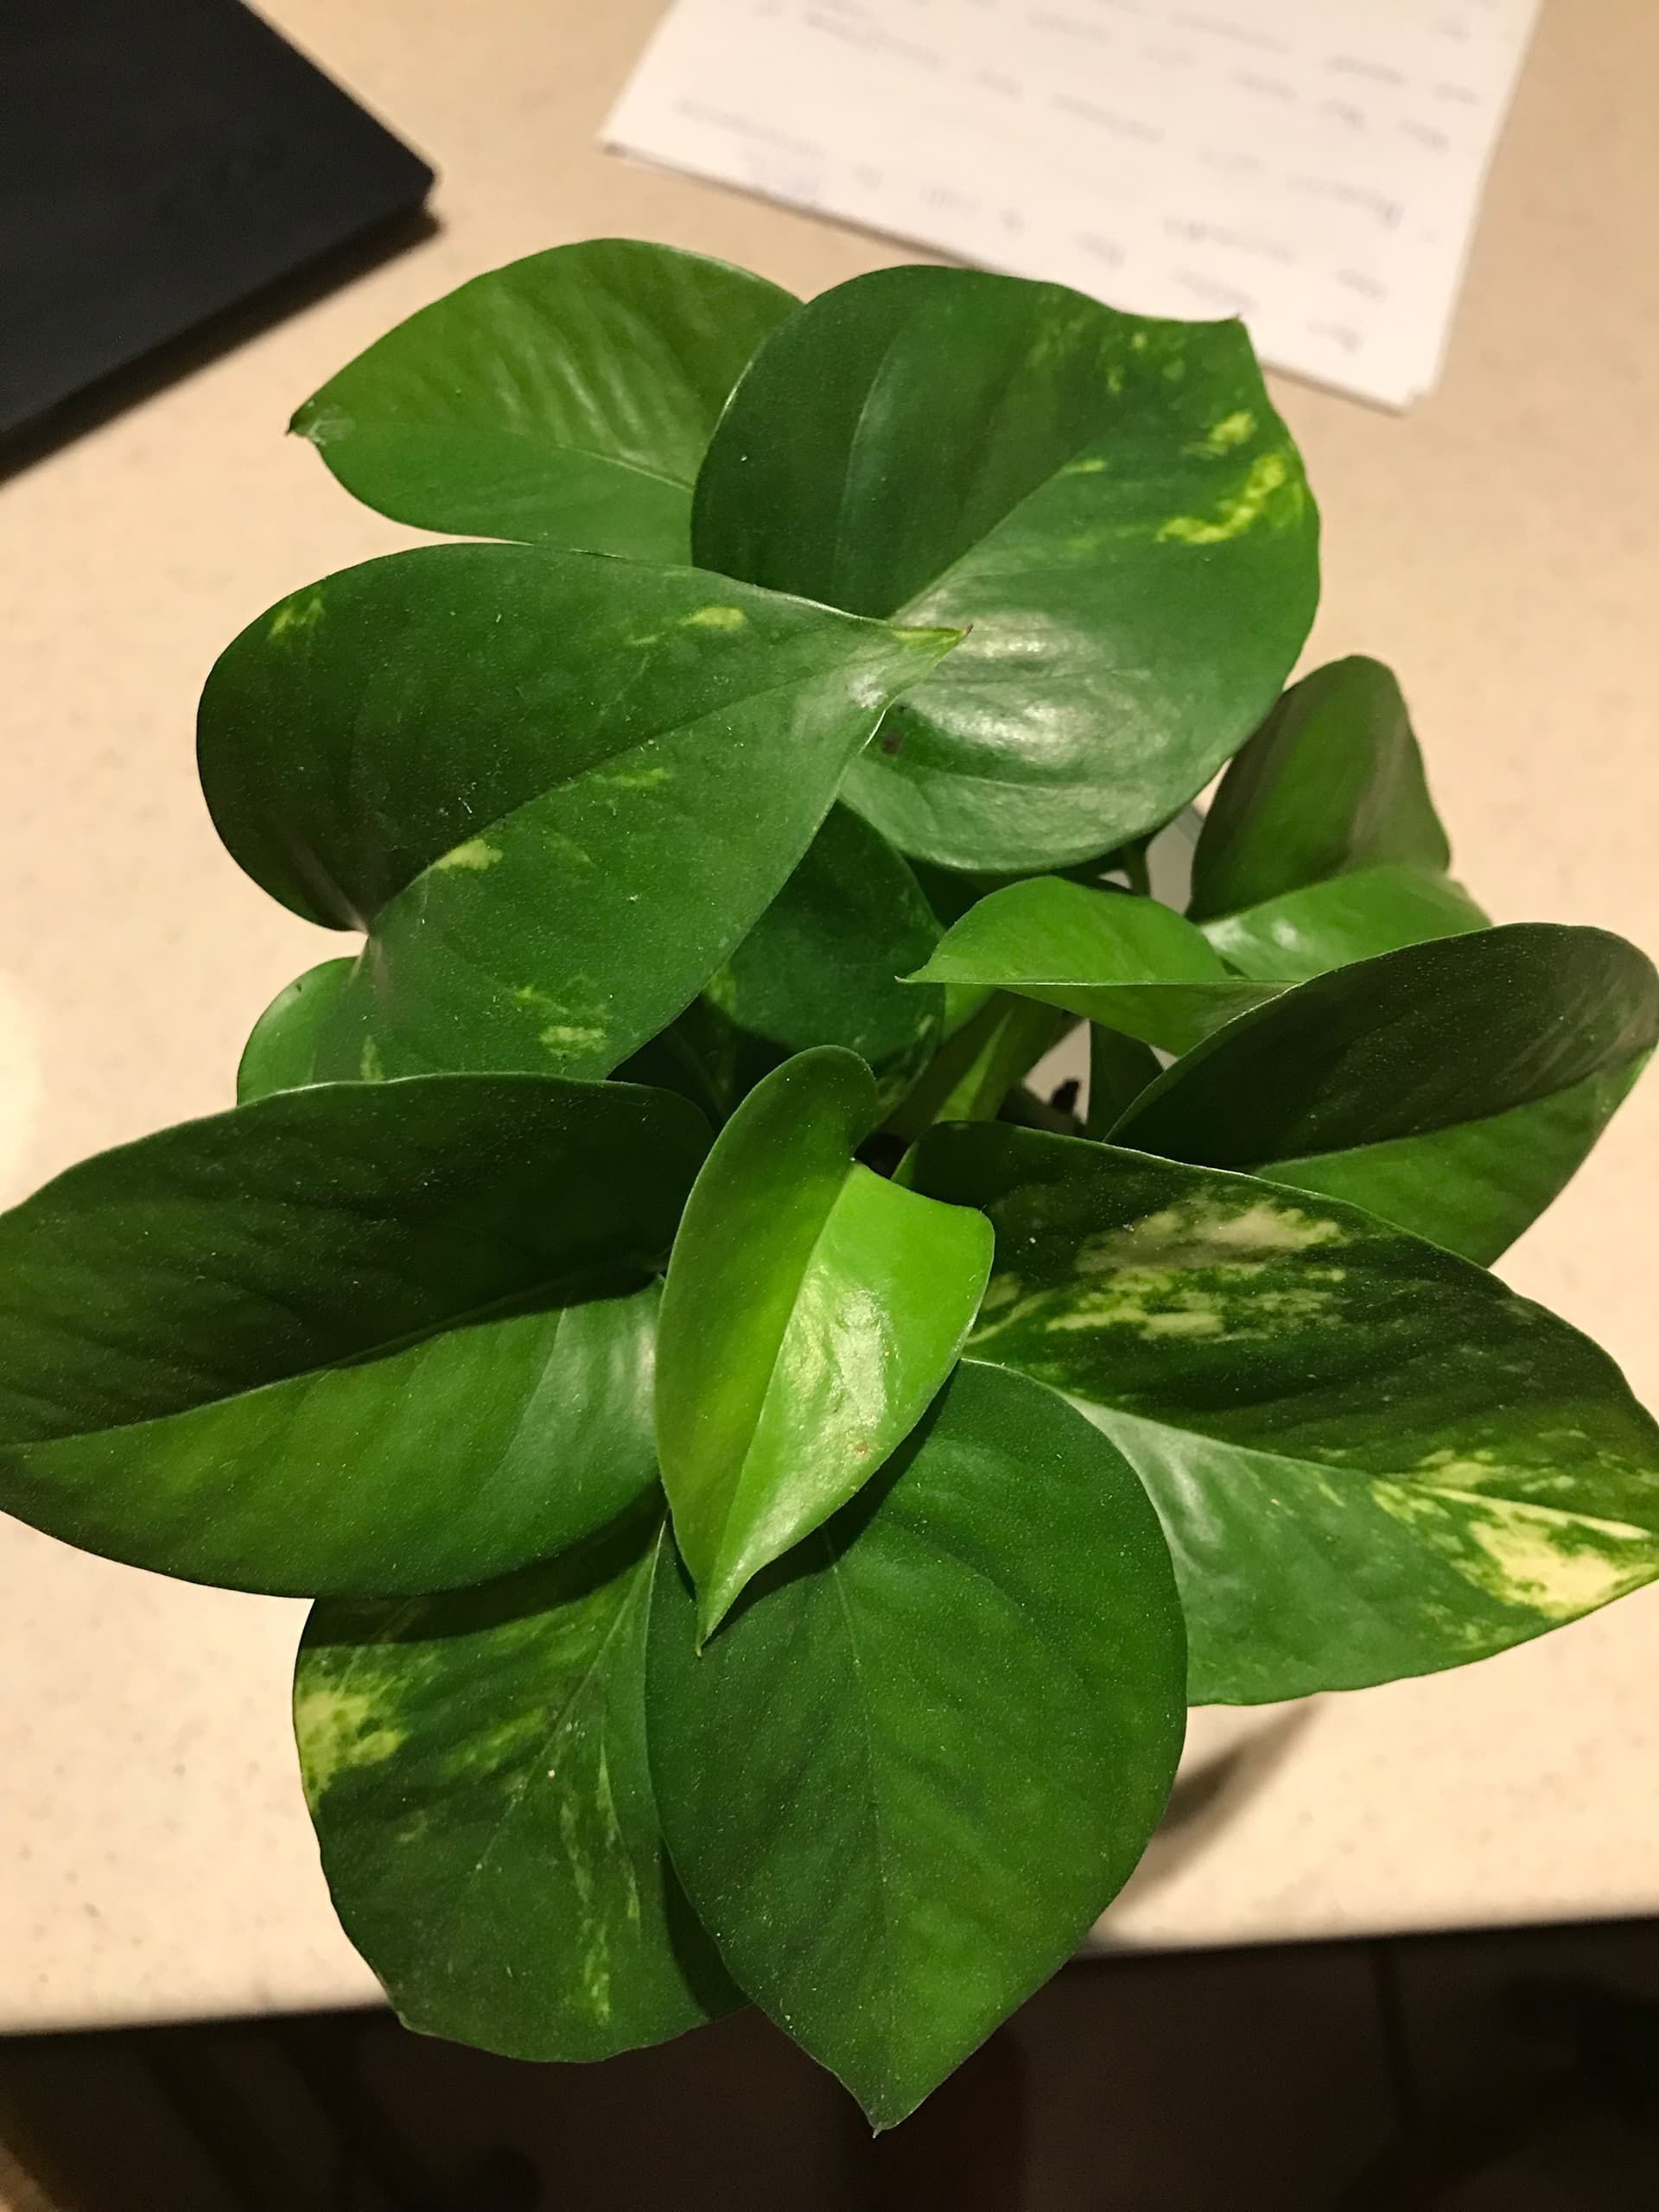
This is how I grow and reproduce my tropical plants for my dart frog and crested gecko enclosures. All of these plants can be started in water so these are the steps I take for each plant to reproduce them.
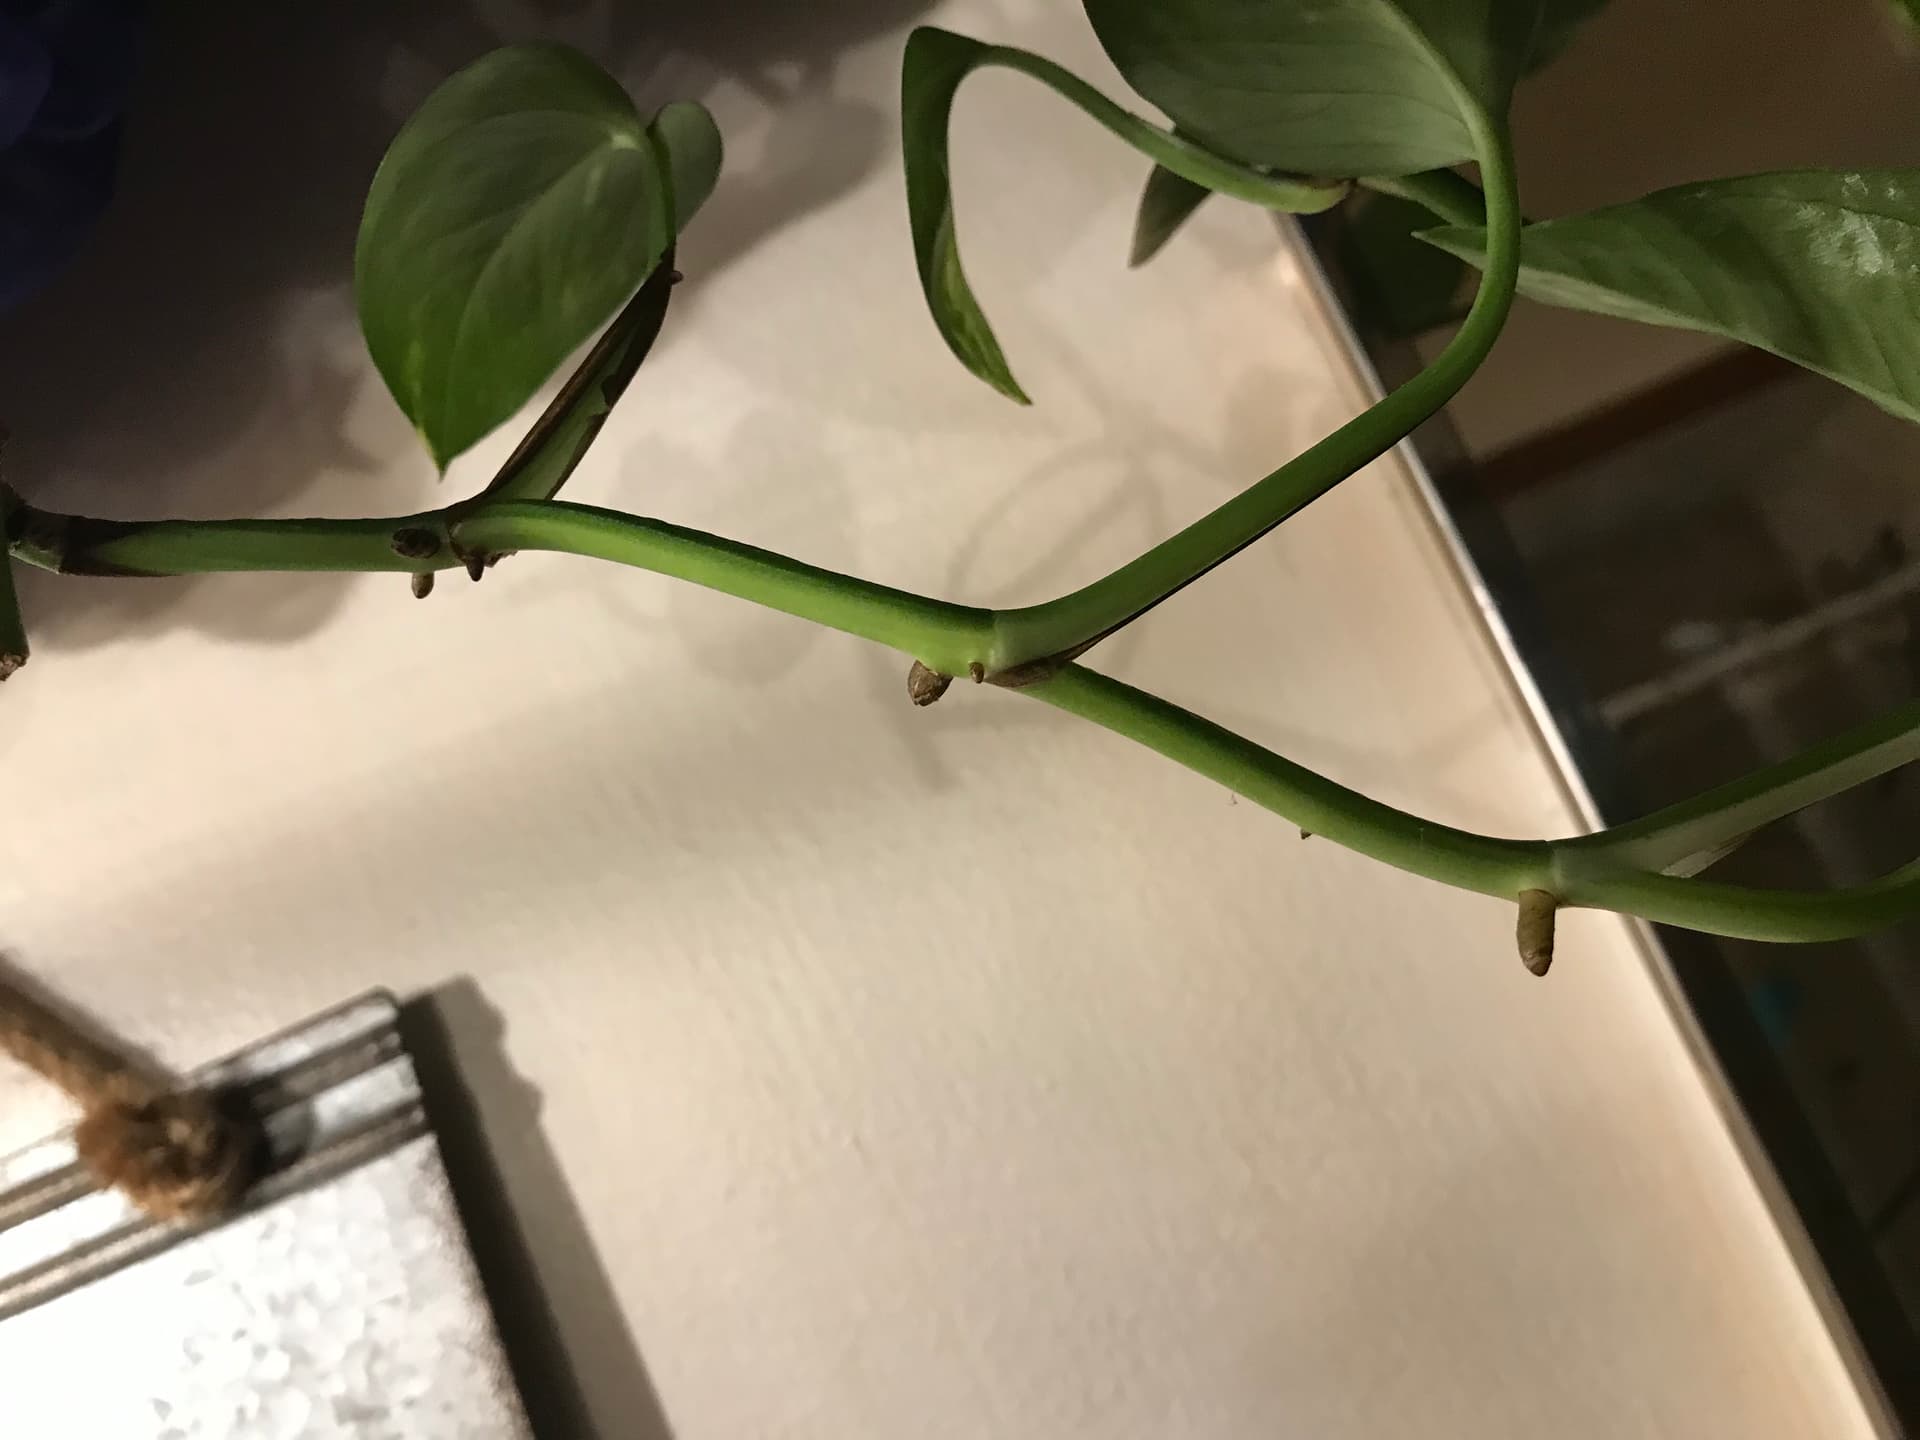
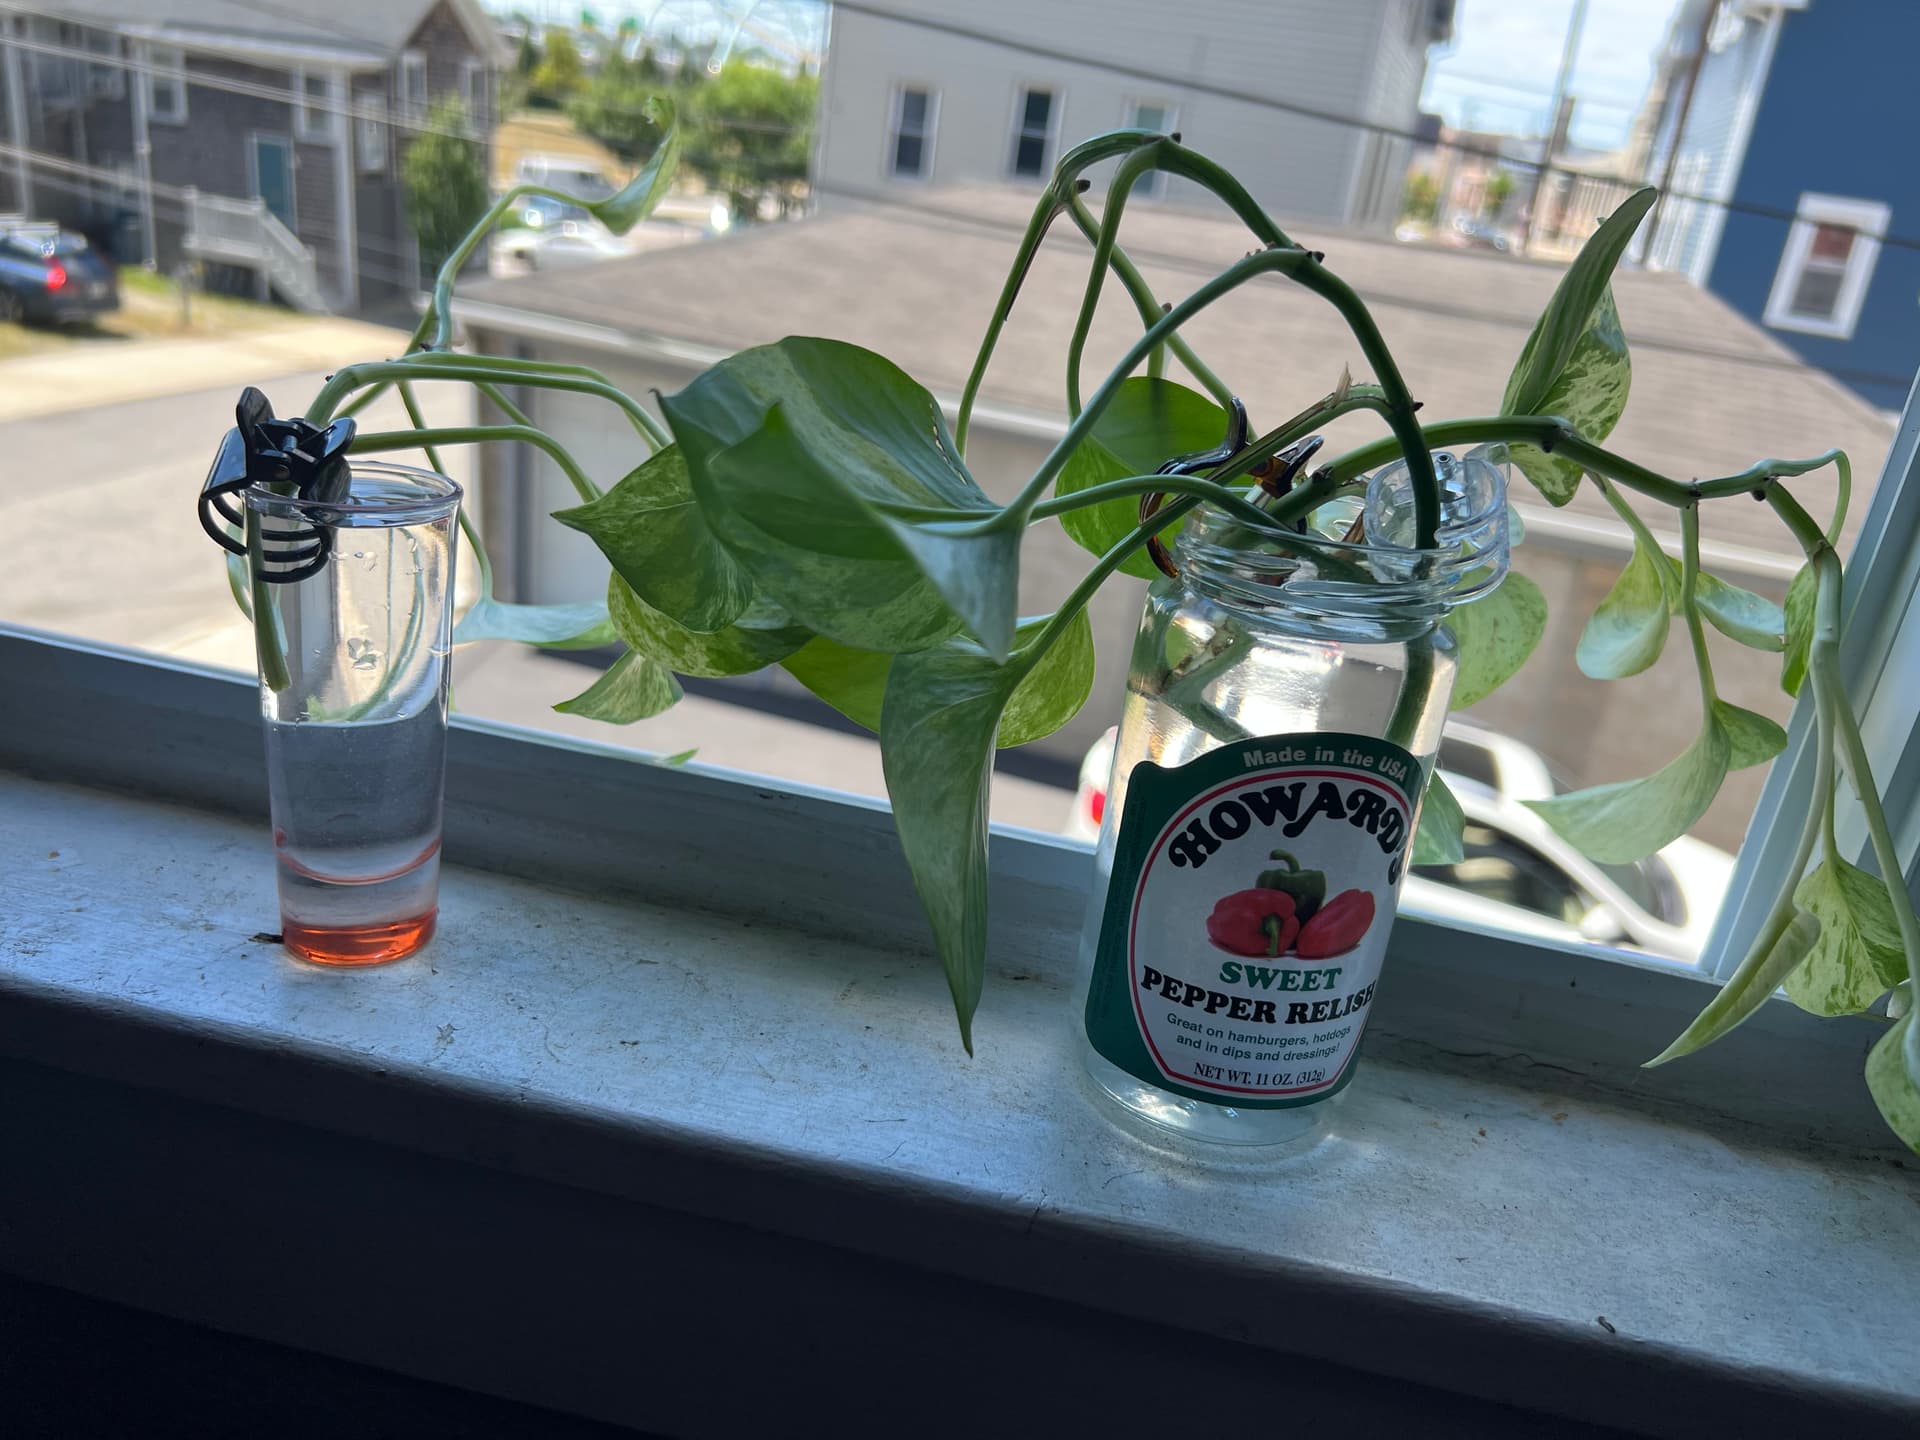
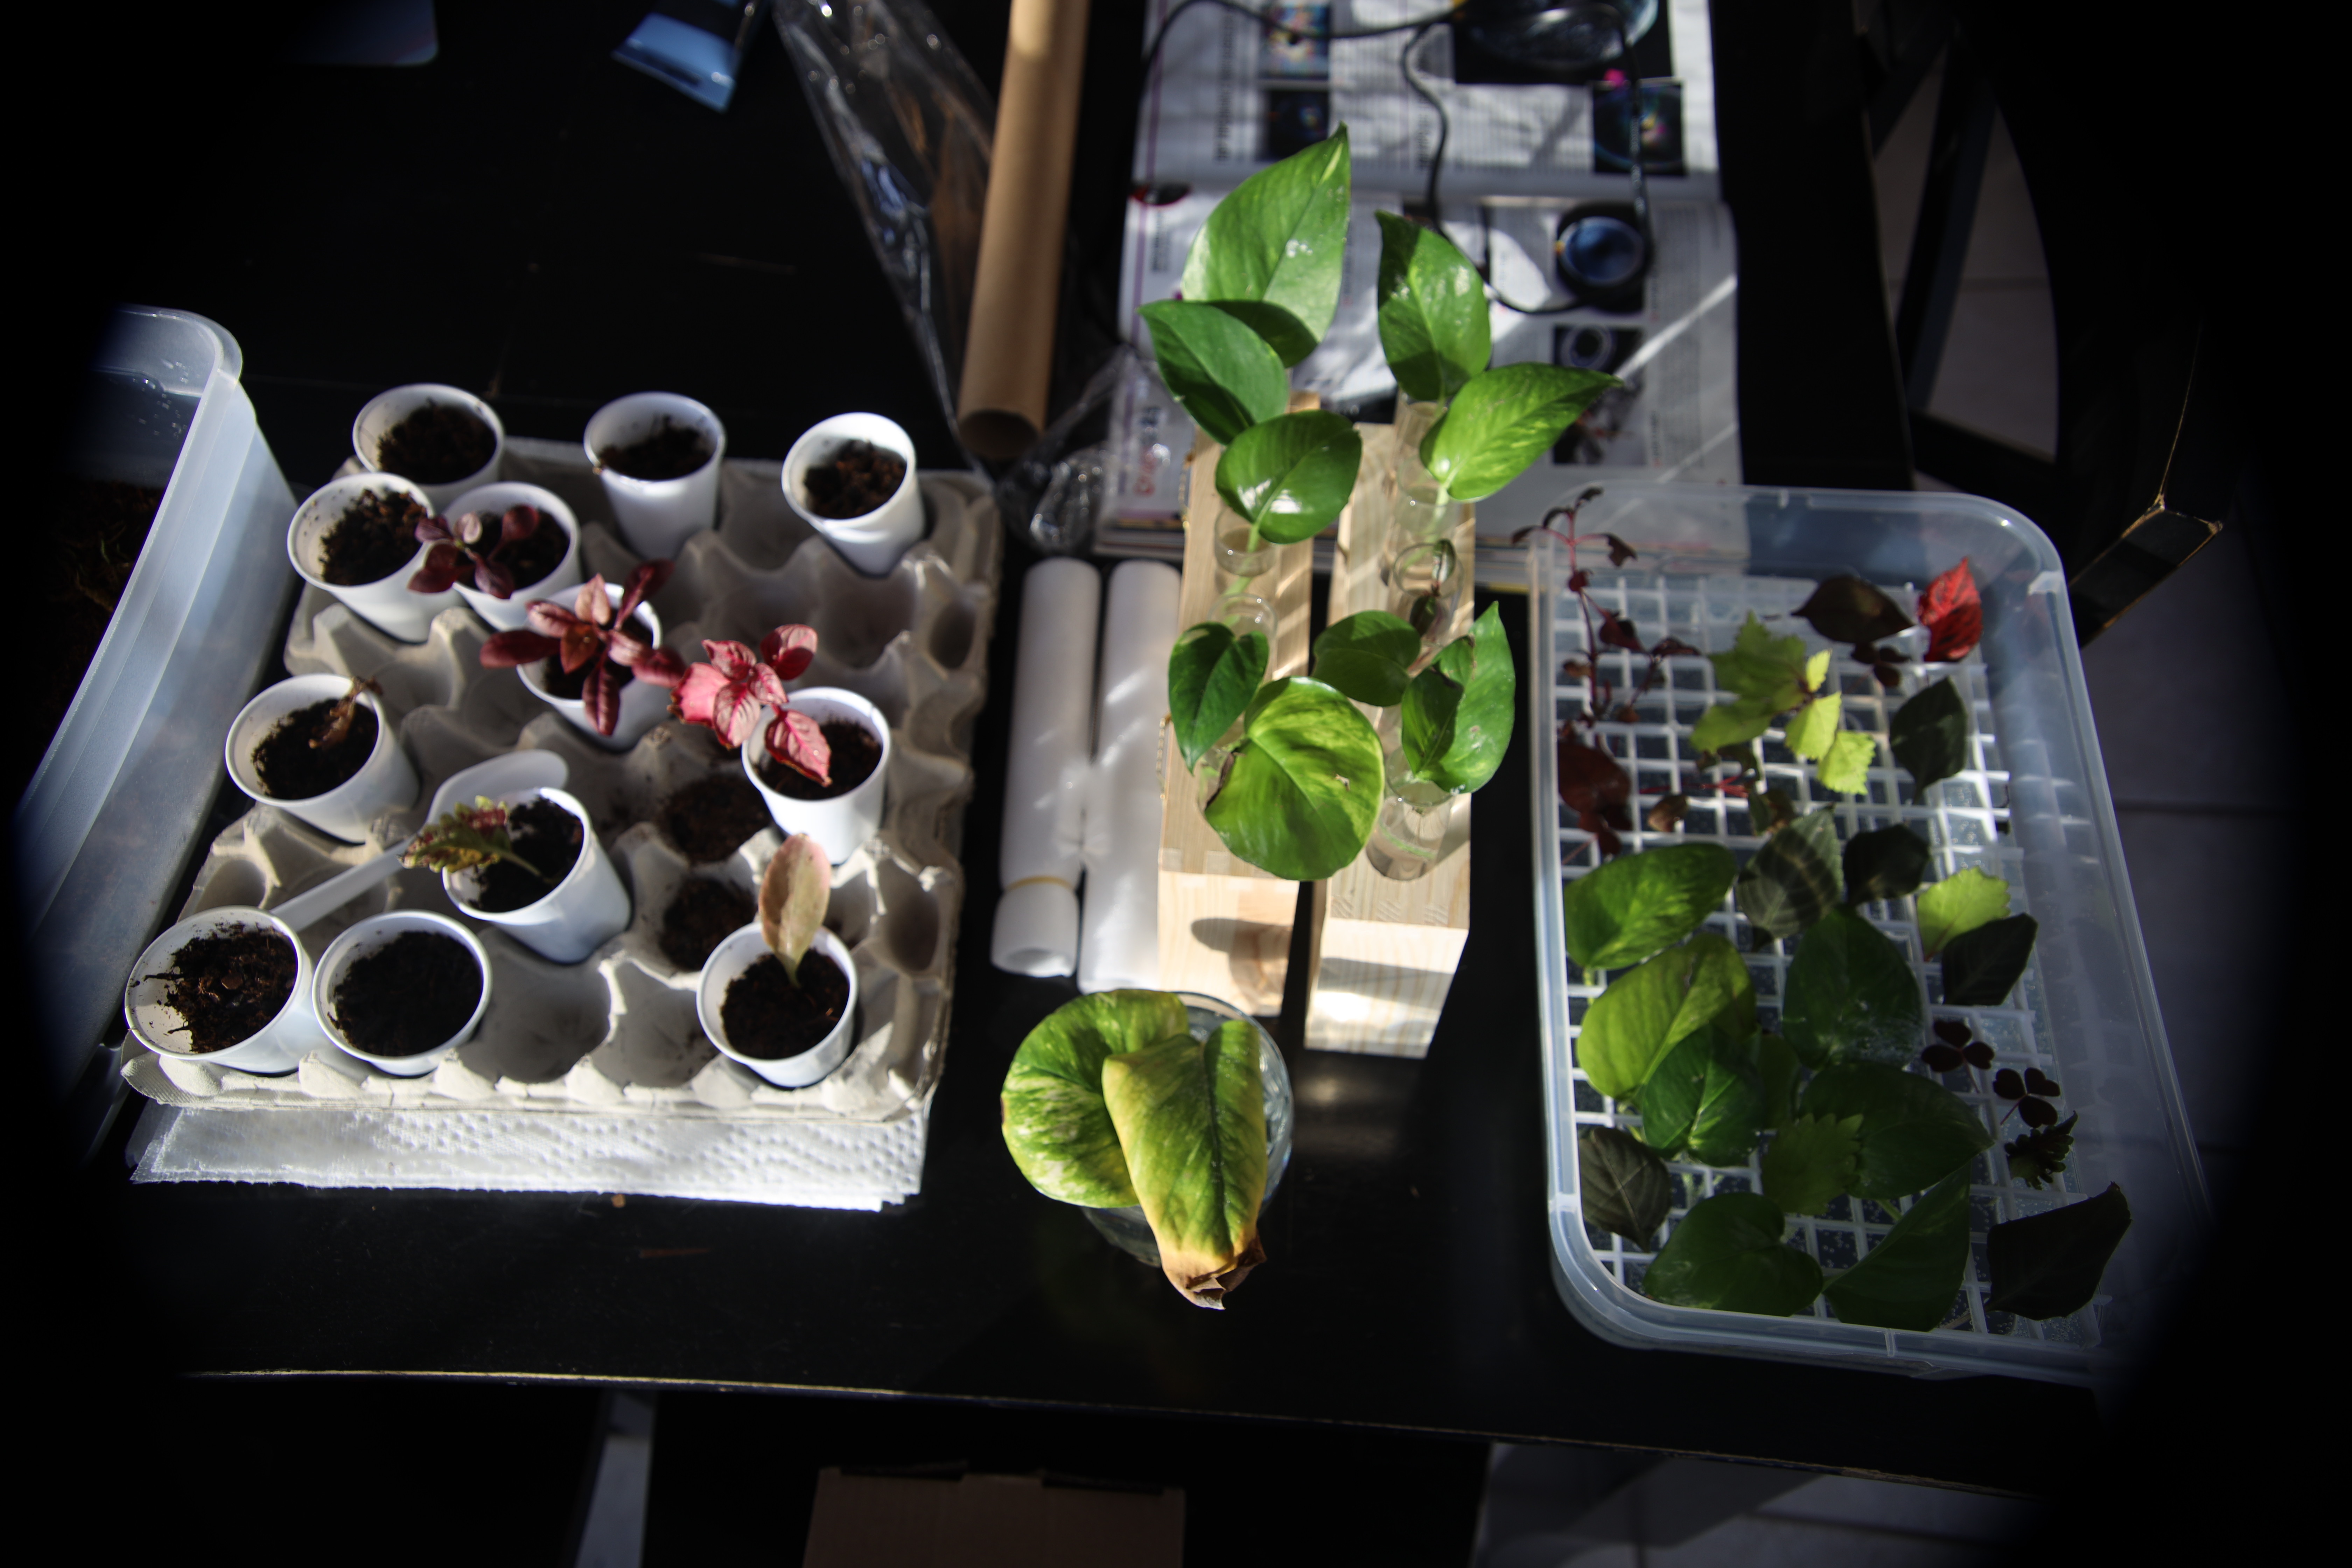
I start by cutting the leaves along with the petiole (which is what attaches the leaf to the stem; I usually include at least 3 inches / 7 centimeters of the petiole or as soon as it reaches the stem). I later put them in either a test tube holder or a 6 qt tub with an egg crate light diffuser sized so it stays tightly put towards the top. I often use the test tube holder for thinner stems and smaller leaves since it holds them higher so they aren’t shaded by other plants.
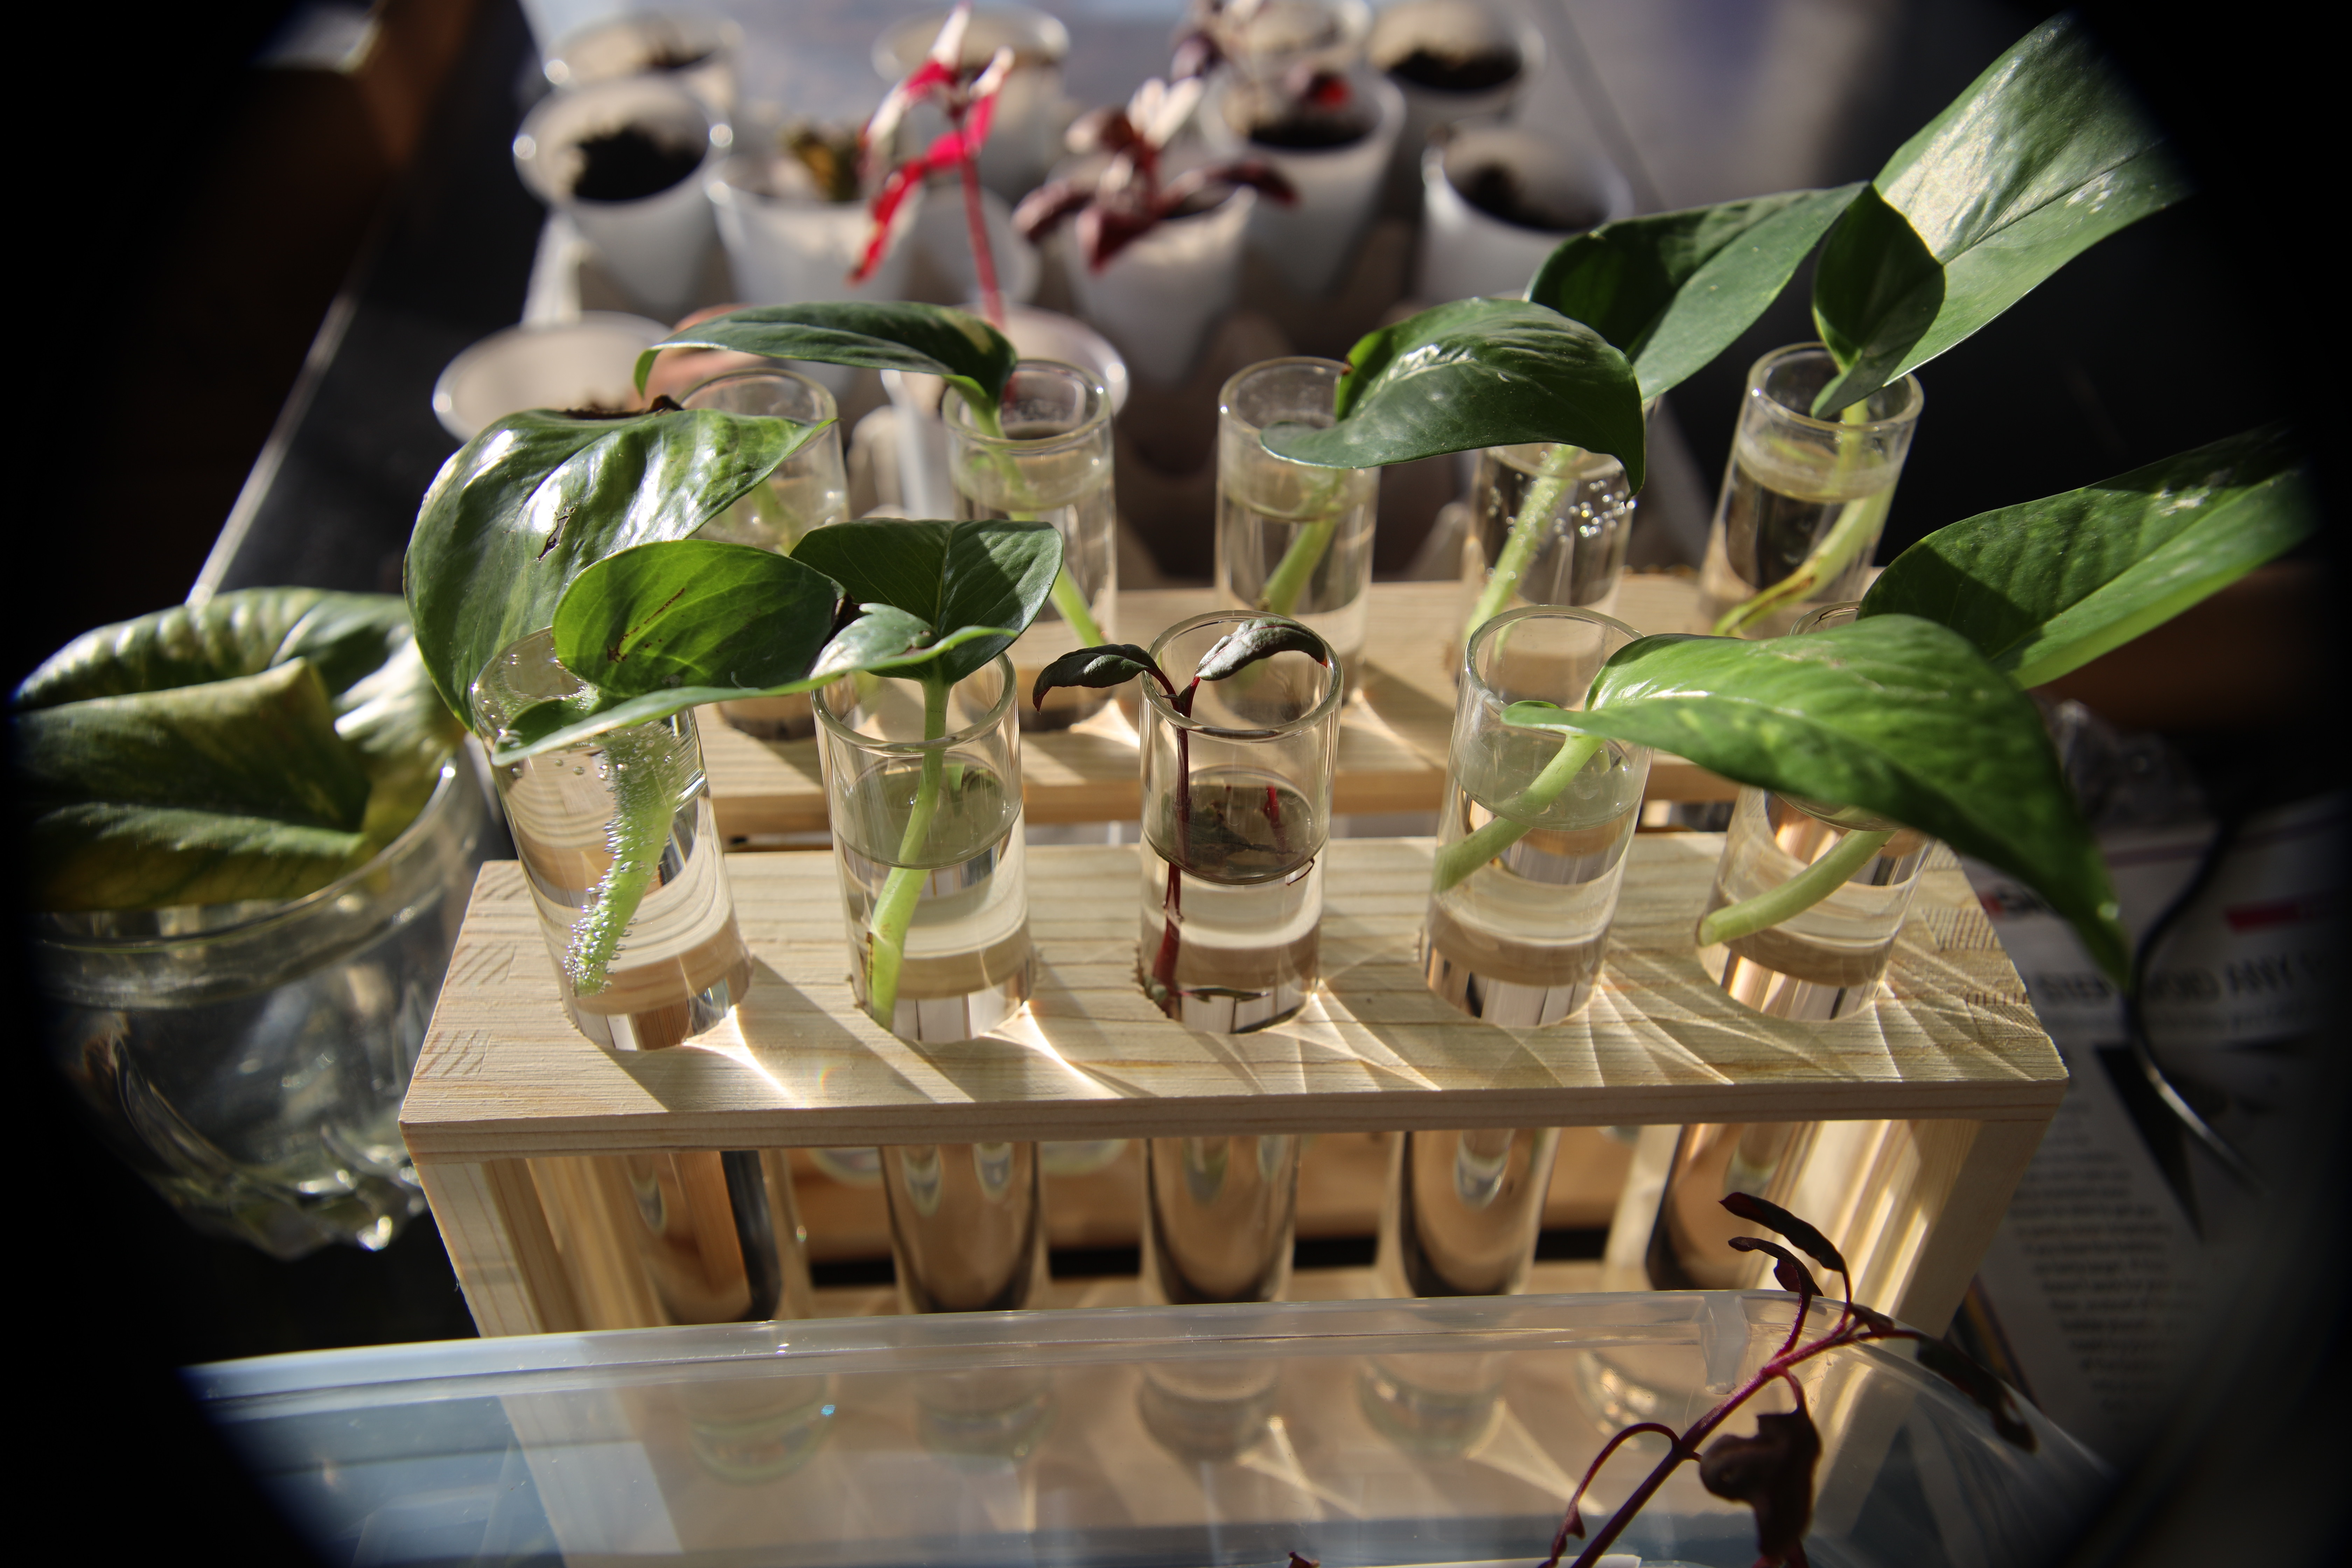
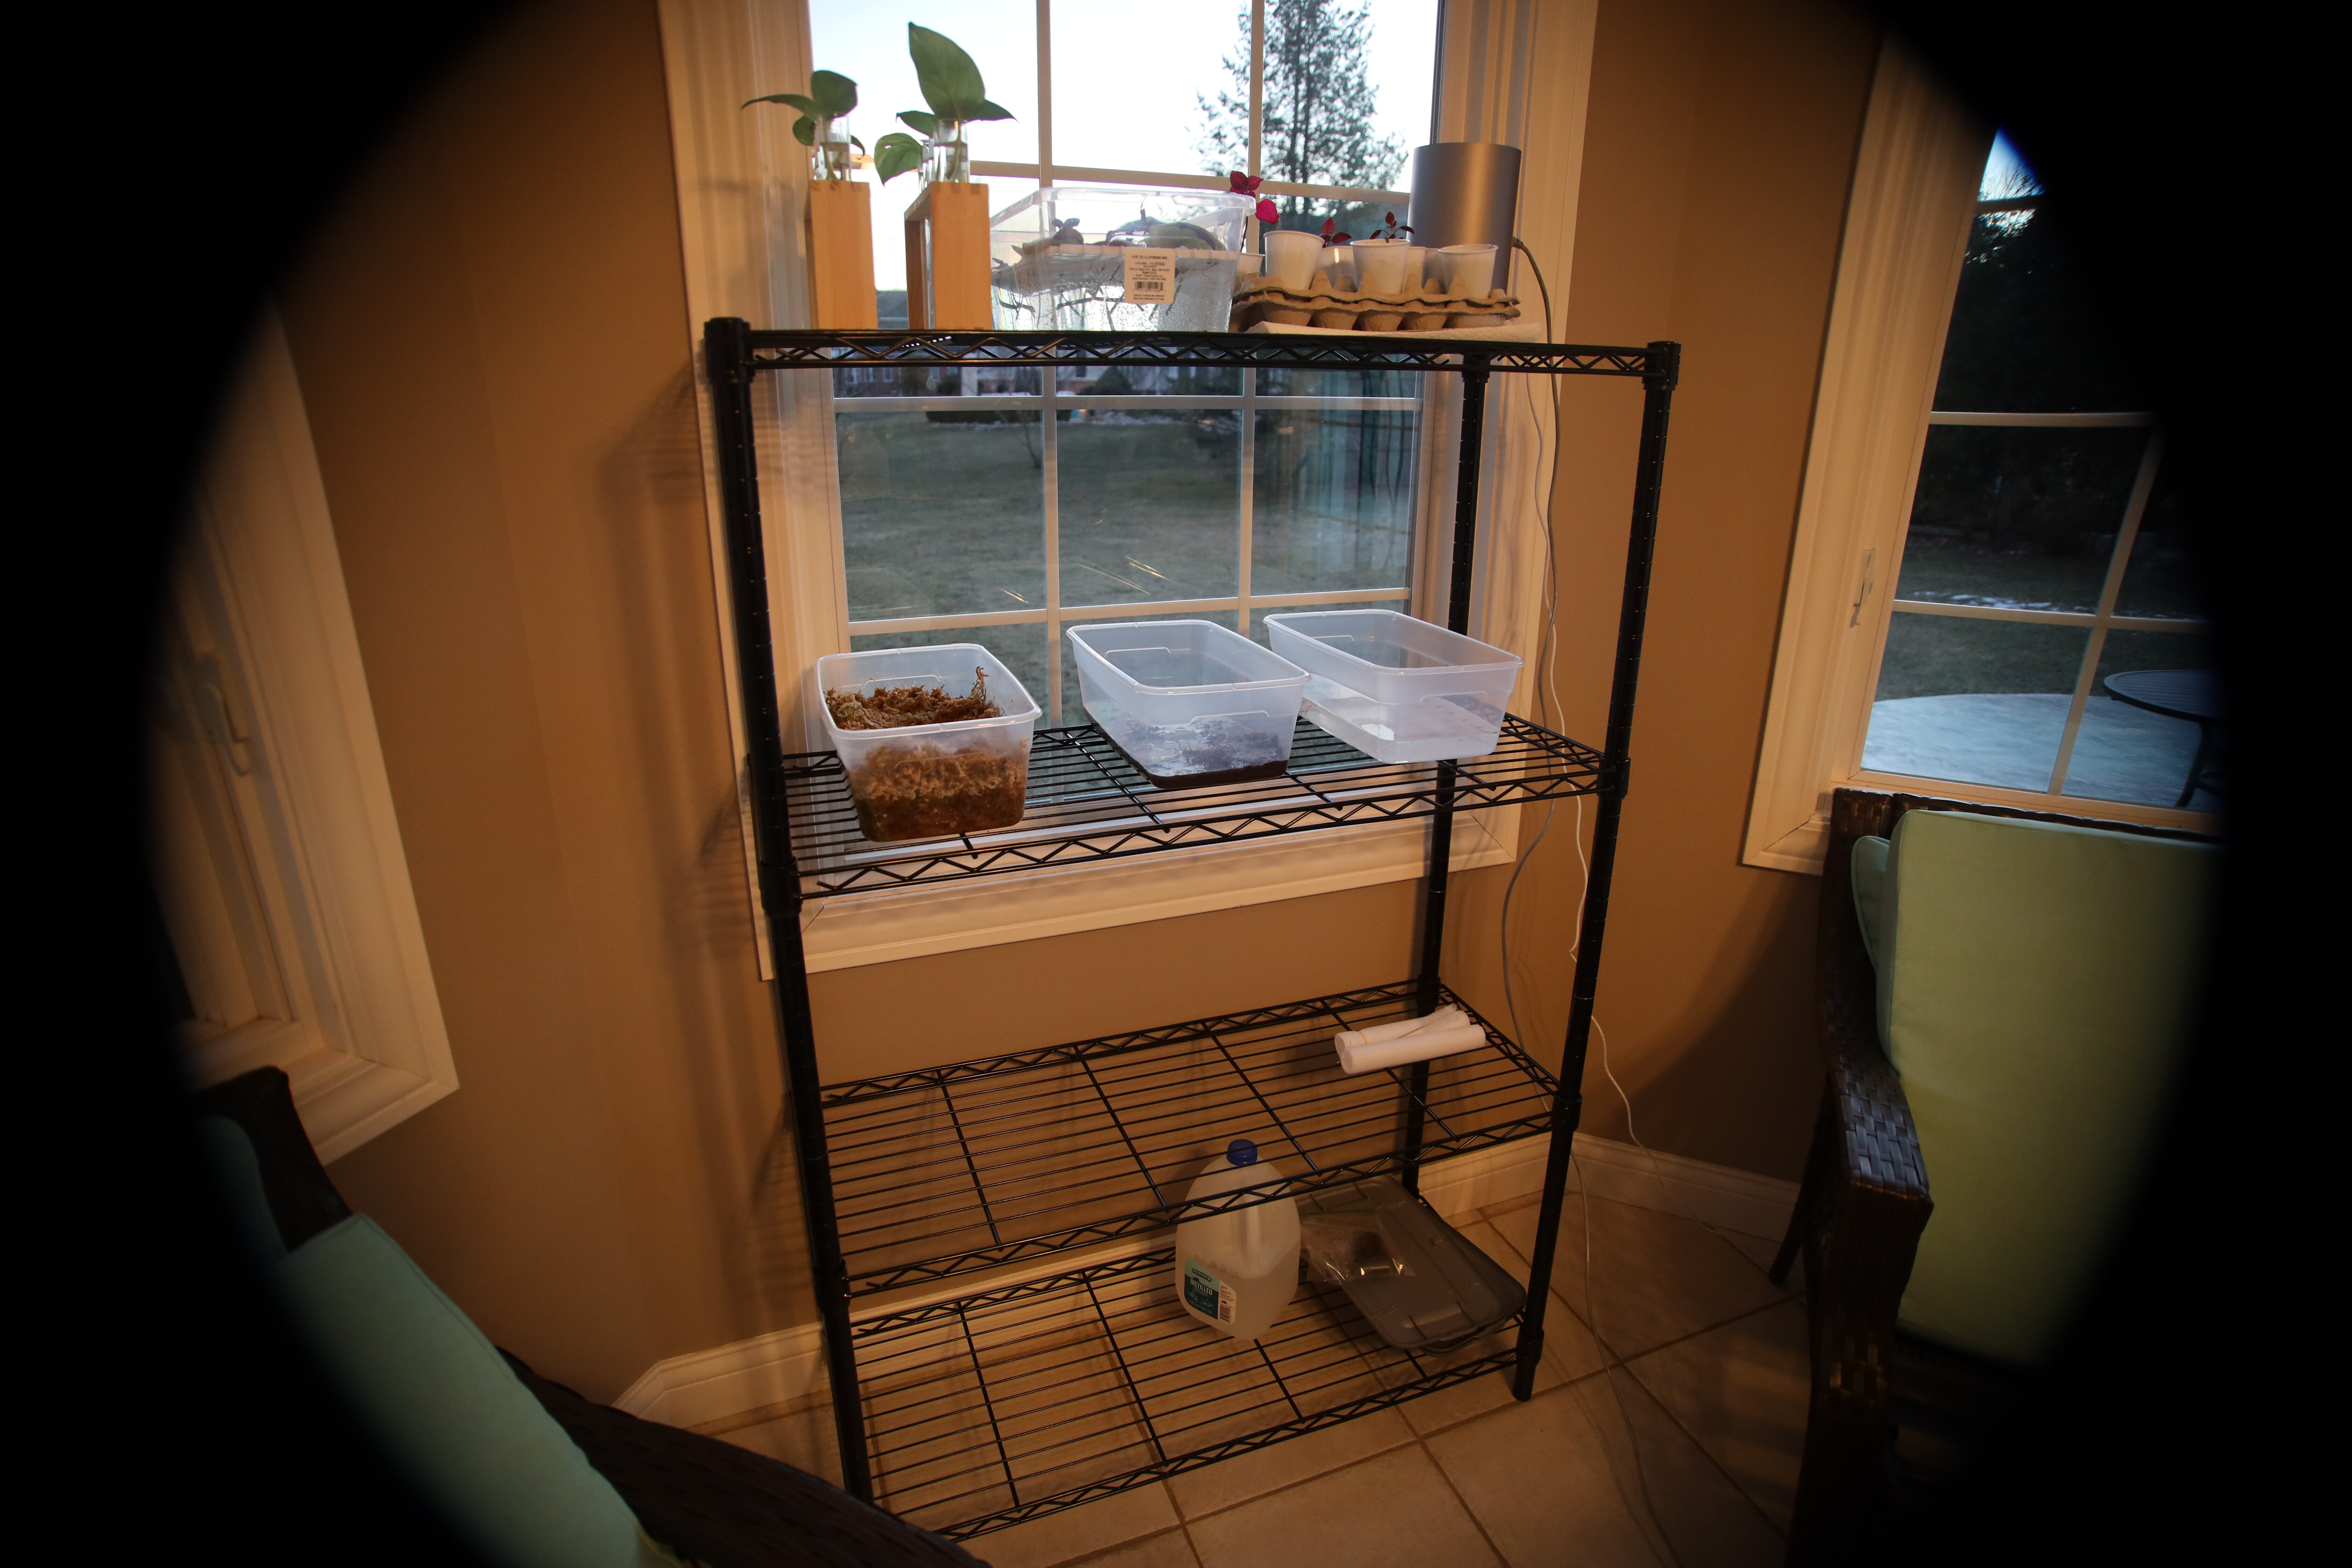
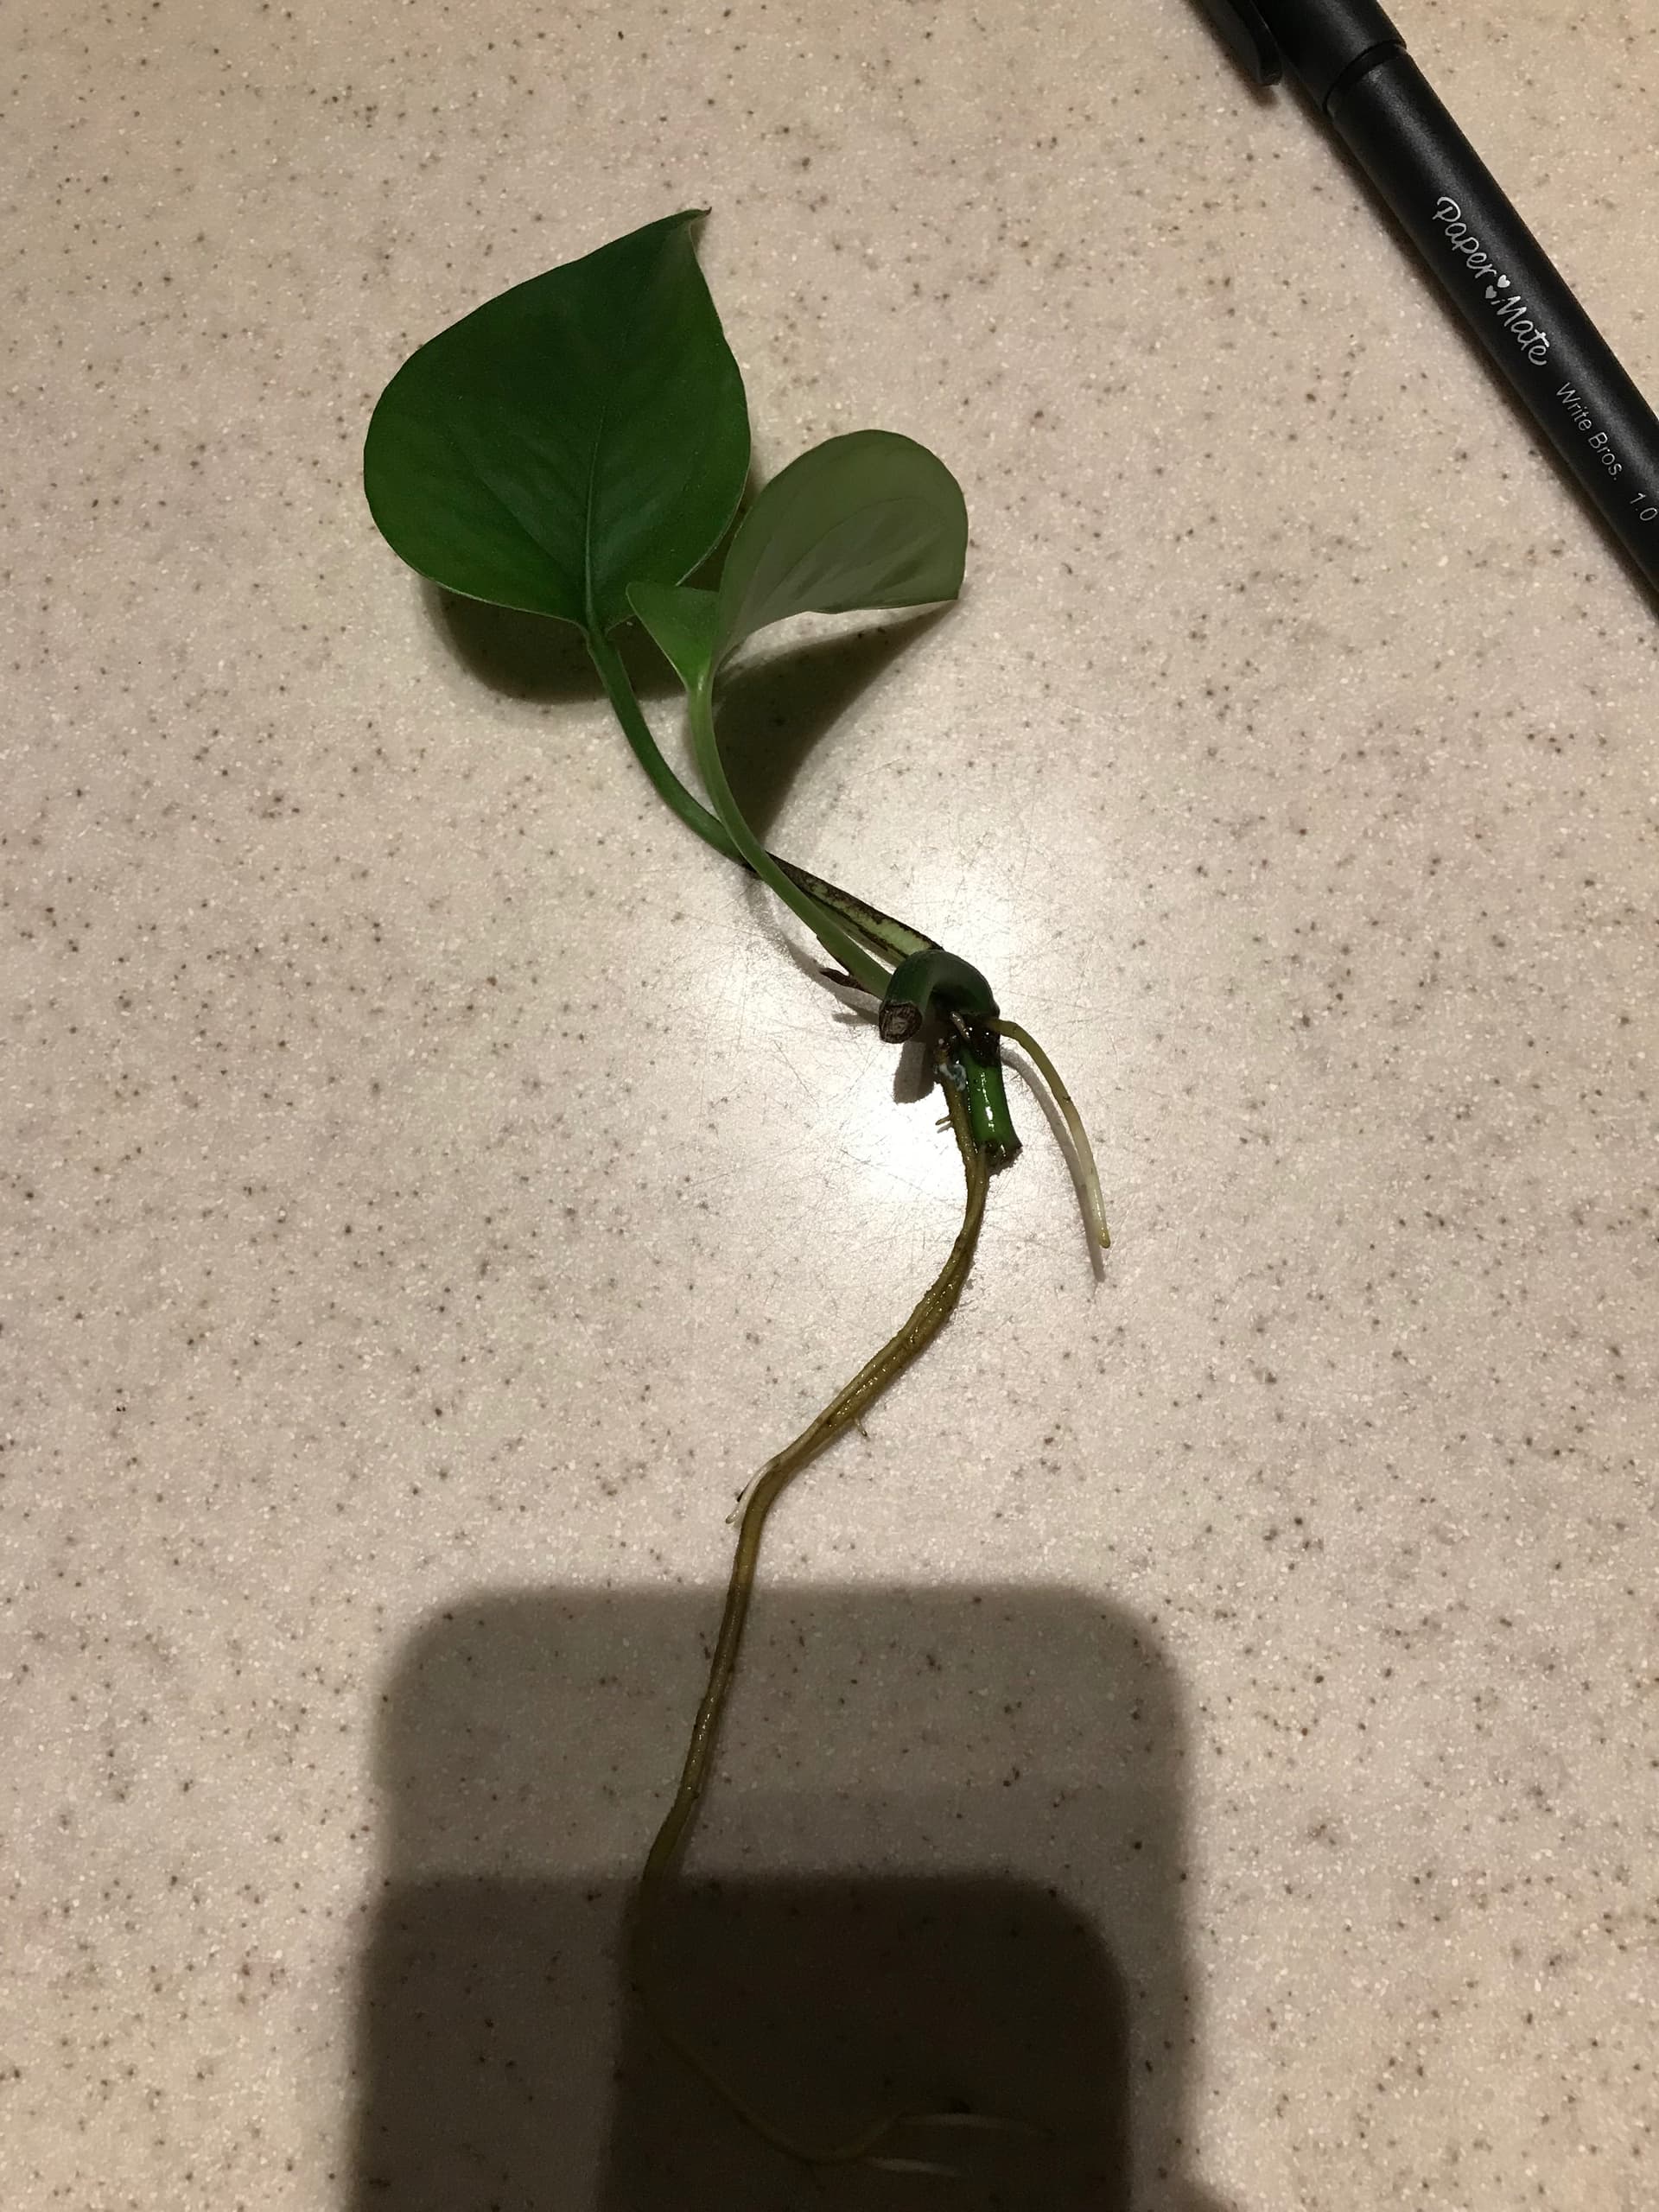
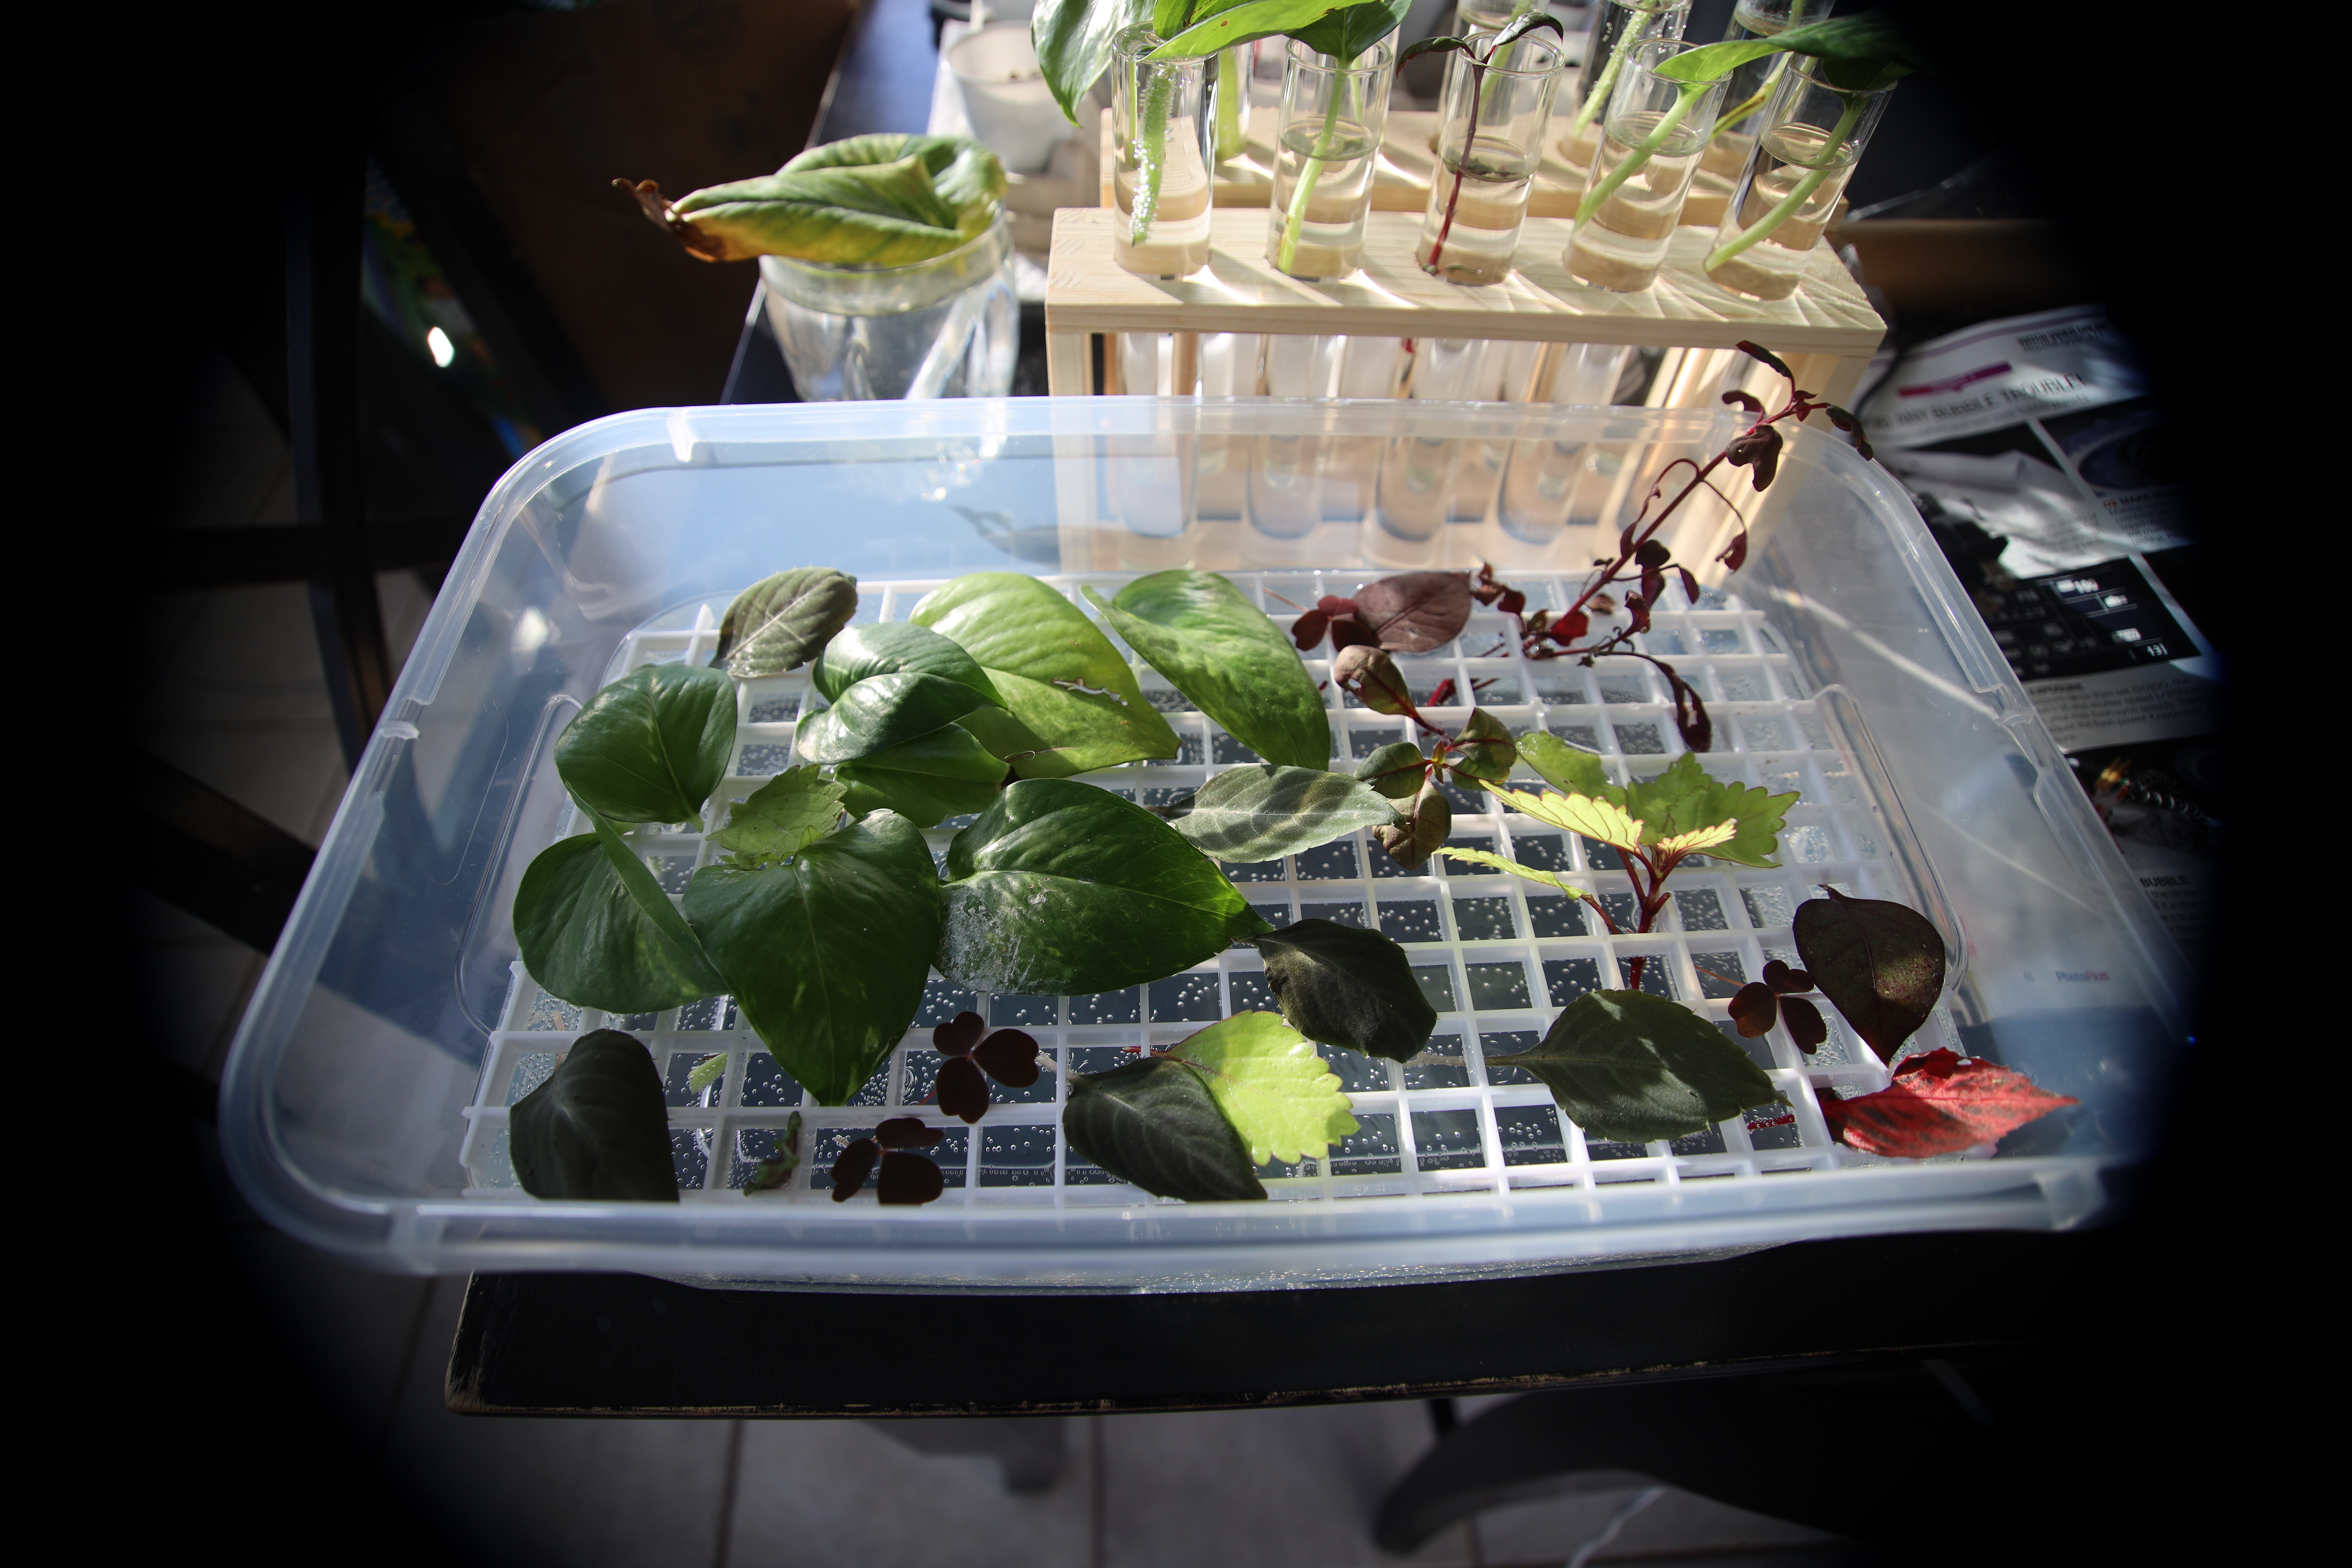
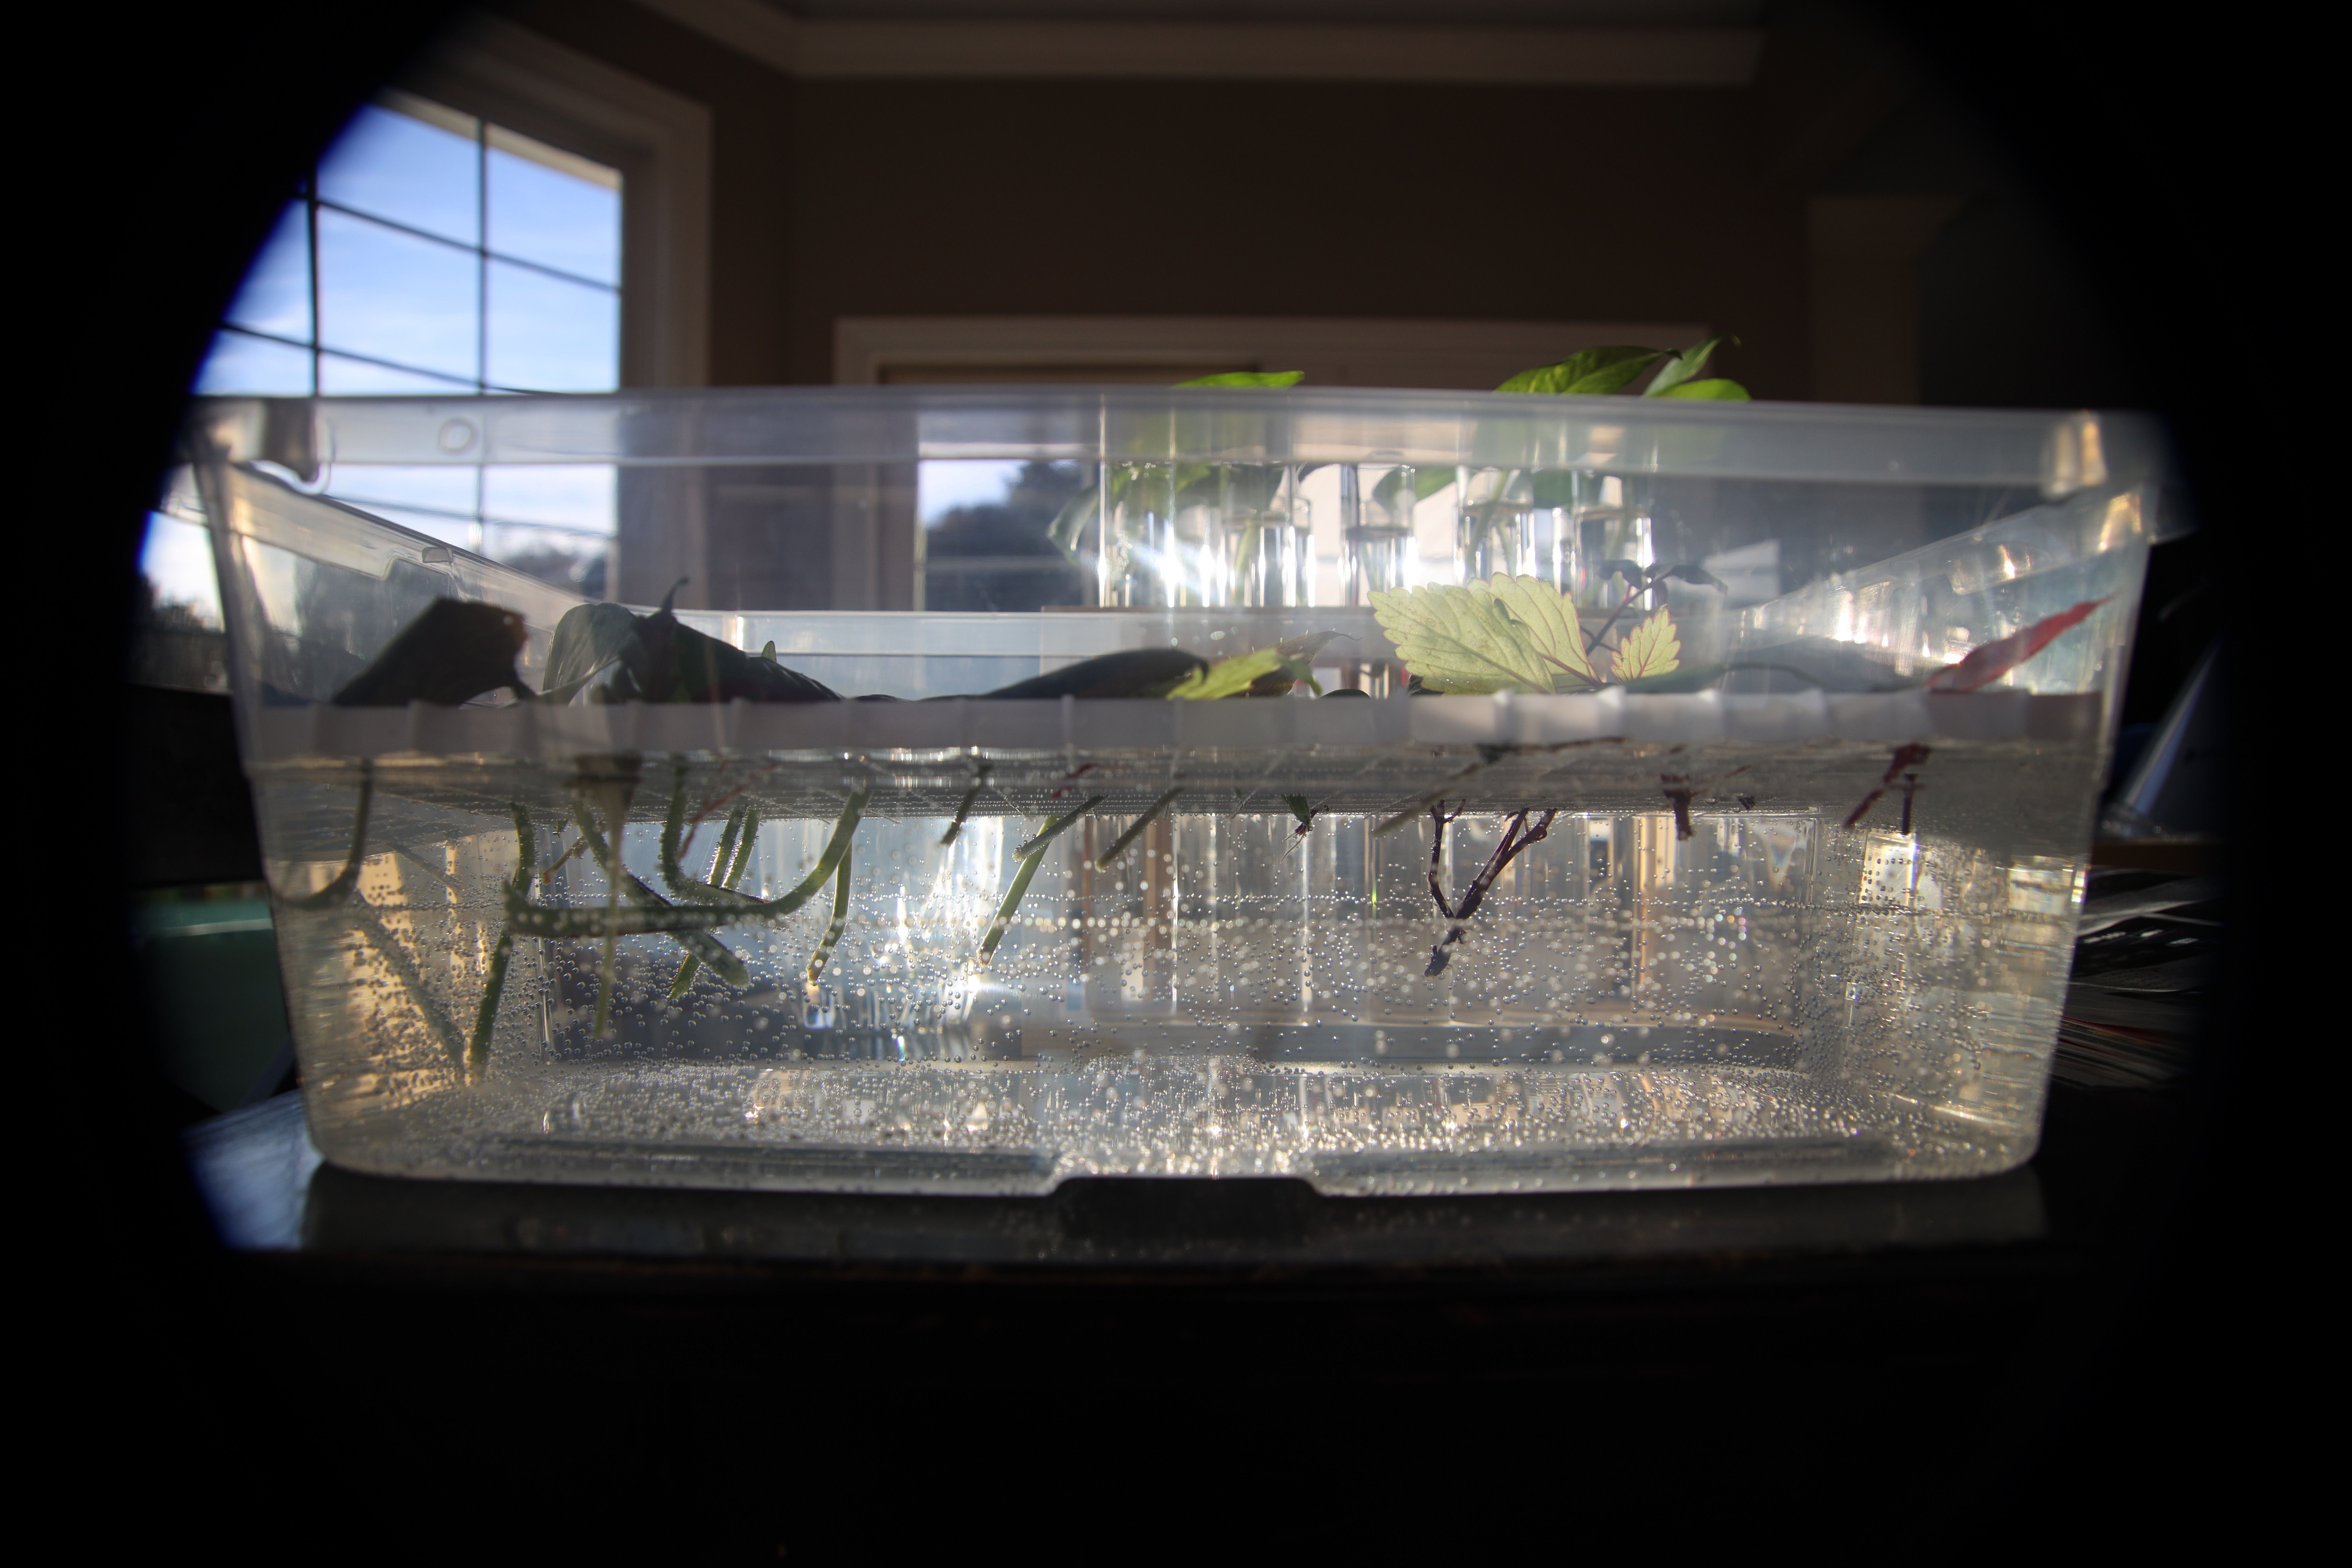
I put most of them in the modified 6 qt tub. This works well for plants that are taller and some that need partial shade (like the clover-shaped plants that I have at the bottom towards the left). To make it I take a 6 qt tub and cut the egg crate light diffuser so it is at the desired height (I start larger and slowly cut it down until it reaches the desired size). I then fill the tub up with filtered water up to the bottom of the light diffuser. If desired CO2 can be added to the water to speed the growing process (I’ll go over this at the end). Sparkling water might also be able to be used (if there are no other ingredients except flavored water and CO2) but experiment on a few plants first if you want to do this. After this, I wait for the plants to grow roots (this usually takes 2-4+ weeks depending on the plant). When I first start to see the beginning of the root I leave it in the water. I only take it out of the water after the roots have reached 0.5-1 inches / 1-2 centimeters. Once the roots have reached this size or larger then I move them to soil.
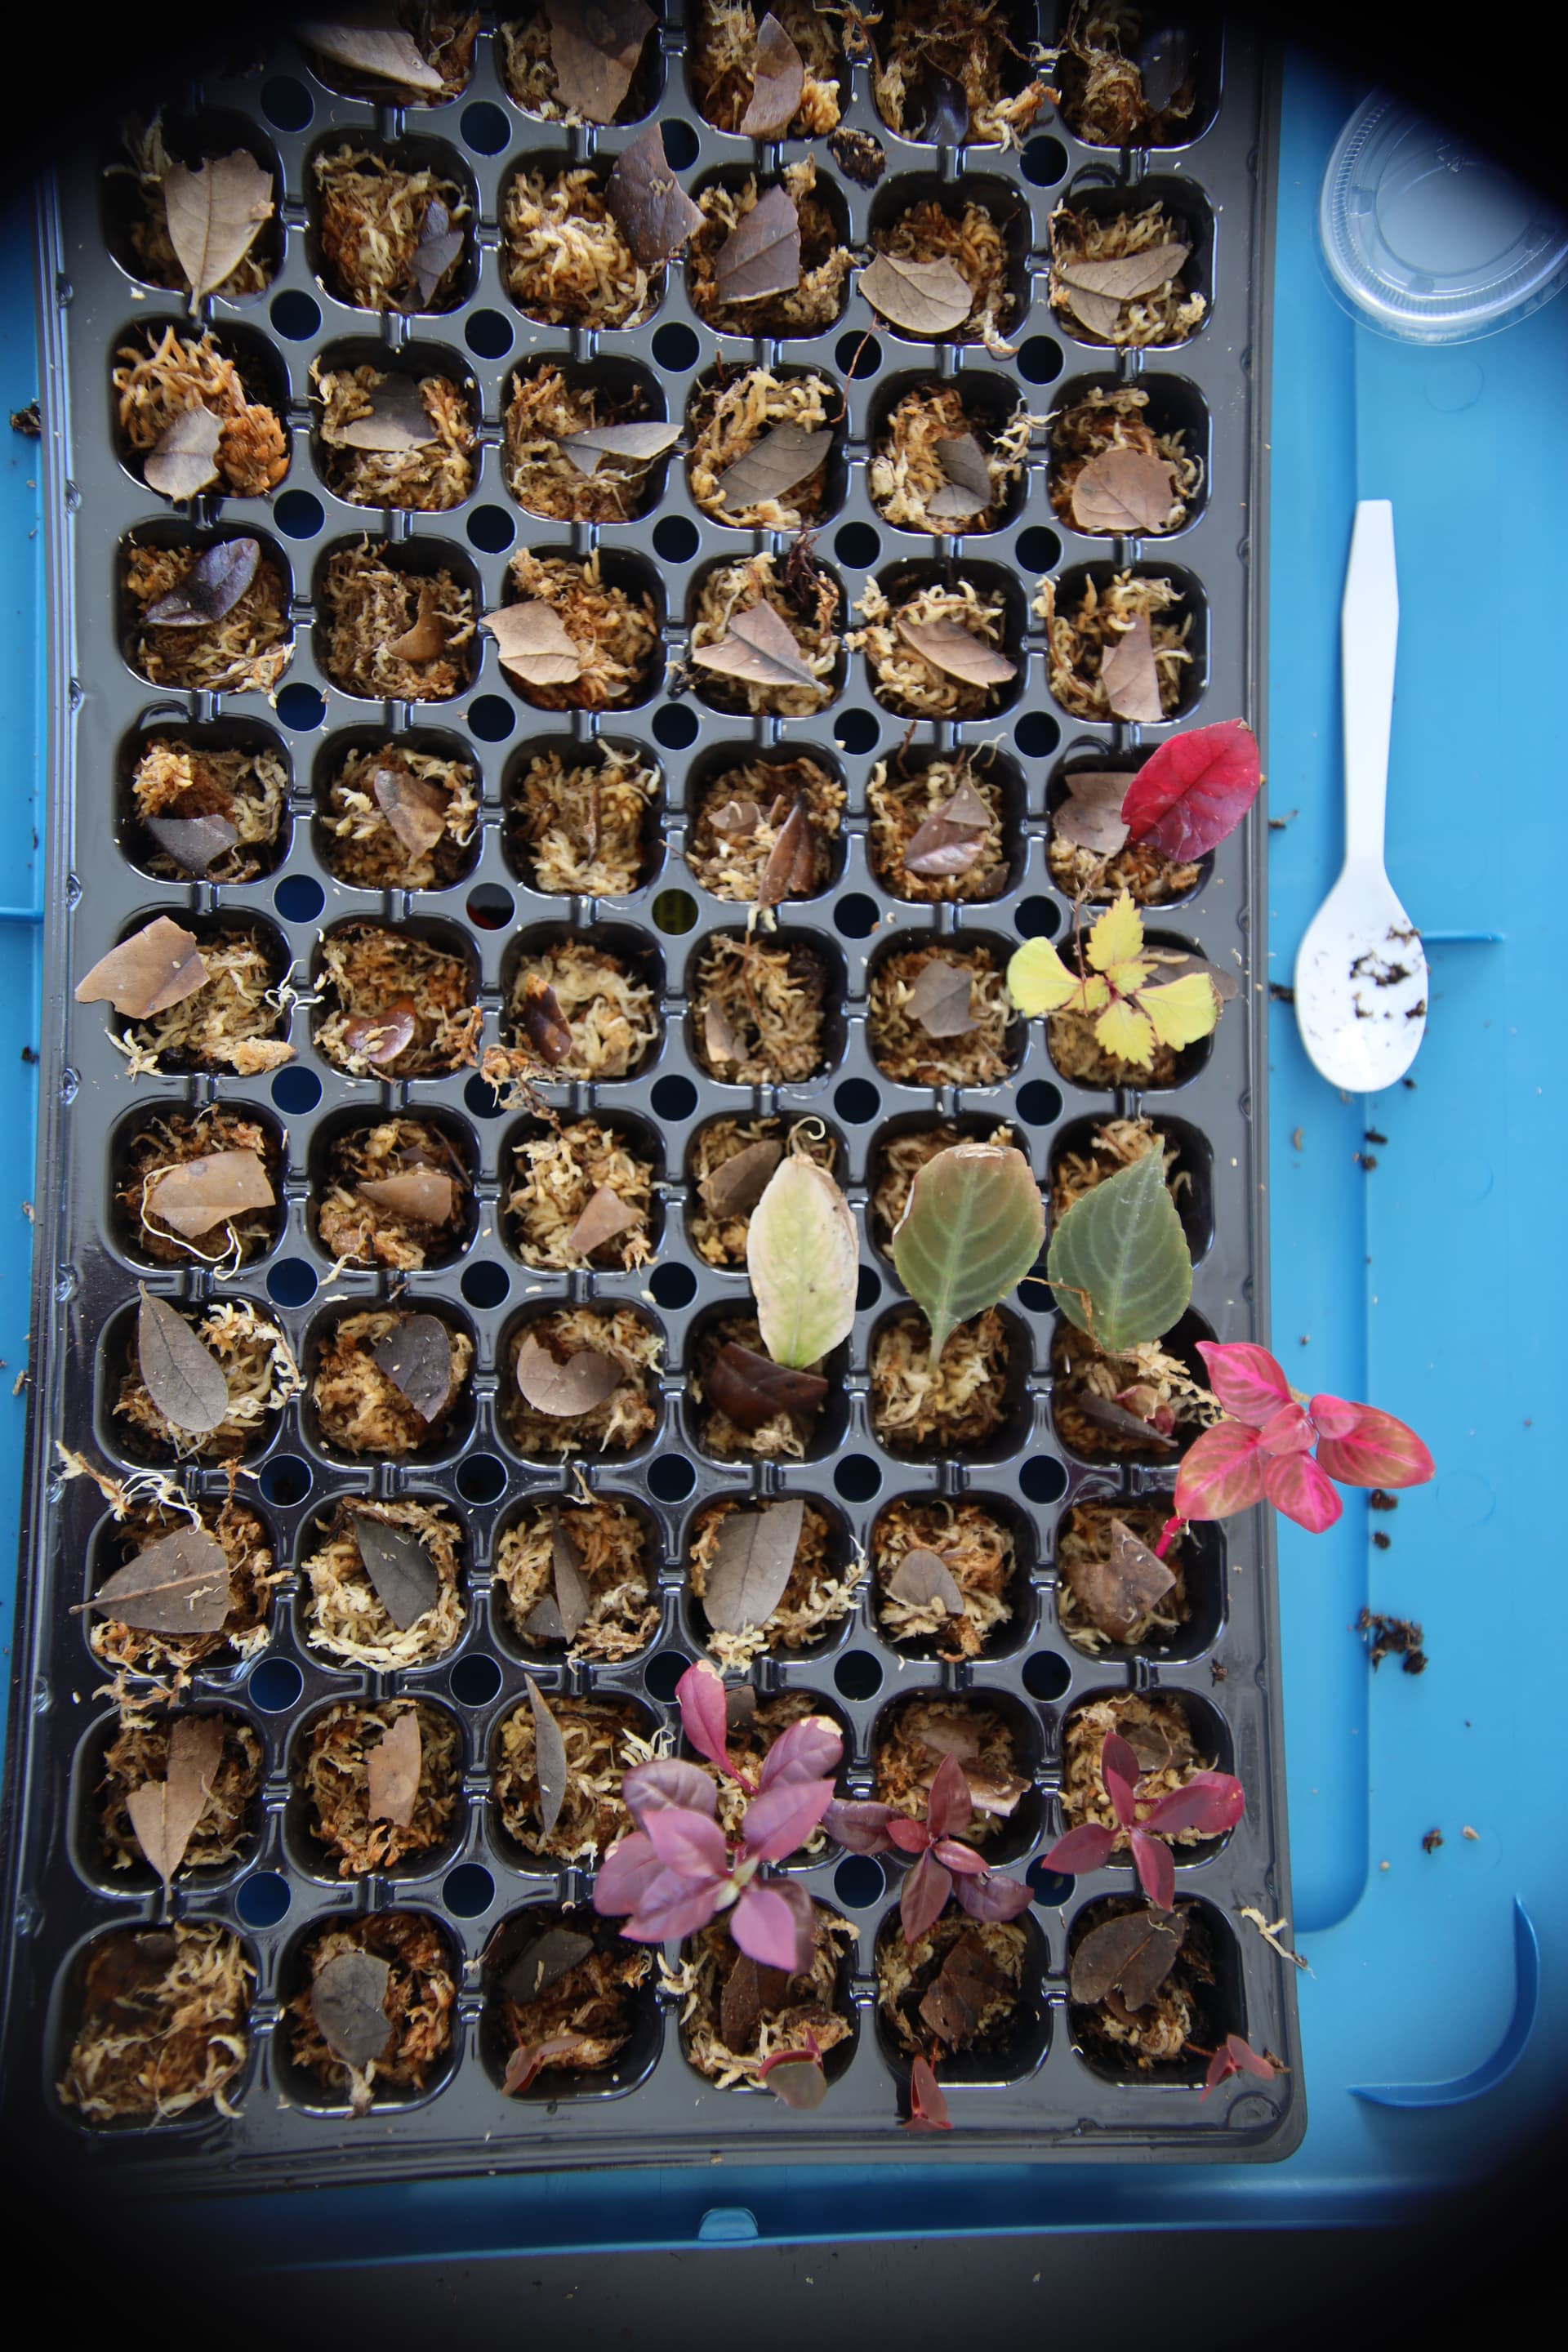
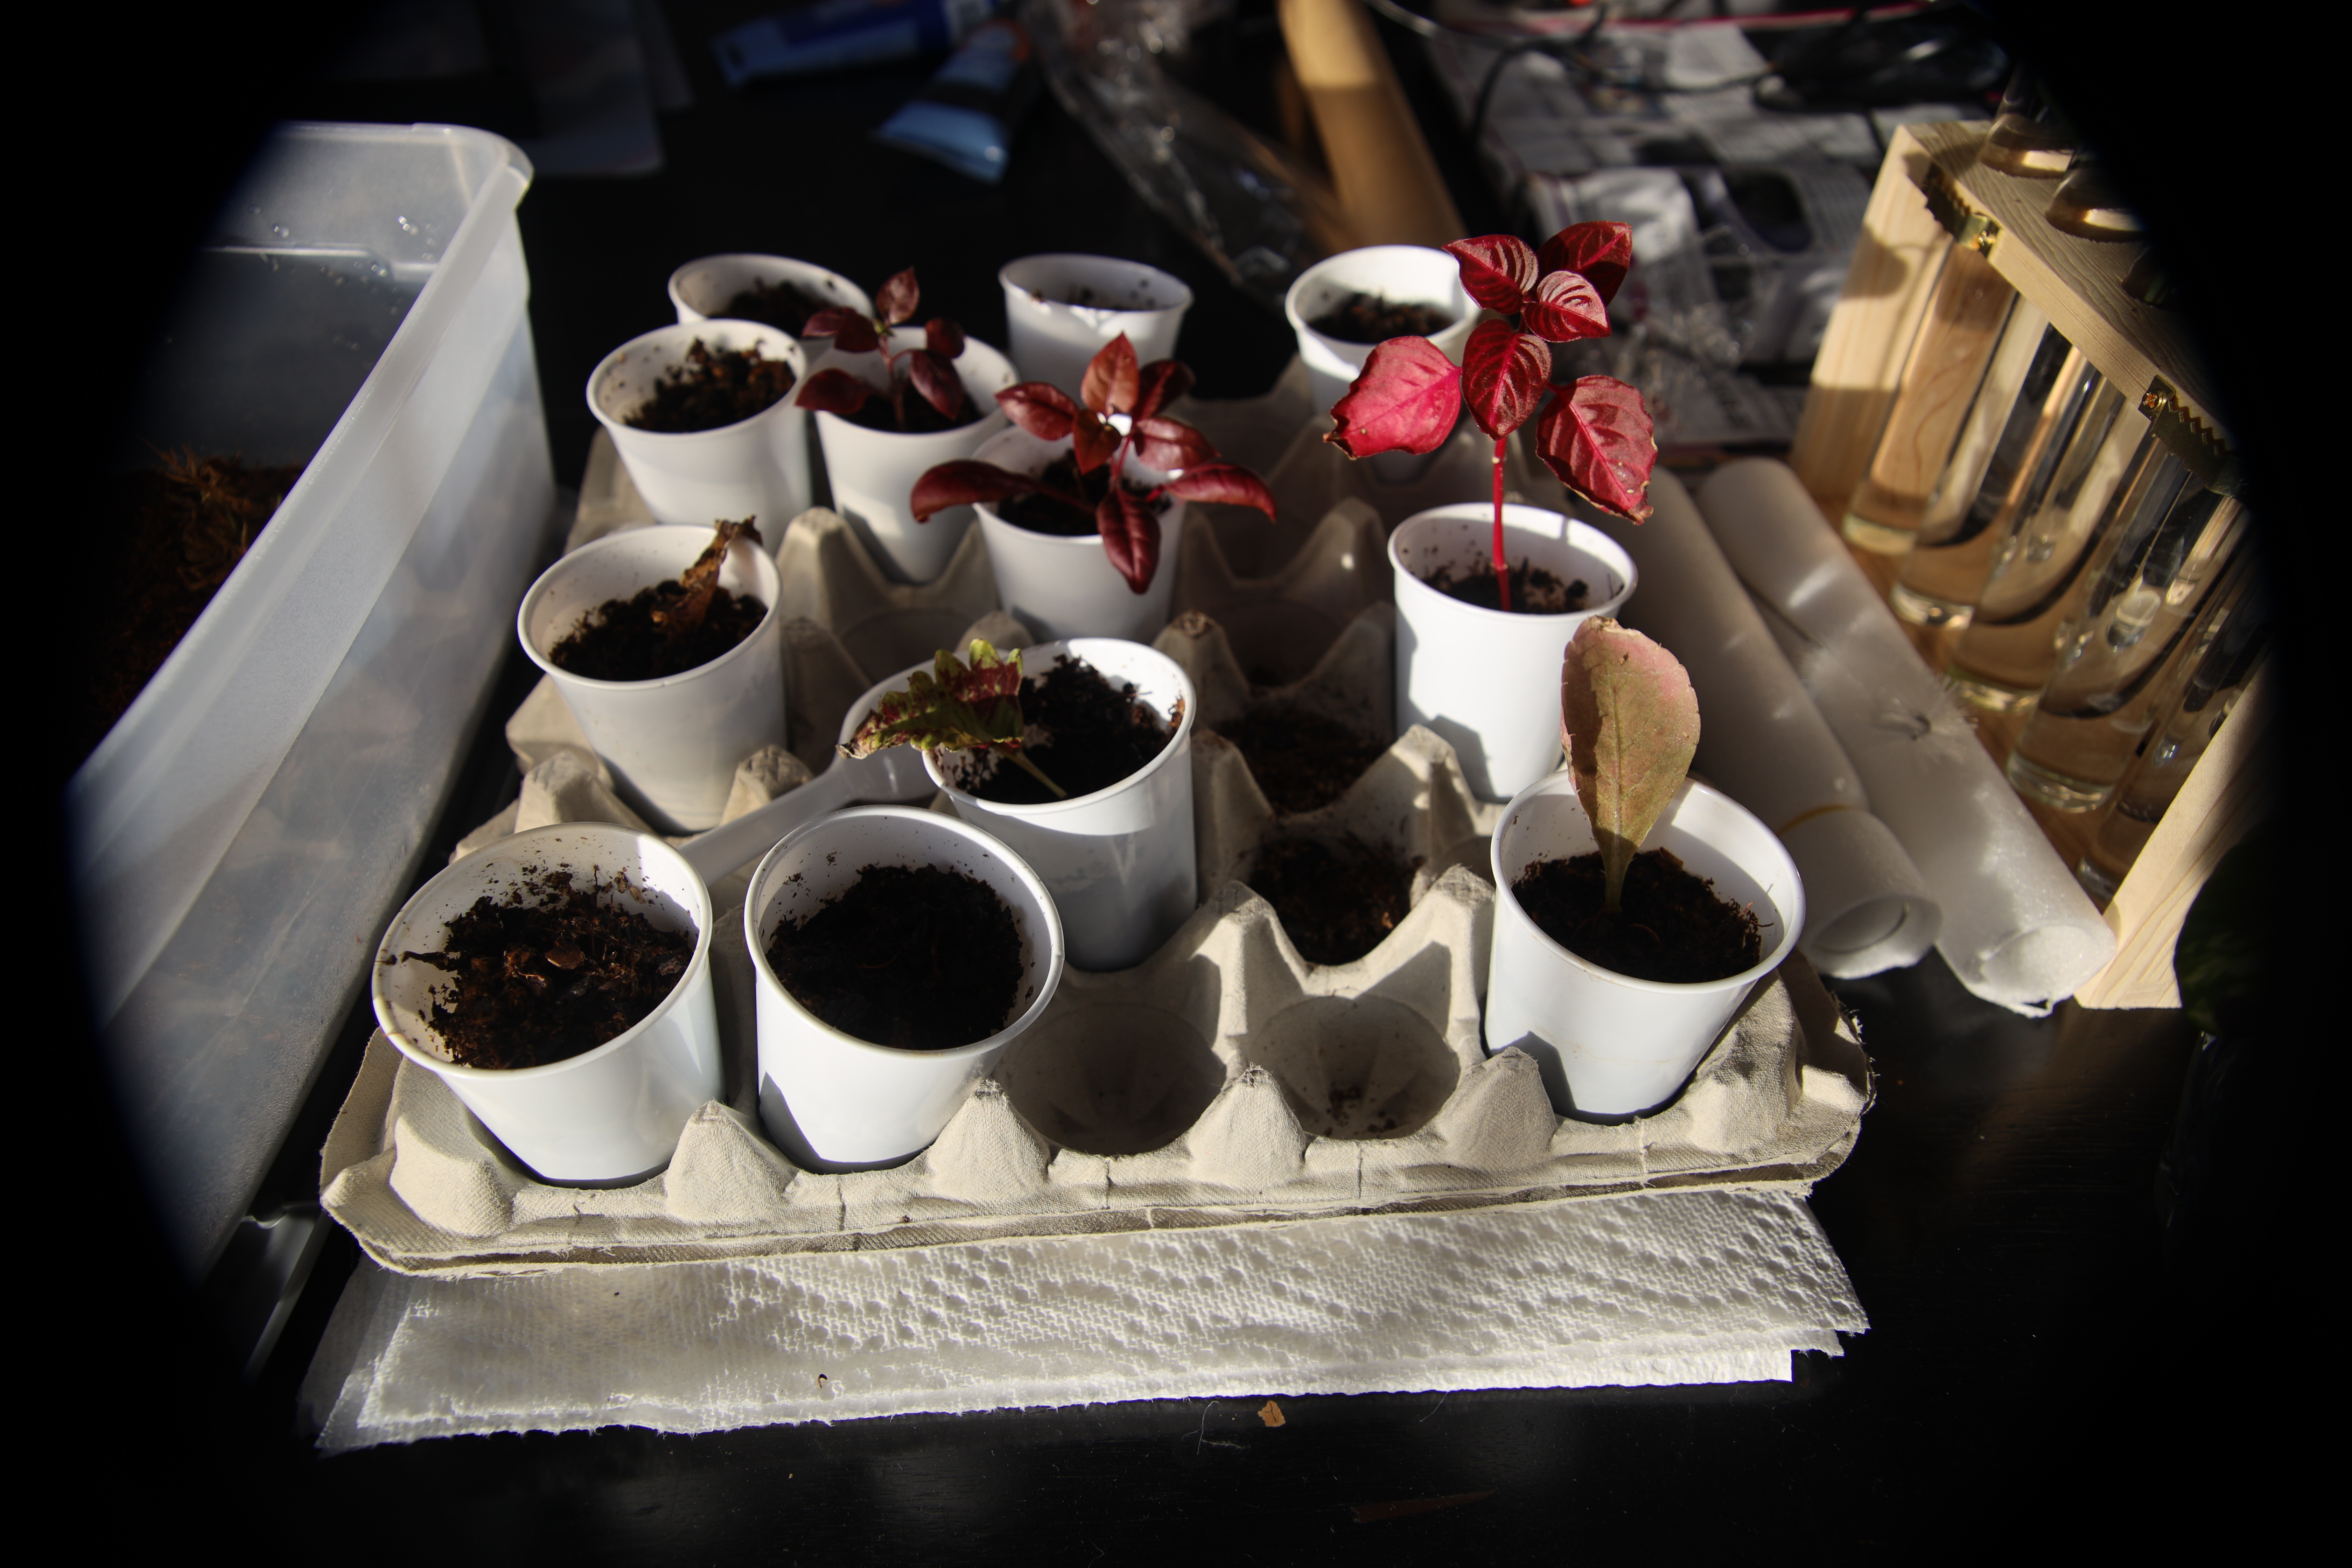
When I put them in soil I use small plastic pots. I also use a paper egg crate flat to hold all of the pots. A benefit of the egg crate is that (unlike paper towels) it doesn’t touch the bottom of the pot and wick the water out. It also makes it easier for moving the pots and readjusting the pots so all of the plants get light. I use atlanta botanical gardens substrate mix for the plants. It is very light and it holds water and has many different nutrients for the plant. It makes a good alternative to fertilizers (which I’m not going to risk for a plant that’s going into a reptile or amphibian tank). When I use this soil I moisten it by putting it into a tub with water and letting it absorb the moisture. Since it is a light soil, if I put it into the pot and add water the water will flow through the soil and out of the hole at the bottom of the pot. I give each pot a heavy misting daily to keep the soil damp. Too much water is better than not enough water. If the plant looks droopy or the leaves are discolored try adding water. I’ve had plants bounce back only hours after doing this. Once the plants have grown enough you can put them in the terrarium or any other place where you might use the plant.
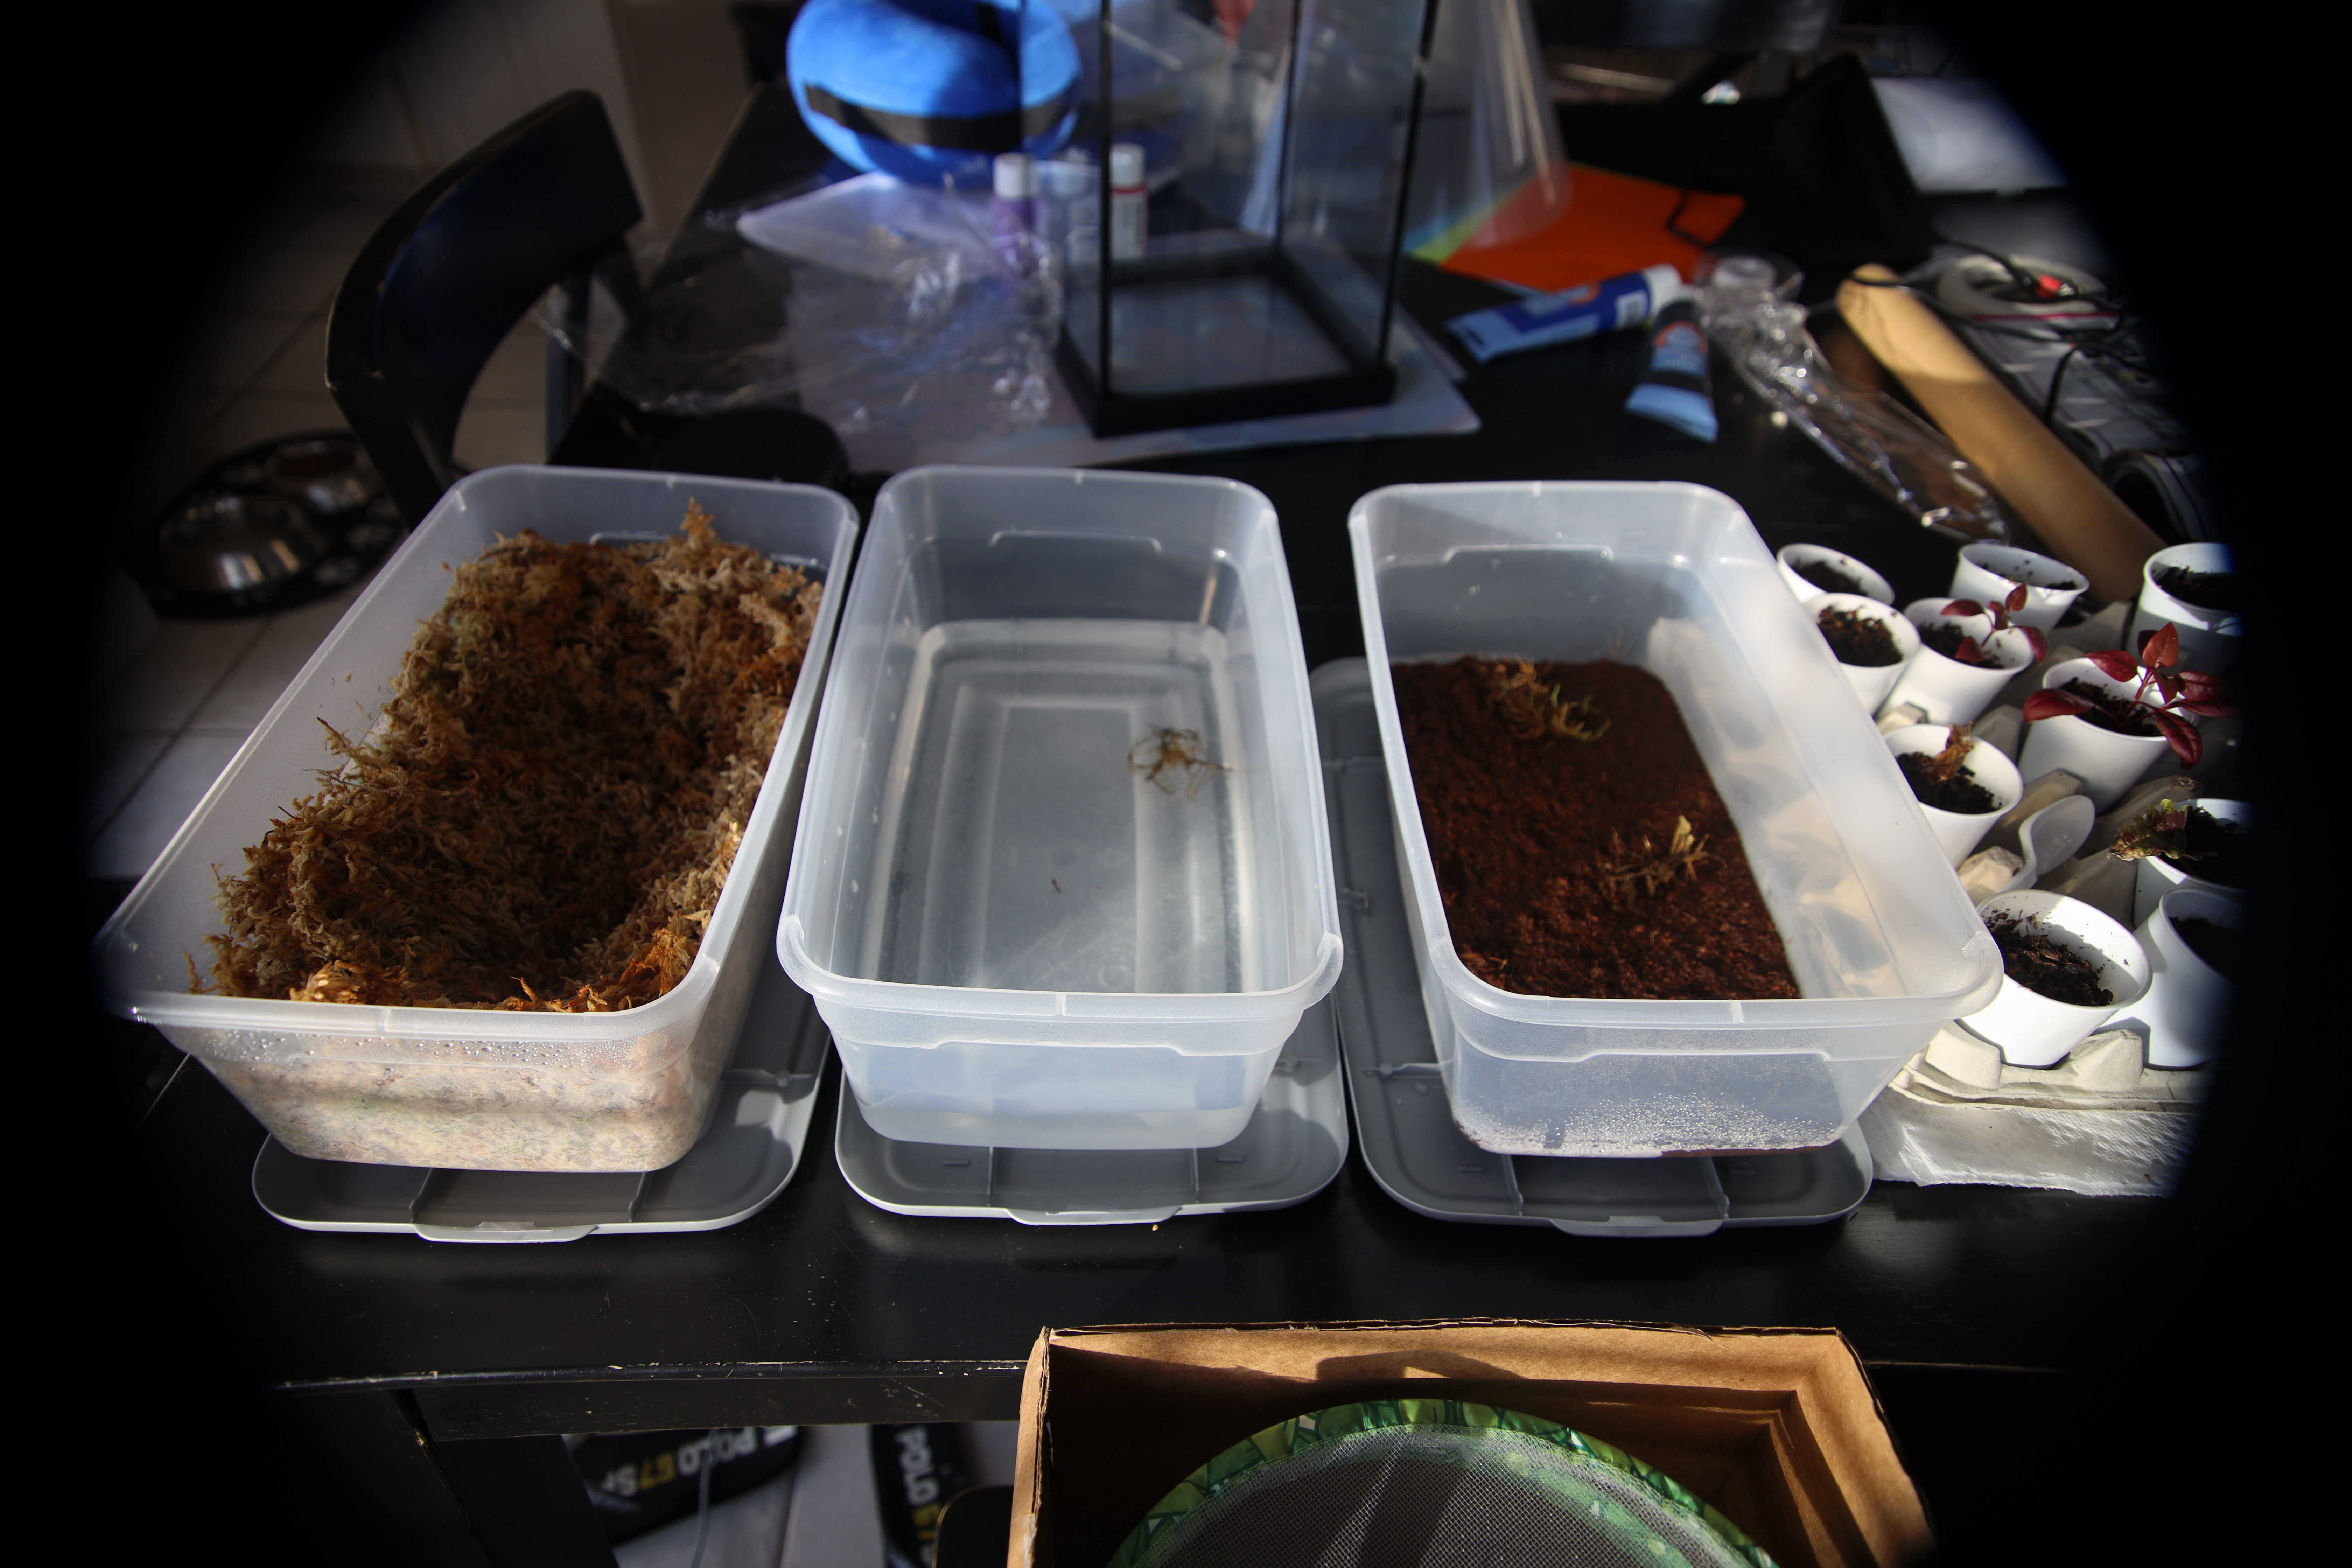
I’m also currently experimenting with growing moss. The two tubs on the right contain small amounts of moss taken from my dart frog enclosure. I put some in very wet substrate (I used eco earth, just about anything can be used as long as it has a lot of water) and some in water to compare the differences. Both seem to be doing well so far but I just started so I haven’t been able to compare growth. The tub on the left contains dried sphagnum moss that has started growing live moss (everything I’ve read says it’s very unlikely but I’m positive that it’s moss growing and not mold or algae). I moved the moss so the sun hits the highest surface area (it all gets light at different times of the day). Once more moss starts growing I’m going to experiment with taking a small amount of moss, putting it in the blender with buttermilk, and sprinkling it around the dried moss, which is from a recommendation I’ve found about growing moss quickly. I’ve added CO2 to all 3 containers to speed up the growth.
Below I’ll outline the basic process I used to add CO2 to the moss, it can also be used for adding CO2 to the plant propagation containers (I would have done this except I ran out of vinegar). CO2 can also be used for killing pests in an enclosure (after the animal is removed) and killing pests on new plants. CO2 can be quickly made from a reaction between vinegar and baking soda. To make the generator take a 1 gallon jug (or 2 liter bottle) and a smaller bottle (I used a 32 oz bottle). Run flexible tubing from the 1-gallon jug to the smaller bottle, and then another tube from the 32 oz bottle to the container (it shouldn’t be attached to the container, just the end of the tube). I attached the tubing by cutting it at an angle and then forcing it and gluing it into a hole in the lid of the containers. Use the generator by taking the 1 gallon jug and adding vinegar. Next, baking soda (about 1 tablespoon per charge) is rolled into toilet paper pieces (2 pieces per charge). Each charge is put into the gallon jug and quickly putting the lid back on (there is a small delay until it increases in volume, so you have a few seconds to put the lid on). The baking soda will react with the vinegar and produce carbon dioxide. It will quickly increase in volume and may go through the top, which is what the smaller bottle is for. Holding the end of the tube over the container will result in the heavier carbon dioxide pushing the air out. Make sure that it isn’t airtight since it will increase in pressure. You can quickly find the height of the carbon dioxide by using a tea candle and seeing when it goes out (most reliable and easiest in my opinion), blowing bubbles over the carbon dioxide and seeing at what level they float, or comparing how quickly the water droplets fall when misting it. If you’re adding the CO2 to water put a screen over the end of the tube so it comes out in smaller bubbles, this will result in more being absorbed by the water and it being more effective.
Here is my source for this process and where I learned it from.
 I’m hoping to start up my first bioactive enclosure sometime this year, and now I’m looking forward to it even more!
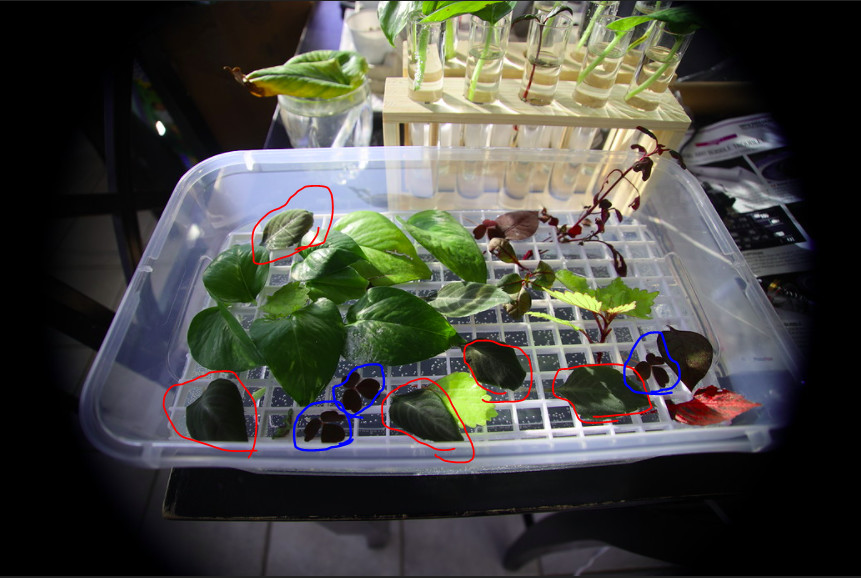
 yours is so organised, my plants are scattered across the house lol