Snake Room Build

Hey everyone,

I know folks are always curious about others enclosures, rack set-ups, and snake/reptile rooms, so I thought I would document the progress of mine. I’ll document the progress from start finish here.

Hopefully others can learn and get ideas for their own space, but more importantly I am hoping I can learn and get ideas from you all through this. Feel free to ask questions and share your experiences, and if you think I may have overlooked something, please let me know!

Guess I’ll get on with this then. We bought a house back in 2020 with an unfinished basement. After (almost) 4-years of filling it with all sorts of useless junk we are finally having it finished. It took me about two weeks total to sort through everything down there and get it fully cleared out. At times I felt like we could have been on an episode of the TV show hoarders.

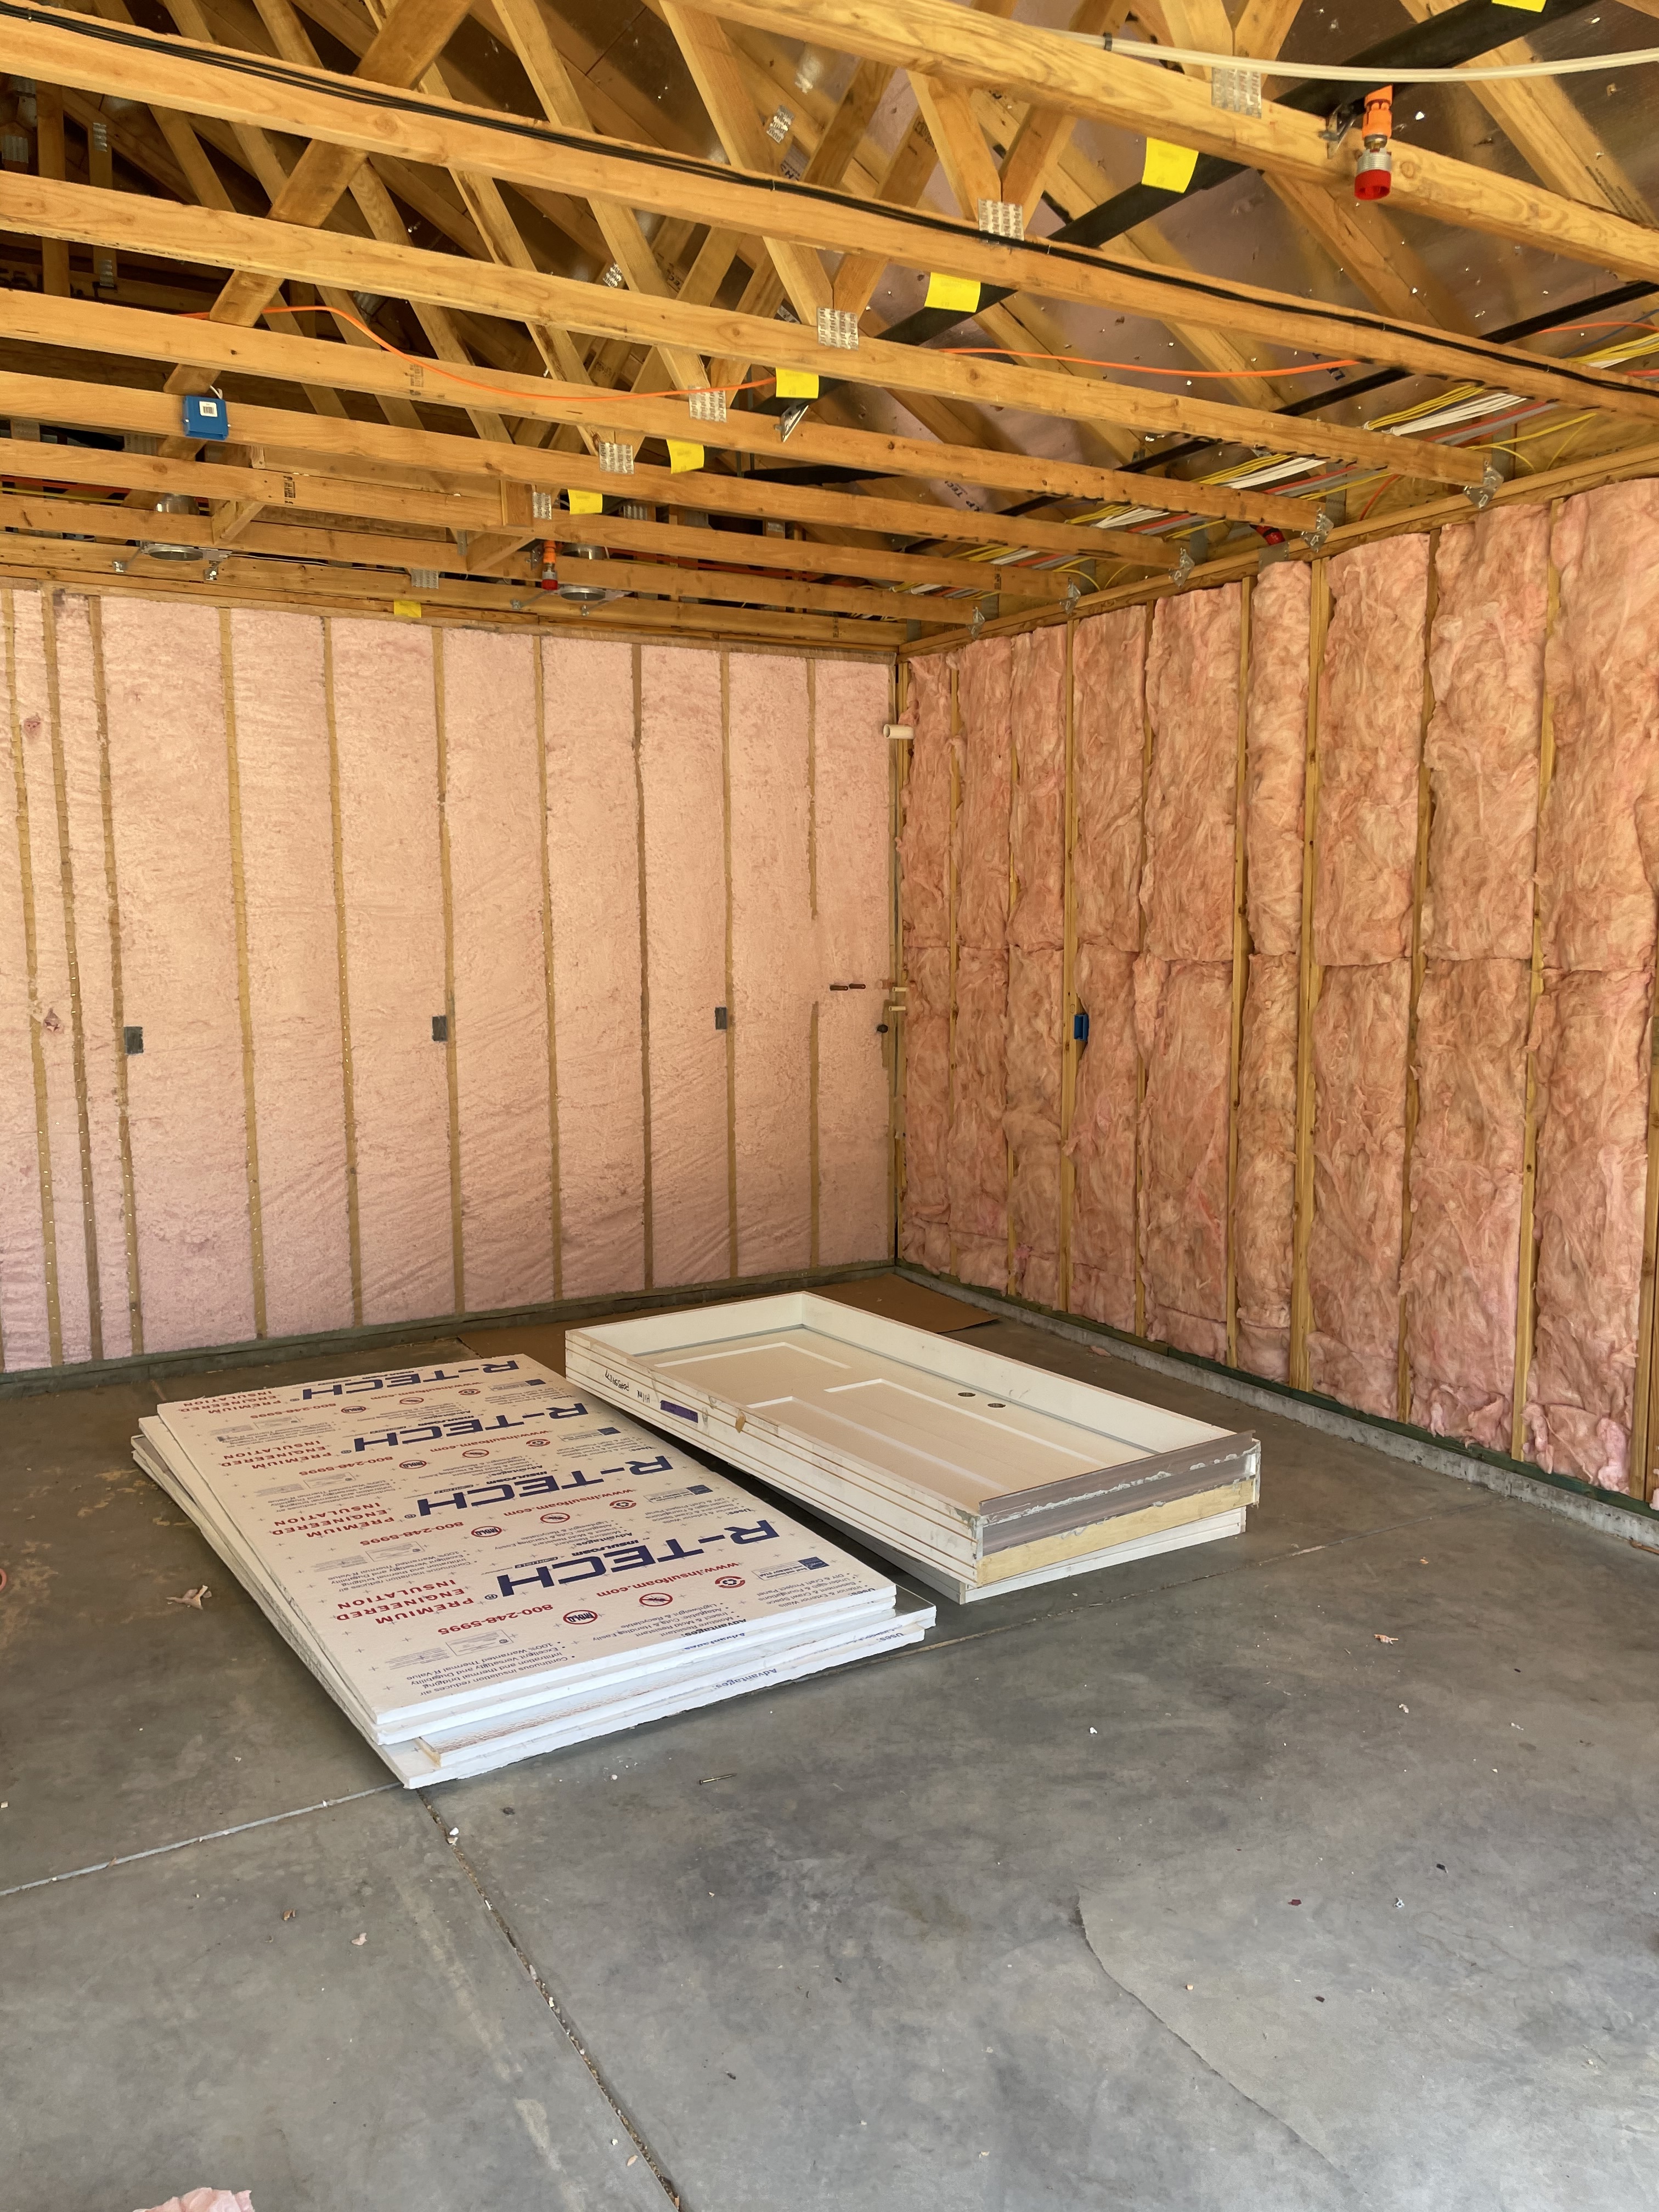
Anyway, part of the project is a spare bedroom which I have claimed as my new snake room. The room is 10’x19’ with a small closet (~52”x26”). I’ll have a wash basin nearby in the unfinished utility area at the back of the basement. My plan at this time is to stack AP T8s along the long wall for the bullsnakes. I originally wanted to set up the boas out in the basement living room space to allow more room for future bullsnakes, and other pituophis I would like to work with, but I think I am going to keep them in the snake room also. Just easier have to everyone centrally located. Plus, having them in there will keep my wife happy. Not that she dislikes them but she won’t have to plan the main room/furniture configuration around two large snake enclosures. I know, I know, what a selfless act. I hope she knows how lucky she is to have me! :crazy_face:

The plan for now is to keep all of my adults in cages. I priced out building my own out of wood and was ready to move forward that but opted to just buy cages for the ease of it. I may still build some on my own down the line if any of my bulls get exceptionally large. The plan for the boas was always PVC cages. My plan is to get two 6x2x2 from The Gorgon’s Head out of Statesville, NC. They look really nice and are priced reasonably. Also huge, they are local so I won’t have to pay for freight shipping. Eventually I am going to need some racks for hatchlings/juvies, but I got time to figure that out.

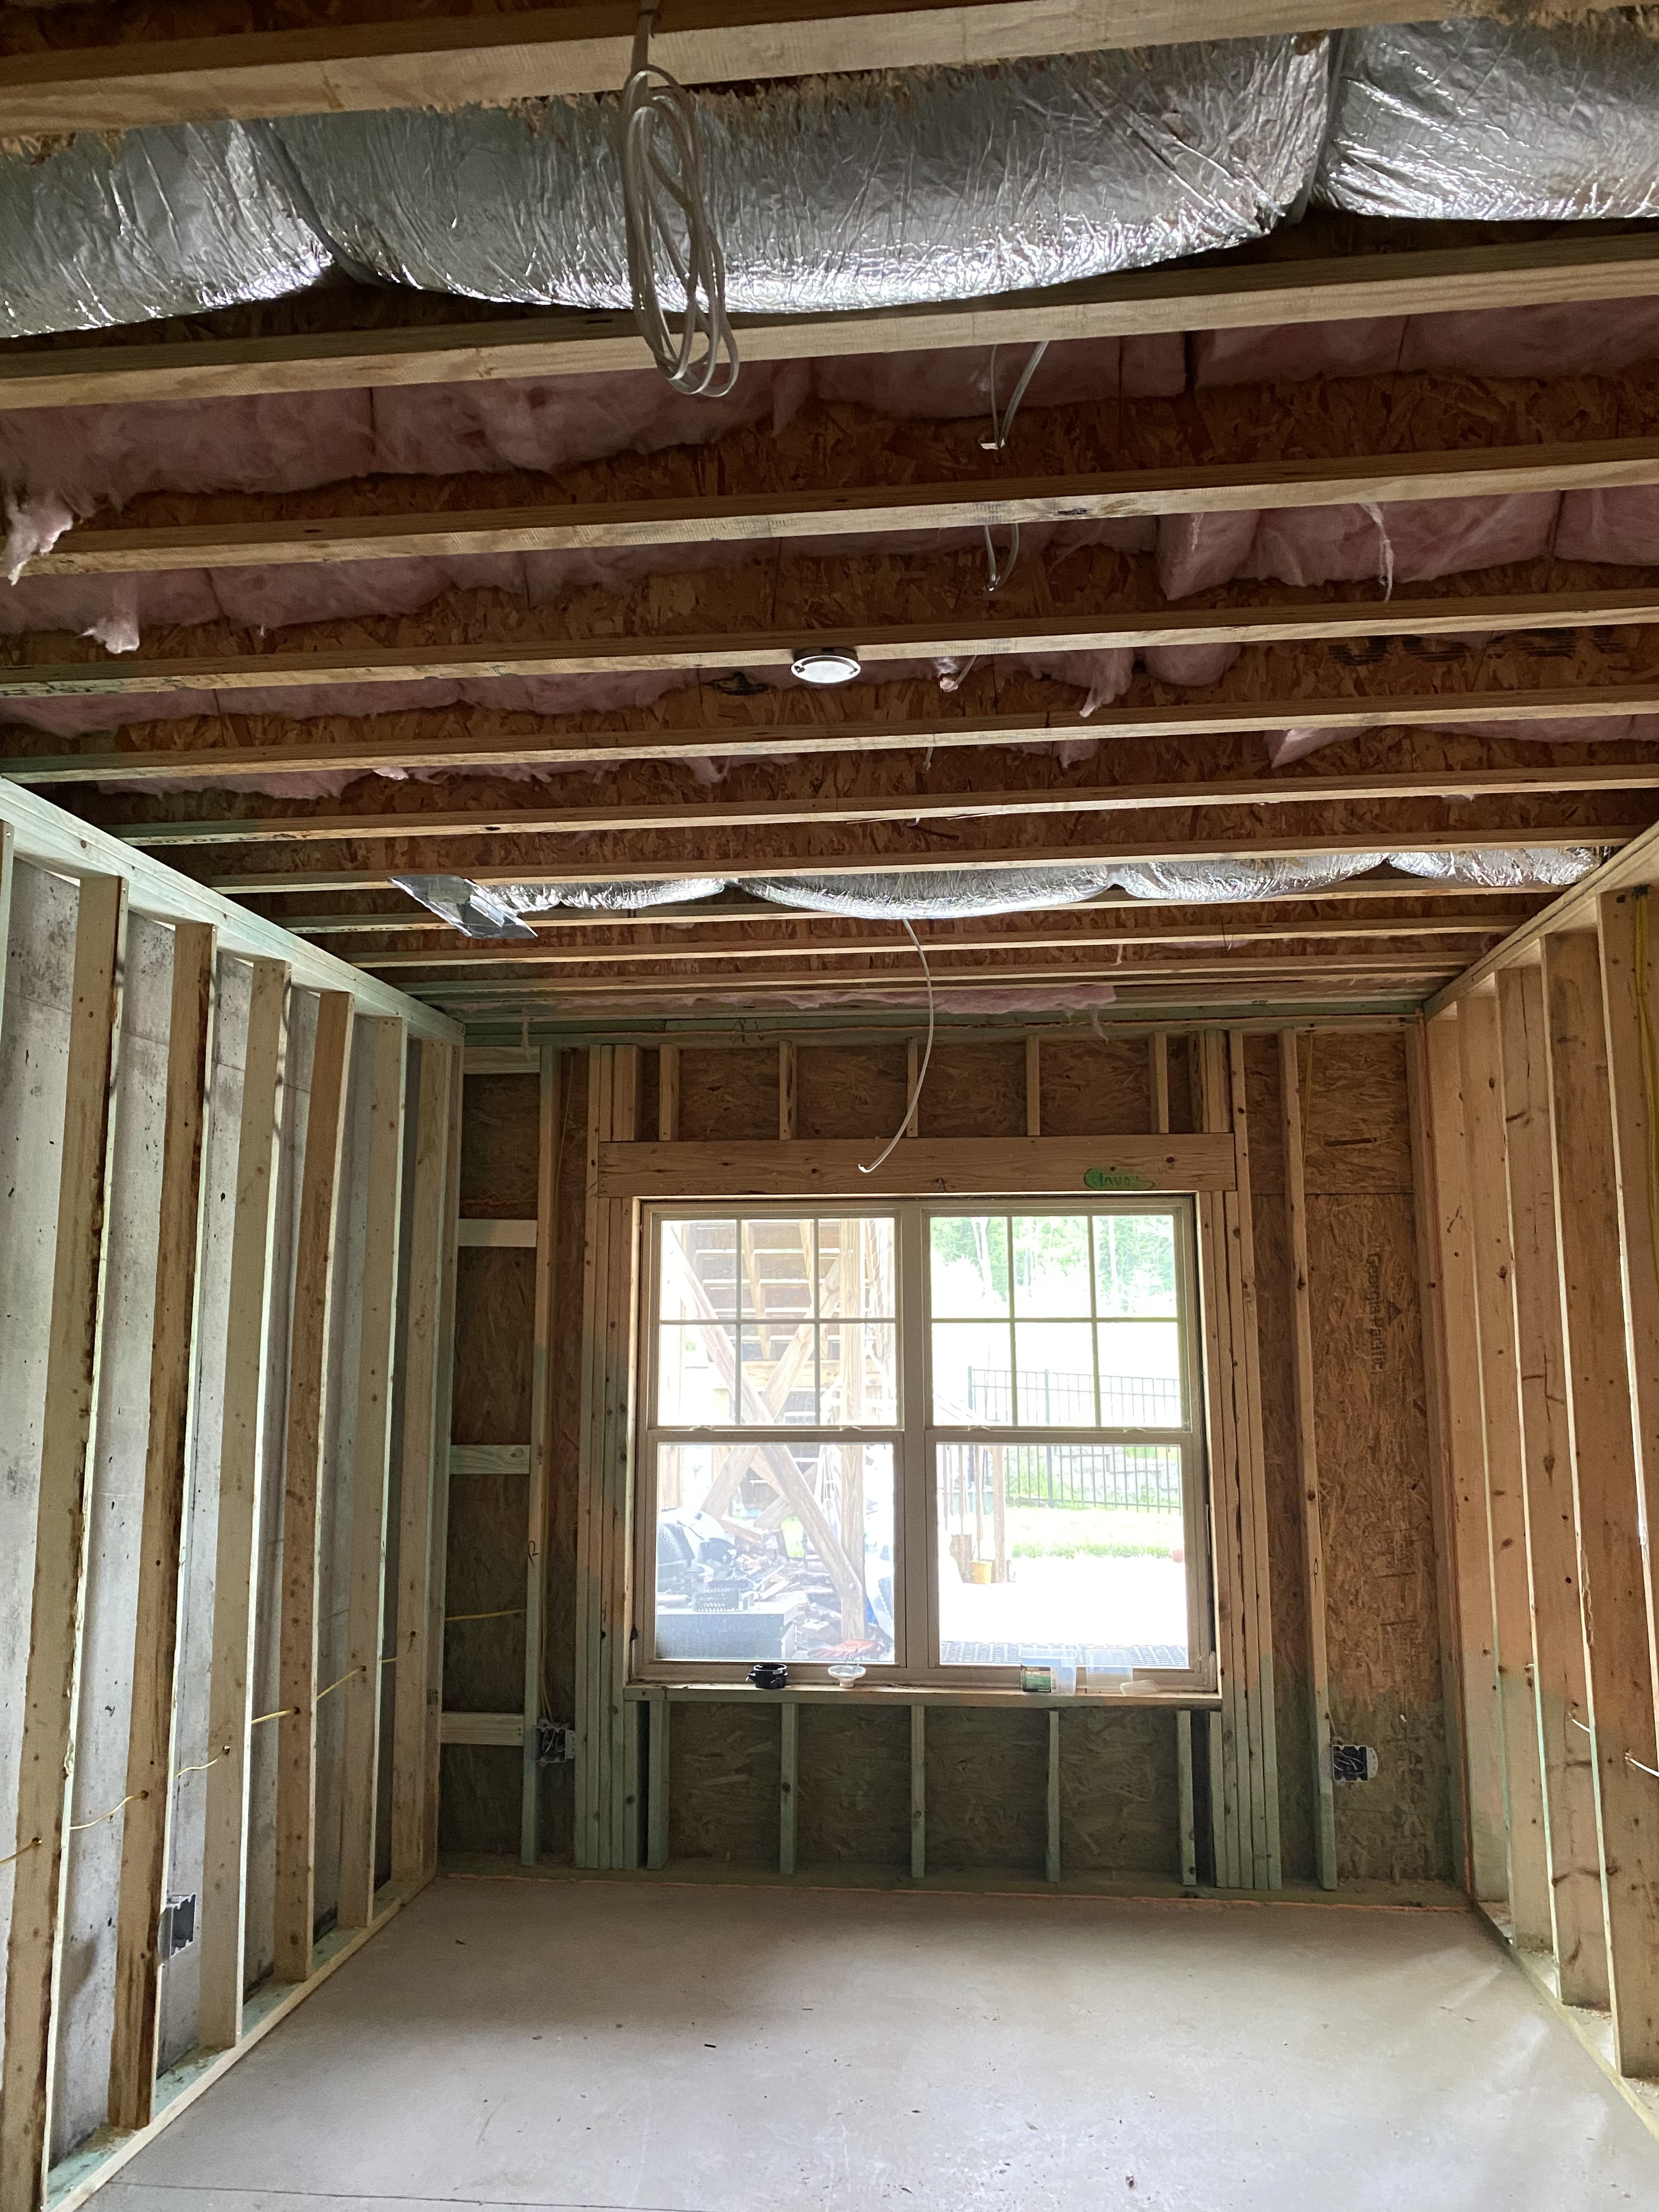
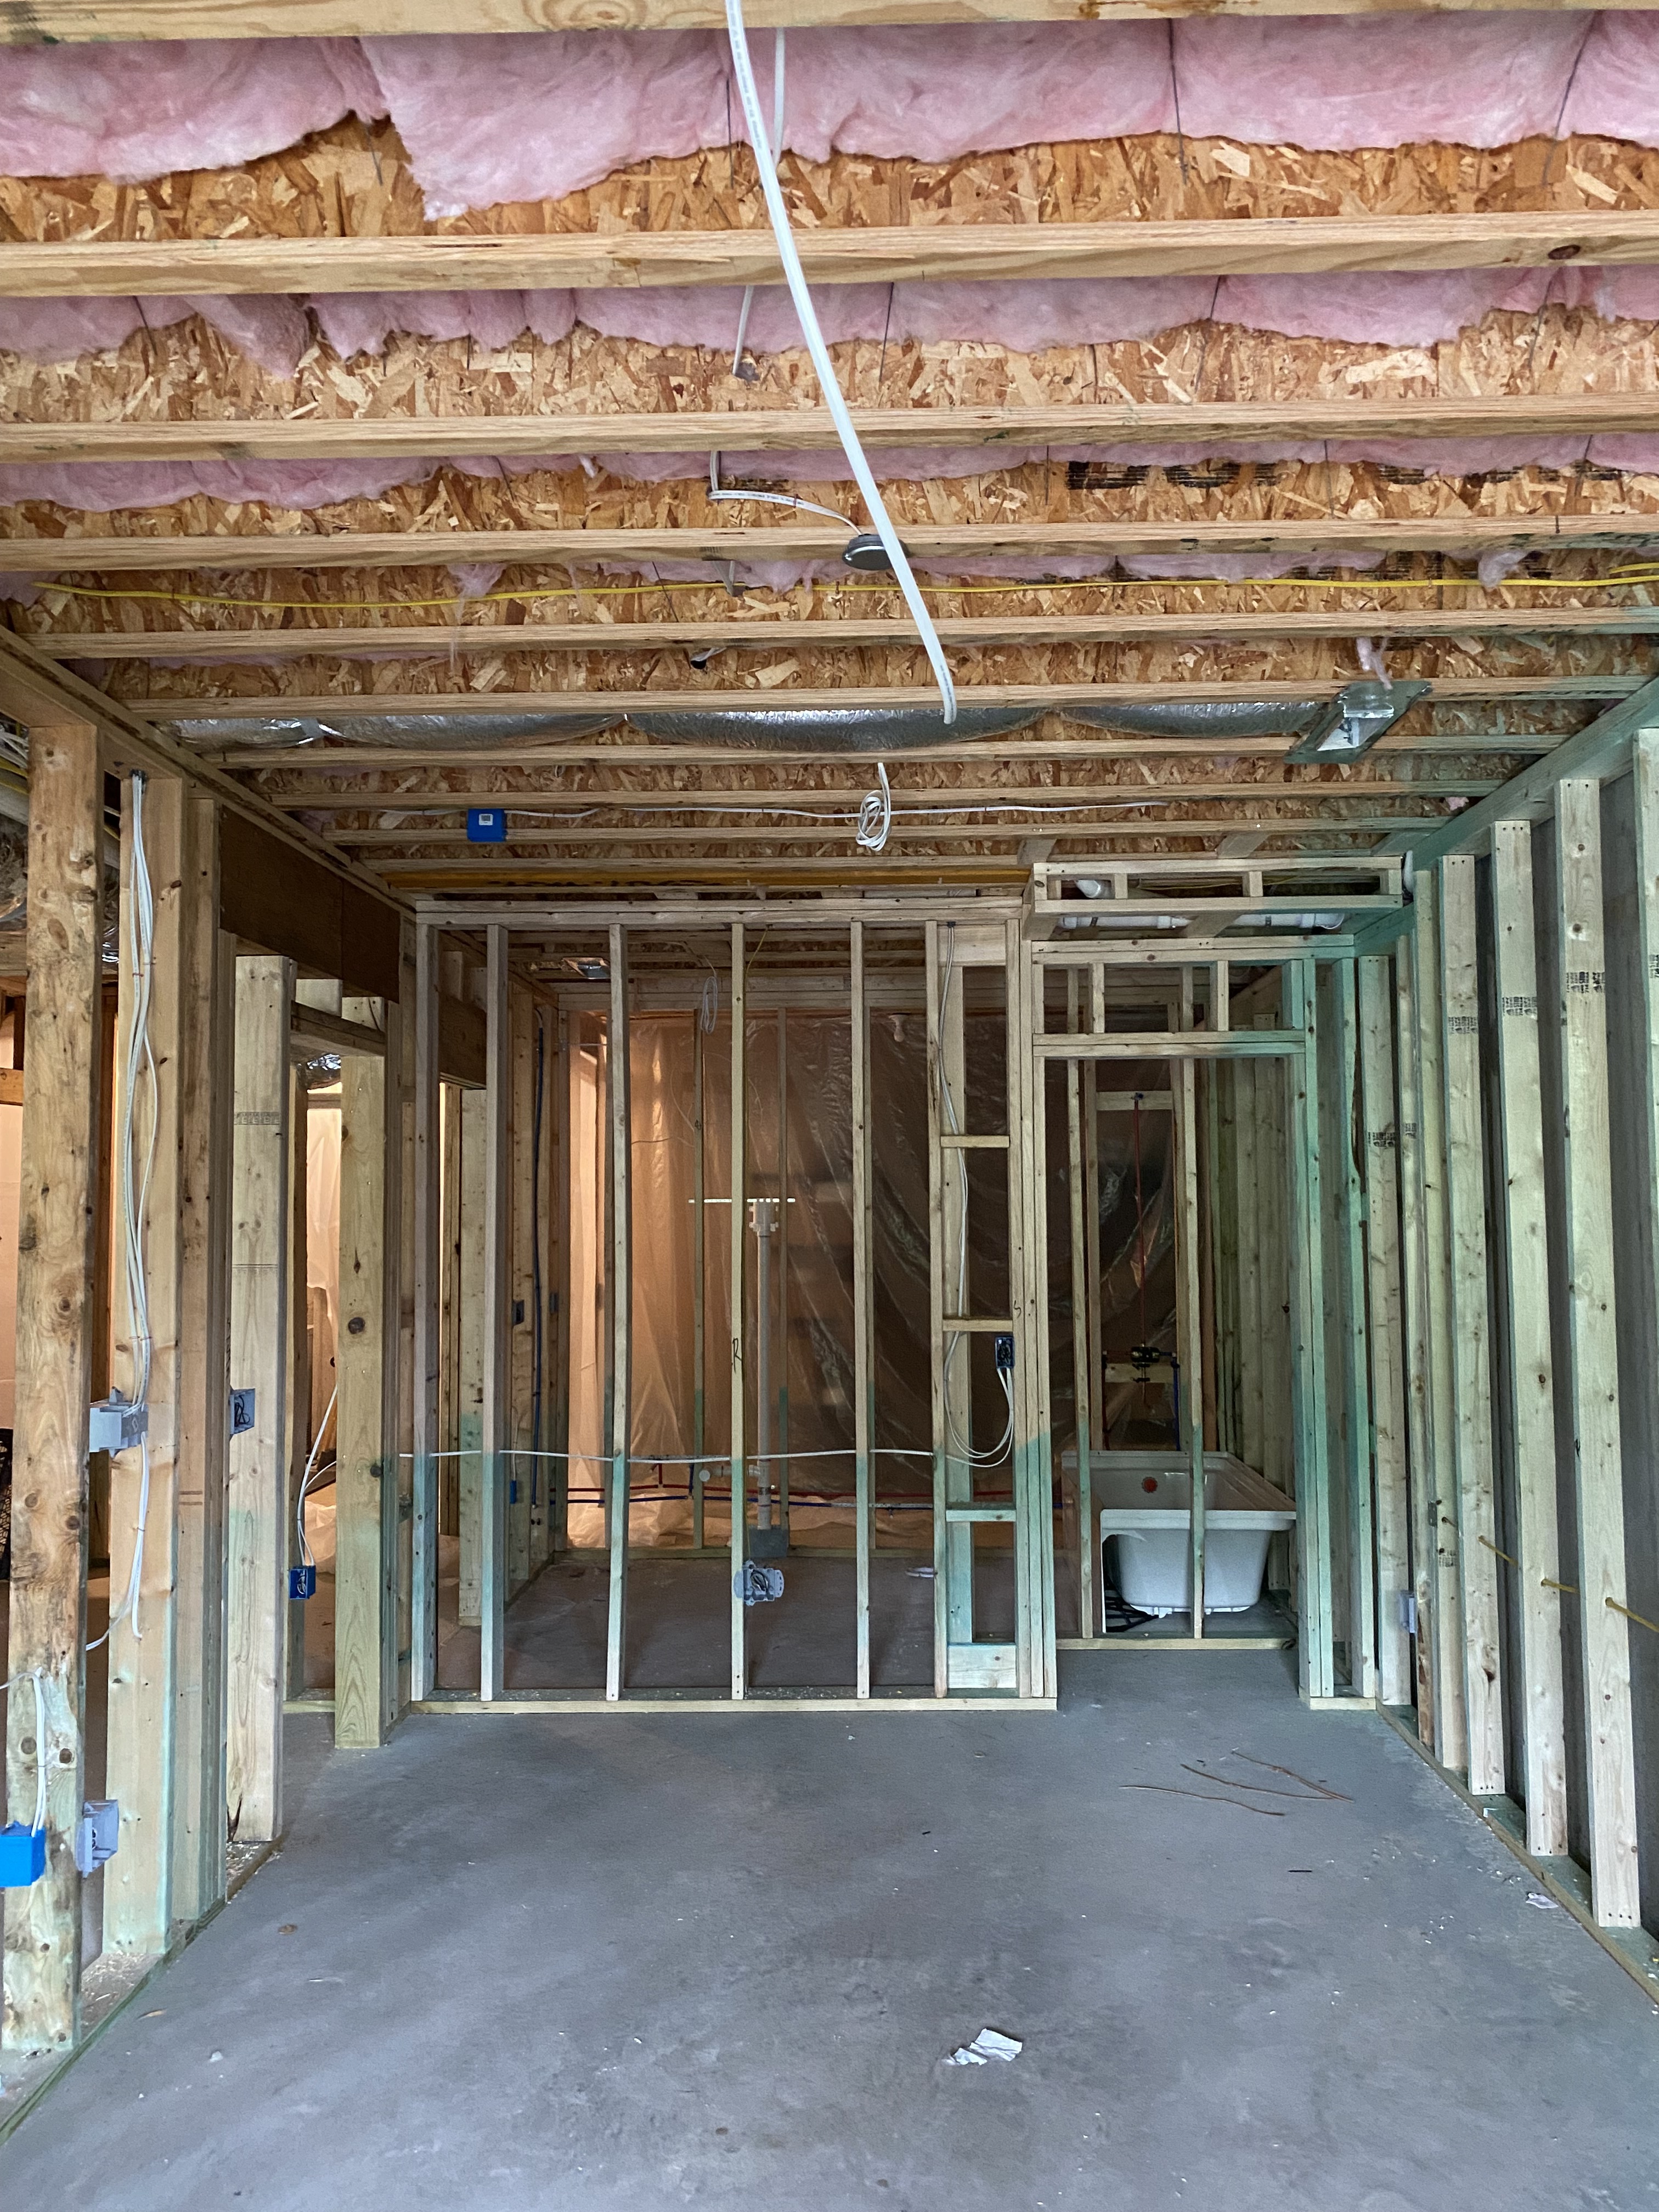
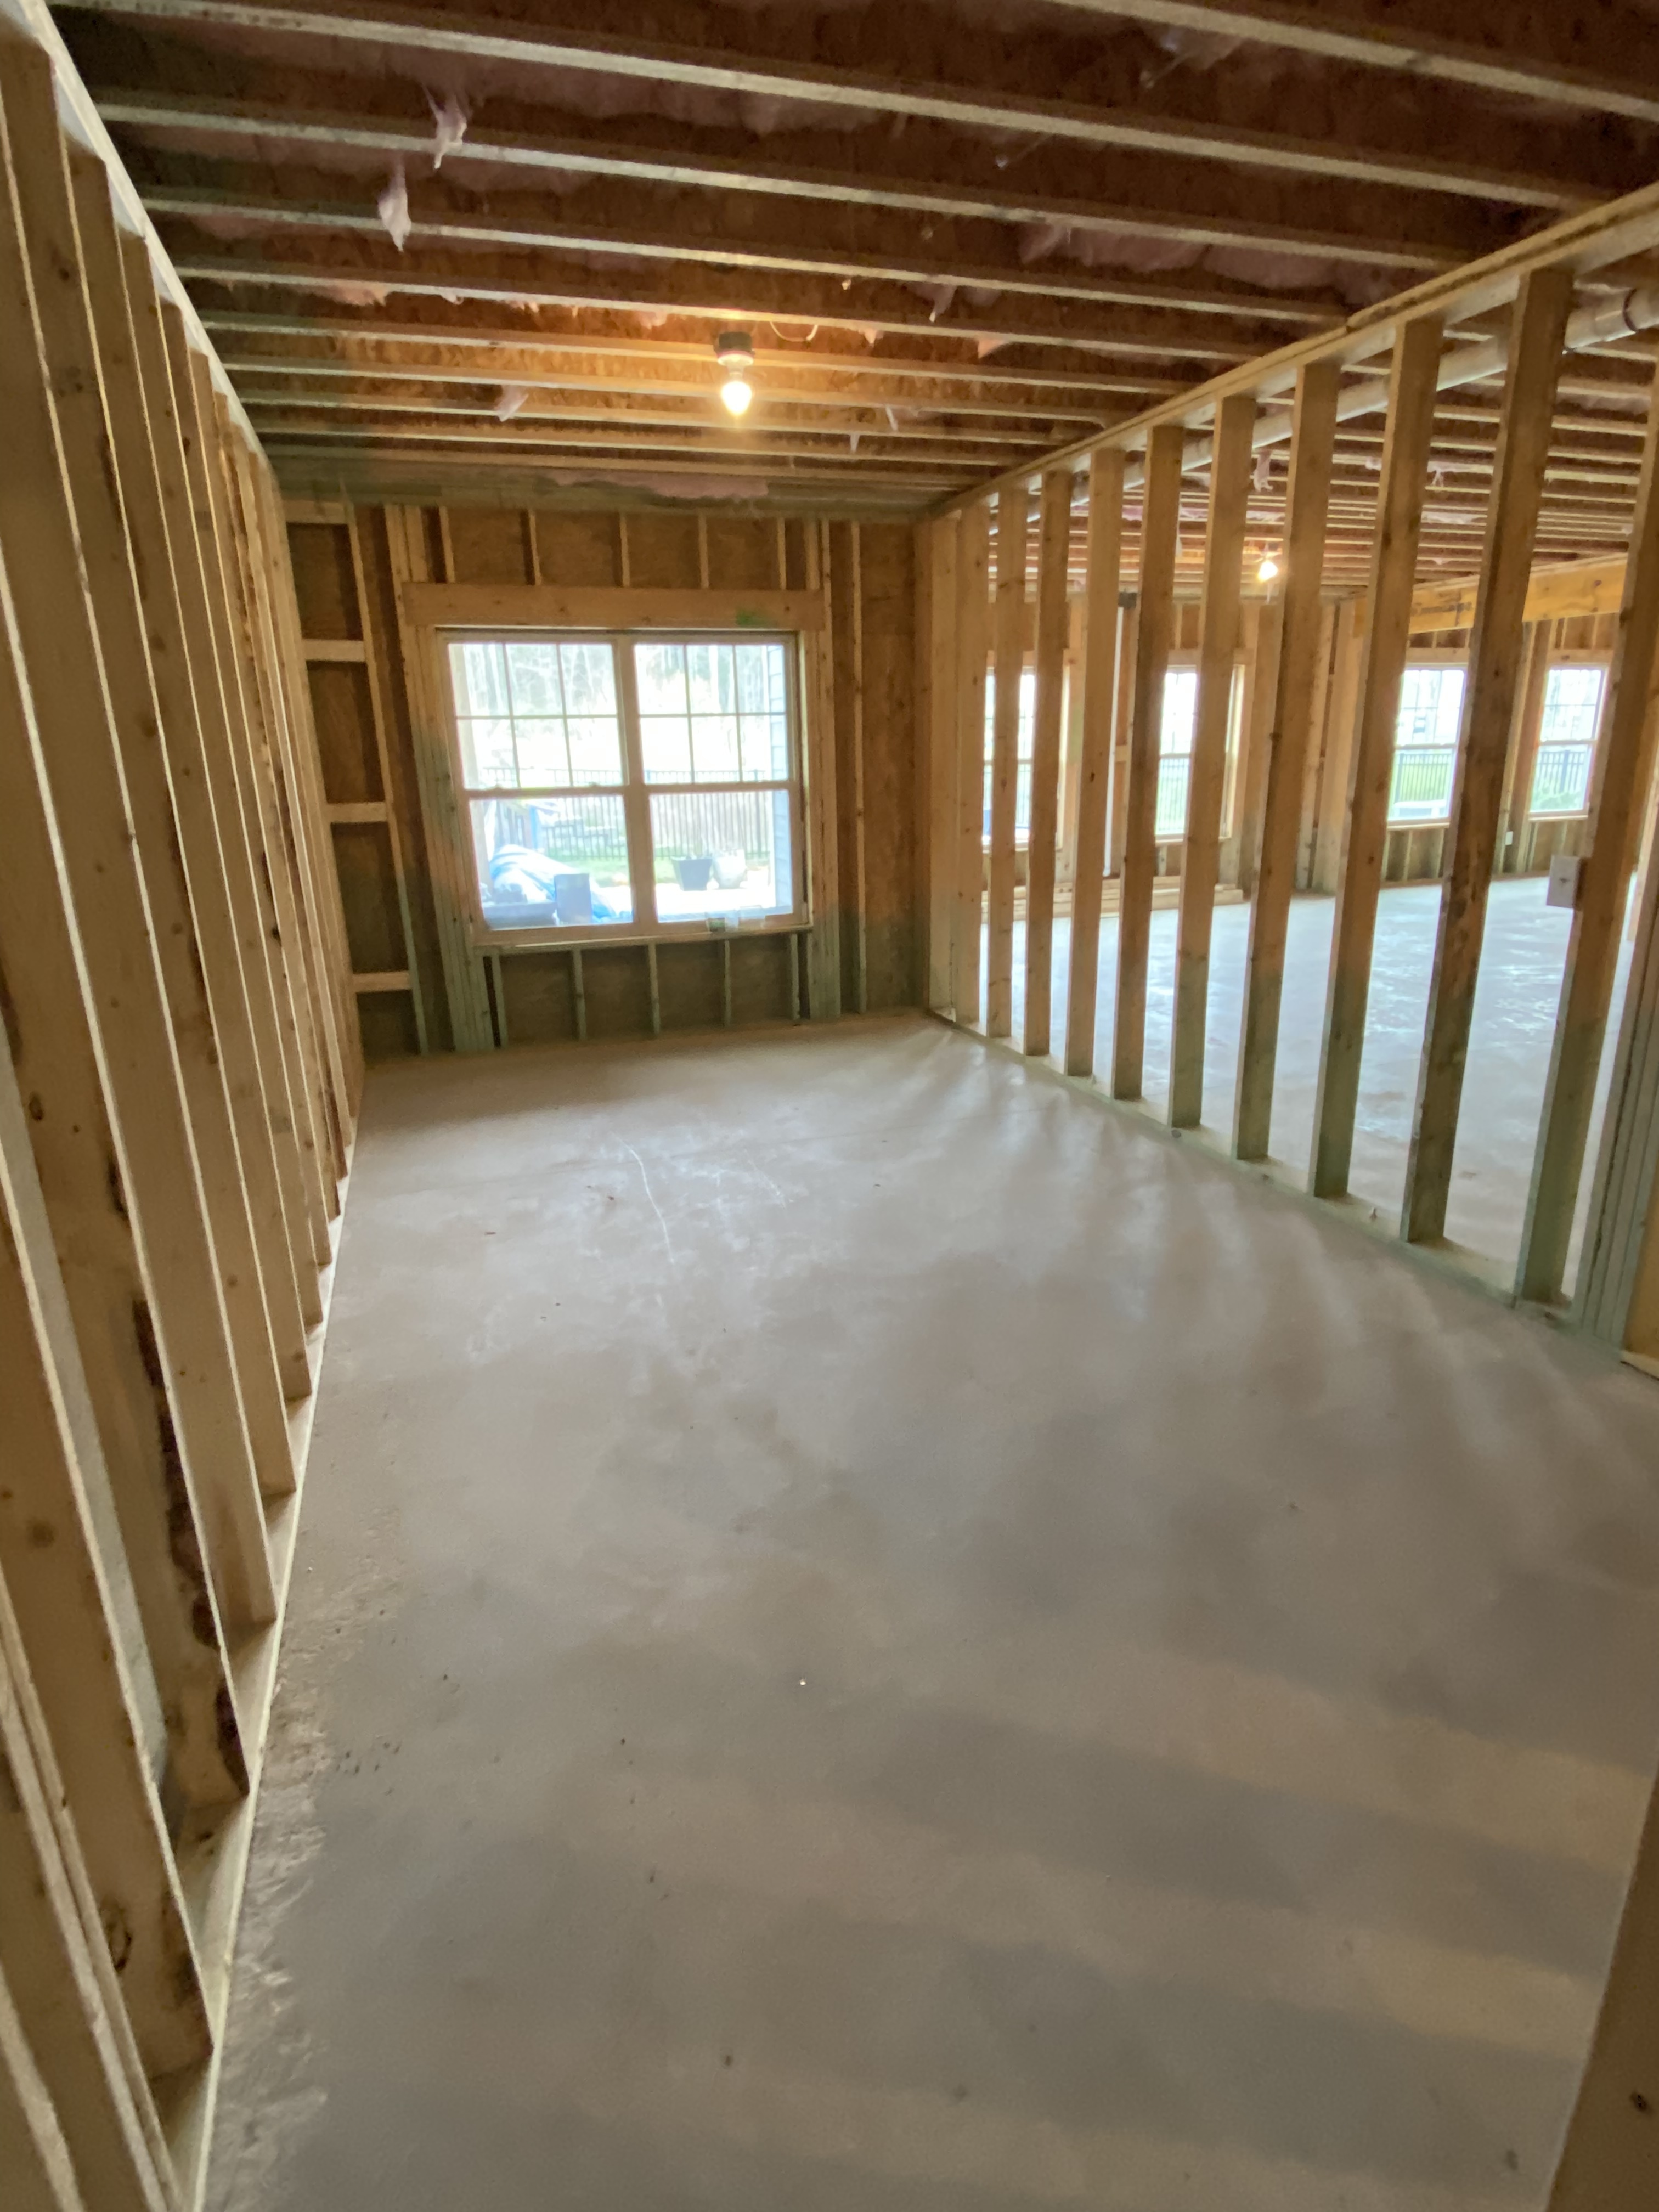
Enough rambling from me, here’s something to look at (not much though). Our contractor finished the framing today. Here is the first step of the future snake room.


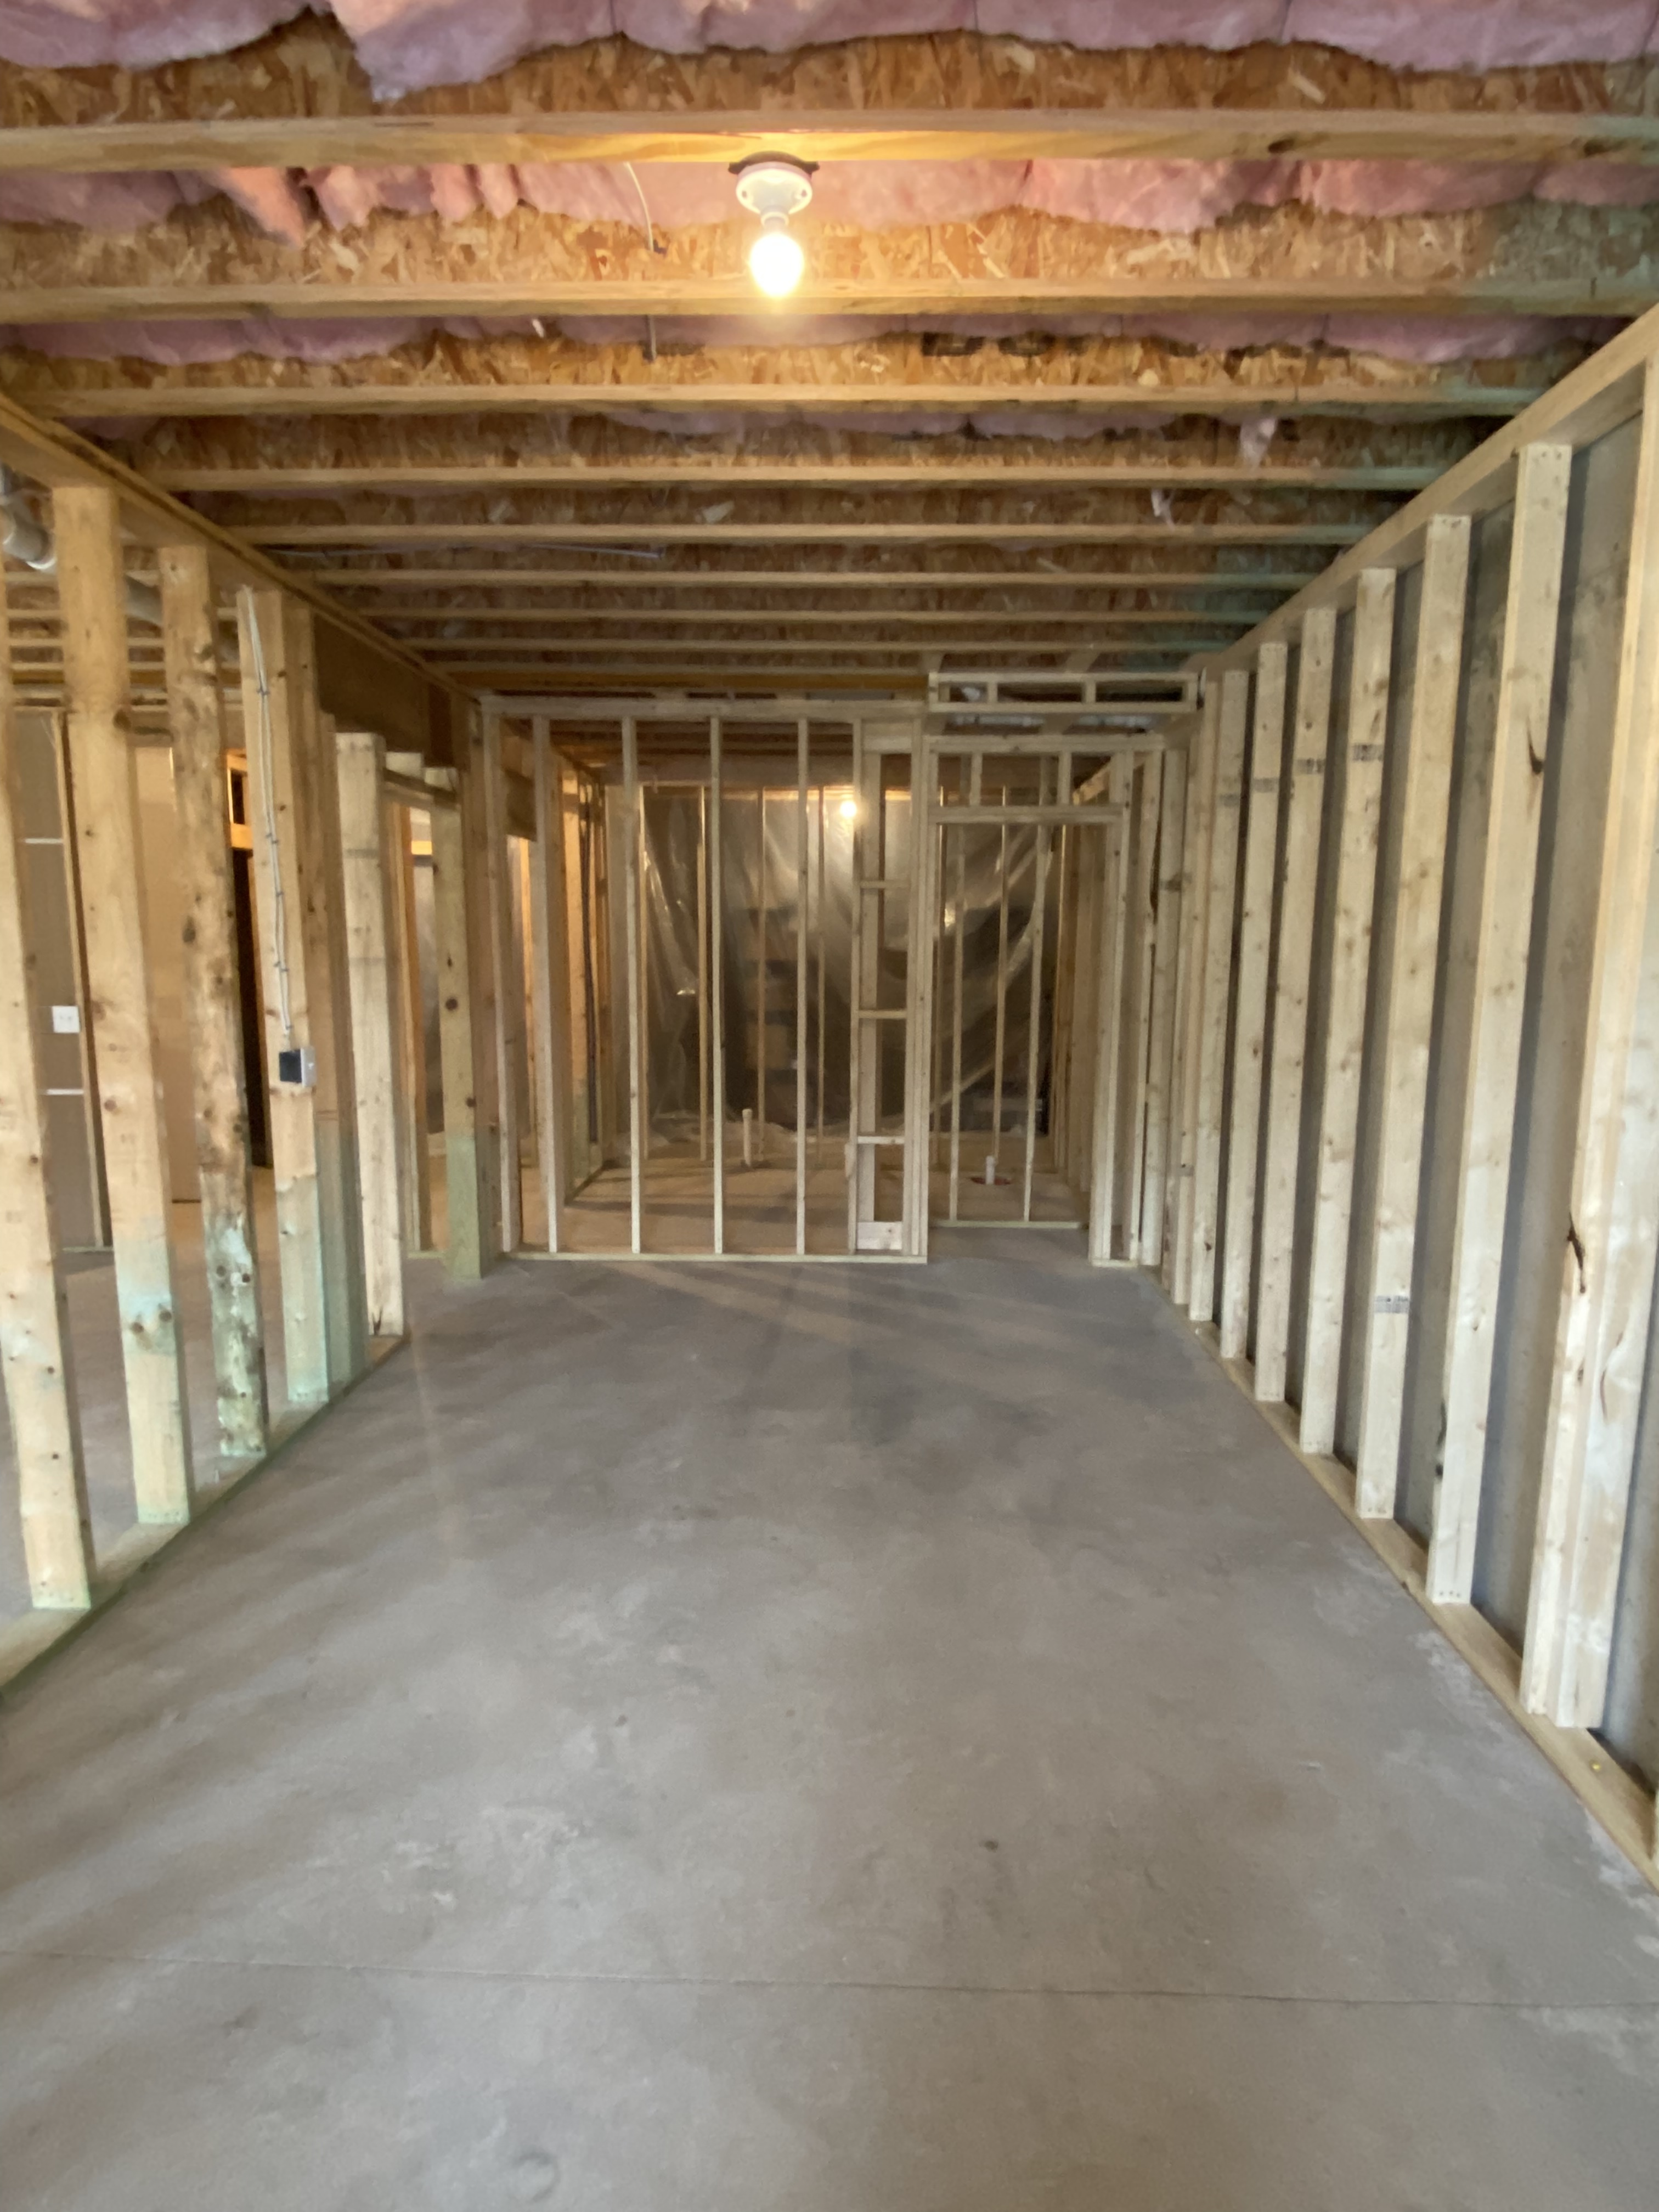
We have a walk through with the electrician tomorrow. My plan is to have as many quad outlets as code will allow installed in this room. This was a suggestion made by someone in this community and I can’t remember who, but if you are reading this, thank you!

That’s all for now. I’ll update this periodically as things progress and are completed.

Also, if you read the initial posting of this and thought it seemed incomplete that’s because it was. I fat fingered the save button before I was finished.

14 Likes

Thank you for documenting this, it will help those of us who haven’t been able to start a reptile room yet!

3 Likes

Make sure you put in extra outlets, high and low, and that you can put a serious load of heating elements/thermostats/incubators/circulation fans on them. Now is the time to get all that done right to work for your future. Surely you thought of all that. Are the windows double paned to keep the cold out?

I’m so jealous. I hope it all works out for you!

5 Likes

Thanks! We will have a separate panel from the rest of the house for the basement so we should have plenty of circuits to split the outlets up for increased load (I think thats how that works :joy:). I’ll be having them install as many outlets as code allows.

Unfortunately there’s not much I can do about the builder installed window. We live in NC so it generally doesn’t get too cold in the winter.

3 Likes

Walk through with the electrician went well. I’m going with 10 total receptacles. Eight quad outlet that will be along the long walls and two regular dual outlet receptacles on the short walls. The basement will have its own panel so we’ll have plenty of circuits to work with. Right now the plan is to put two receptacles on each circuit which should allow for plenty of load. The bulls don’t have high heat demands and I should be able to provide appropriate temps just with the ambient room temps and a small hot spot in the enclosure, so that should be plenty of available load.

I’m just going with some LED strip shop style lights for over head lighting in the room. He’s putting in a box w/cap for that and the contractor will install them when we’re ready for that.

5 Likes

Is your general doing your insulation or does he work with an actual insulation contractor?

Should go through and straighten those fiberglass batts, they don’t function correctly when they’re compressed. They should look the wall on the right.

I’m an insulation contractor and building science advisor if you have any questions about indoor air quality, air exchange, or insulation let me know.

8 Likes

I’ll ask if the insulation is done by his guys or a sub. Thanks for the heads up.

Funny you mention the insulation being compressed. The insulation the builder installed on the ceiling of the basement looks like total ■■■■ compared to the picture you shared.

7 Likes

Fiberglass insulation’s job is to trap air. If it’s compressed it’s ability to do that is limited. I also suggest caulking the seams around every stud bay or at least caulking the top and bottom plate to wall to mitigate airflow in the stud cavities. That will be nearly impossible on the sides that are block wall but for the exterior facing wall(s) it’s critical. The less airflow in the wall plane the better the performance of the insulation. Also seal every wire or pipe where it passes through a stud, either vertically or horizontally. Can foam works best for this.

6 Likes

This thread is even helpful for those of us with minimal home repair knowledge, you guys are the best! :joy: :smiling_face_with_three_hearts:

2 Likes

Thanks for the info. I think understand what you are saying here about caulking stud cavities and top and bottom plates, but I’m definitely more of a visual person. You wouldn’t happen to have a picture example of this would you?

The electrician is here now so I will ask him about foaming the holes for wire pass throughs. I’m assuming that kind of finishing work will be something the contractors guys will do once electrical, duct work, and plumbing have been completed.

1 Like

Still not much to look at but electrical and hvac have been roughed in. I’ve spoken with our contractor about insulating this particular room and he is going to insulate the interior walls in addition to the exterior walls for this space. That should help to regulate temps better in the room.


The framers have to come back and frame the boxes for the duct work that couldn’t be run between the beams on the ceiling. After that we have inspections for all the roughed in utilities and then drywall goes up. Moving right along.

In related news, I put in a hefty order with Animal Plastics last week. I’ve always heard that AP is slow moving on fulfilling orders but that hasn’t been my experience. The first set of cages I ordered a few months ago were delivered in three weeks. I put in this latest order for seven T8s and two of their cage bases last Tuesday and just got the shipping notification earlier today. Guess they are really humming along over there. Now I gotta put all these together :grimacing:.

5 Likes

Inspections have begun. We had plumbing and mechanical/hvac come through yesterday and we passed. Still waiting on electrical but that should happen today or tomorrow.

I started building the T8s from AP yesterday. They are a breeze to assemble. In fact I think unpacking and breaking down the packaging took longer than actual assembly. Sealing them was a little messy/sloppy at first because I followed the instructions and tried just using my finger to apply the bead of silicone into the seams. After two less than stellar seal jobs I dug the caulking/silicone applicator out of the painting supply bin and it went much smoother after that.

Once they were done curing I installed under cabinet LED strips to the roof of each cage and strung them together.

One stack of five is ready to go. I think they look pretty good so far. I still have four more to assemble.

3 Likes

Ooh those are snazzy! If you are alright with me asking, what are the individual enclosure dimensions and what did this stack of 5 cost you? TOTALLY fine if you aren’t okay divulging the price

3 Likes

T8’s are 4’x2’x1’ and $215 from AP

3 Likes

Oh those are a great size and a good price, I’ll keep them in mind thank you!

3 Likes

If you order three (?) or more they are discounted. I think with the locks they ended up being $205/ea. if you factor in the shipping they are another $50-$60/ea depending on the shipping method you select.

3 Likes

Oh that seems to be a really decent price for the size, thank you!

3 Likes

Yeah I’m not sure you can beat that price for that foot print and quality. Only draw back is the height. If you have a species that requires more heat than you can get from heat tape under the cage, you basically have to go with a heat panel because you can’t fit any other over head heating elements in them.

3 Likes

Fair enough, are there portholes on the cages for wires, or some other option for heating/lighting requirements?

2 Likes

There are pre cut wire ports. One on each side and two on the back where the sides/back connect to the top of the cage. There is an option to add a 8.5” screen to the top of the cage for over head lighting. If you go to the Animal Plastics website you can see a list of the available add-ons/modifications when you select the model you want.

3 Likes